inside: Check out this amazing romper free sewing pattern in SO many sizes. Sew a romper with shorts or pants using this free sewing pattern for girls. Rompers for all seasons.
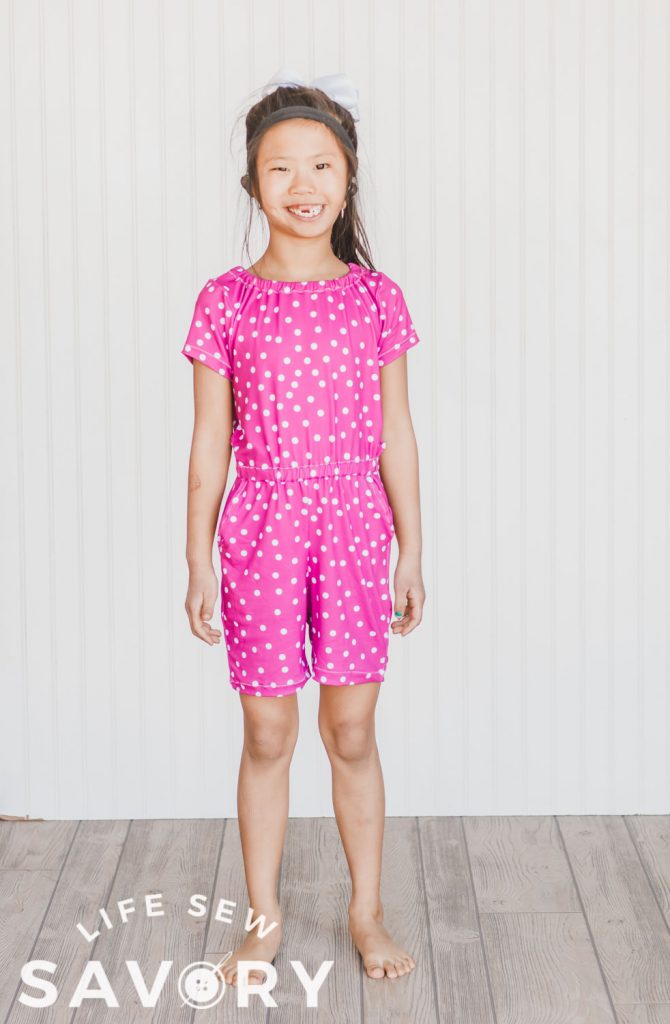
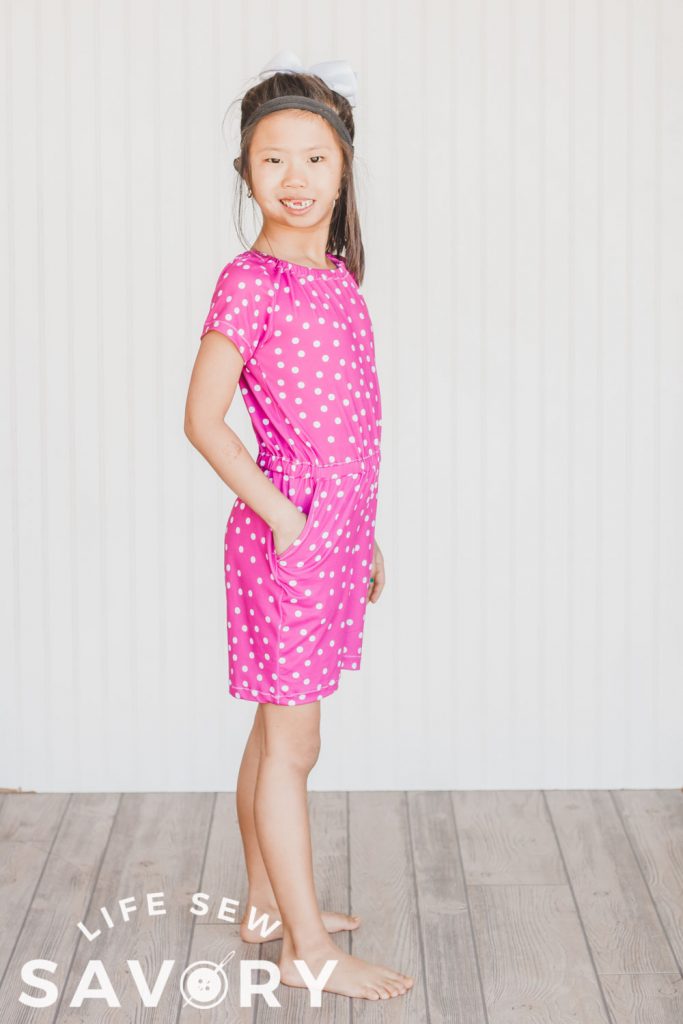
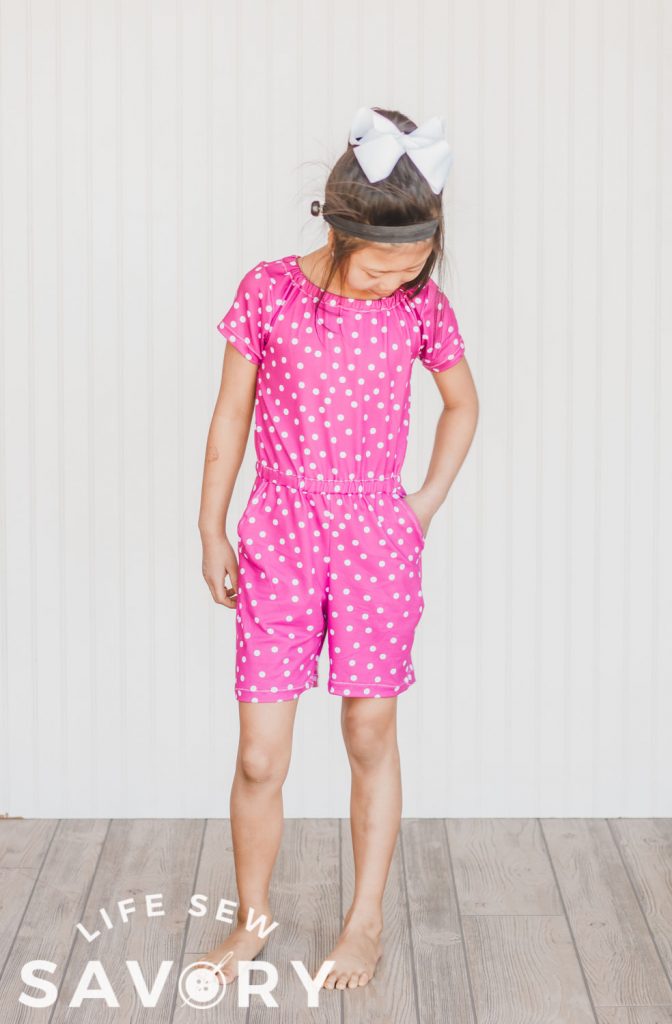
I’ve been wanting to sew a romper for Rose for a long time and now that I finally did…. why did I wait so long? This romper looks SOOOO good on her. I love that this is another pattern that is easy to adjust for height/weight. I was able to make this with a size 5 width and size 6/7 height, and the fit is perfect!

Romper Free Sewing Pattern
You know I love free patterns! This one may soon be my favorite free sewing patterns and I so excited to show it off.
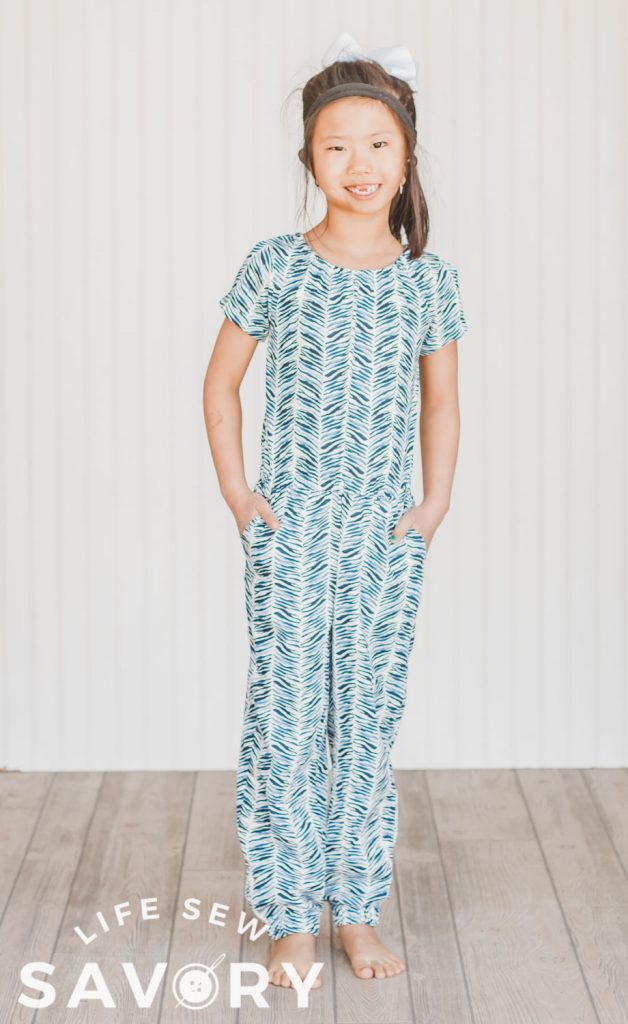
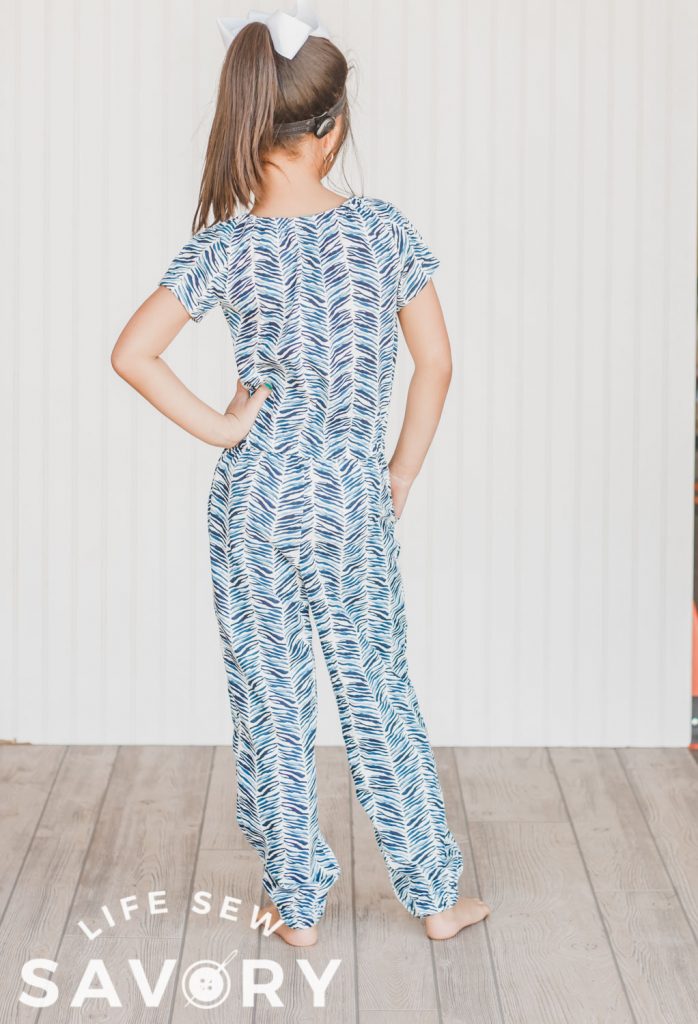
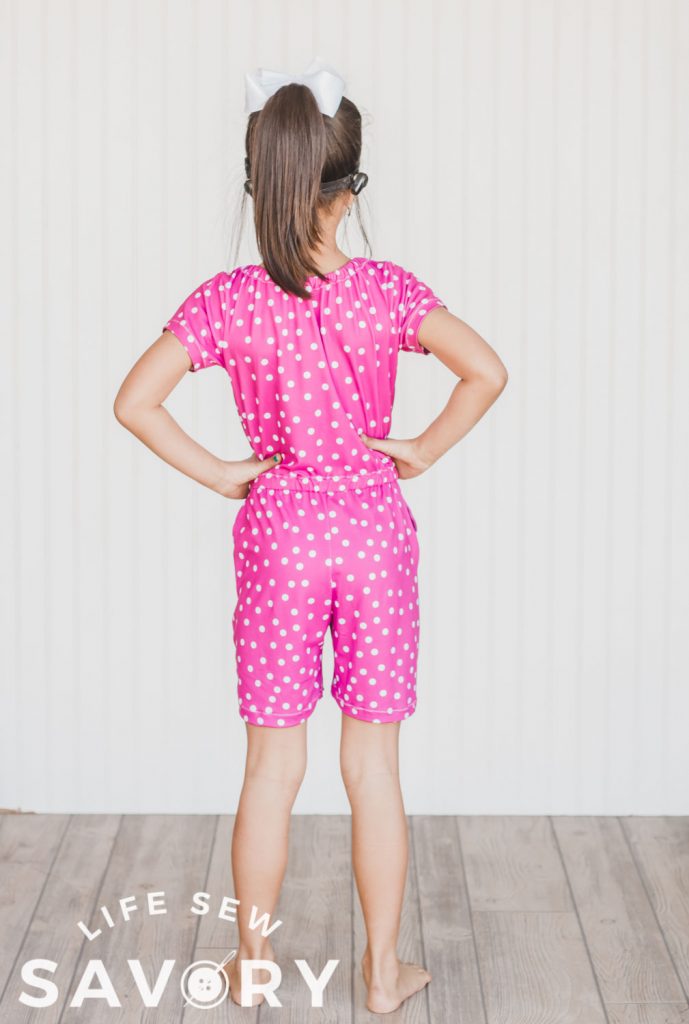
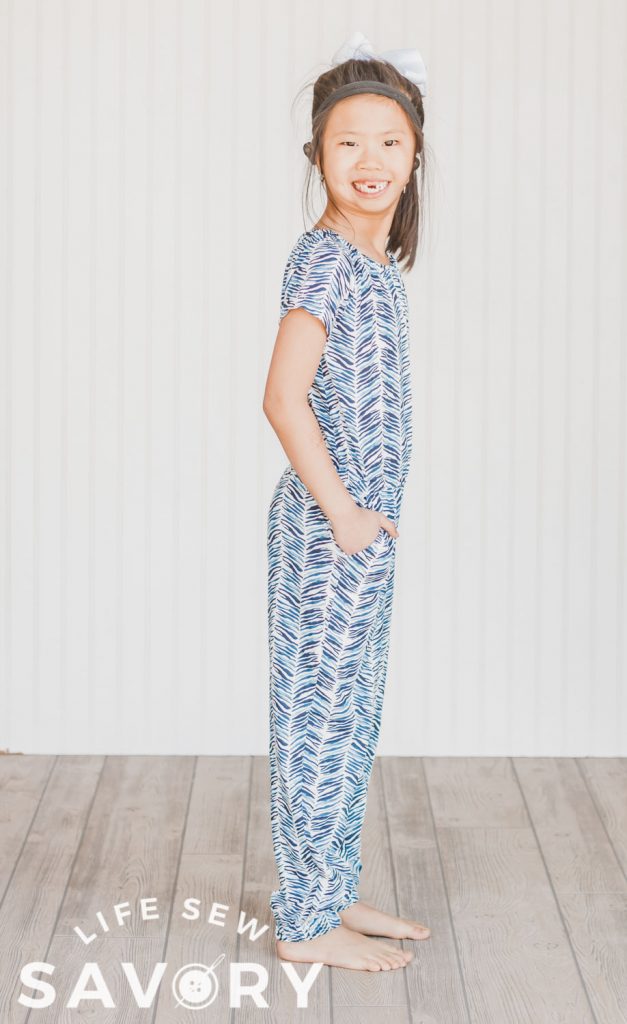
So super cute right? Pockets, elastic neckband and a cute elastic waistband as well. PLUS, you can make it with long pants {and elastic cuffs} or shorts in whatever length you want.
I made two romper versions… the pink dots are made with double brushed poly – gorgeous!! and so so soft. The blue is a more traditional 2 way t-shirt fabric {its actually an upcycled Old Navy Dress – so cheap t-shirt fabric} This pattern obviously works well with both kinds of fabric. I haven’t tried it with cotton lycra, but if you do… let me know how it works.
Not convinced yet? You need to sew this NOW and let me know what you think! Join my FB group here and show off what you’ve made. Let’s get sewing!
Download free romper pattern –
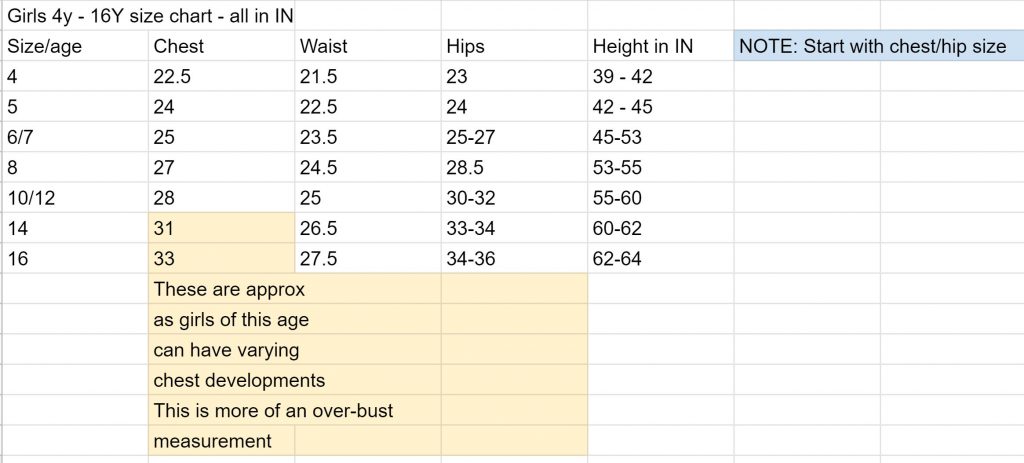
First, head over to my shop using the button below and download the free romper sewing pattern. Its made for sizes 4-16 years and you can use the size chart below to see if it works for your child.
Check out the size chart for reference and deciding what size to cut out and sew.
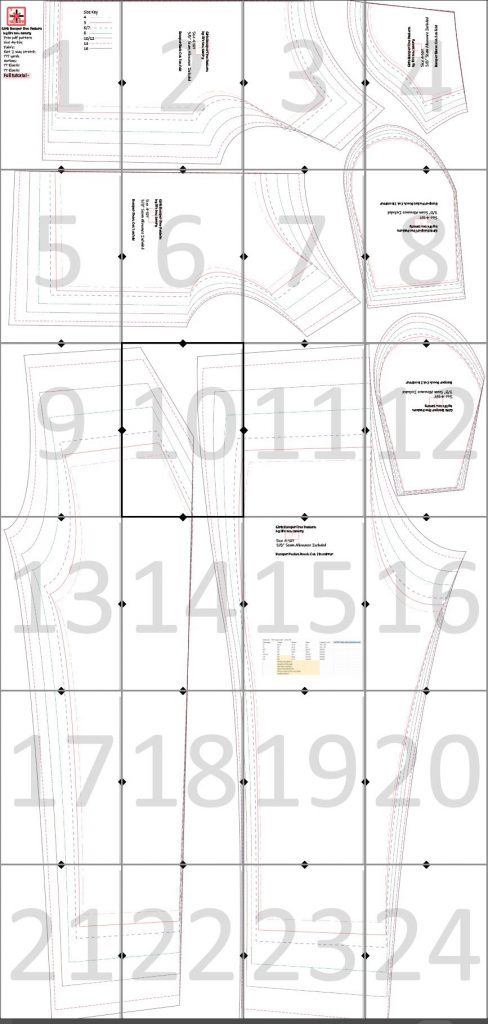
Download and print the pattern. You can assemble it using this guide here and if you need more help with your PDF pattern printing and assembly check out my tutorial here.
Romper Supplies Needed:
- 1-2 yards of fabric – amount needed with depend on size and pant option.
- Double Brushed Poly {4 way stretch}
- T-Shirt Fabric {2 way stretch}
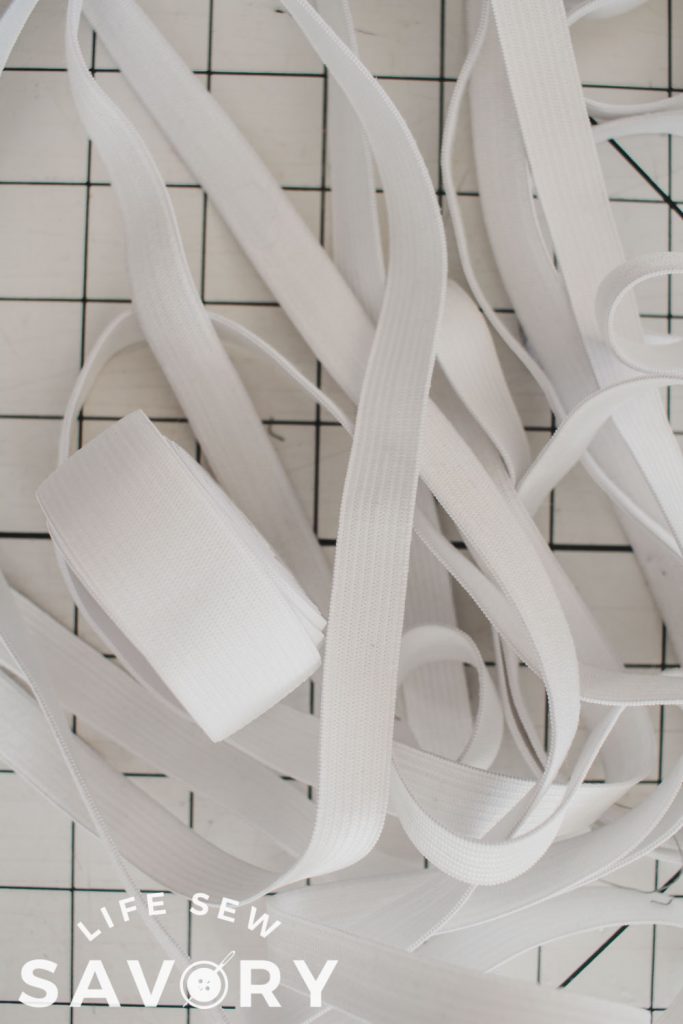
- 3/8″ Elastic
- 1″ Elastic
How to sew a romper –
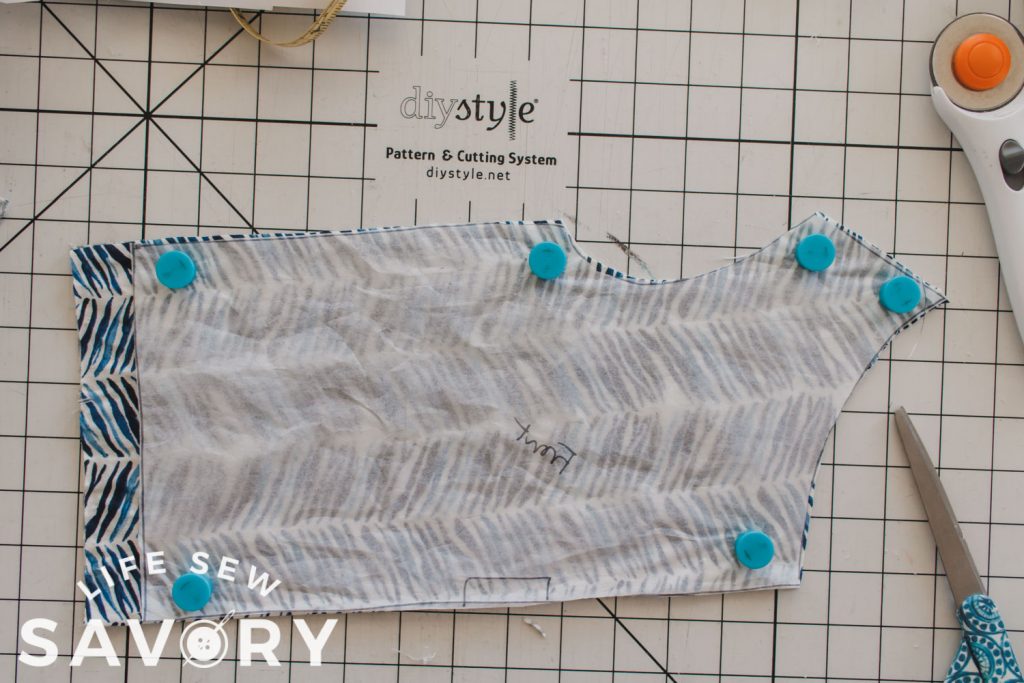
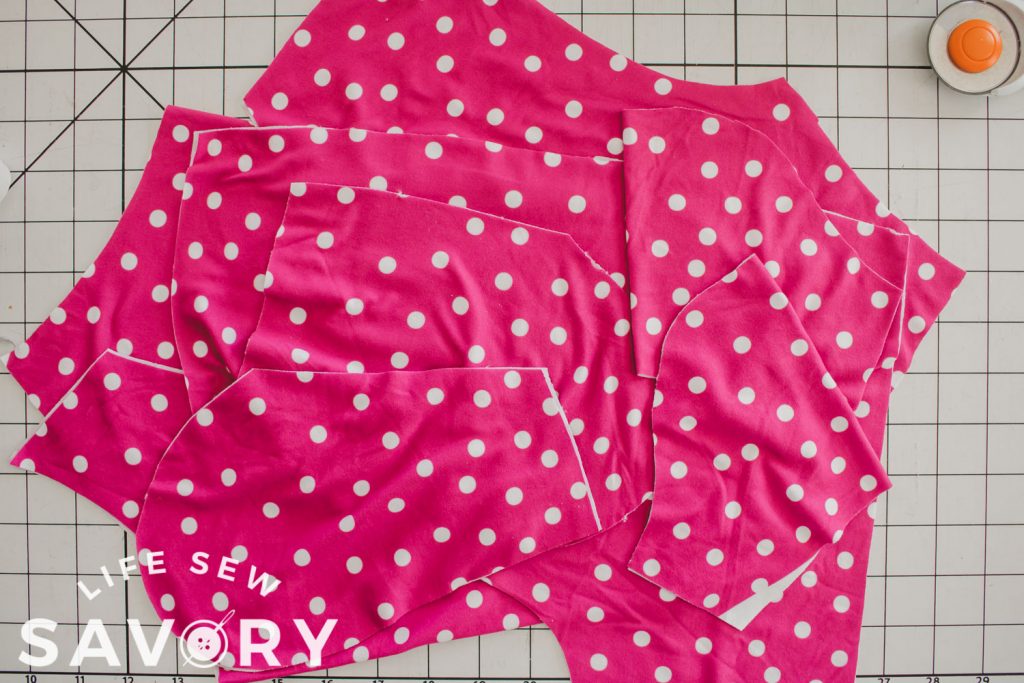
Cut out all the pattern pieces. Directions are on pattern pieces and seam allowance is included. {3/8″ or 1 cm}
Need help using a double needle for knits? Twin needle help here.
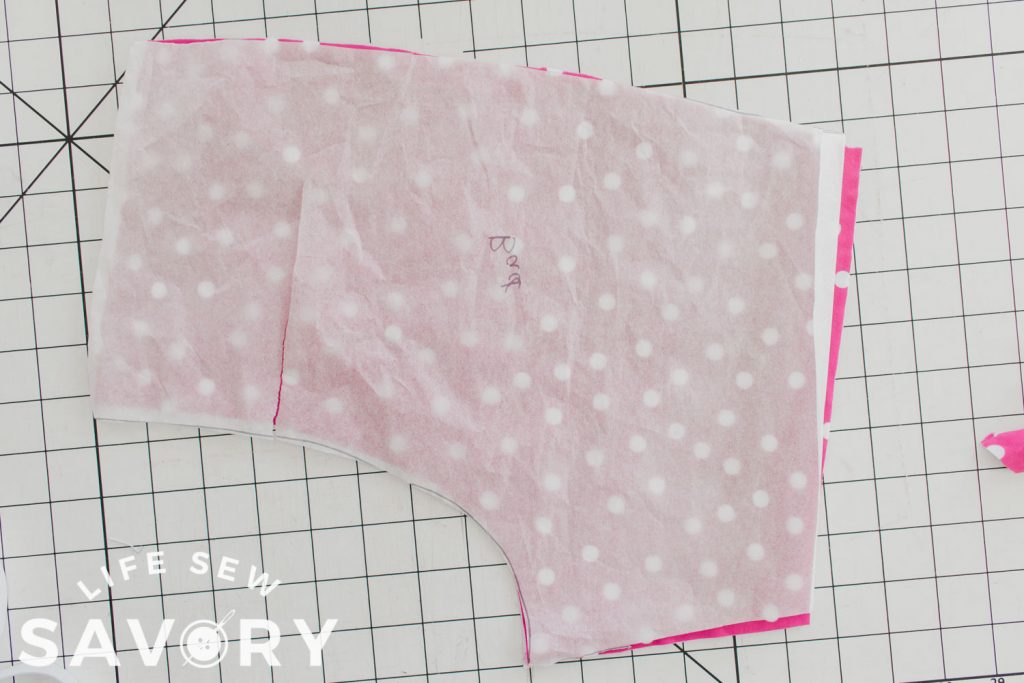
ALSO- if you want shorts, just trim the leg piece. I cut a 5″ inseam to the pink dot romper for a cute length. Feel free to make shorter or longer. I did not adjust the width of leg.
You can compare to a pair of shorts you like for length {be sure to add 3/4″ hem allowance!!} a 4-6″ inseam is fairly typical if you don’t have the child with you.
TIP- add 1″ to bottom of top for a longer torso.
This elastic cutting guide is also on the printed pattern pieces. The neck and waist are 3/8″ elastic and the ankle is 1″ elastic.

- 1. Sew shoulder seams
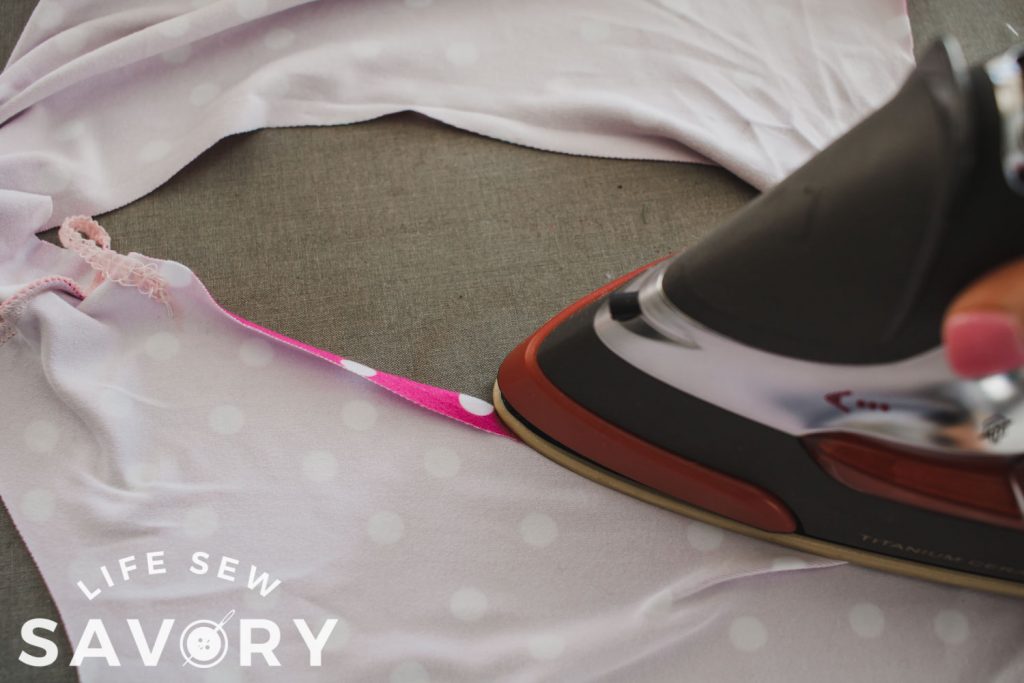
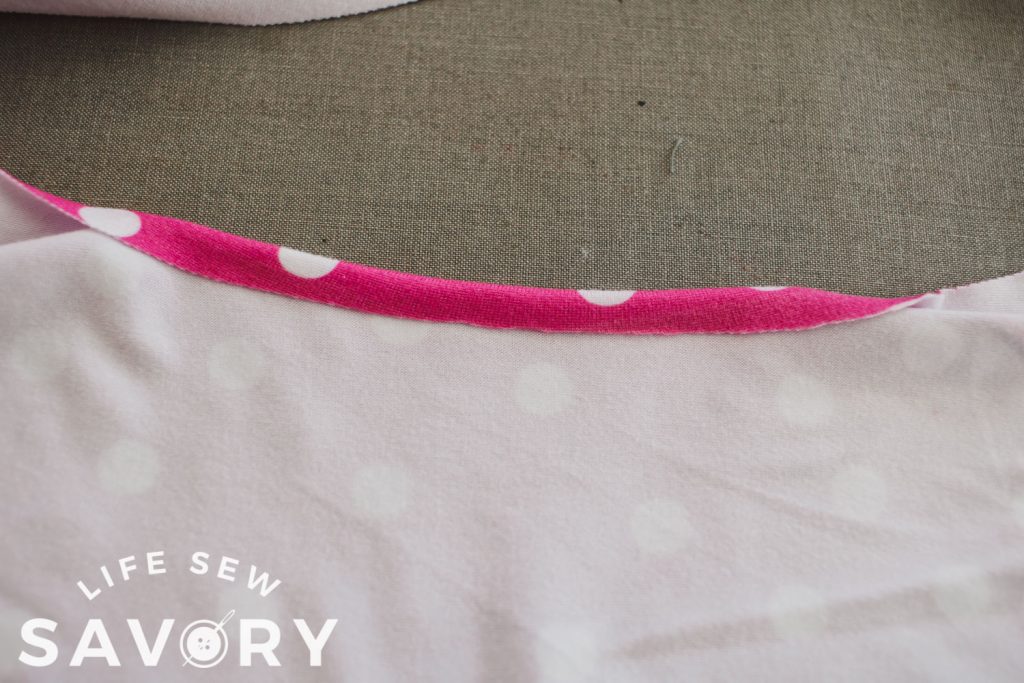
- 2. Iron over 1/4″ edge at neckline OR serge around neckline to finish fabric.
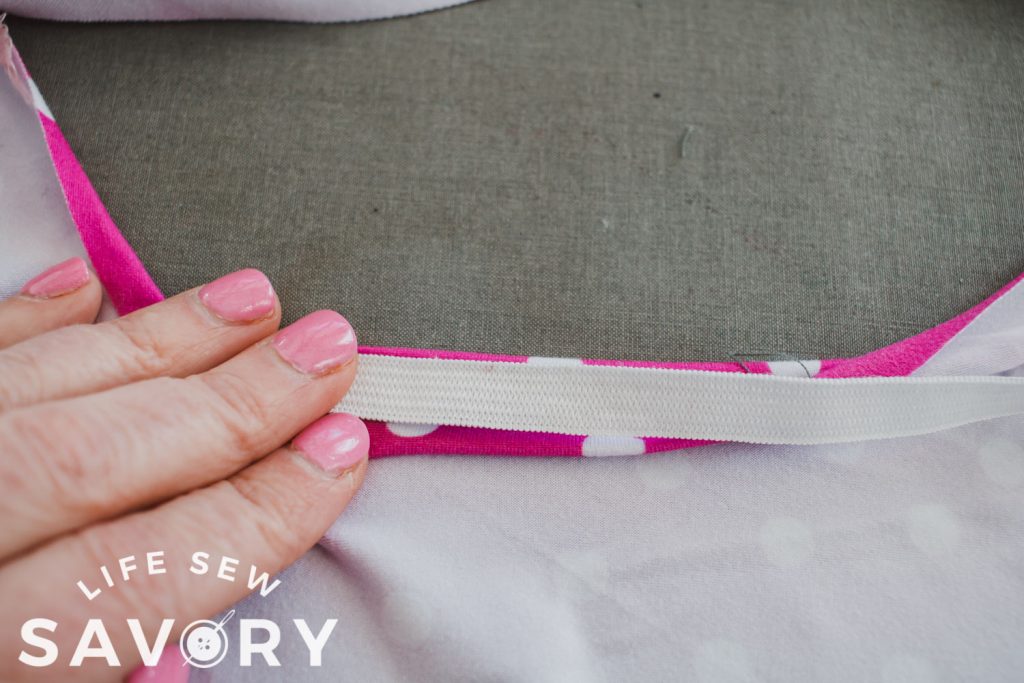
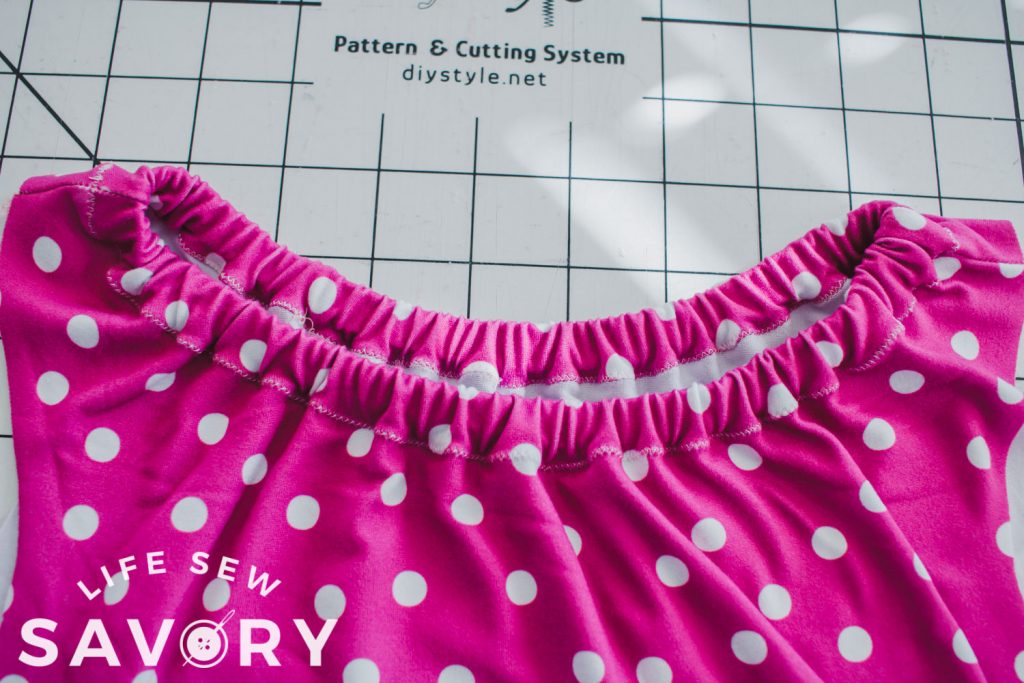
- 3. Fold over another 1/2″ to create the elastic casing for the 3/8″ elastic.
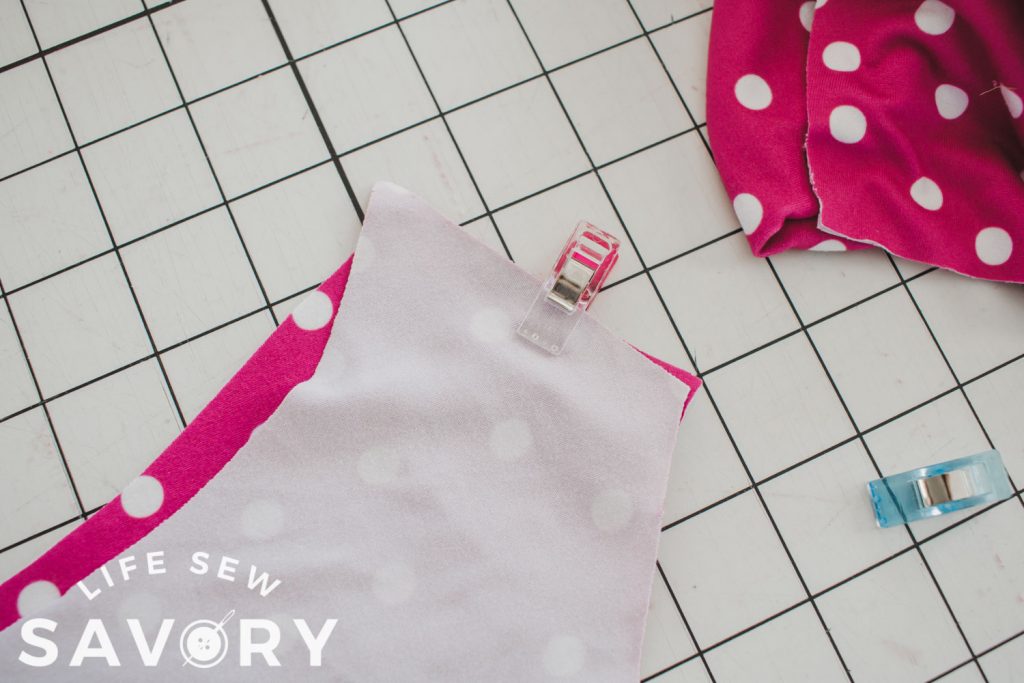
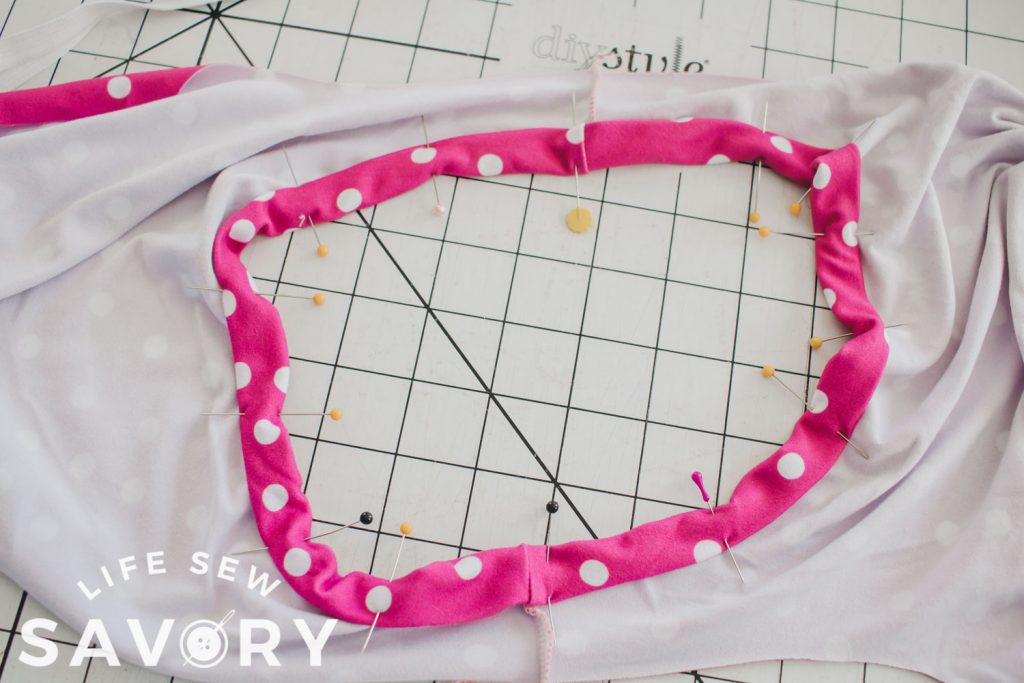
- 4. Pin or clip double fold {or serger then fold} all the way around neckline. You may have to stretch fabric a bit to ease around curve. Sew along edge, leave an opening to thread elastic.
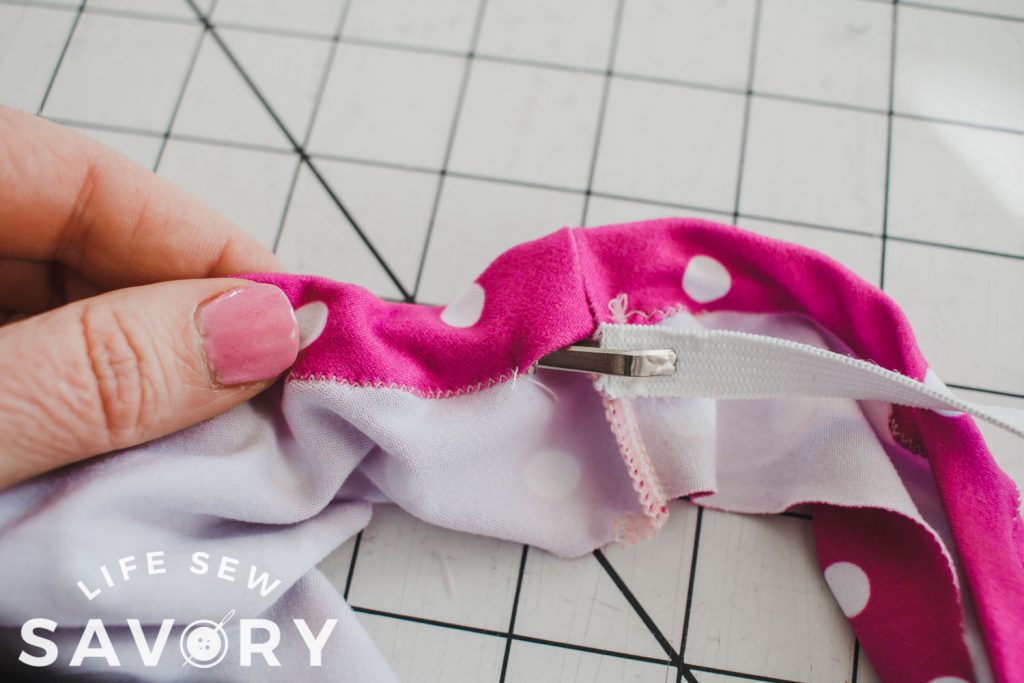
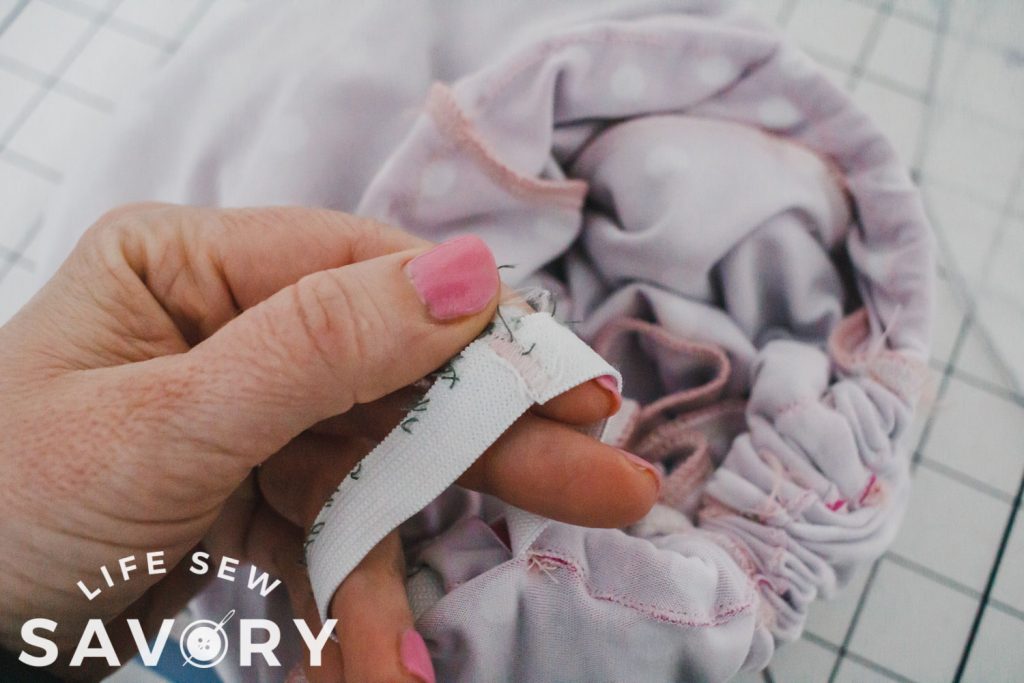
- 5. Thread elastic through the opening.
- 6. Sew the ends of elastic together and close the hole.
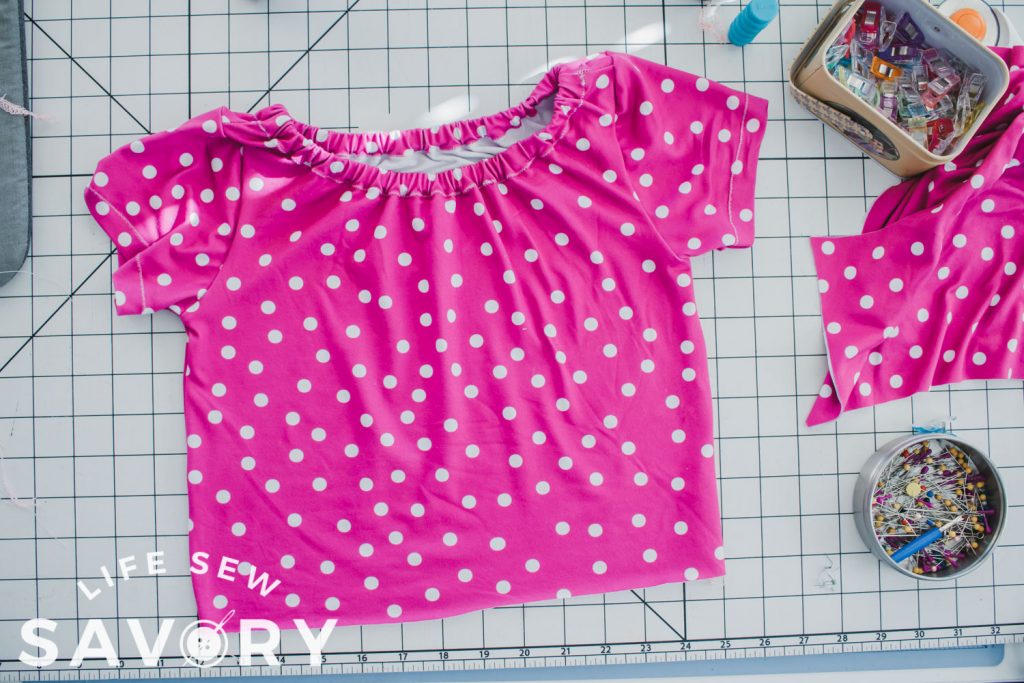
- 7. Spread gathers evenly
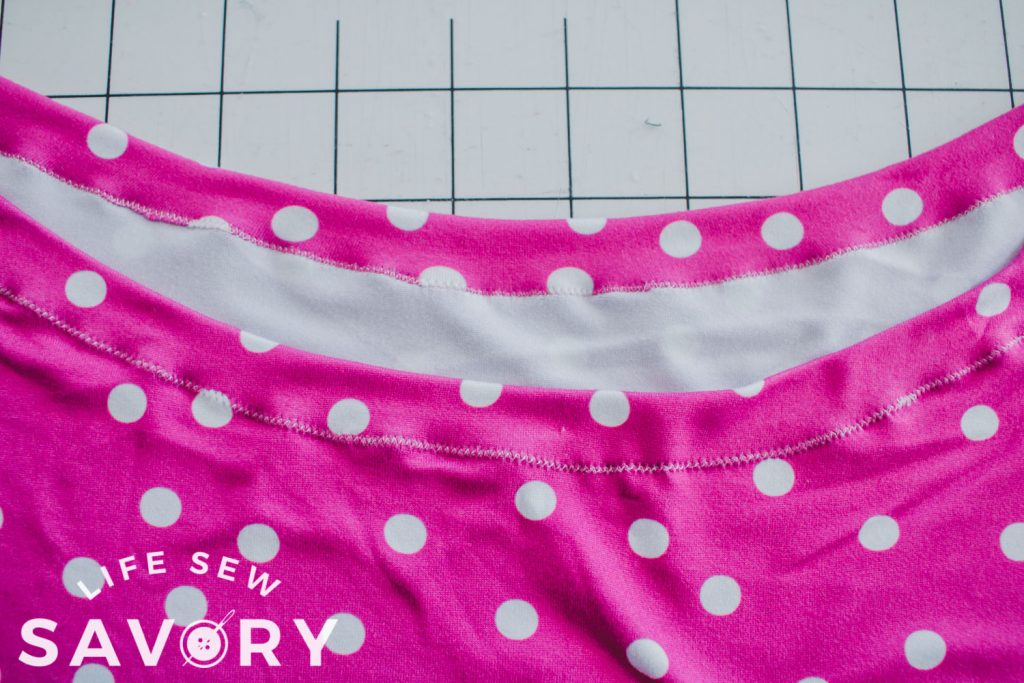
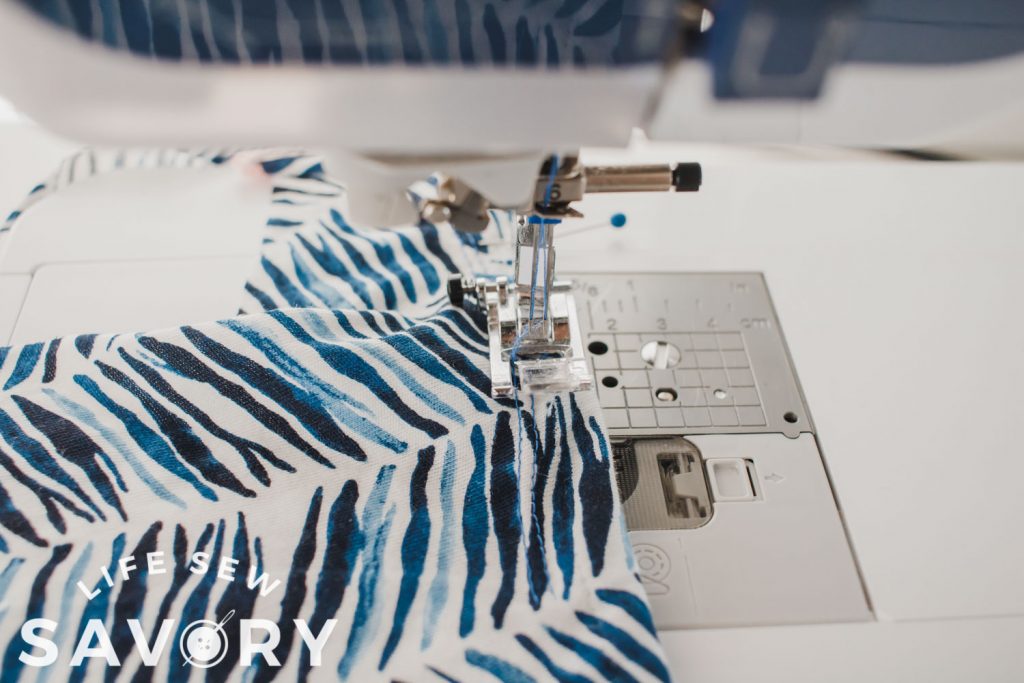
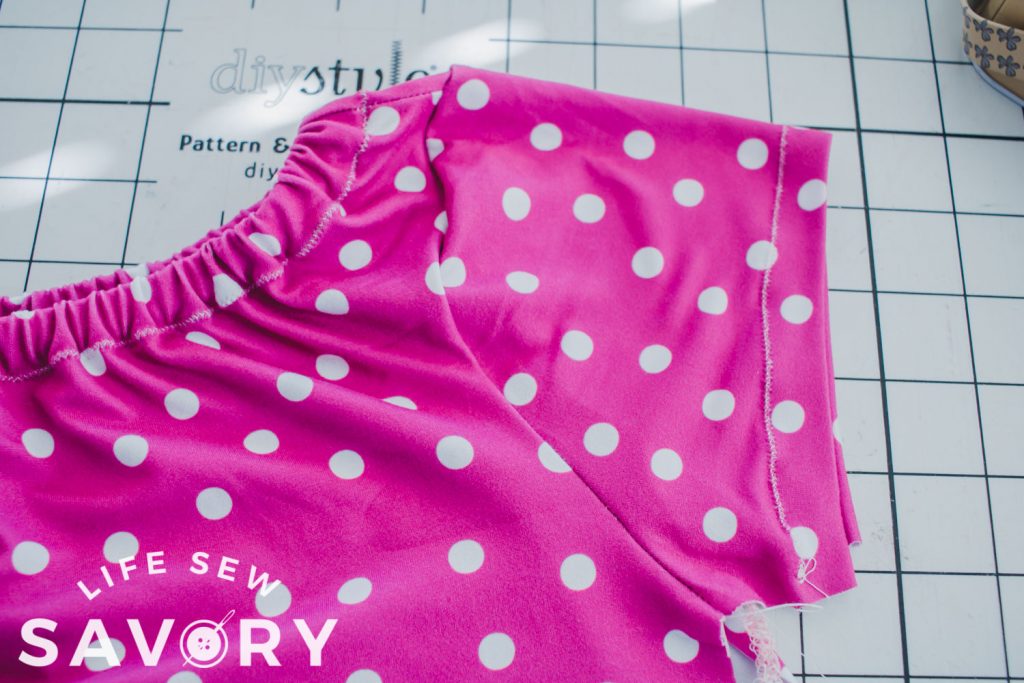
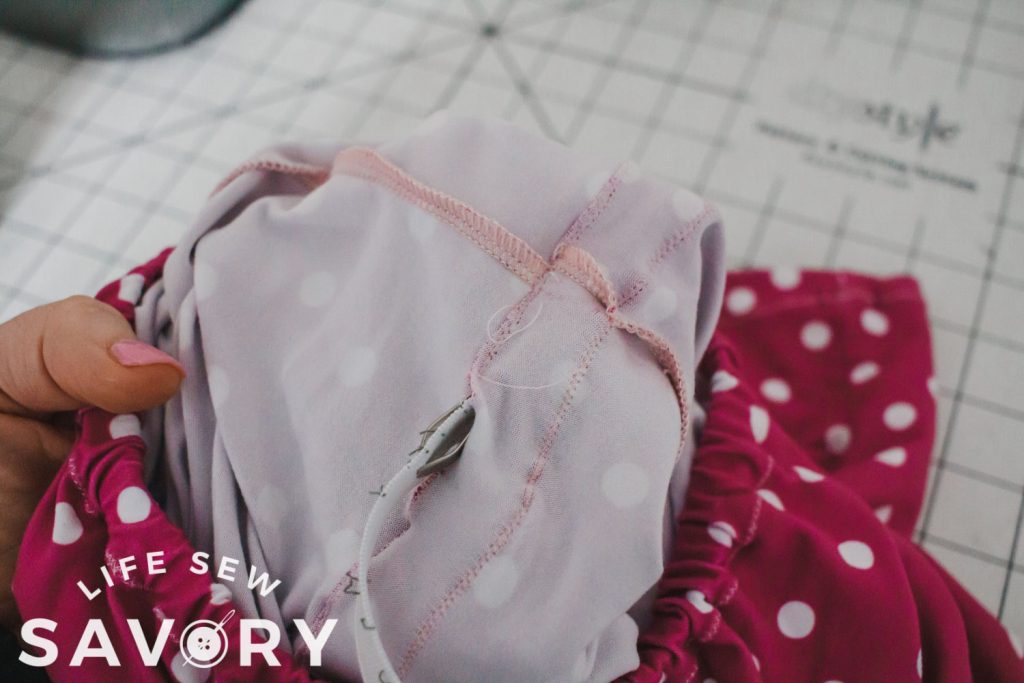
Here is how it looks using a double needle or coverstitch machine to sew the neckline.
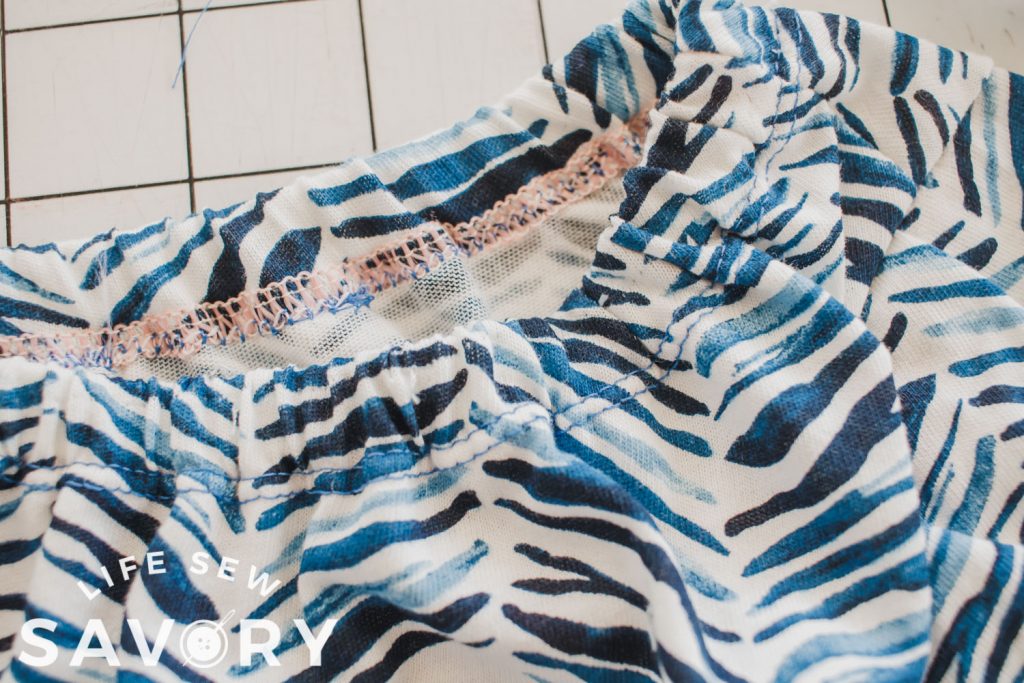
- 8. Hem the sleeves with a 3/4″ hem. Use a double needle or stretch stitch to sew.
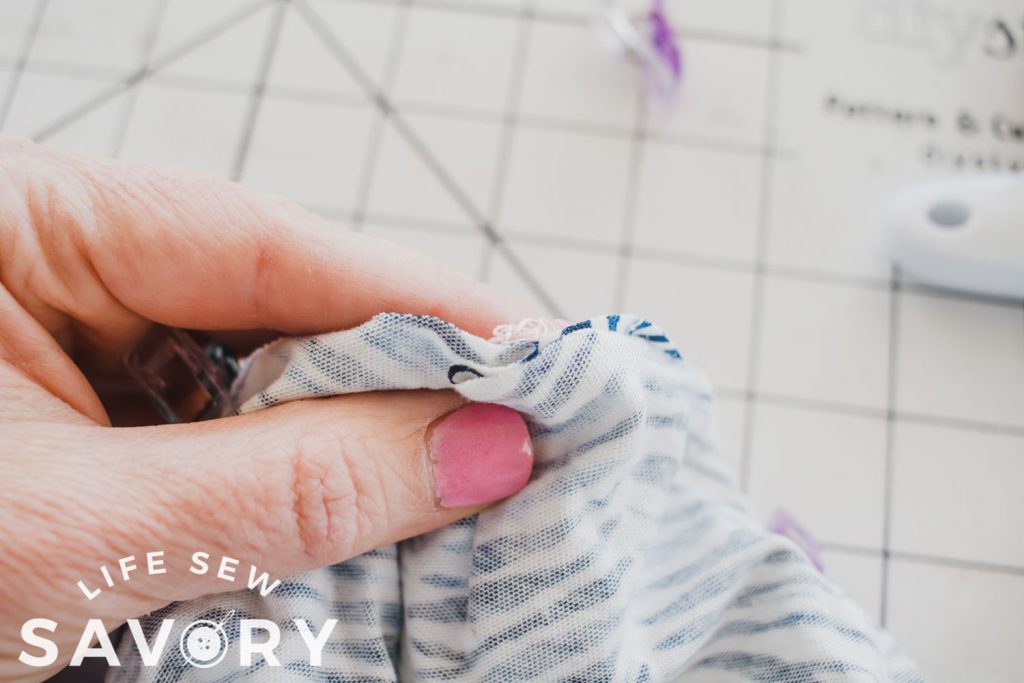
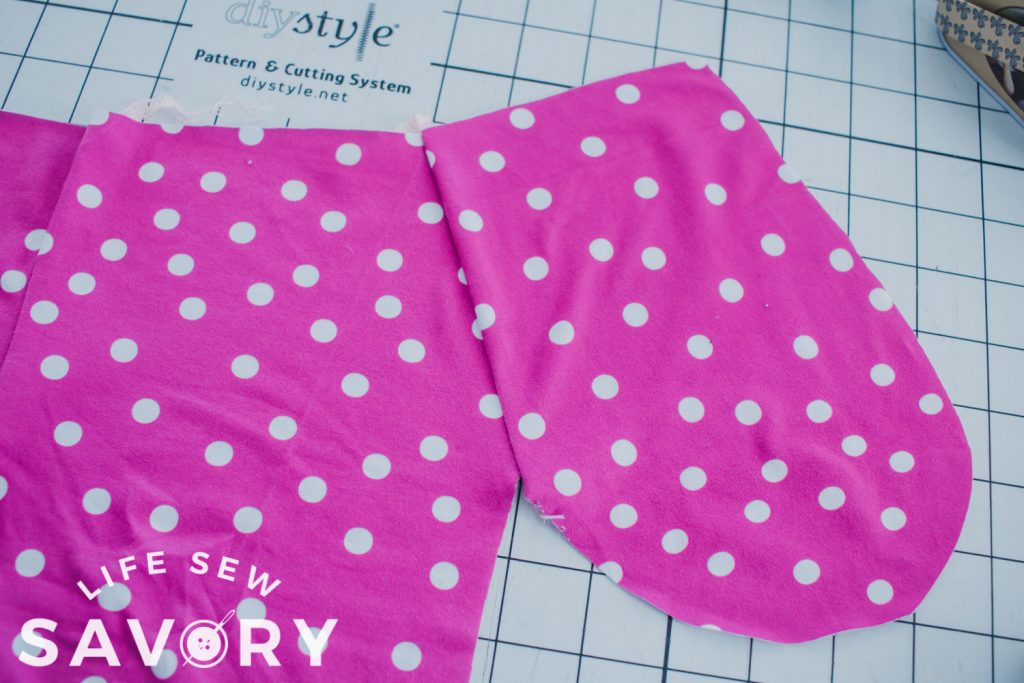
- 9. Match the middle of the sleeve with shoulder seam, then ease out to the sides.
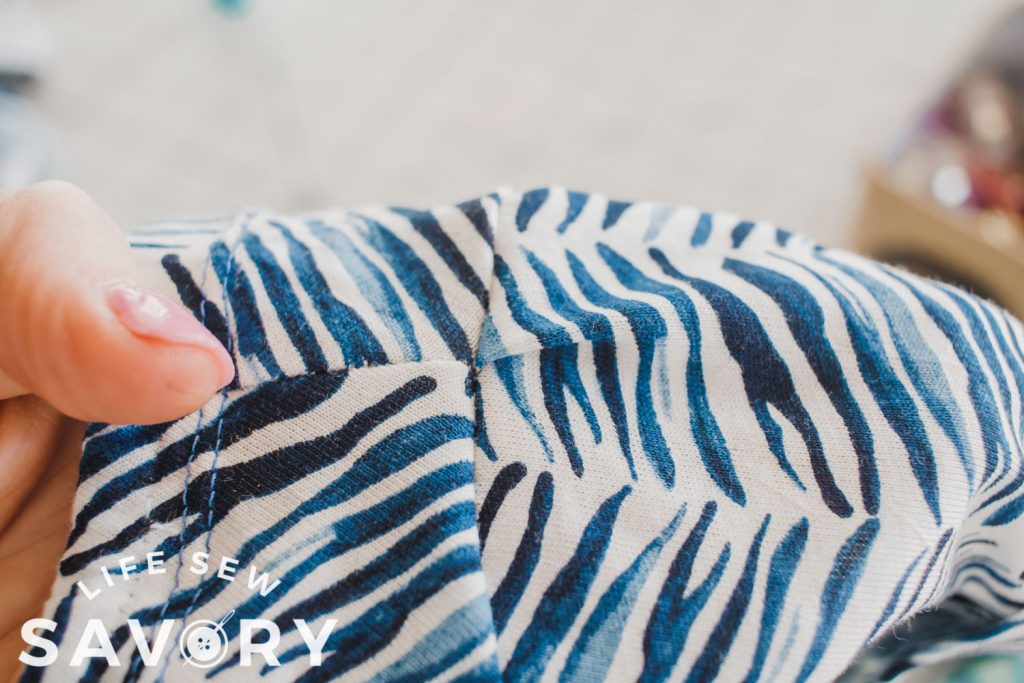
- 10. Sew each sleeve in place {note – if having trouble fitting sleeve in shoulder see below}
NOTE: when using less stretchy fabric like my blue version you may need to add a pleat at the top of the sleeve. I had no trouble easing the pink version to fit.
- 11. Match sleeve hem edges, then sew down the side seam.
- 12. Repeat with other side and set top aside.
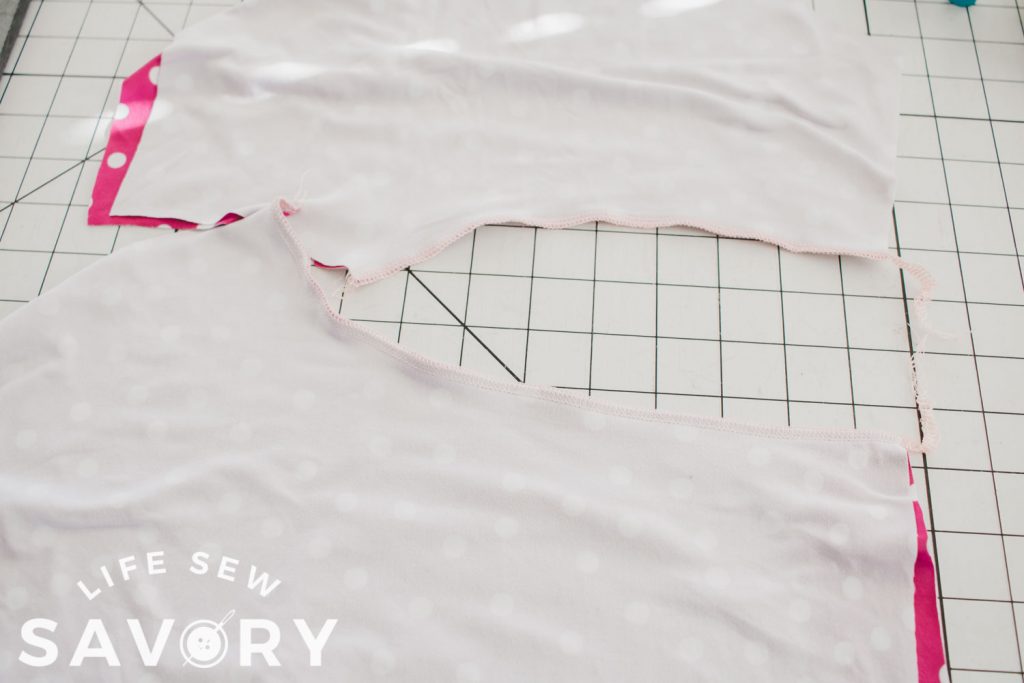
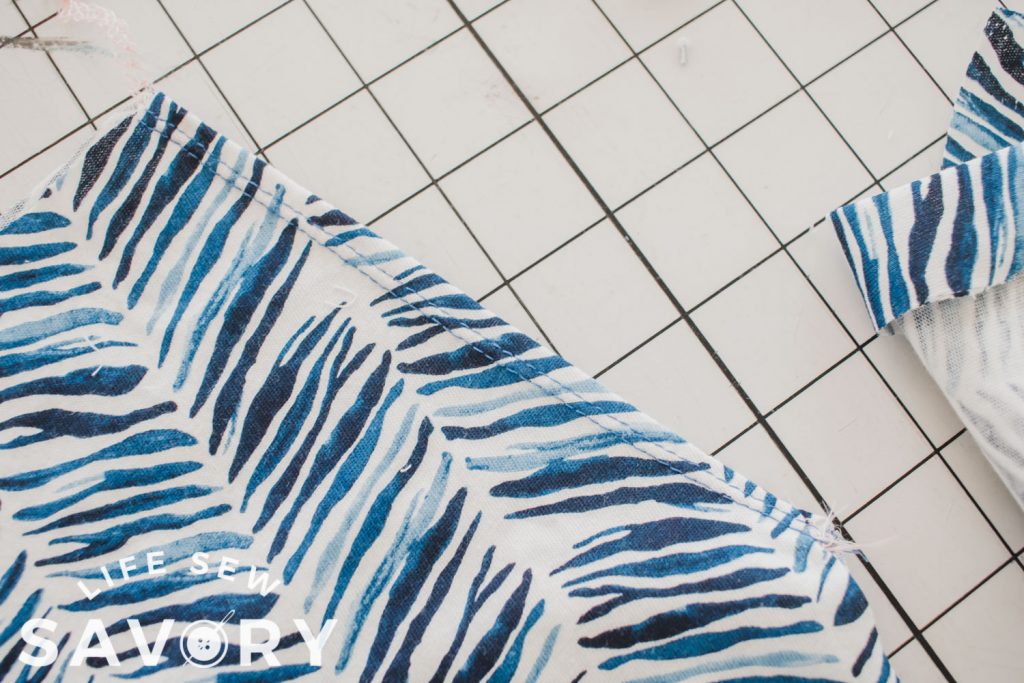
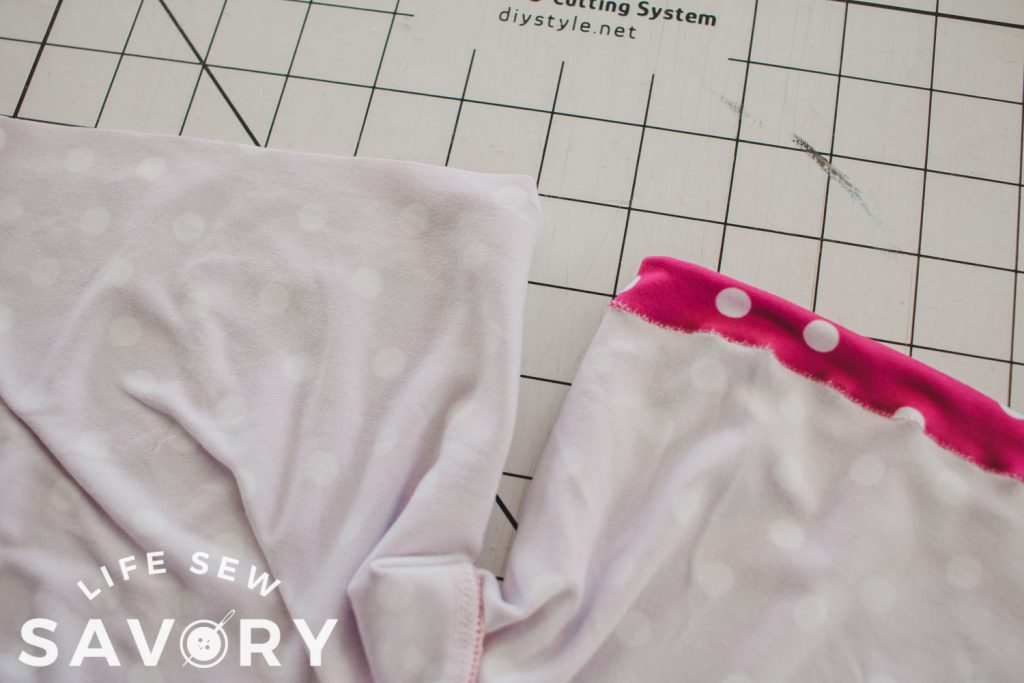
- 13. Sew the curved edges on both the front and back pants pieces.
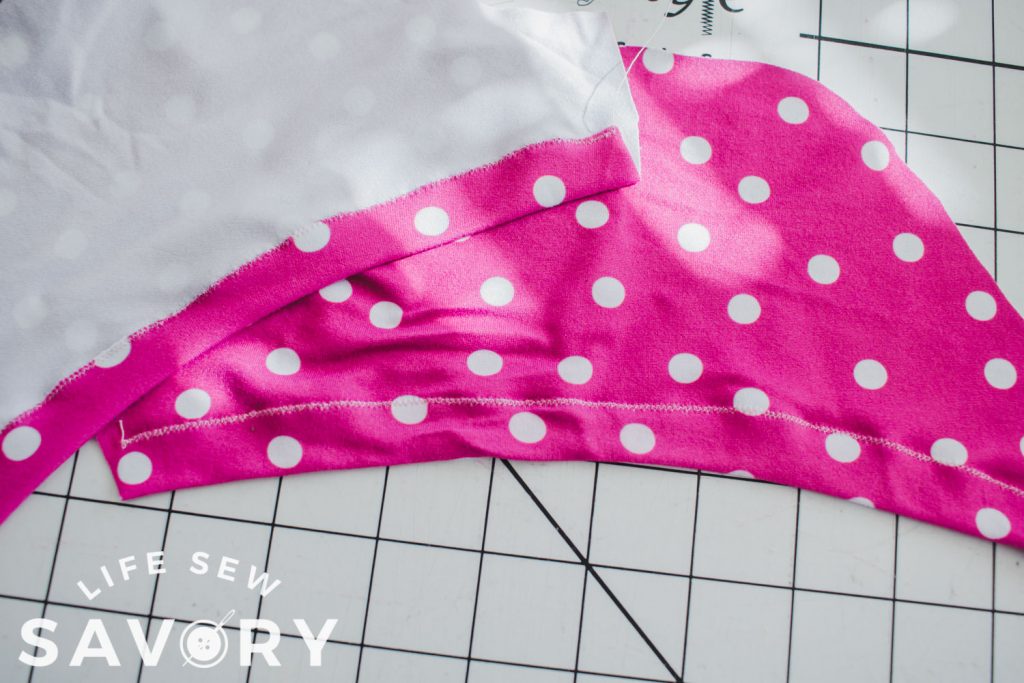
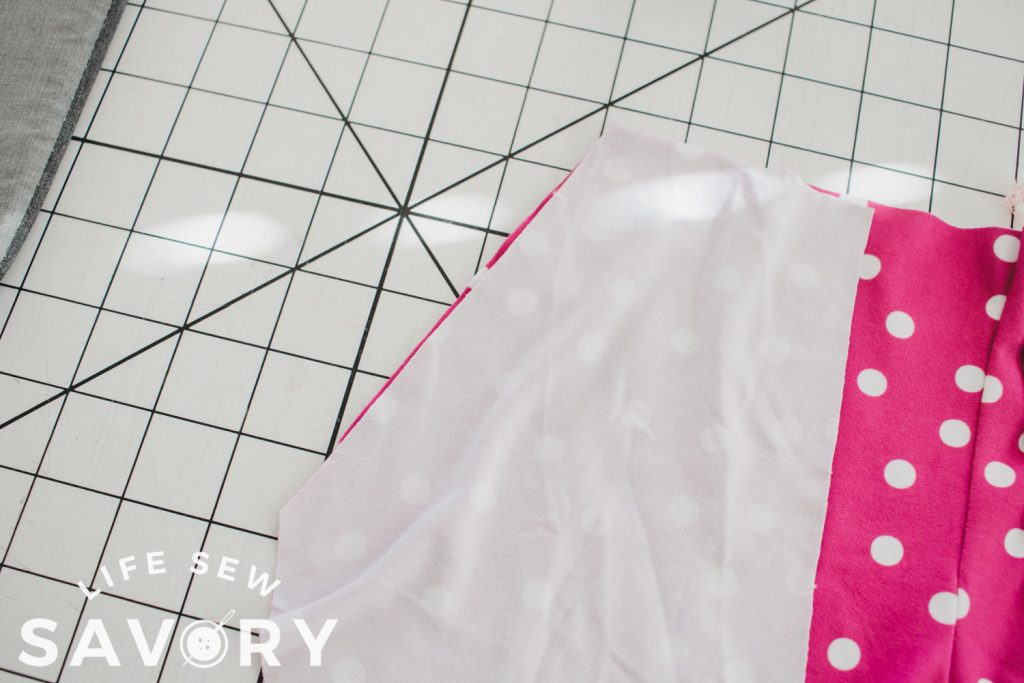
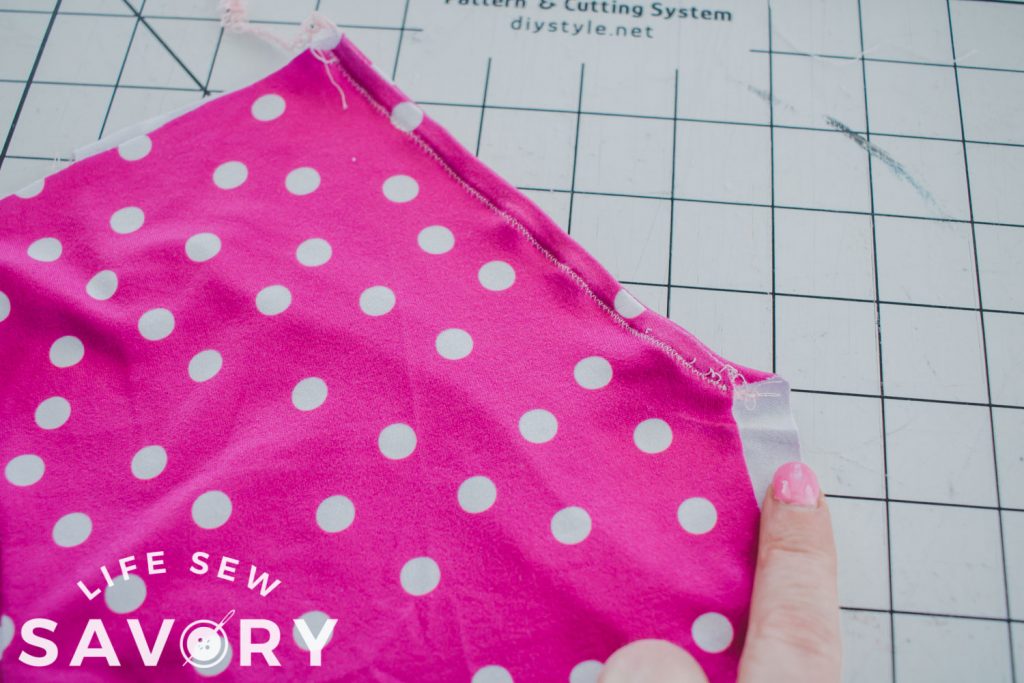
- 14. Match the angled edge on the pocket with the edge of the pants front. Sew in place. The edge may extend past the pants edge…
- 15. Fold the pocket to the back and top-stitch with stretch stitch or double needle.
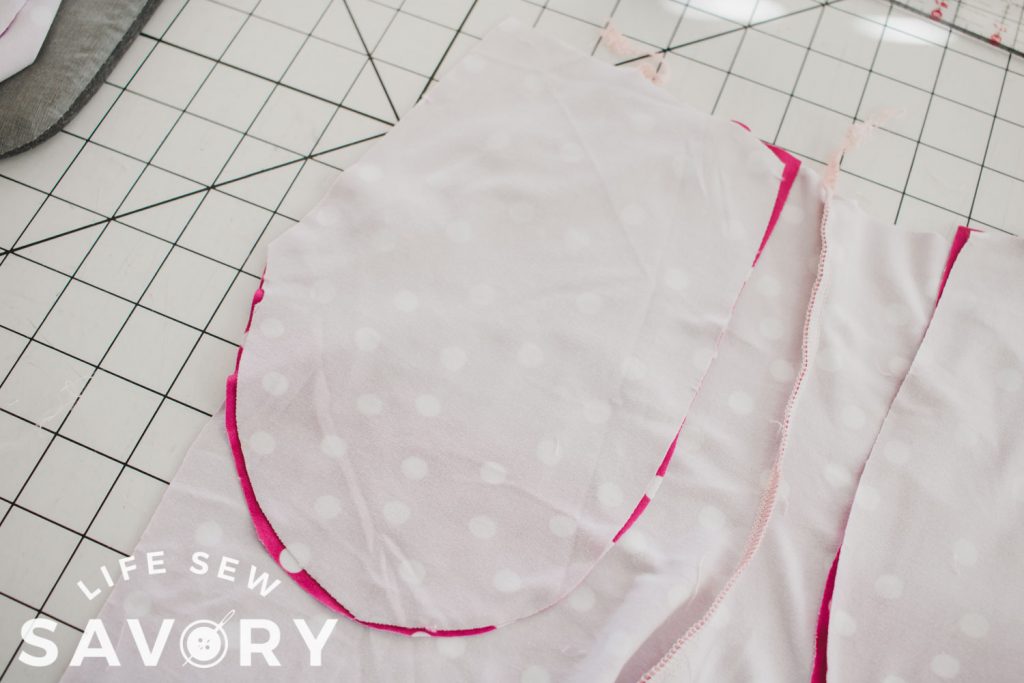
- 16. Turn to the back side and place the pocket pouch on pocket with right sides together. Sew the curved edges of the two layers.
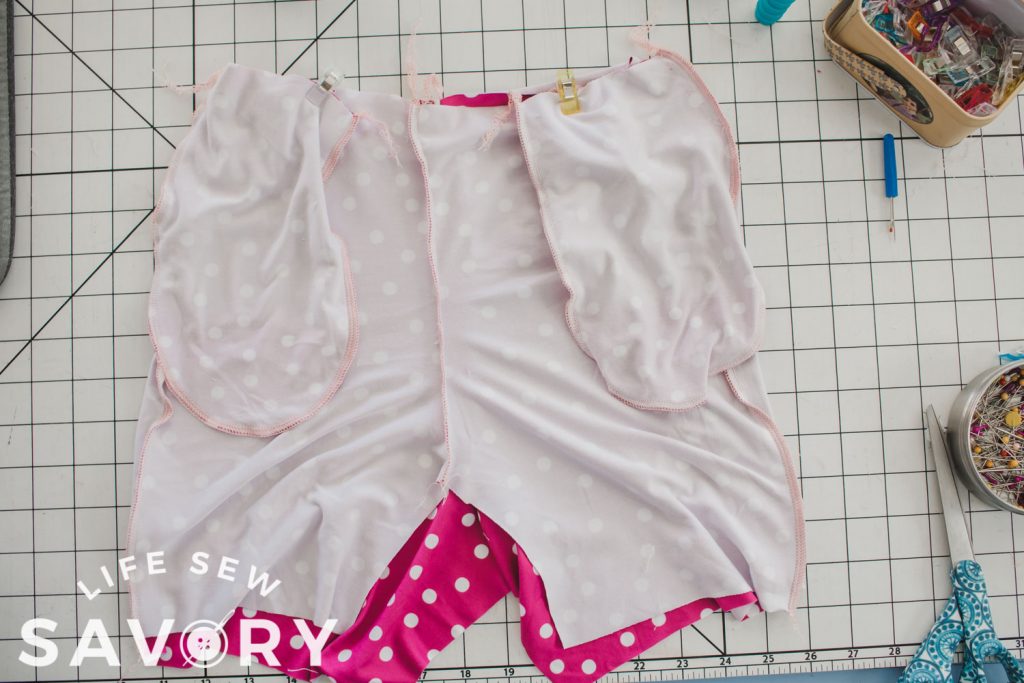
- 17. Sew the side seams to attach the front and back together. Make sure to catch the edge of the pocket in the side seam.
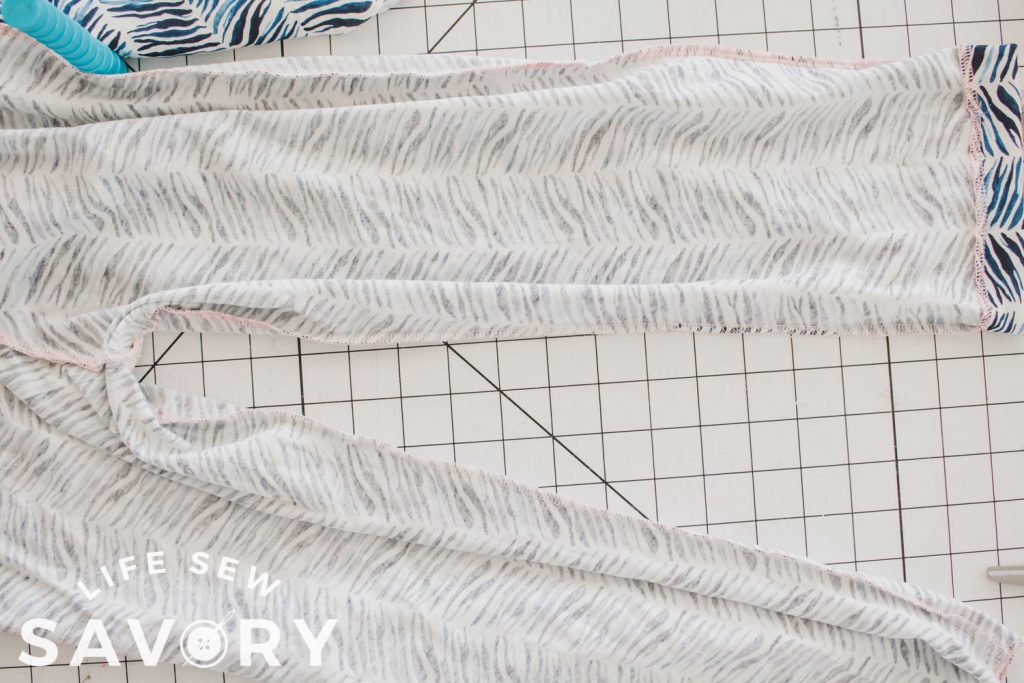
- 18. Sew the inseam {either shorts or pants}
- 19. For shorts, turn up a 3/4″ hem and finish the bottom of the shorts.
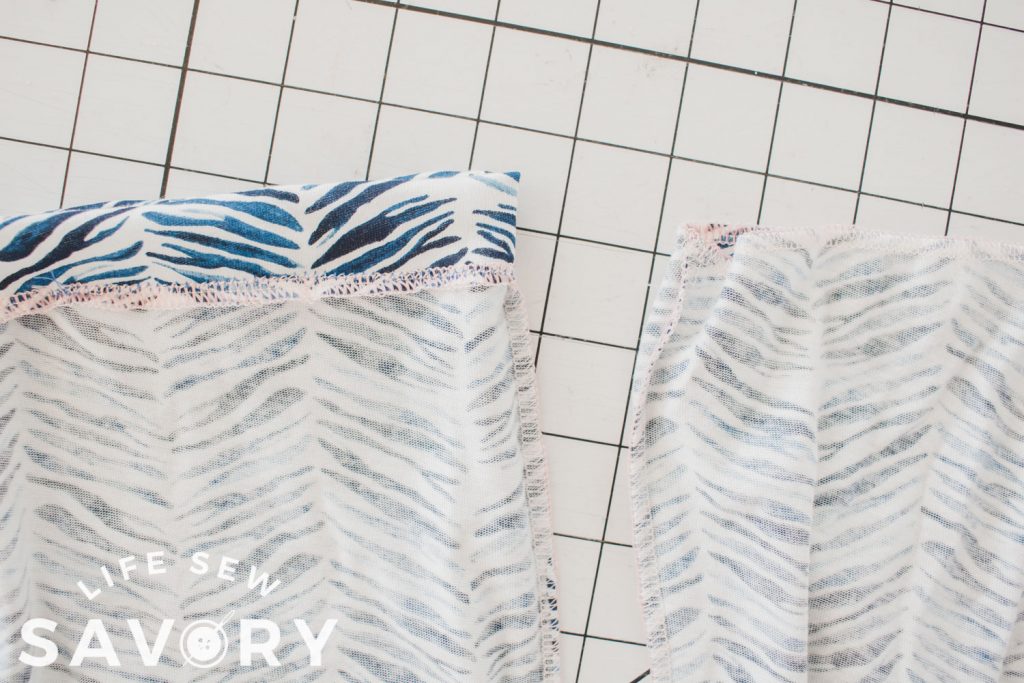
- 20. For pants, finish the raw edge of the bottom with a serger, or by pressing up 1/4″. Then turn up another 1.25″ for the elastic casing.
- 21. Sew and leave an opening to thread elastic.
- 22. Thread elastic then sew the elastic together and close the opening.
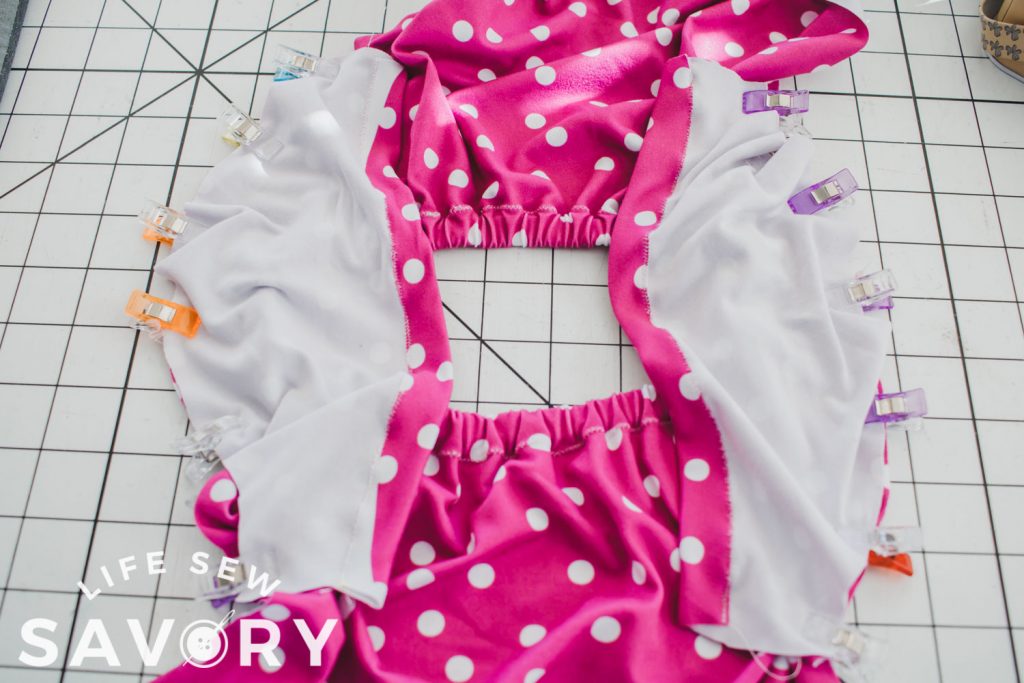
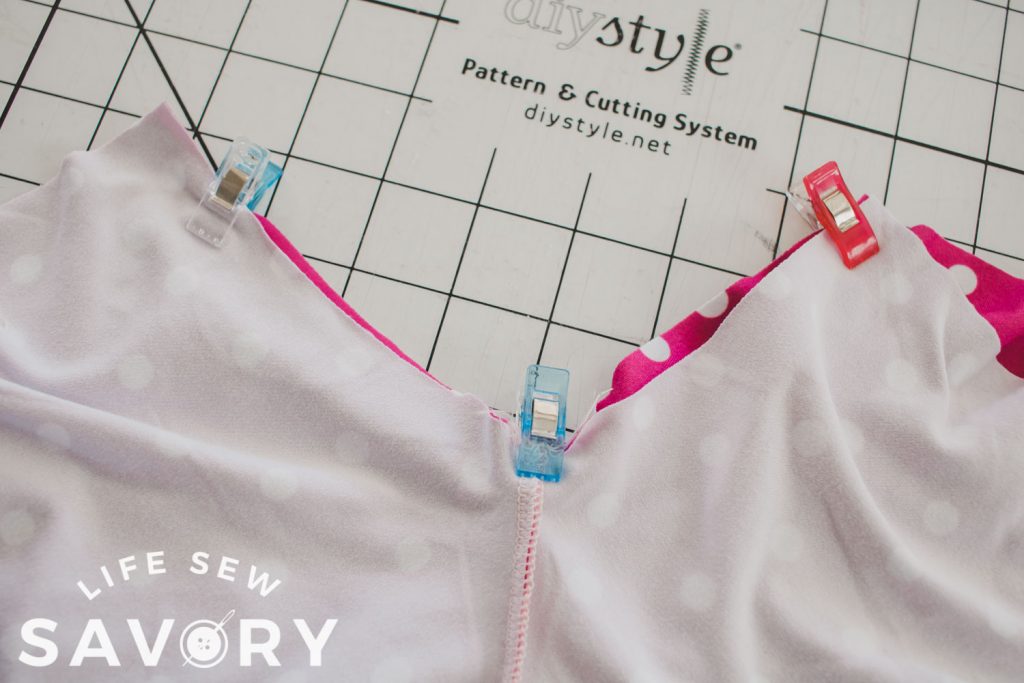
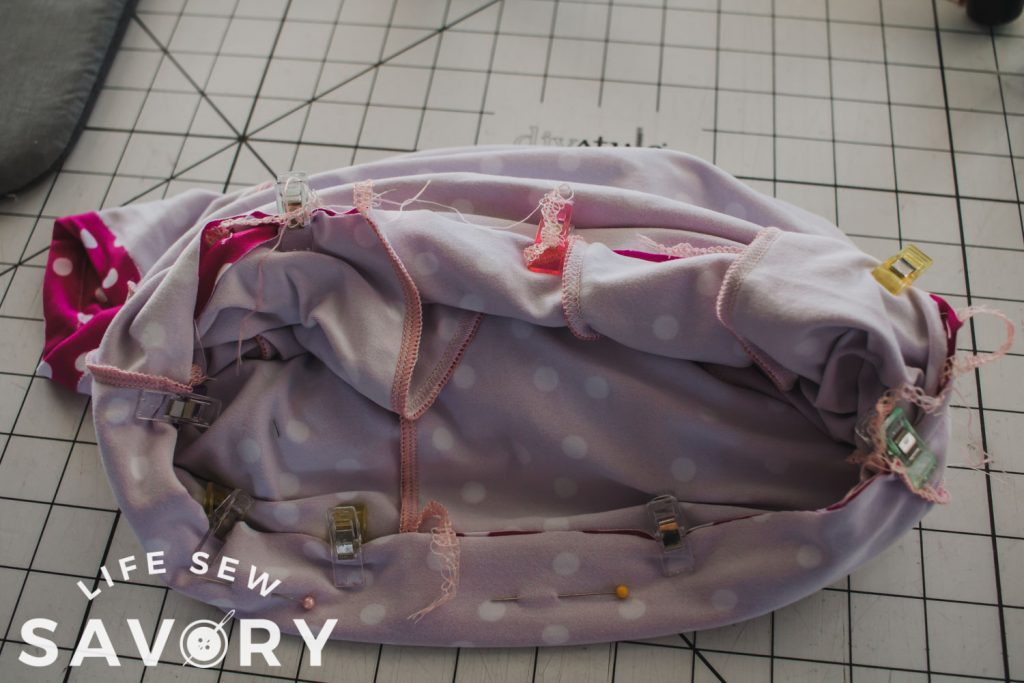
- 23. Place the top and bottom of romper together with right sides of fabric. Match the side seams, then ease the rest together.
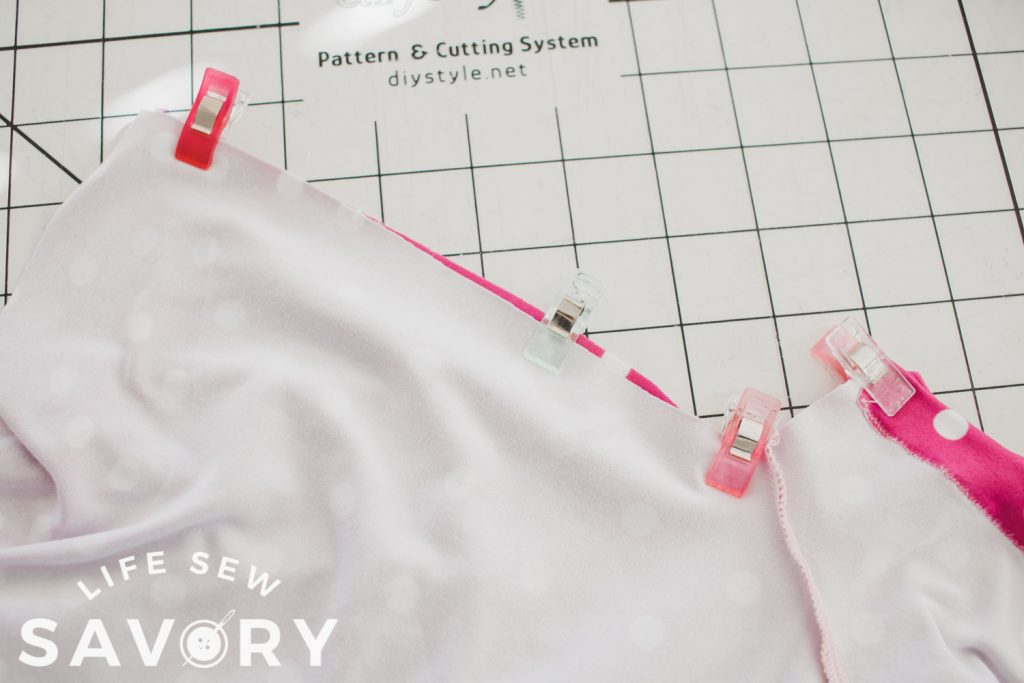
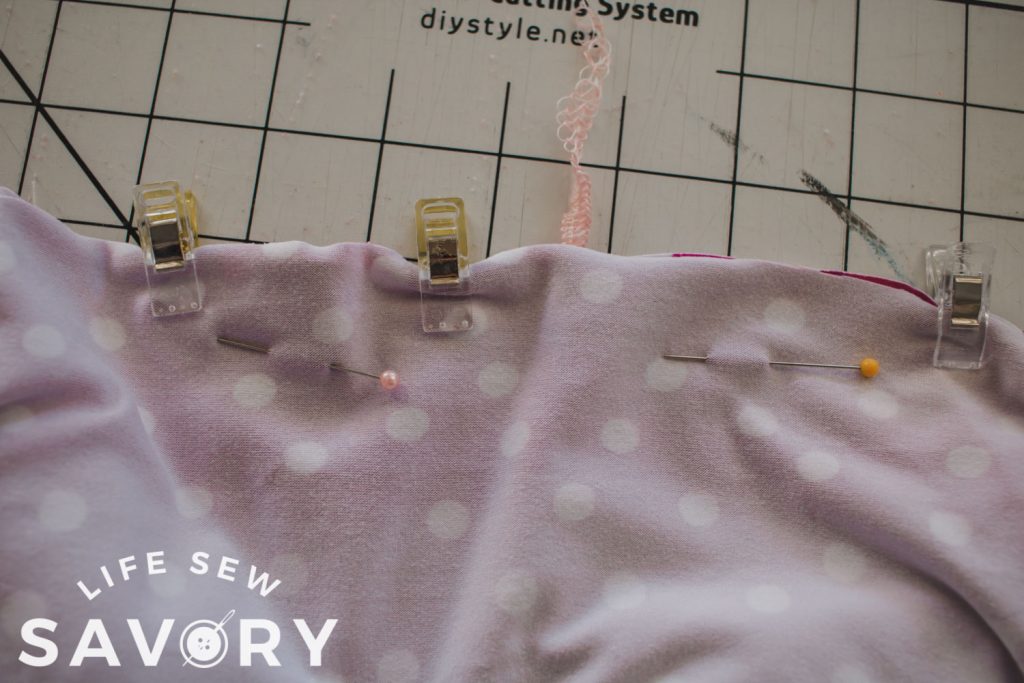
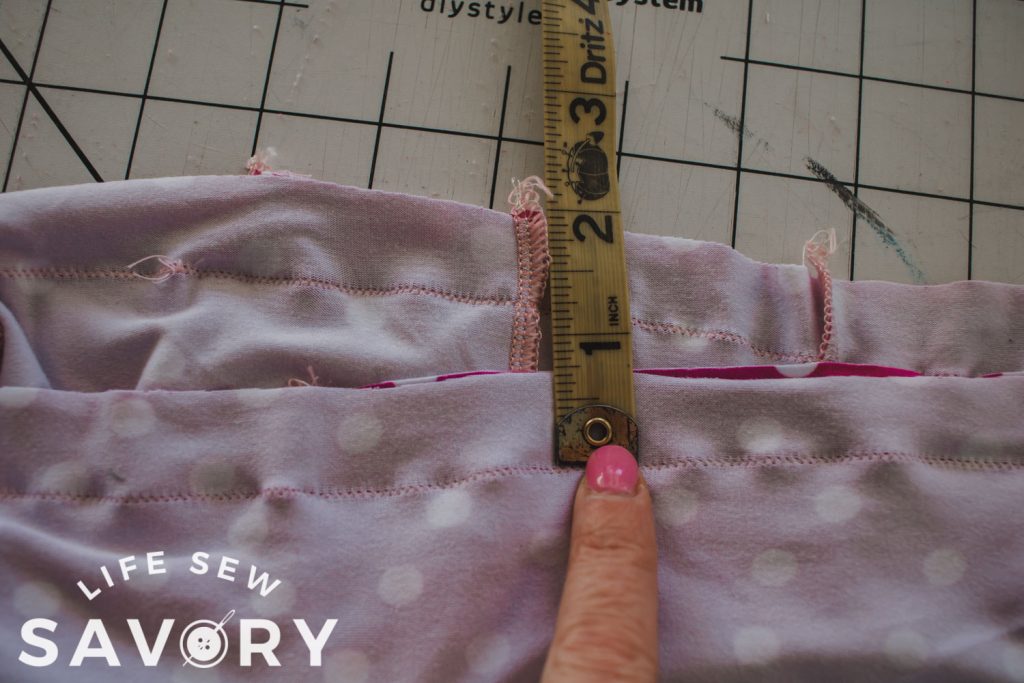
- 24. Pin or clip then mark 3/4″ down from the raw edge.
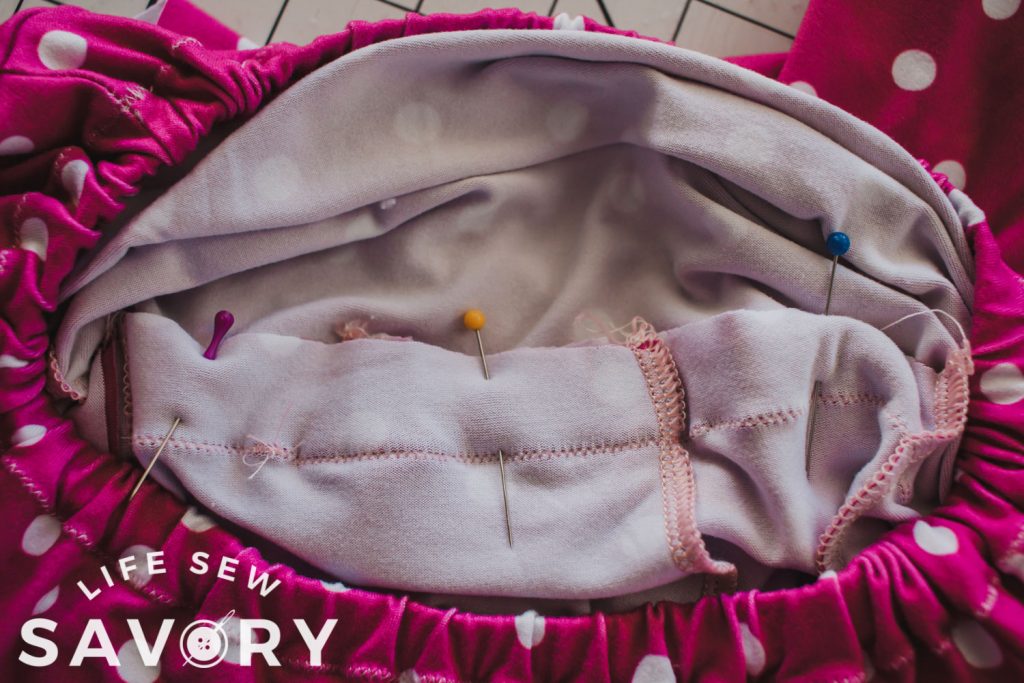
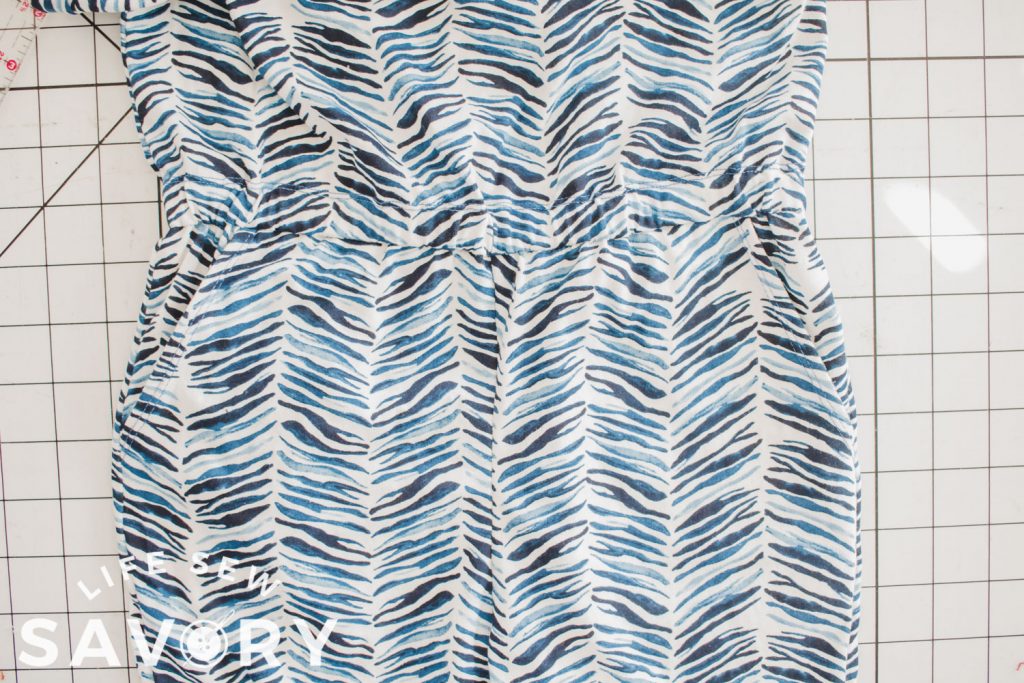
- 25. Sew on this line all the way around to join the top and bottom of romper.
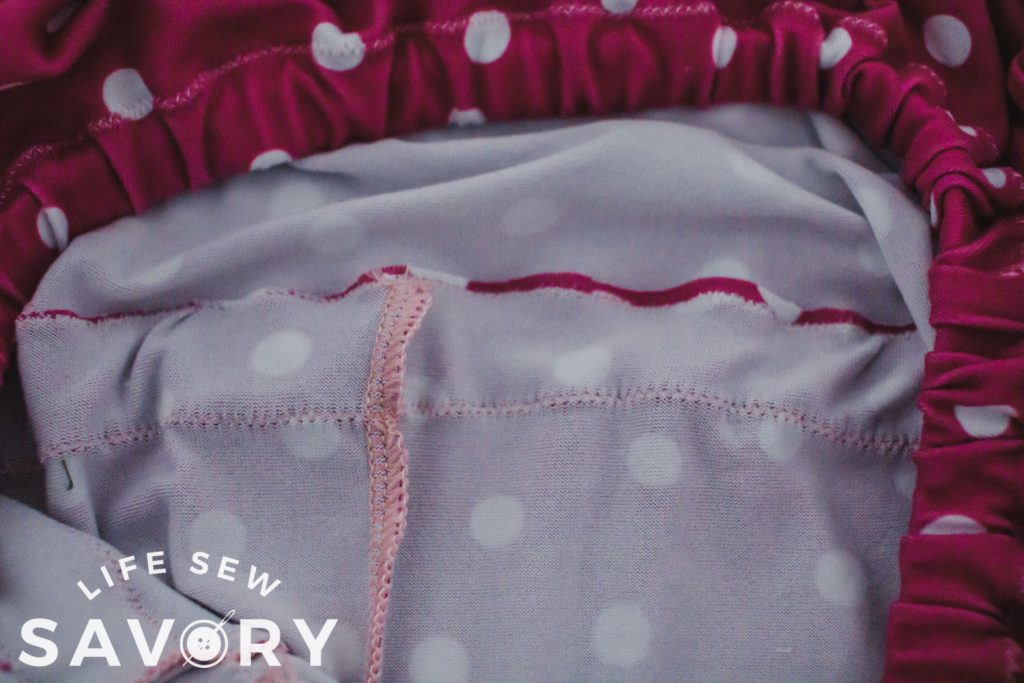
- 26. Fold this big seam allowance {3/4′} UP towards the romper top. Pin.
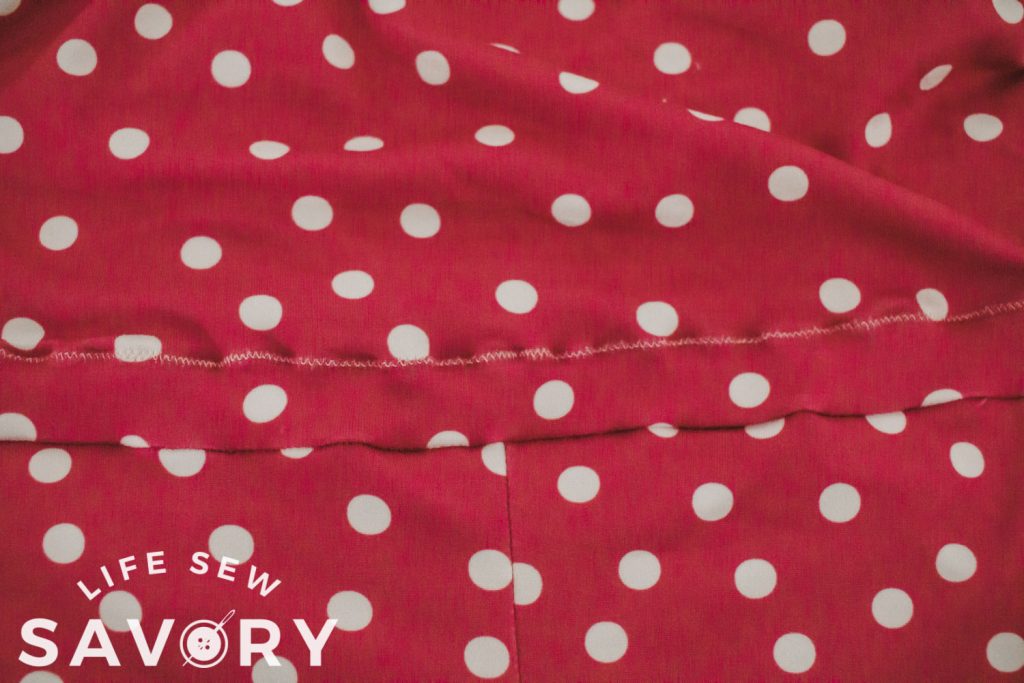
- 27. Sew along the raw edge with a zig-zag or twin needle to create elastic casing. Leave opening for elastic.
- 28. Thread elastic through the waist casing.
- 29. Sew ends together and close hole.
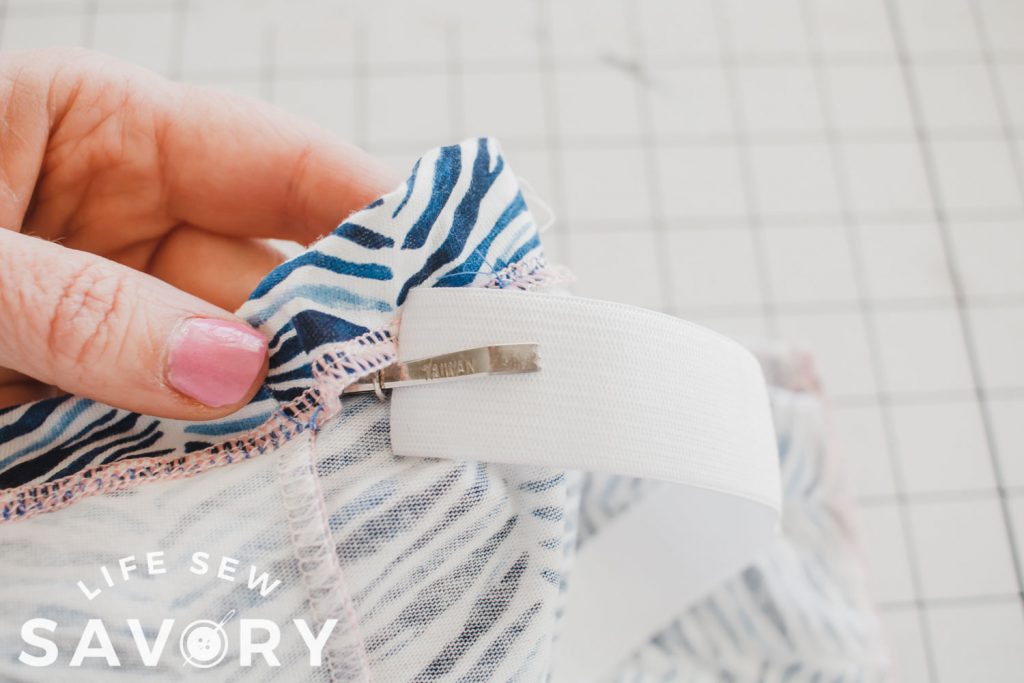
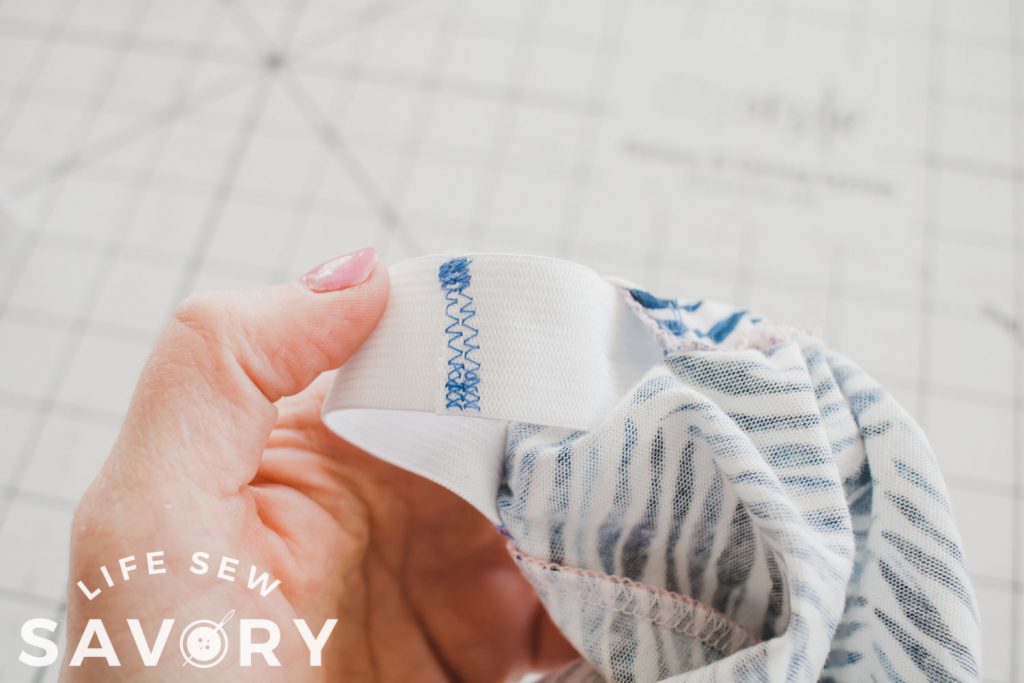
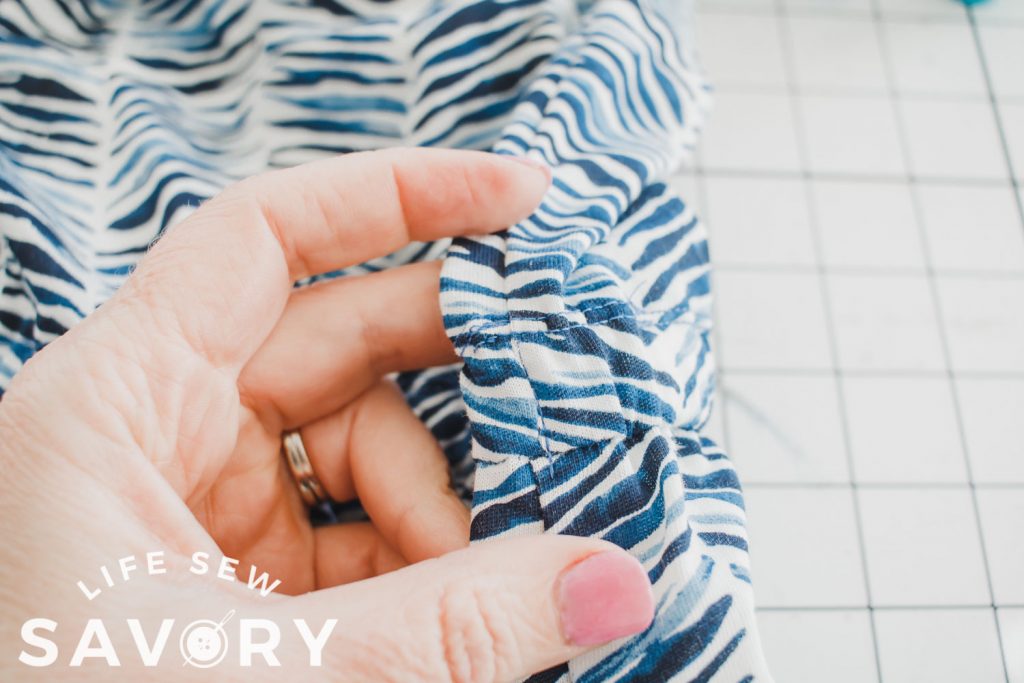
- 30. Top-stitch elastic at side seams to prevent twisting in waist.
- 31. Also sew elastic at shoulder seams to stop twisting in casing.
Free Romper Pattern And Tutorial by lifesewsavory on Jumprope.
Enjoy your new romper for a minute, then sew several more!!






Jan Newby-Hempel says
You need to make this in an adult size!!! I want one!!
Polly Shelly says
Is there a zipper in the back?
Sheila says
Which is the front and back of the pants?
Jan says
Its marked on the pattern
Eva Knecht says
Dear Emily – Yesterday i dowloaded the pattern for the kids romper. i am not used to work with patterns so i was a little sceptical at first… but : ) it was so easy and fun to make this beautiful romper. My daughter loves it. Thank you so much for sharing this.
Bev says
This was one of the fastest and easiest things I have ever made for my 8 year old granddaughter! She was so thrilled that I made another one to send her! Thank-you SO much for sharing!
KS says
I am new to this and I have no idea why the front and back pieces of the pants are so different. I printed them all at the same time using the correct printer settings and ensured i cut on the correct lines, but I can’t get them to line up at all. The back is huge compared to the front..
Maria Farquharson says
Hello! I just downloaded the pattern at it looks great! My problem is that I am not used to working with stretchy fabric. If I add a zipper to the back could I use non-stretchy fabric for this pattern? I am eager to try it but I have a very simple sewing machine so I am afraid to try sewing stretchy fabric. Thanks for any ideas
Jan says
Has anyone made this sleeveless? Can you just use the pattern as is and turn under the top arm opening? Or do you need to make the opening larger? I have limited material and thought I might have enough if I eliminate the pockets and sleeves. (I’m using it as a swimsuit coverup).
Stefanie Meier says
I made the one for 4y old..
Think it will fit my 4yo in about 2 years or so 😅