inside: a men free t-shirt free sewing pattern that you can download and sew up. Download, cut and sew this free pattern.
Well… this is new territory for me.. .with this Mens T-Shirt Free Sewing Pattern I tip-toe into the world of sewing for men {haha} I’ve sewn a ton for my boys, but nothing really for my husband…
I decided he needed to get in on the fun and t-shirts are always a great place to start. I’ve now got t-shirt free sewing patterns for the whole family! {you can find all the links at the bottom of this post} Please share your finished photos and as questions in the FB group HERE> https://www.facebook.com/groups/naptimecreationspatterns/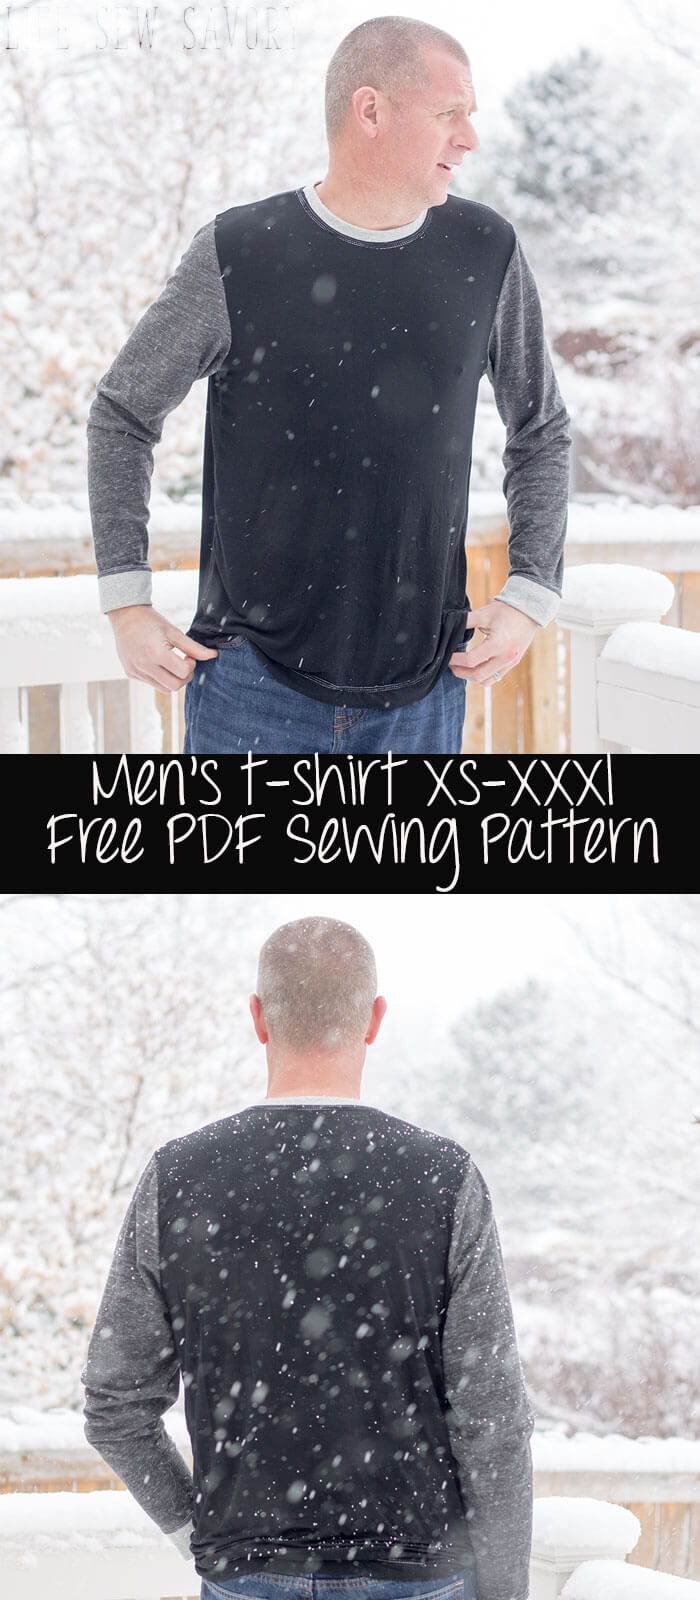
Mens T-Shirt Free Sewing Pattern and tutorial
This mens T-Shirt free sewing pattern is a classic fit long sleeve tee. Of course you can make it short sleeves as well… Make with sleeve cuffs or a sleeve hem for two great looks. Today you can download and sew this mens shirt pattern free!
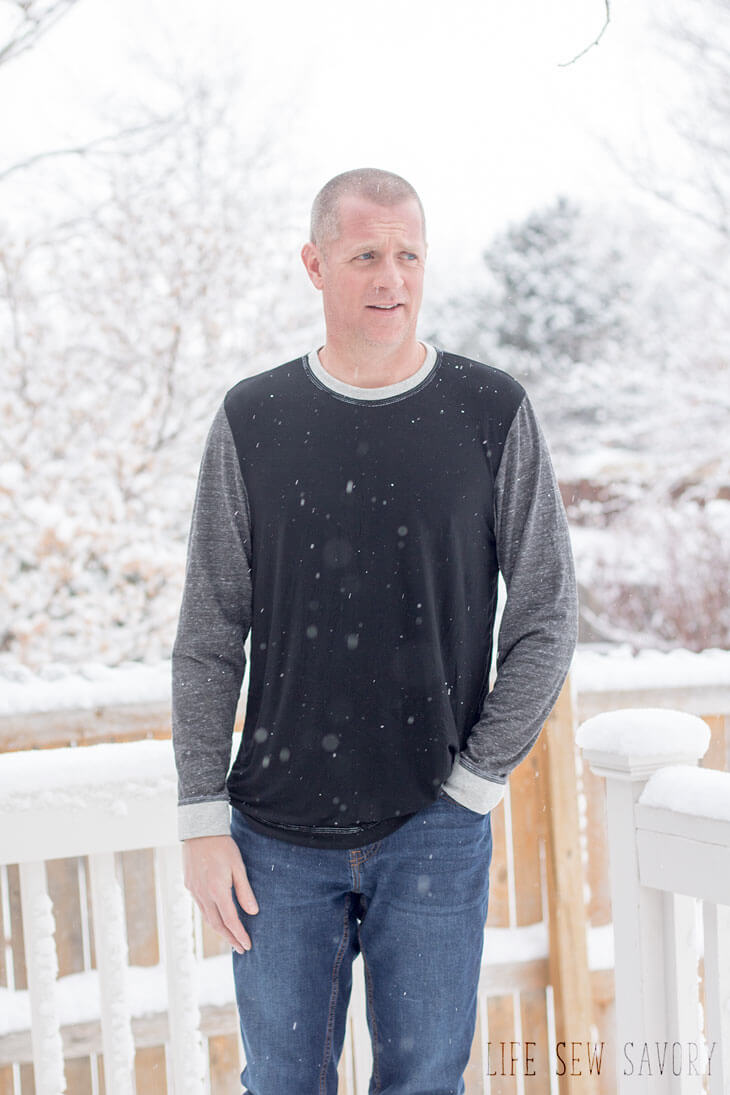
My husband was home for Presidents Day this week and I needed photos before he went back to work on Tuesday… These photos are a but snowy, but you can still see the great look and fit of this shirt. This pattern comes in a large range of sizes and hopefully can work for many of you.
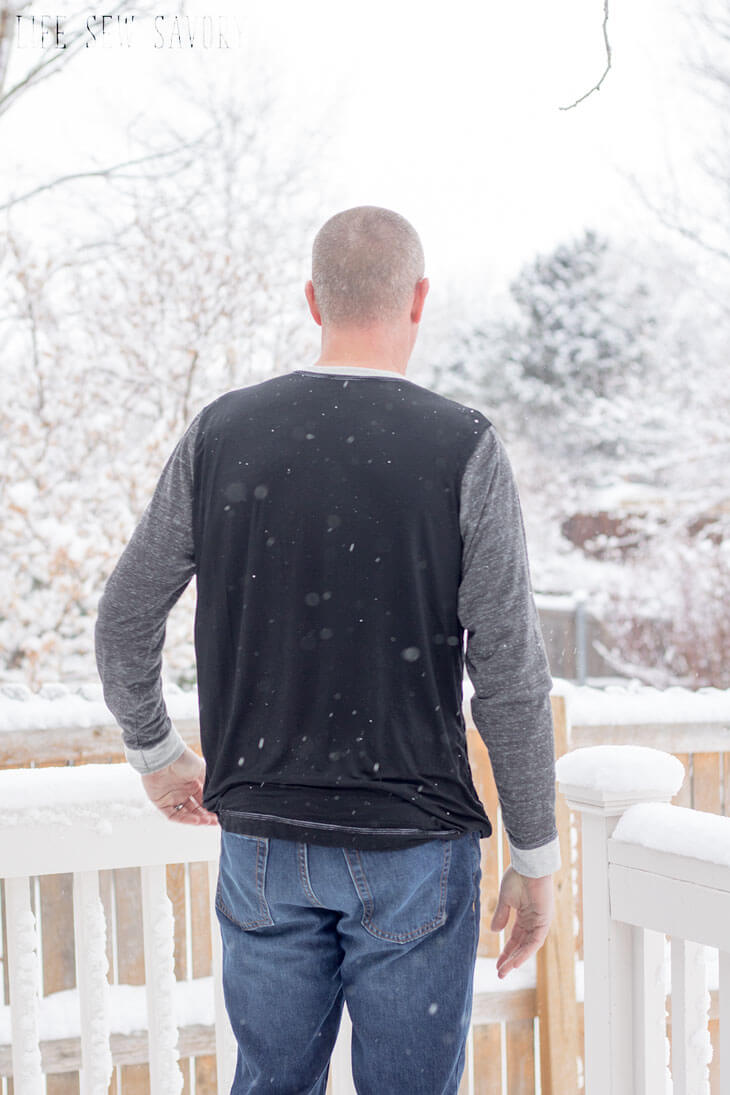
First go download the t shirt sewing pattern by clicking the photo below.
link has been updated to go to the shop here on my site since bluprint/craftsy closed down.
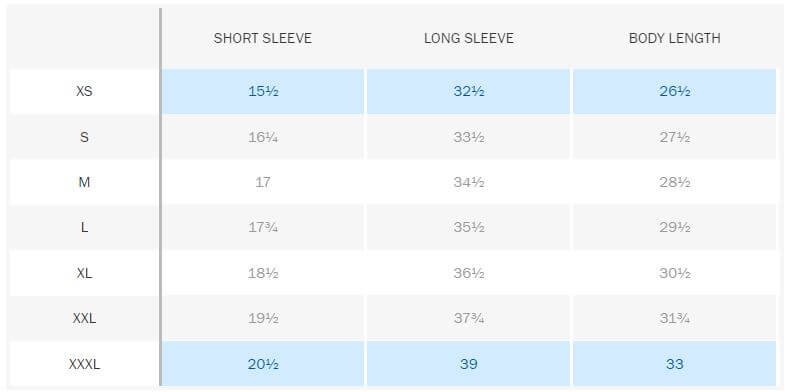
You will need 1.5 – 2 Yards knit fabric. Light/medium weight works best for t-shirts… Find some of my favorites t-shirt fabrics Here on Fabric.com. The size chart is on the pattern pieces, but you can also check your size here. This shirt pattern is based off an Old Navy shirt my husband had, so you can go by RTW sizing as well.

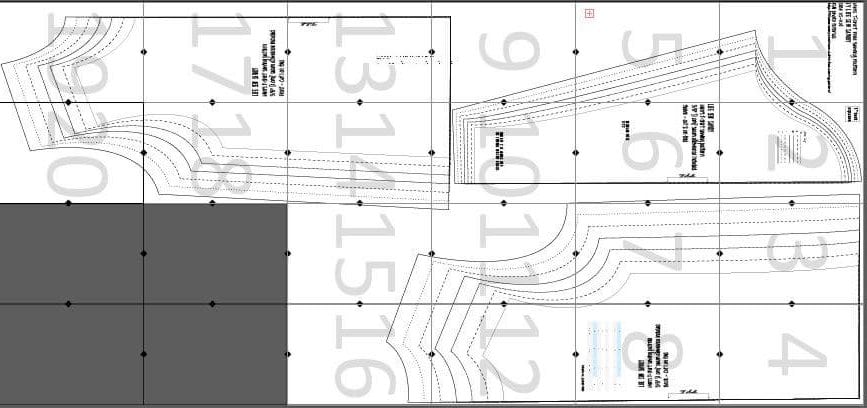
Print and tape the pattern pieces together. It should look like this when all together. a 3/8″ {1 cm} seam allowance is included on all pattern pieces.
Free Shirt Sewing Tutorial –
Choose the size you want to make and trace or cut out the paper pieces. Cut out of fabric. Direction of greatest stretch should go from side-to-side of you pattern pieces. I’ve give you a guide for cutting the neckline, but you may need to adjust depending on the stretch of your fabric.
If you use t-shirt fabric you make need it a bit longer and ribbed knit may need a bit shorter. You will have 2 sleeves, 1 front, 1 back, 1 neck binding and {optional} 2 cuffs. Find help for hemming in this knit hem tutorial post. 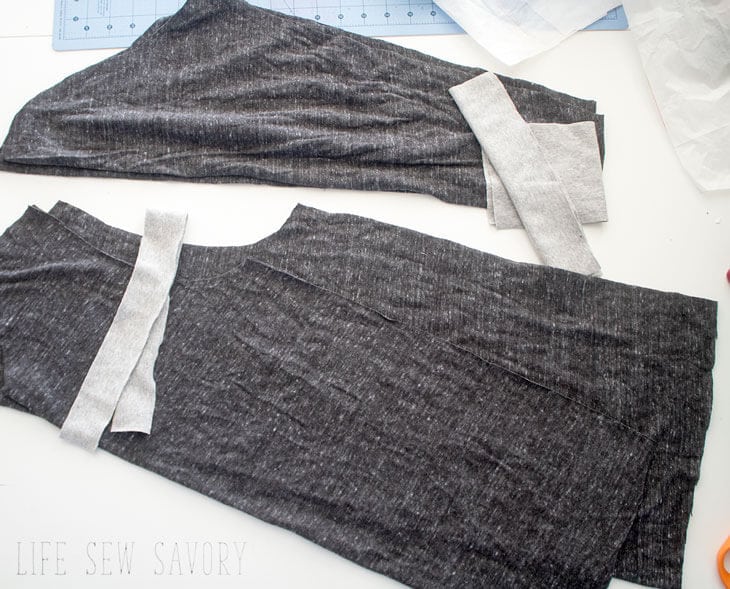
If making sleeve cuffs trim 2″ off the sleeve pattern when cutting. Use same or different fabric to create the cuff.
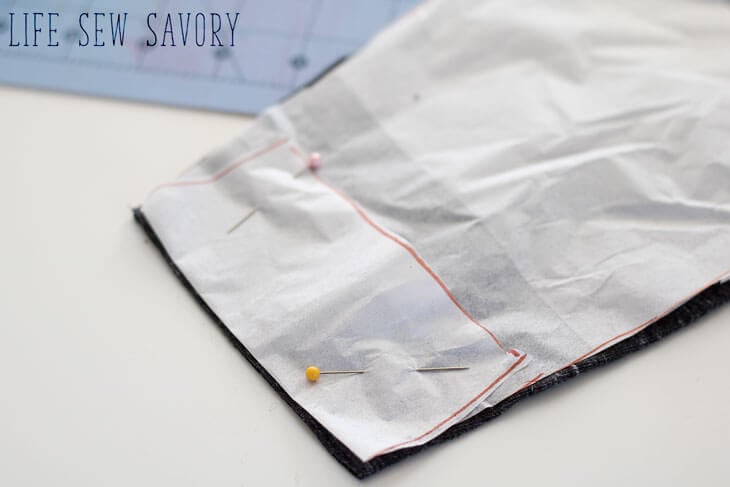
Cut the cuff the width of the sleeve x 5″ tall. You will fold in half to have a 2.5″ tall cuff. 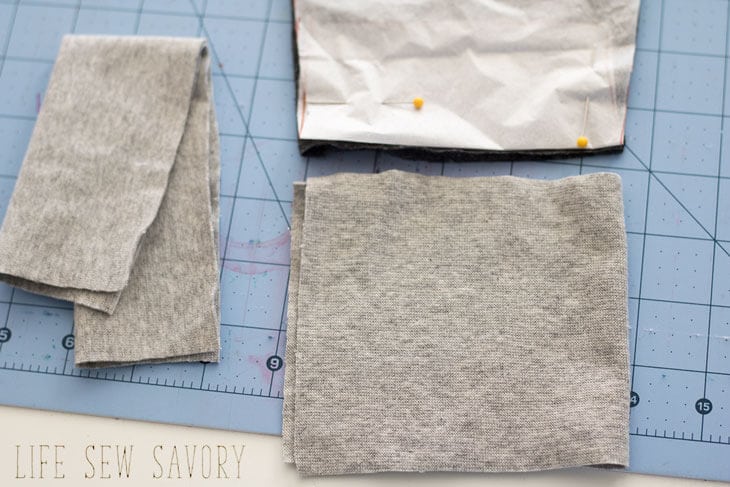
If not adding the cuff, hem the ends of the sleeves now. Turn a 3/4″ hem under to wrong side of fabric and stitch with a zig-zag, knit or twin needle stitch. If adding the cuffs, sew the raw edges of cuff to end of sleeve with right sides together. Open up and top-stitch if desired. 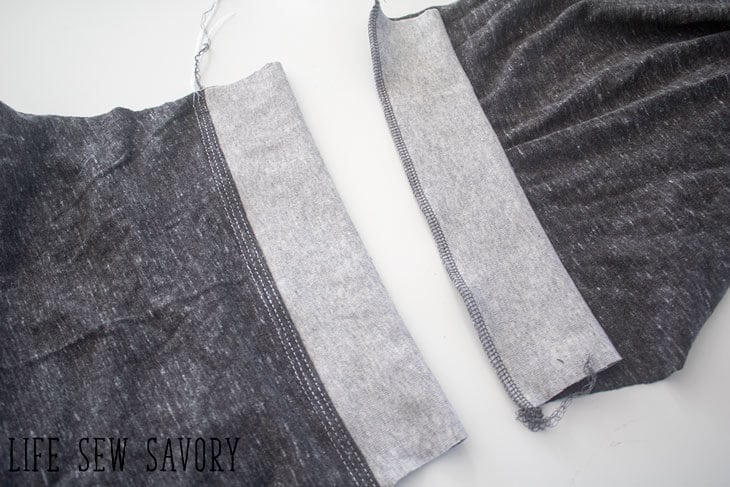
Sew one shoulder seam.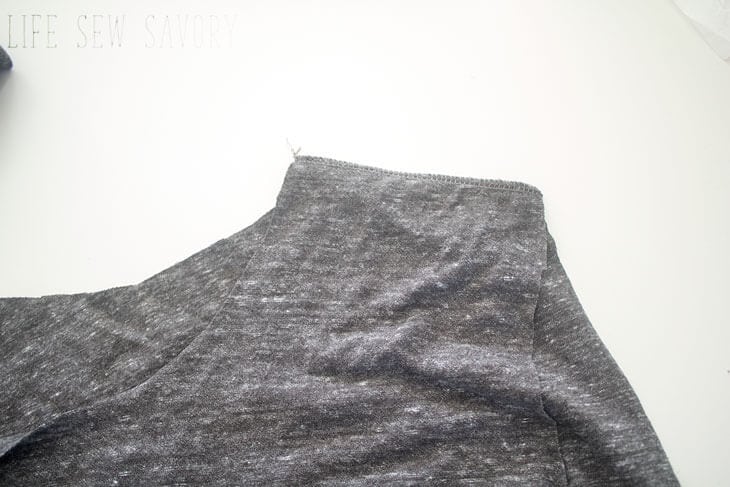
Fold the neck binding so the long raw edges are together, and line up those raw edges with the edge of the neck. Stretch and pin equally along the neckline.
Need more help with the neck band? Here is my post all about shirt neckbands…
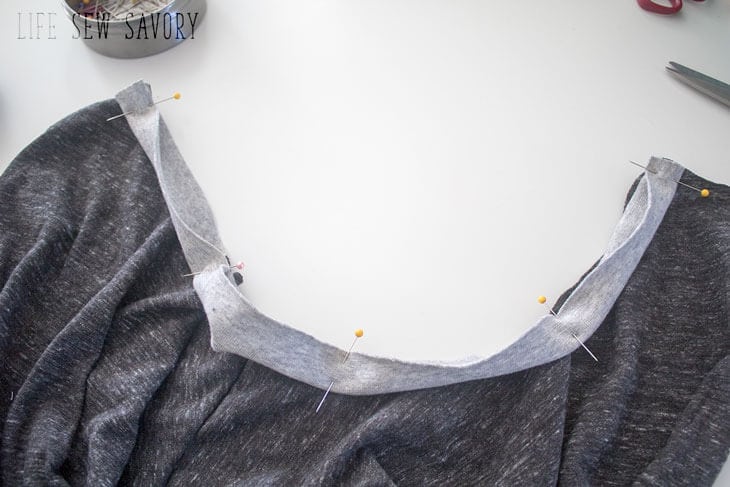
Sew with a stretchy stitch or serger.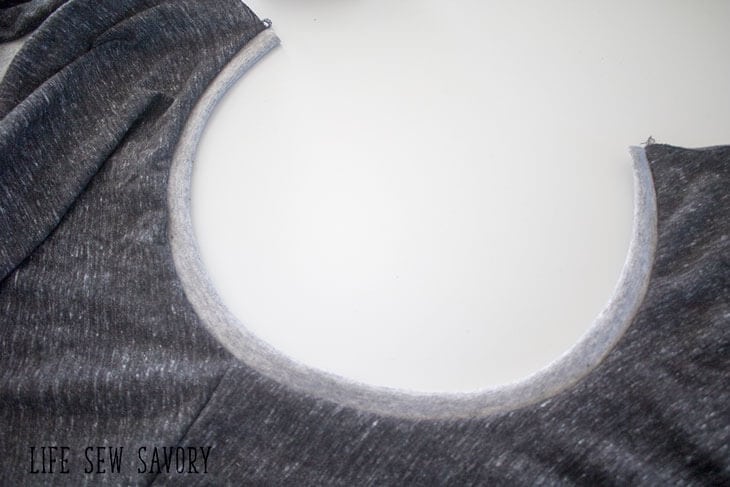
Sew the other shoulder seam.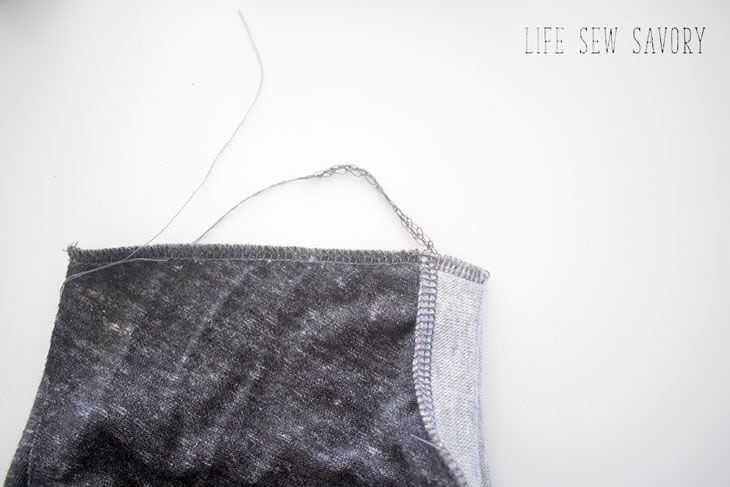
Top-stitch the neckline to finish. {see the faint made in Vietnam label on the back of the shirt? It’s there because I lOVE reusing old shirts to make new ones… this was a much larger shirt that I used for fabric to make this for my husband}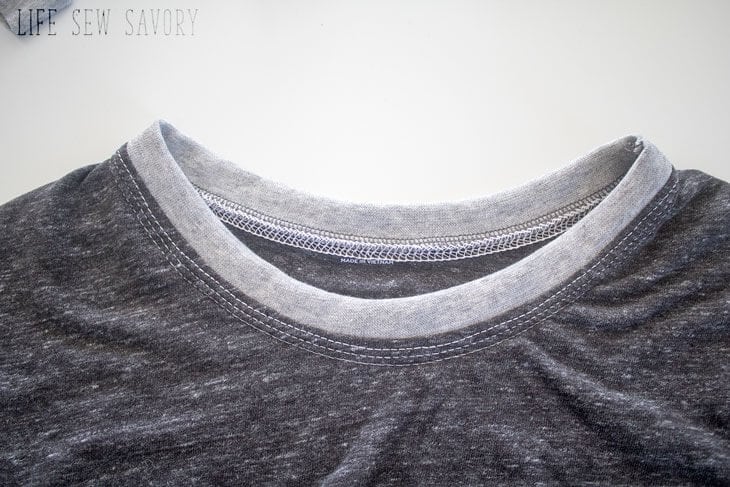
Open up the shoulders and pin the sleeve into the opening, right sides together. I line up both ends, then pin towards the center. There is no back and front with these sleeves, so left and right don’t matter.
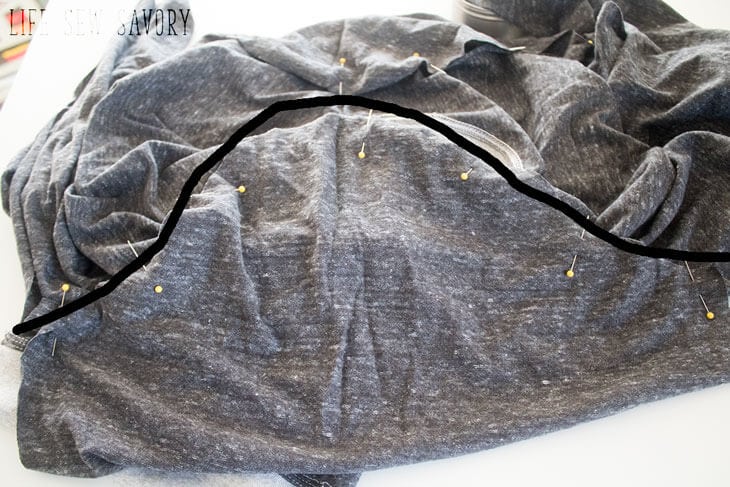
Sew the sleeve on the shoulder. 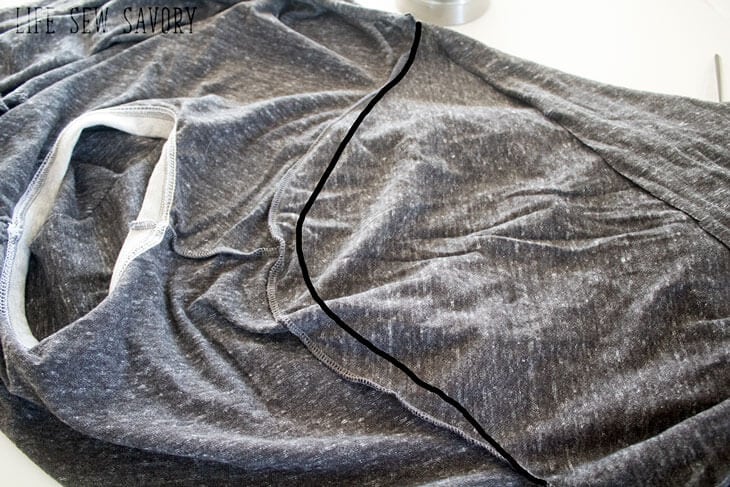
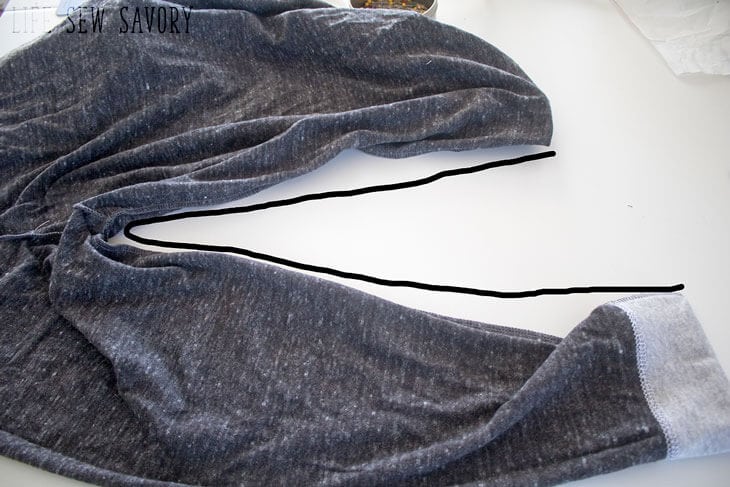
Starting at the wrist, sew the side seams down to the shirt bottom. Sew with right sides together. Fold under a 1″ bottom hem and finish the shirt with this seam. Hem using a twin needle or coverstitch for best results.
And a few more final photos of this fabulous Mens T-Shirt Free Sewing Pattern…
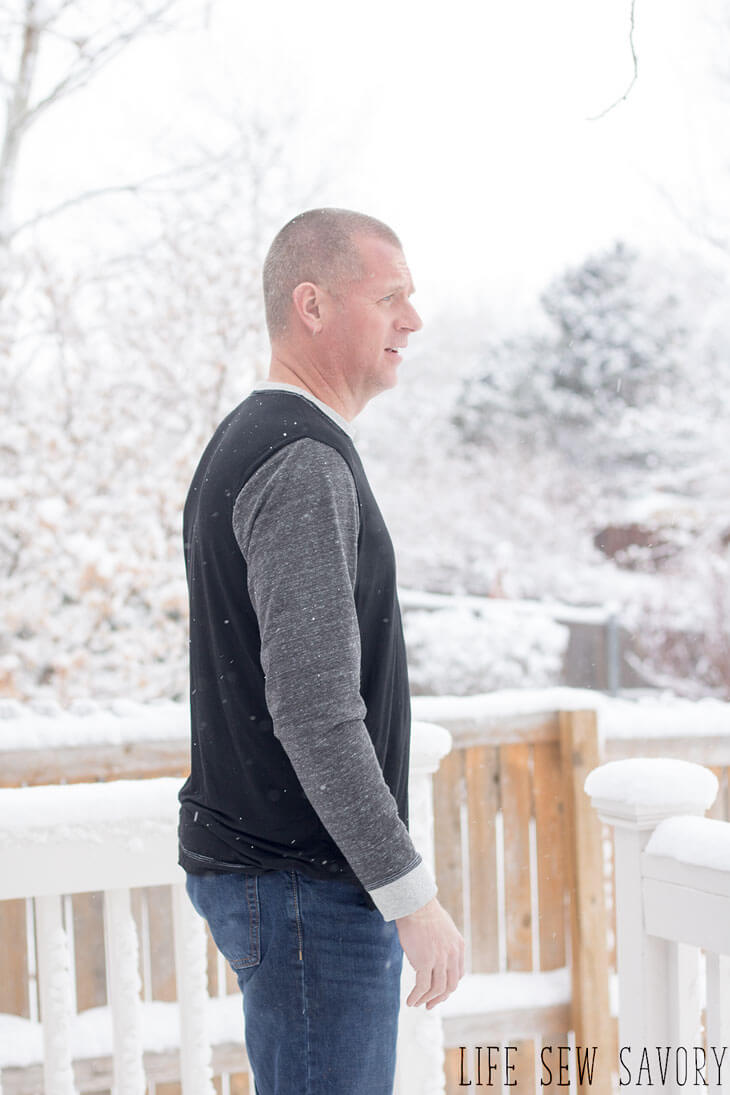
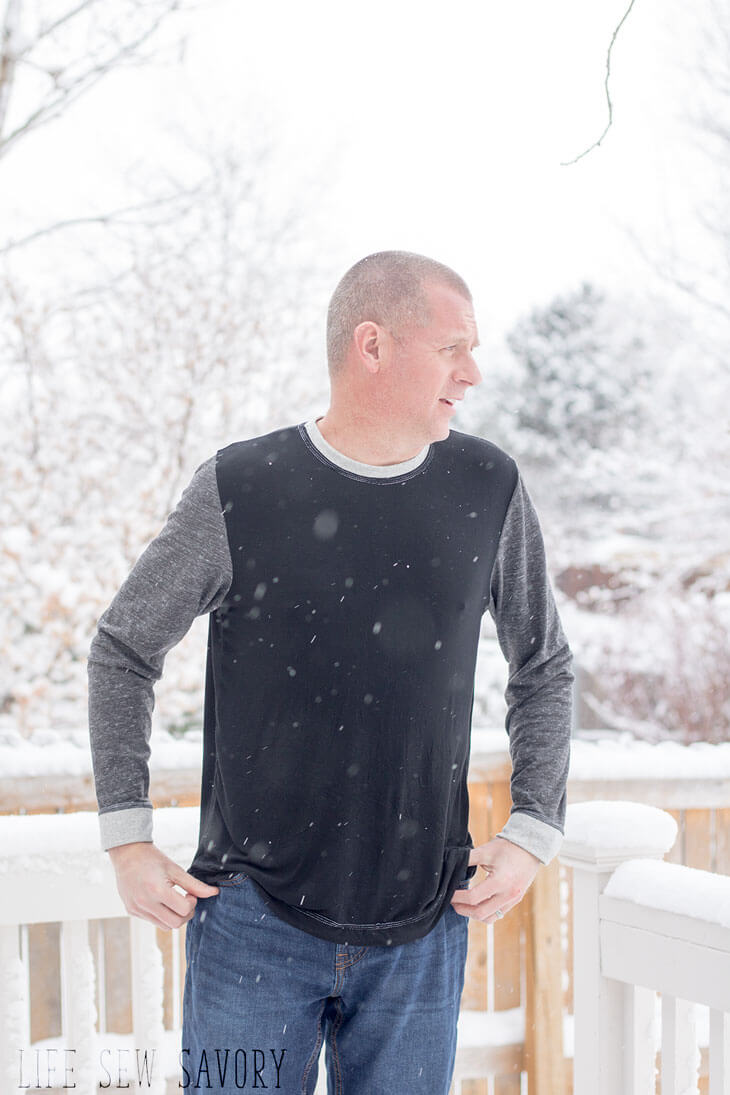
one last link to go download the pattern: 
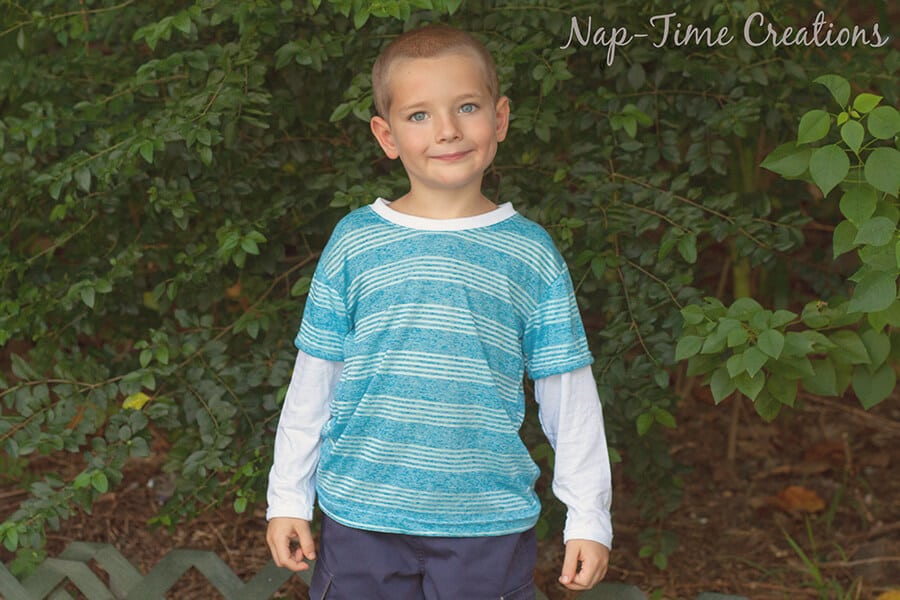
And a few other free sewing patterns you may enjoy.








Stephennie Barnert says
All the shirts look great! Thanks for the pattern.(from Germany) 🙂
Doro says
That poor man, out freezing his buns off in the snow so that we can see his T-shirt. Thank you sir. Seeing where the neckline lay was important to me. Hope you don’t catch cold.
Sherry says
Love these shirts! THanks for sharing at Home Sweet Home!
Jen says
Hello, I don’t have/can’t find the link for the neckline. Does anyone know where I can find it??
sinbadtee.com says
I am regular visitor, how are you everybody? This paragraph posted at this website
is really good.
Cal says
Hello, thank you for this T-shirt pattern. I not understanding how to use the chart for selecting the size. Are the numbers in cm?
Emily says
if not marked the numbers are in inches
CAL says
THank you for your prompt reply. When measuring the body length, WHere should I be mean during? From the shoulders to the hips or waistline?
mina says
THank you for your prompt reply. When measuring the body length, WHere should I be mean during? From the shoulders to the hips or waistline?
Rae says
I just downloaded this pattern. What are the measurements for the neck binding?
Rae says
Aaaahhh, yes now I see it. In tiny 6pt type on pattern piece 13. It would have be helpful to mention this in the pattern instructions.
Carson says
How much fabric of each colour would we need if we are using 2 different colours? (How much for the sleeves, etc.)
juliann says
Hi, i have a quick question. I’m making the XXL shirt for my son. I measured him before I began. I had him try on the shirt just before I finished it. It hungs him to much. I don’t know if I missed it in the description. Is this a fitted shirt pattern? I also used 4 way stretch. I have been sewing for 40 years but am so new with sewing with knits. Does 4 way stretch hug more? Thank you for your time & I am really enjoying your patterns.
Emily says
Different fabrics will hang differently for sure. I usually use thinner fabric for t-shirts, with more side to side stretch and just a bit of up and down…
Leah says
How does this compare to a Jerzees t-shirt?
Is this more of a fitted style?
Marc a Hache says
Hi, this will be first attempt at a t shirt, looking forward to it. I’d like to make it a short sleeve. I’m a little unsure where to make the cut? For a medium you have a sleeve length of 17″, I’m assuming that’s the finished length? How do I figure out where to make the cut ?
Thanks
Love your site.
Marc
Cindy Zink says
I downloaded this pattern and for some reason the layers are only showing child sizes; 18-24 months. Can we not print out only the needed size , allowing us to save on ink? I have had this happen with another pattern from here. Thought I would bring it up. I have no issue with other patterns doing this.
Also, the box indicating which line for which size shows xxl and another xxl. Typo? Im assuming the 2nd xxl should be a xxxl?
I am still going to make this though.
Emily says
Hi! The layers may be names strange, but as long as you are viewing all you should be fine. The XXl may be marked wrong, I’ll have a look.. And my patterns do not have size layers.. only one.. sorry.
Biege says
Thanks for a great pattern. I made it up this week just passed. Posted photos and review here.
https://sewing.patternreview.com/review/pattern/170653
Tanja says
Hello Emily,
Thank you for the pattern!
I’m a beginner and I think I can do this but I have 1 question before I begin.
I have printed the sewing pattern en there is a “test square” how many cm/inch has the square be?
Then I know that I have printed it on the right scale.
Thank you!
Greetings Tanja (from the Netherlands)
Wendy Sharp says
The test square should be 1 inch on all four sides
isha malik says
Hi,
I need a Guest Post to your site https://lifesewsavory.com
Let me know the price/post to your site.
I’ll send the General content.I want only do-follow permanent links.
Thank you
jane says
I taped all the pattern pieces together and the back is way bigger & longer. did i do something wrong? I cut the back pattern to fit the front pattern