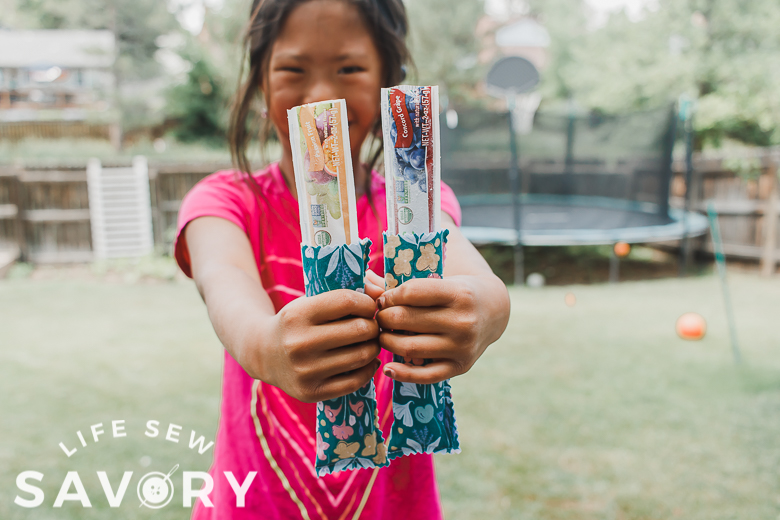
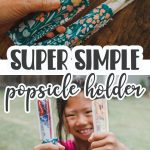
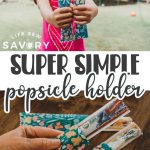
inside: use this popsicle holder sewing tutorial to keep your hands from freezing this summer. Eating popsicle is a summer staple and this freezie pop holder keeps your fingers warm.
Updated 6/2024
I sewed these popsicle holders last summer, but am just getting around to posting the tutorial. This is a super simple sewing tutorial and would make a great beginner sewing project. Rose has been asking more and more to sew, and I may get her to make more of these to give away. These freezie holders keep little hands warm while enjoying cold treats. Look! We are using the same holders four years later!!
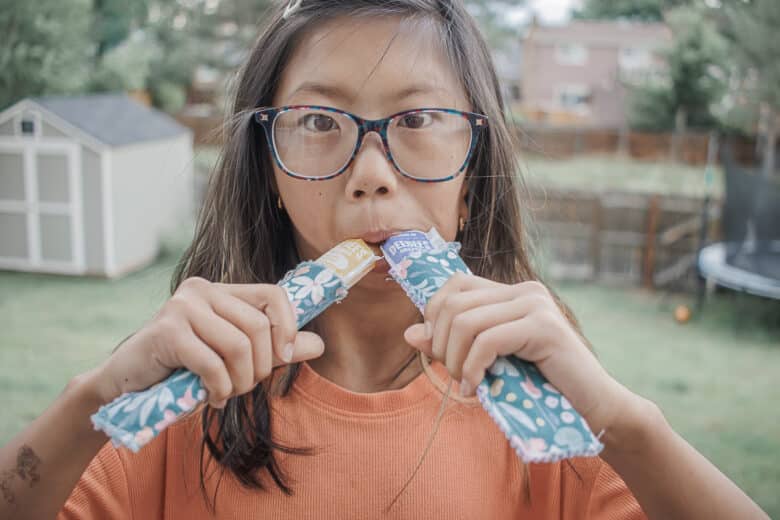
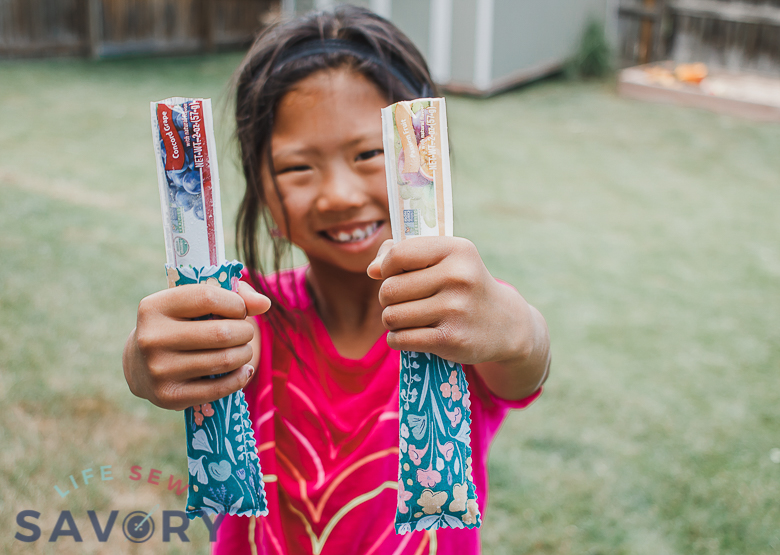
Popsicle holder sewing tutorial
We were pretty excited to find these all fruit juice pops at Costco last summer and again this summer. I grew up with a mom who always had fruit juice popsicles in the freezer during the summer. When we lived in Hong Kong we had the tiniest freezer, so I was excited when we moved back to have more freezer space.
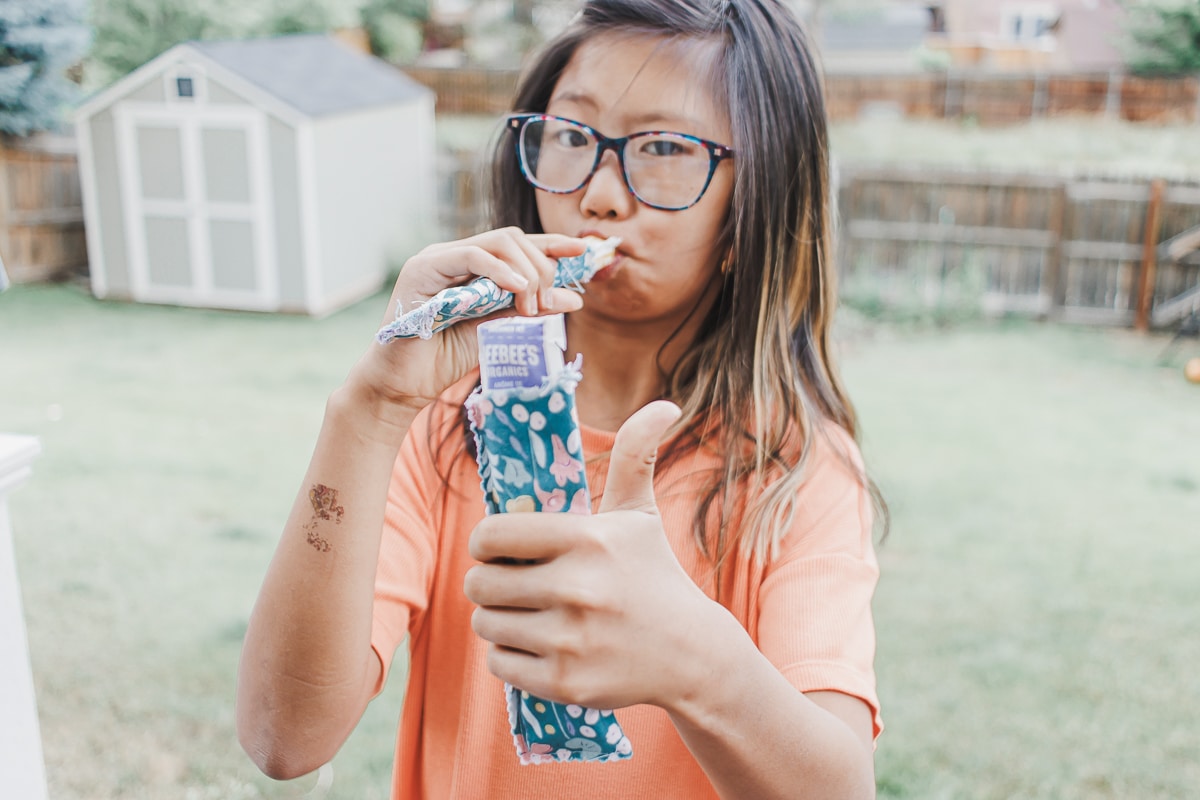
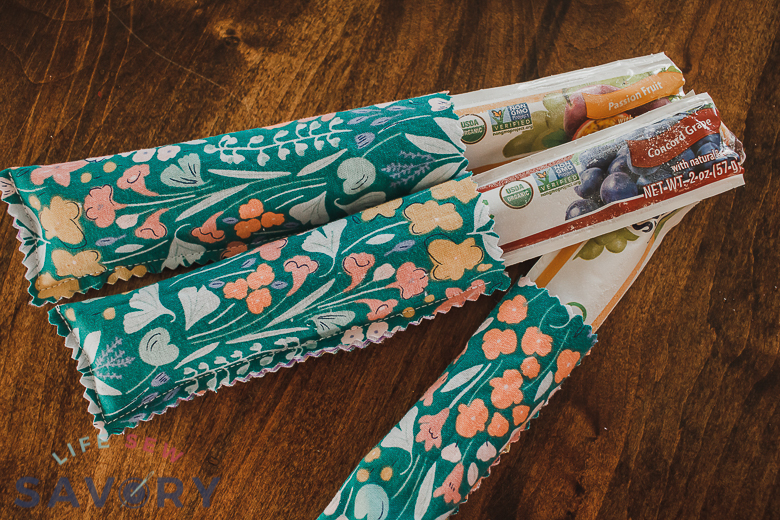
I originally made my own freezie pops with these bags from Amazon HERE, {We are still working through this HUGE pack!!} but when I found these at Costco we loved this option too. {not a sponsored post!!} This sewing tutorial works with all kinds of freezer pops and you can easily adjust the size if you need too.
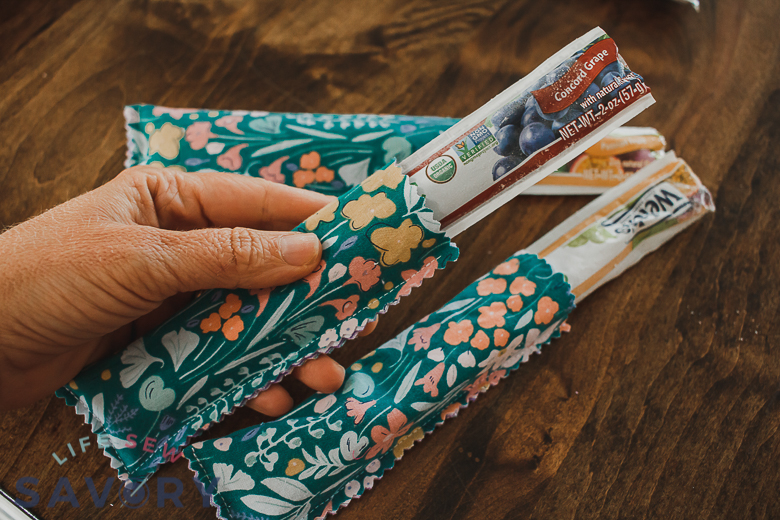
We used two layers of fabric for these freezer pop holders and it works to keep hands warm and absorb any moisture from condensation or dripping. You can use over and over, but if they get sticky or dirty we just throw in the wash and then use again. So simple!

Other summer sewing tutorials –
- Summer Tote
- Snack Bag
- Sunglasses padded case
- Shell collecting bag
- Mesh beach bag free pattern
- Kids adventurer bag
How to sew a freezer pop holder –
ok! let’s get to the project. It’s a beginner friendly sewing project AND a scrap buster… yeah!!! You will need some small scraps of fabric. I used two differently kinds and the inside is flannel for absorption. I also found pinking shears to be very hand for this project. But I will give a variation below if you don’t have them.
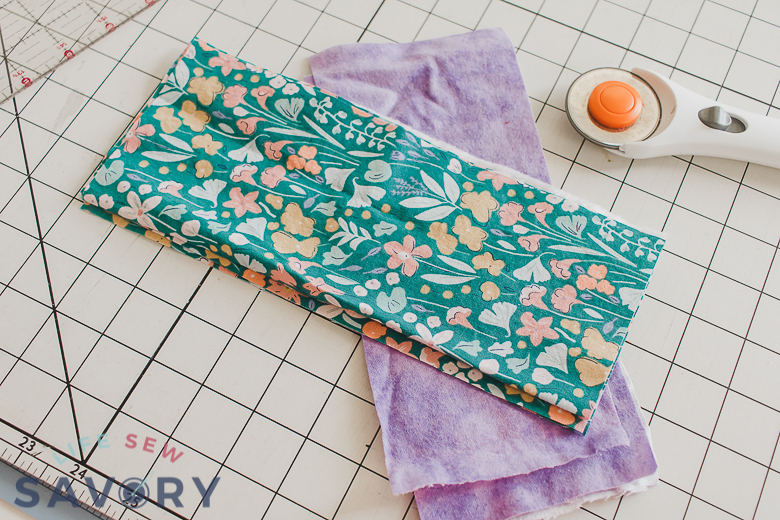
Cut two squares of fabric 4 x 6″ {can adjust if needed}. You will need two for each holder you plan to sew. Place the fabric wrong sides together and fold so the 6″ edges are together.
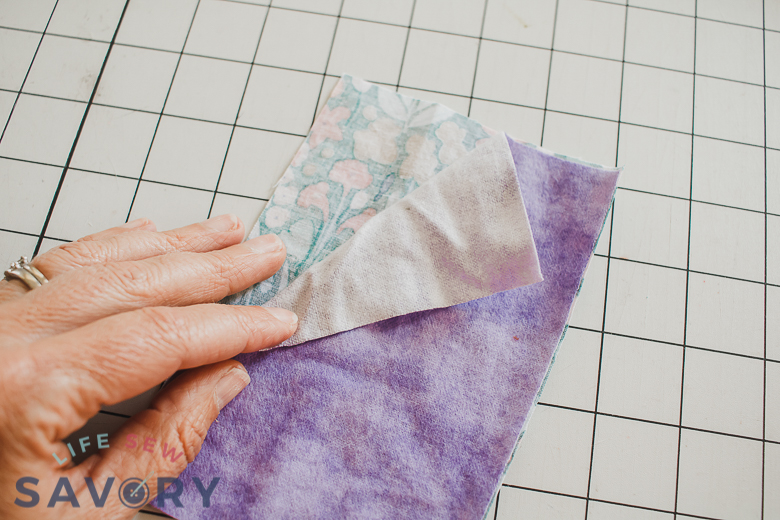
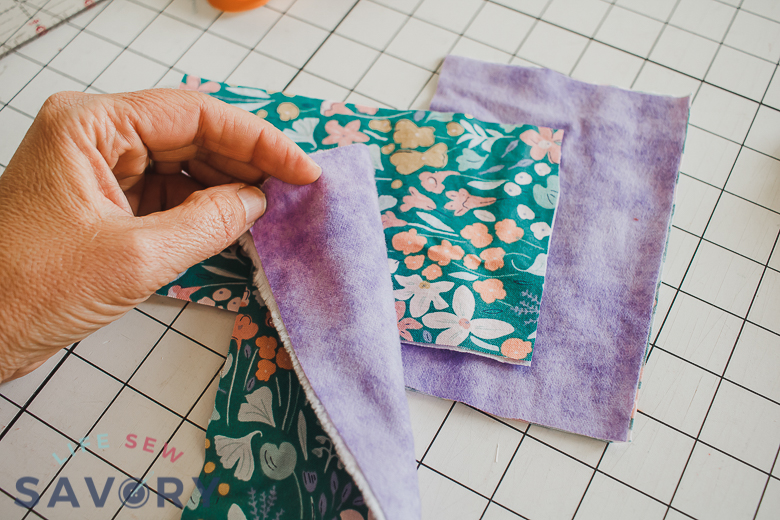
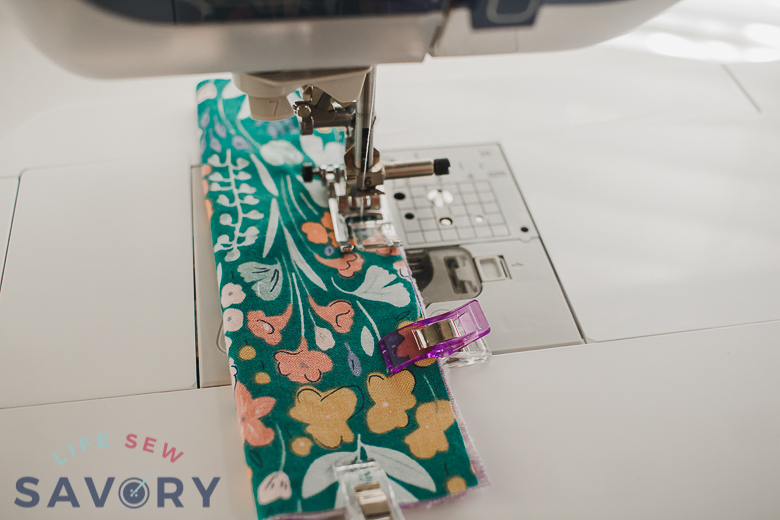
Pin or clip the raw edges together. You will have four layers of raw fabric. IF you are not going to use the pinking shears to finish, zig-zag the top raw edge BEFORE sewing the side. Otherwise, sew up one long side and the short bottom with a straight stitch and a 1/2″ seam allowance.
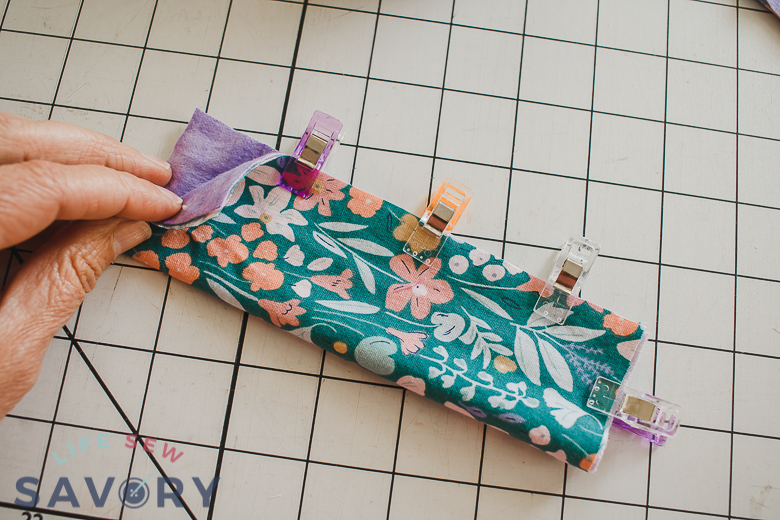
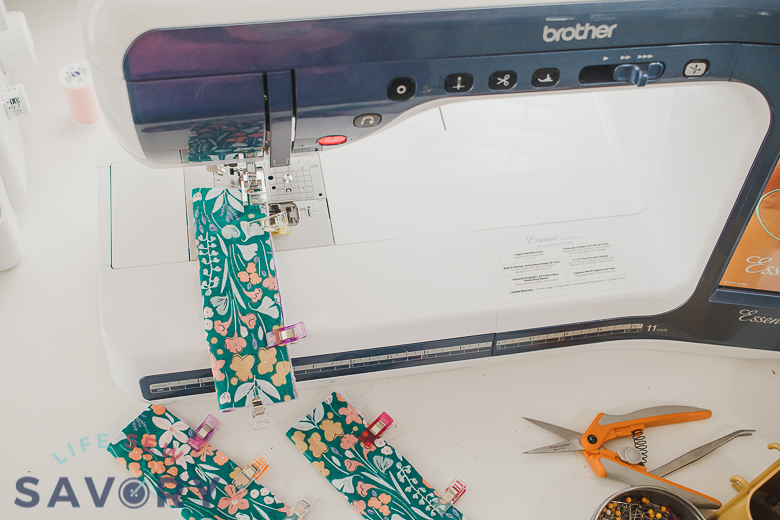
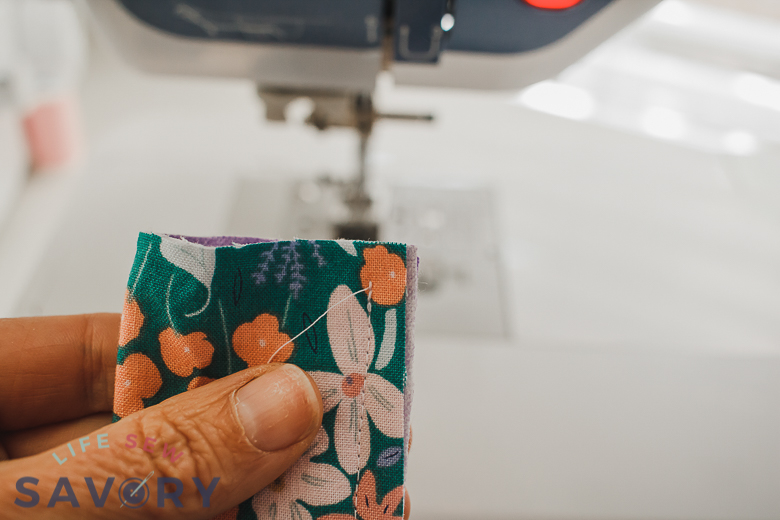
Make sure to backstitch AND leave a bit of room to trim the top edge without cutting the seam.
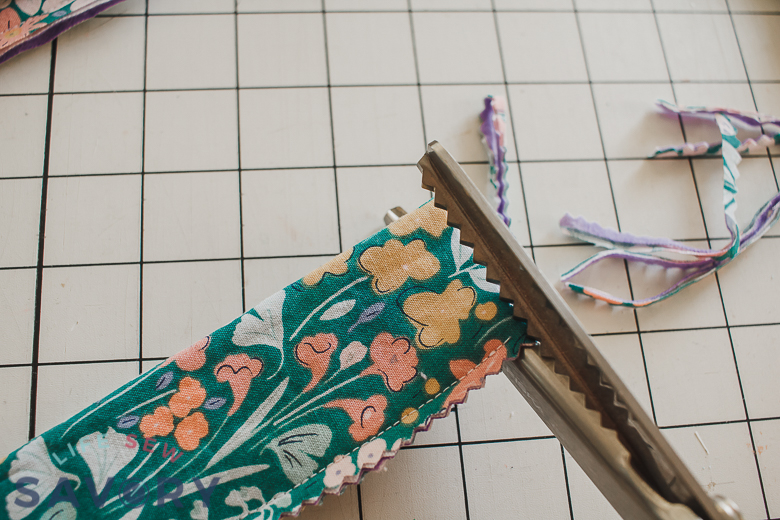
Then repeat this simple process several times until you have as many as you want/need. Trim the seam allowance on the sides that you sewed with the shears. This will keep the fabric from fraying in the wash AND looks cute! If you are finishing with a zig-zag instead, go over the two sewed edges with the zig-zag stitch to finish the raw fabric instead.
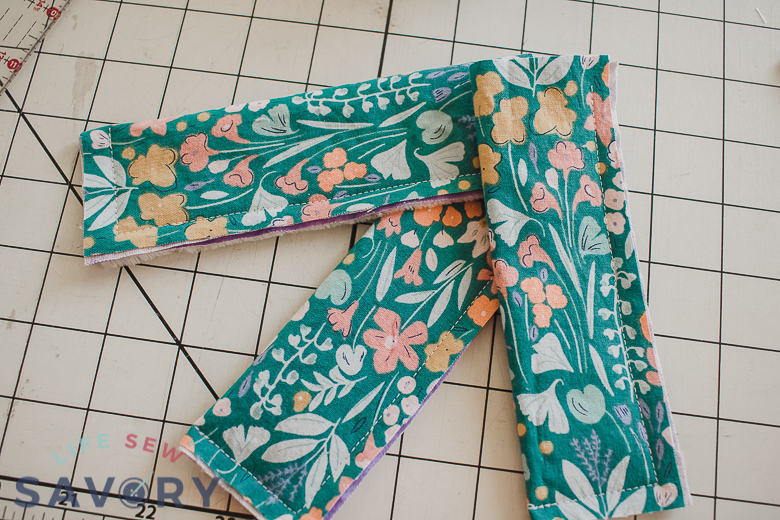
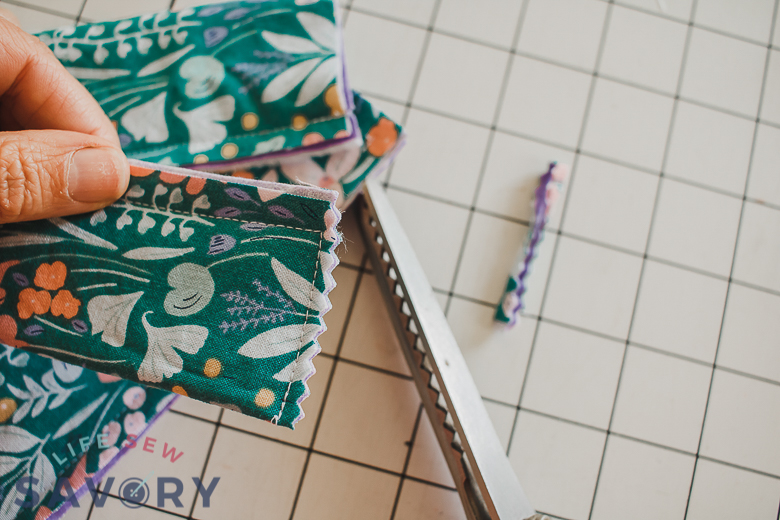
You also want to trim the top edge with the pinking shears. Now you are done! Pick up your favorite kind of freezer/icee pops and enjoy a cool treat on a hot day!! Happy summer.






Leave a Reply