Inside: This sewing tutorial will show you how to sew the perfect t-shirt neck binding with out without a serger. Tips for creating a perfect neckband on knit shirts of all kinds.
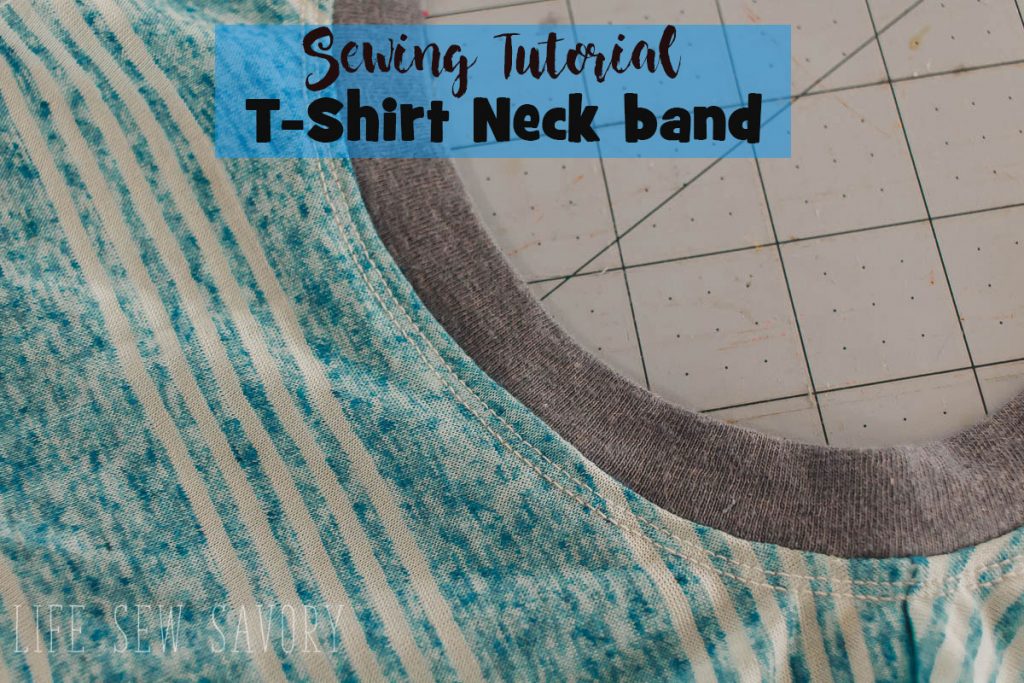
One of the most common questions I get is how to sew a neck band… How to measure, how to stretch, how to sew a t-shirt neck binding? I’ve been sewing knit shirts since my kids were tiny {more than 10 years!} and over time I have come up with a system {a method} that seems to give me a perfect neckband every time. I’m going to share this with you today. Below you will find a detailed video as well as a photo tutorial for sewing a knit neckband.
T-Shirt Neck Binding-
I would recommend watching this video first, but you can always scroll down and just read the tutorial. This video will walk you through how to sew the perfect neckband for knit t-shirts.
Need a bit more help? Here is a summary of all the instructions mentioned in the video. This tutorial will give directions for using a serger/coverstitch AND just using a simple sewing machine.
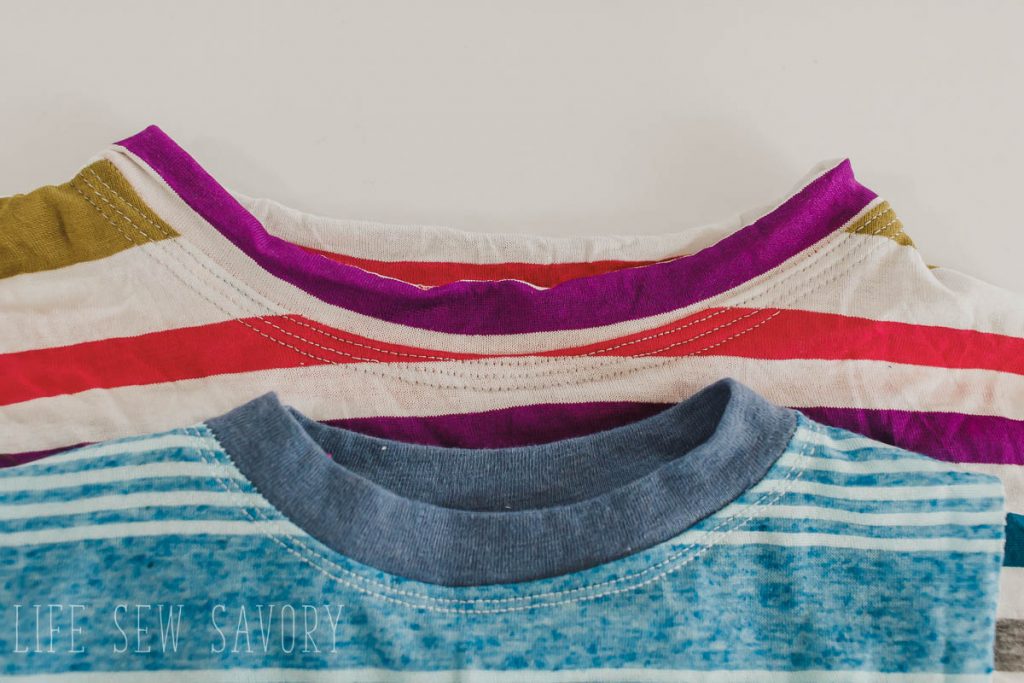
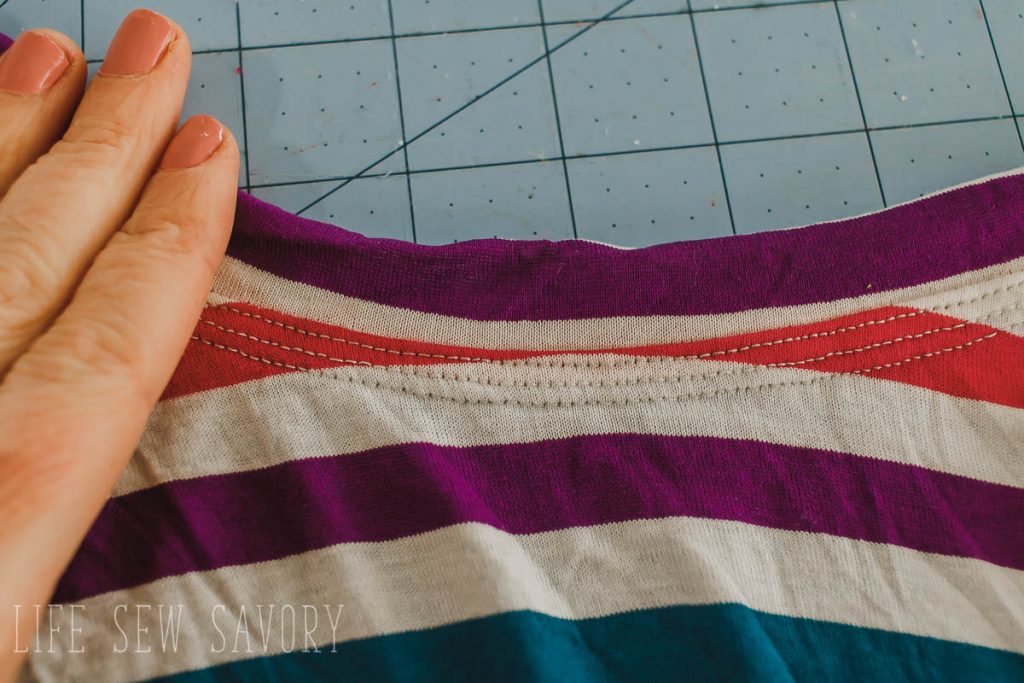
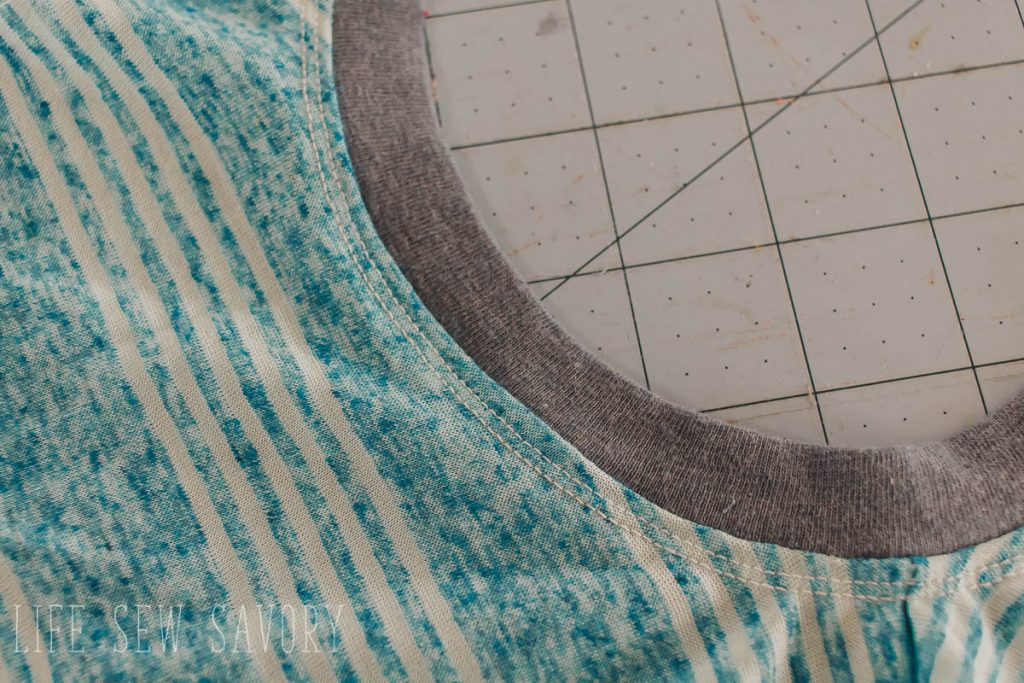
Here are two t-shirt neckbands. The top was sewn with a serger/coverstitch and the bottom only on a regular simple sewing machine. You can see they both look great and have a beautiful top-stitch finish.
Free T-Shirt Sewing Patterns –
You will need to start by cutting out your t-shirt patterns as directed. Here are some of my Free T-Shirt Patterns for the whole family.
- Womens Fitted T-shirt Patterns
- Womens Boyfriend shirt
- Girls Swing Top
- Boys Classic T-Shirt Pattern
- Mens Shirt Pattern
How to sew a knit neckband
Once you have your shirt pattern cut out here are some other supplies you may need.
- Serger/Overlocker
- Coverstitch
- Regular Sewing Machine
- Twin Needle
- Bulky/Wooly Nylon
- Neck binding fabric {rib knit, knit shirt fabric, old neckband}
Begin by sewing ONE of the shoulder seams with right sides together. Use a serger to sew this seam or a knit stitch on your sewing machine. {and stretch stitch will do}
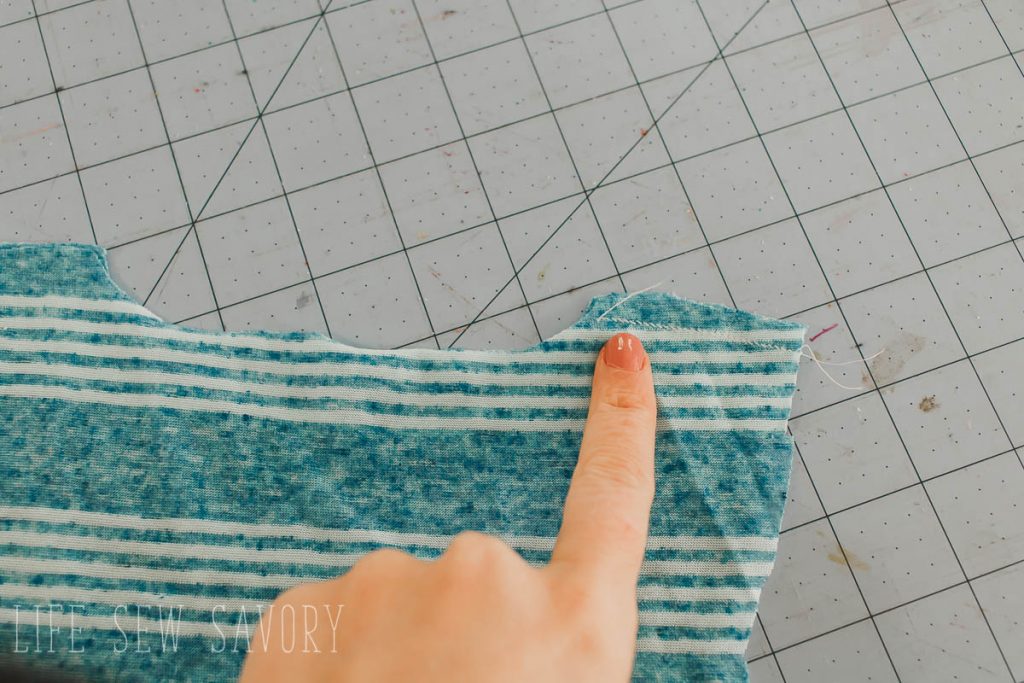
Open up the neckline, the shoulder seam will be in the middle. Measure this open neckline with a soft measuring tape. Record this measurement.
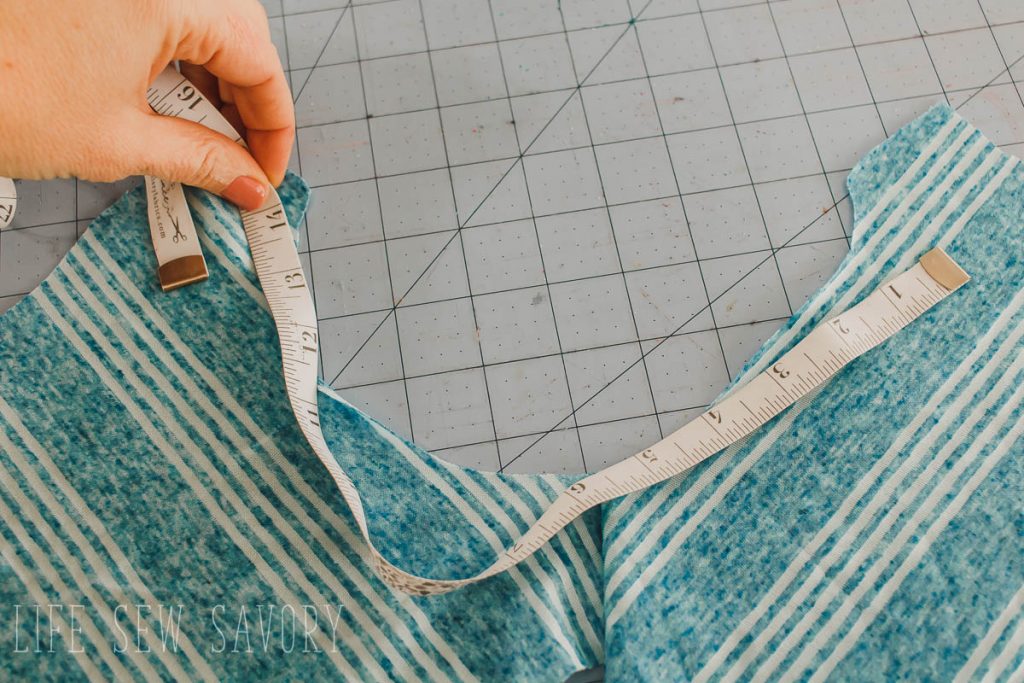
Now is the time for a little bit of math… The key to a great looking neckband is getting the proper length. The general rule for knit neckbands is that they should be 80-90% of length of the neckline {the measurement you took above.
Example – if your neckline is 18 inches, 10% is 1.8″ so a 90% band should be cut 17.3″. A neckband cut to 80% would be 15.4″. {feel free to use a calculator!} I usually find the 10%, then subtract that or double it… You can also do 85% if neither of these seem right.
HOW DO I KNOW WHICH TO USE? 80%? 85% 90%?? This is the part that’s a bit of a learning curve. It will depend on the stretch of your fabric. Generally if I am using the same material as my shirt I will use the 90% measurement. If I am using a rib knit or REALLY stretchy knit I will use the 80/85% measurement.
Cut the neck band with the MOST stretch going side to side the long way.
The shirt pattern you are using should give the width of your band, but if it doesn’t I generally cut between 1.5″ and 2″ for the width. The width of your knit neckband is more personal preference than actual function.
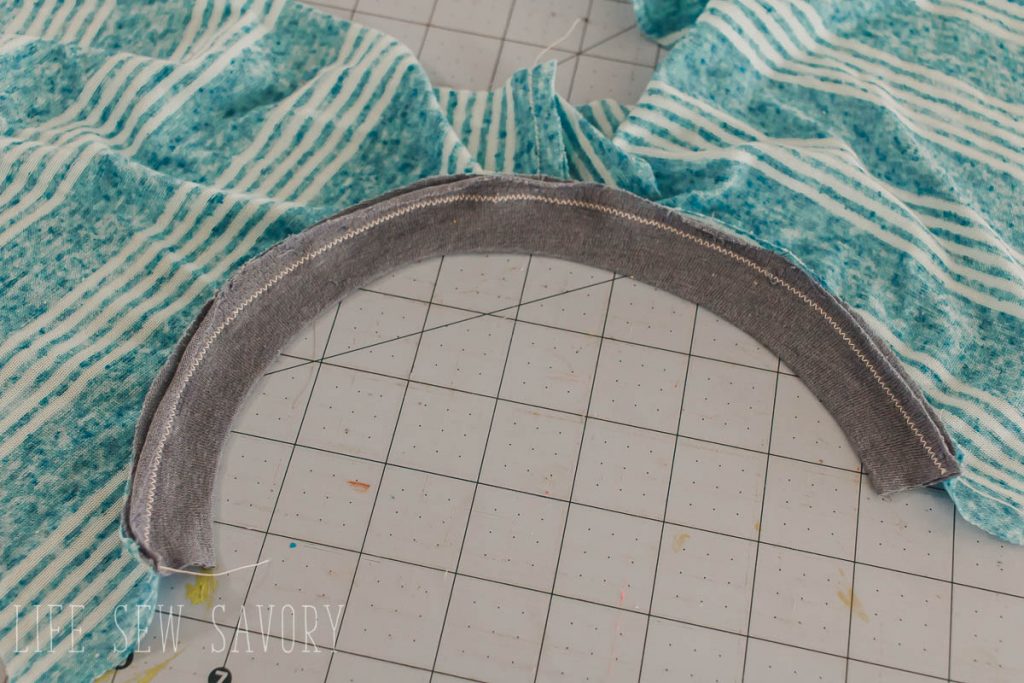
After you have cut the neck band fold it in half with the long sides touching and the wrong side of the fabric together. Pin or clip on either side of the open neckline. Then stretch to find the middle – pin or clip here.
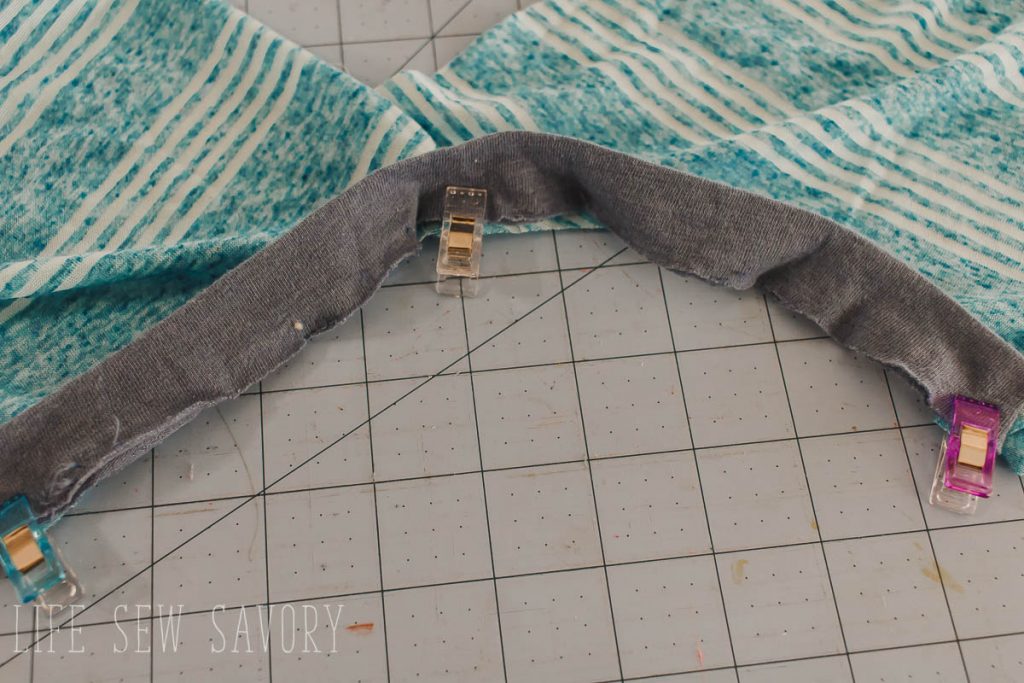
Continue stretching to match up the fabric and add additional pins or clips. The more you do this the less clips/pins you will probably need. You want the band to be stretched evenly over the neckline.
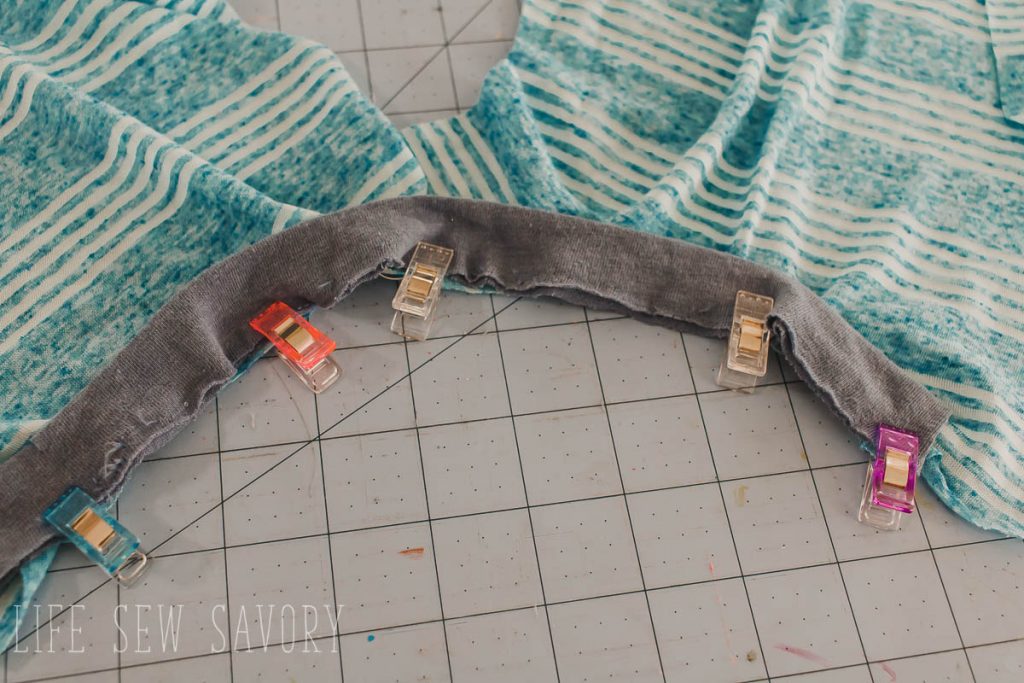
Sew these three layers of fabric together {1 shirt, 2 band}. Use a narrow zig-zag on your regular sewing machine or a serger to stitch together.
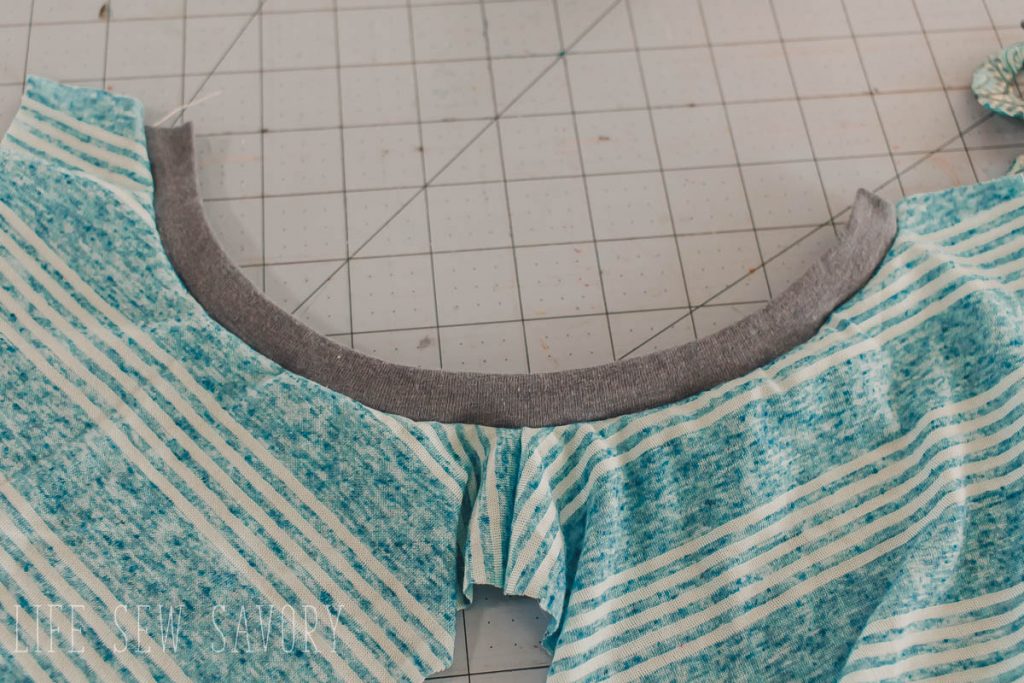
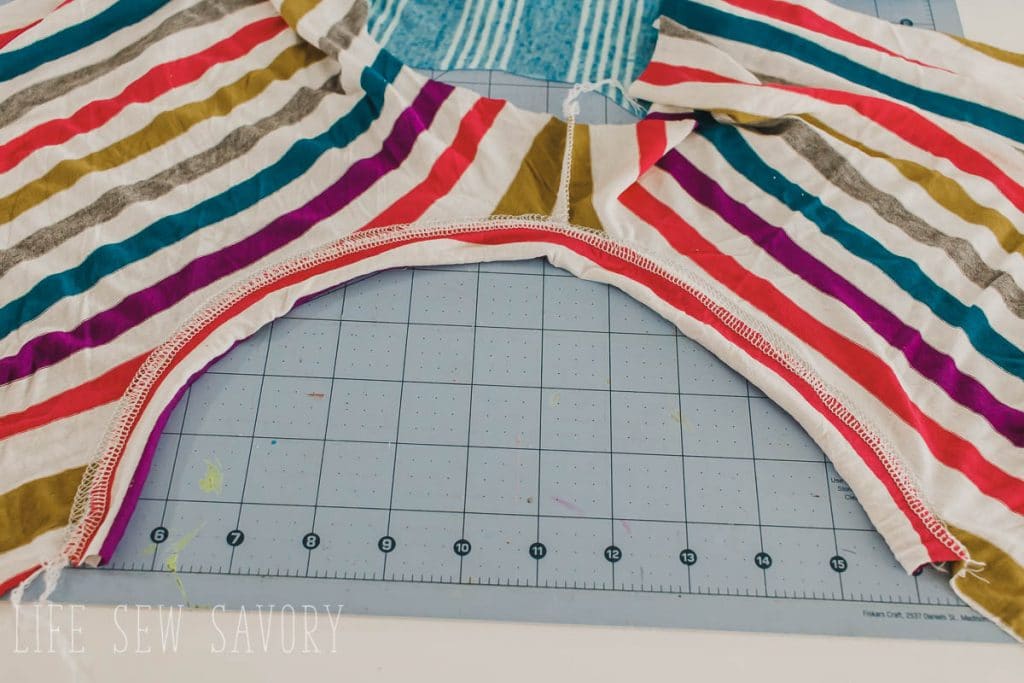
Here is what the back side of the band should look like. Seam allowance pressed down to the shirt. On the left is the sewing machine and on the right is the serger.
You may choose to top-stitch your neckline. I do most of the time, but not always. Top-stitch with a coverstitch {left below} or with a twin needle on your regular sewing machine. Wind Wooly/bulky nylon on the bobbin to use with the twin needle. Both are a great looking top-stitch with amazing stretch for going over the head of the shirt wearer.
Need more tips for using a twin needle? See my Perfect Knit Hem Post here.
Now that you know my tips for how to sew the perfect neckband… practice, practice, practice!!! Soon you will be sewing t-shirt neck bindings with ease and great results.




Kathryn Lumpkin says
where’s the play button for the tutorial?
Emily says
Just click on the video anywhere ;o)!
Jenny says
Video won’t play for me. Using an IPad mini which can be temperamental!
Beal says
I have an iPad, and the video played for me. Not sure why it didn’t work for you. 🙁
Anne says
I really enjoyed your vid n explanation on sewing tshirt necklines. I see lots w knits for grandkids n really want & need help.
But I have a problem with your open shoulder ( only 1 shoulder seam ) before adding rubbed neckline. My worry is the 2nd shoulder seam.
Isn’t it going to be unsightly when you see through ribbing? There will be layers of raw edges. Bulky. Curling. Maybe even itchy. I don’t think u’d use French seam, so to you keep that shoulder- neckline seam flat n clean??? Please advise
Tanya Wilson says
Yes! This was my thought too. I would be interested to see how the 2nd shoulder seam is finished.
Britt says
It’s unsightly alright. Just ran into this issue. Unfortunately no posts show how she finishes it. They overlap weirdly. I used a serger too so not sure how I’m gonna finish the tank.
Laurianne Dumont-Goyette says
I’m not sure about the calculation… you say 18 inches at 80% is 15.4 but when i do calculate it’s 14.4 and a 90% it’s 16.2 not 17.3 …. i just want to be sure to cut the good lenght but clearly i’m not having the same numbers as yours.
Dawn Hardy says
Can the tee shirt dress be made in French Terry and if so do you need to size up?
Kimberly Hashagen says
Love this game changer !! I have crazy question. I always run into having more neckband and this of course caused problems when putting it in the round. I did your method it and just ended up cutting off what I didn’t use. I’m assuming that’s OK.
Emily says
Yep! I often cut off extra!!