


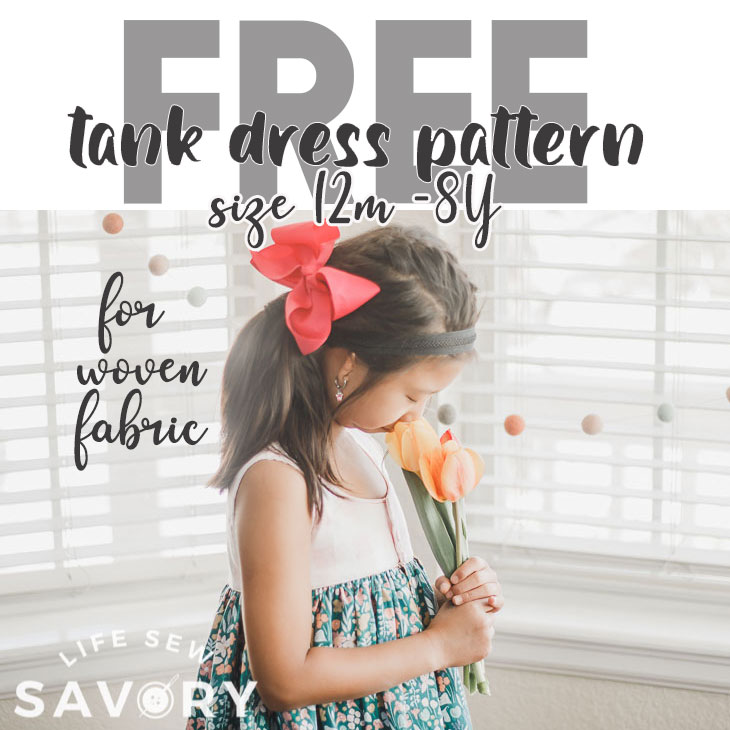
Inside: Use this free pdf pattern to sew up the tiered tank dress for summer. In a huge size range, this free sewing pattern is the perfect tank dress for woven fabrics. A new summer favorite.
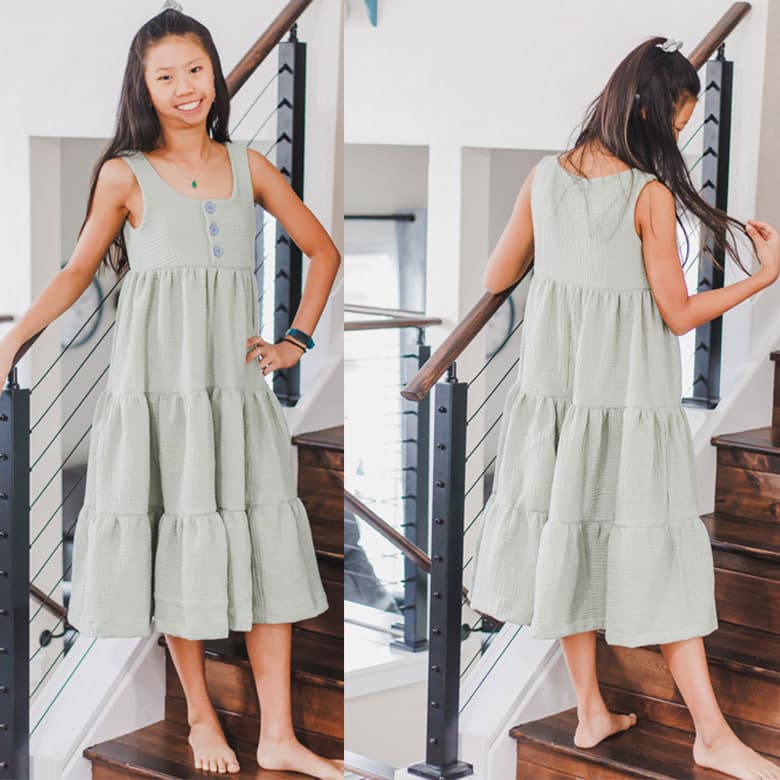
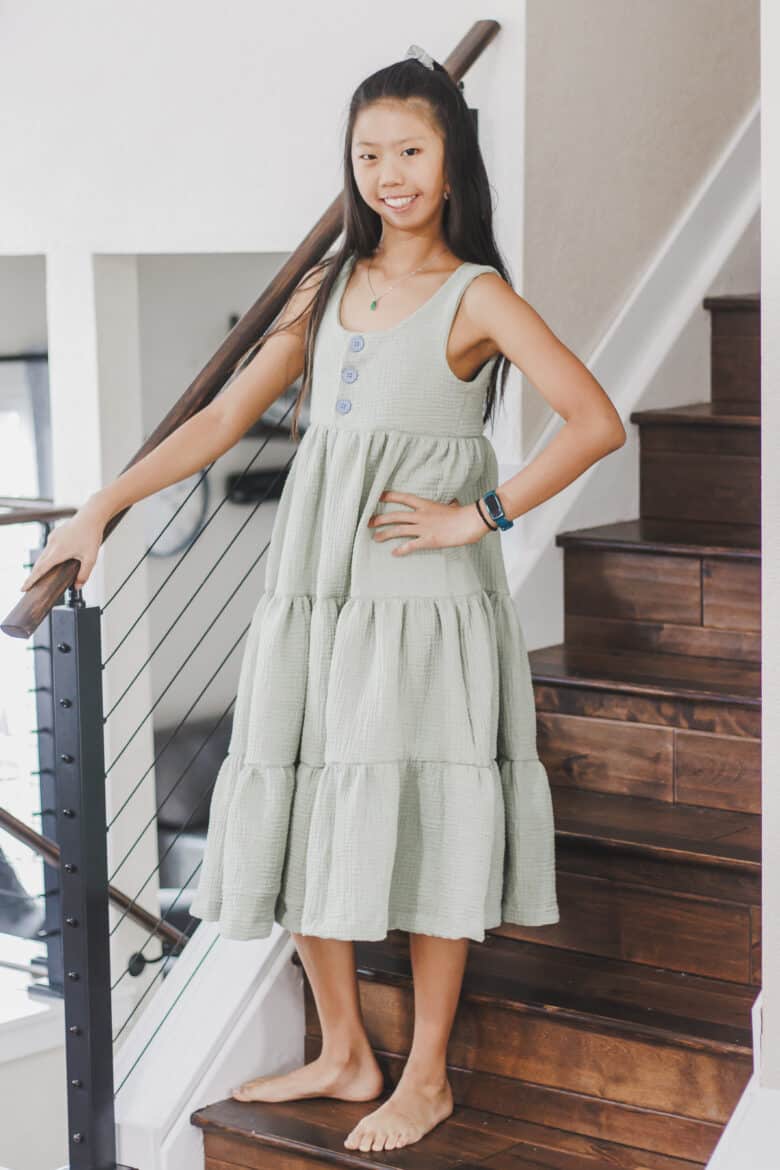
I’ve actually been wanting to make a dress like this for me. I bought this fabric thinking I would sew myself a tank dress… however, drafting a womens pattern is more involved and I didn’t even buy enough fabric, so this week you get a gorgeous tank dress for girls! The size range is great… 12M-14Y, although if your girl has a very developed chest, this dress may not fit well as the top is not shaped. More on that below… But… how cute is this tiered tank dress?? And today I’m sharing the free sewing pattern.
Gorgeous tiered tank dress free pattern
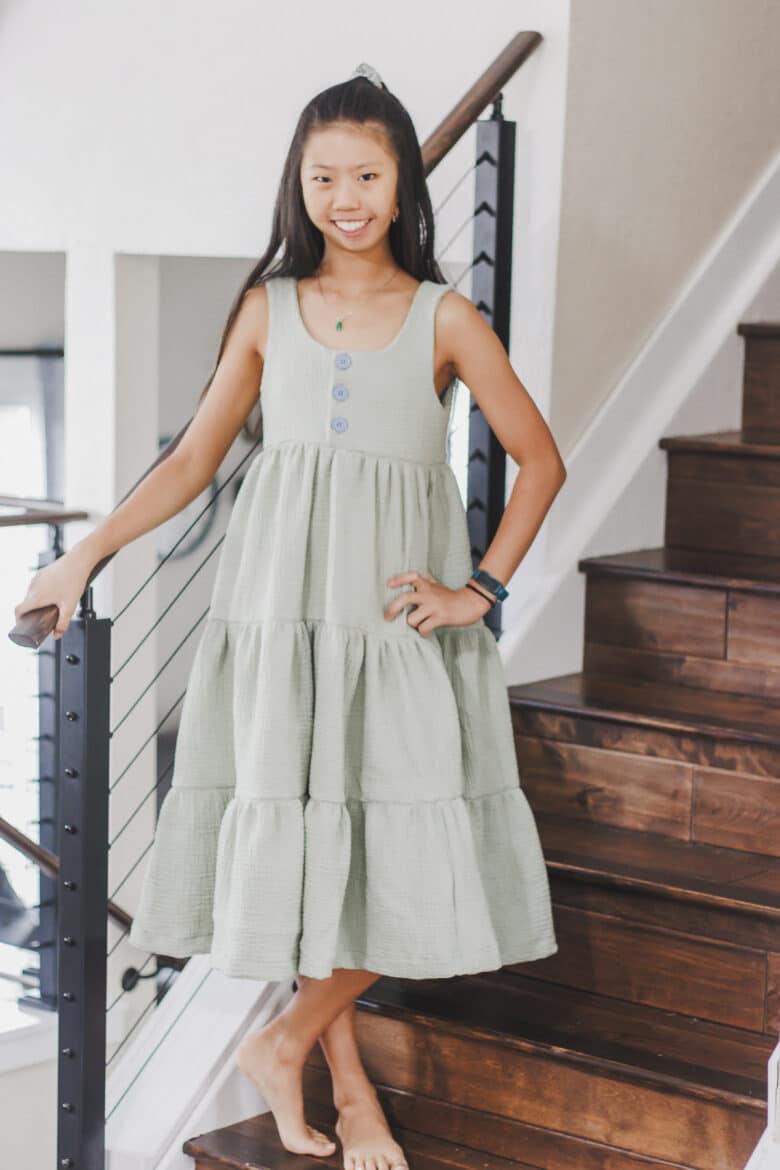
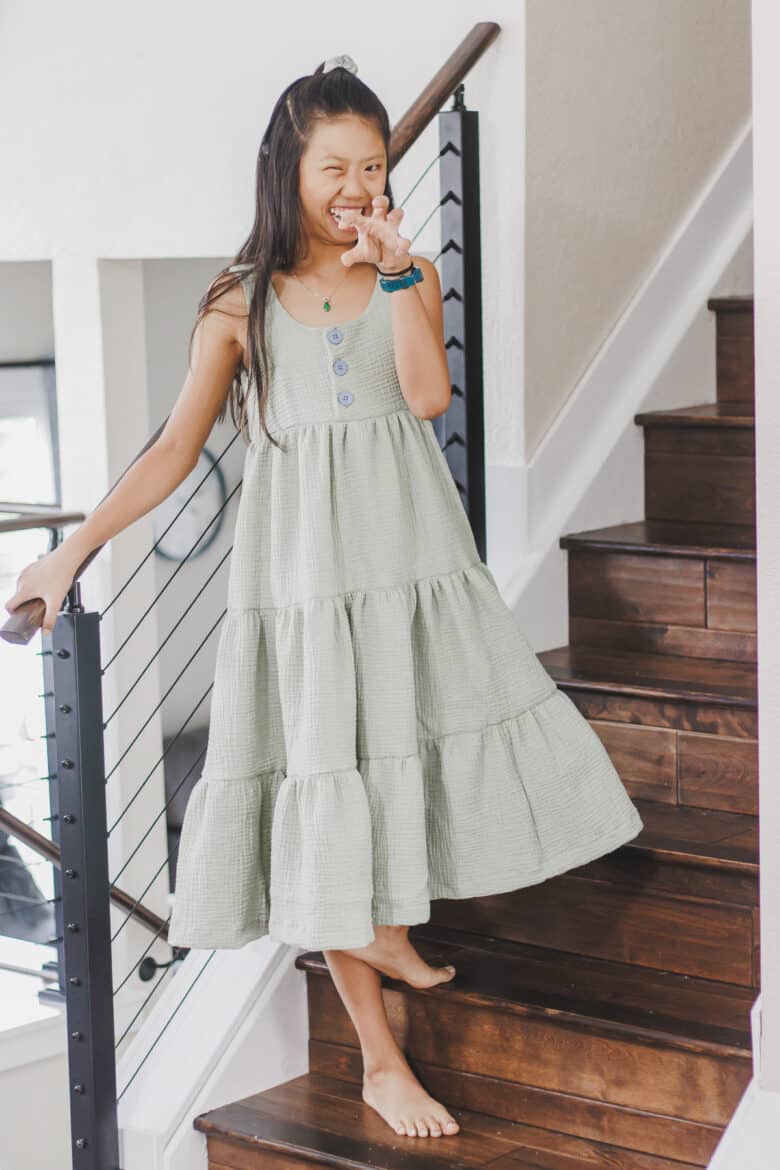
Rose and I are loving this new dress! As I mentioned above I have a plan to sew myself a tank dress, but I didn’t buy enough fabric and it takes longer to draft a womens woven tank due to shaping. {haha} Anyway, I sewed this up and Rose tried it on it’s just perfect.
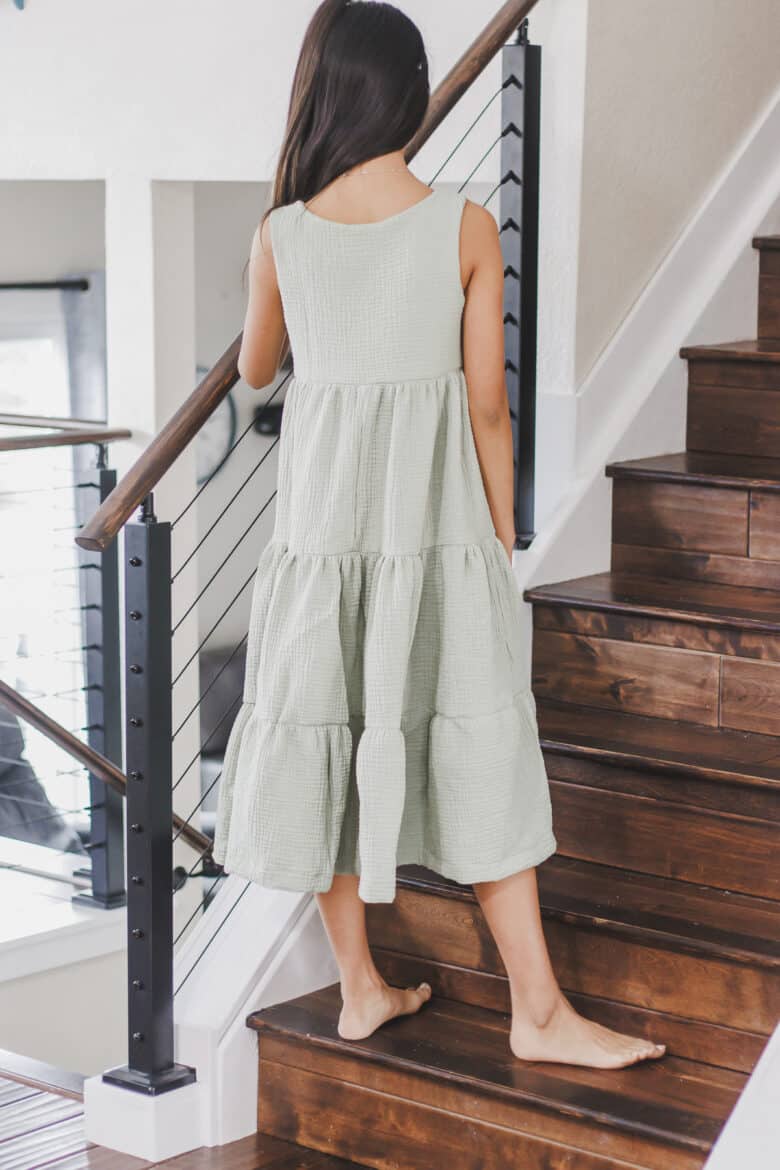
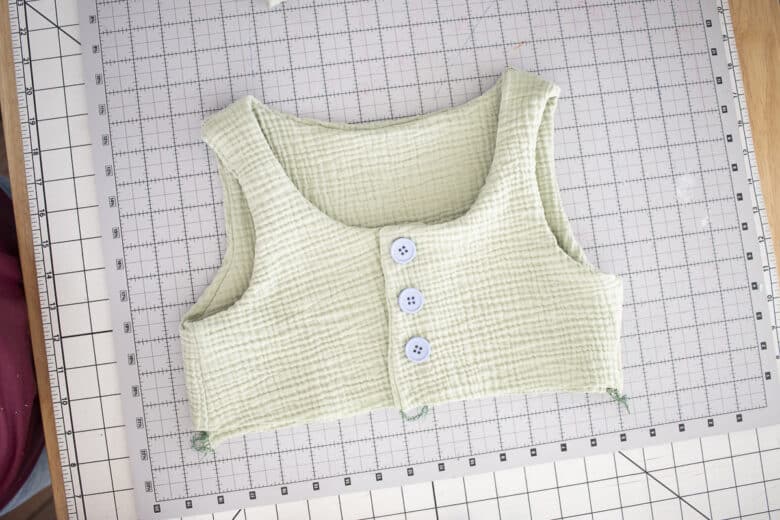
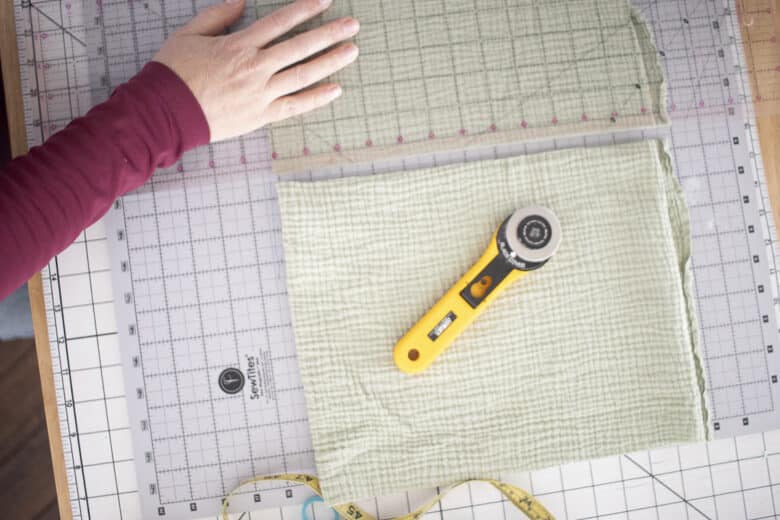
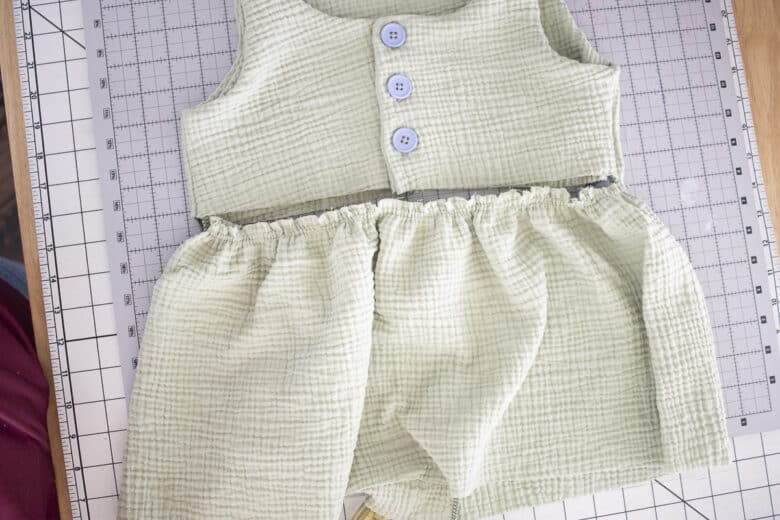
This gorgeous tank dress is sewn from a light double gauze and even though it’s almost three yards of fabric {lots of gathers in the skirt}, but it’s still light and flowey.
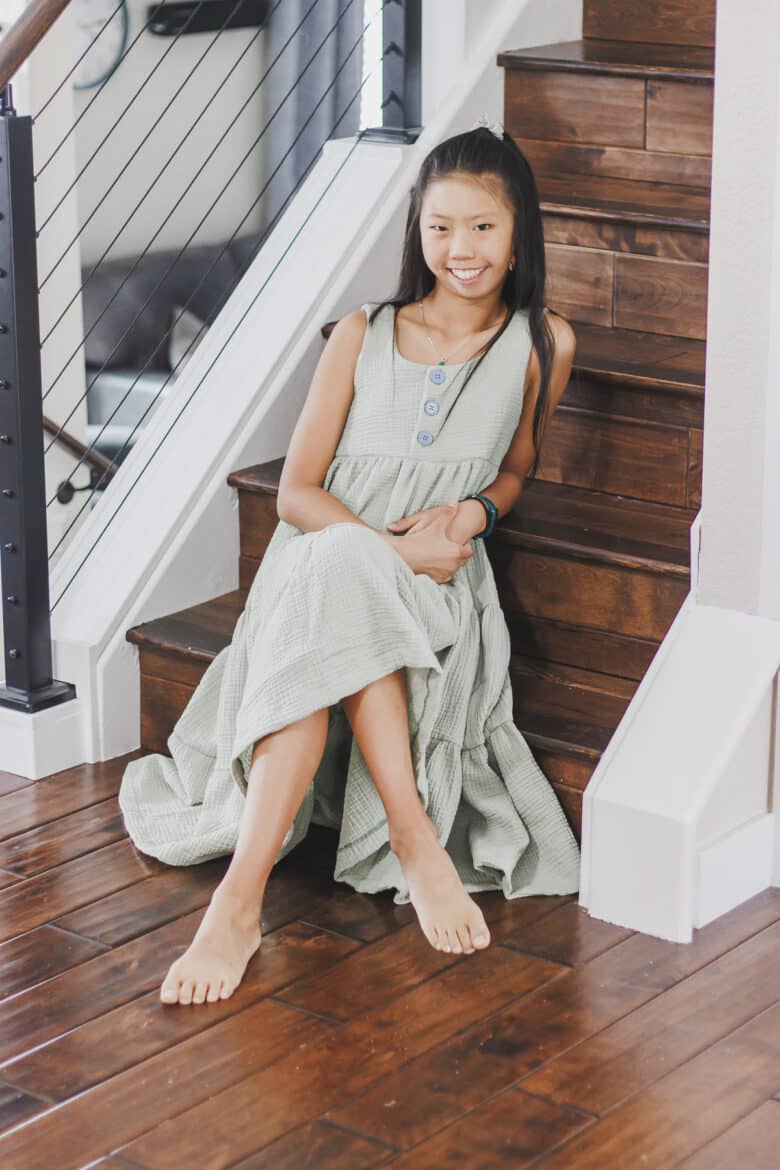
The buttons on the front are functional, but this dress did go on and off without unbuttoning. Rose is wearing the size 10/12 for the tank {her chest is a 28″, so the perfect fit for this size}. The double gauze has a bit of give, due to the bumps in the gauze, but even a regular woven fabric would fit great for her in this size.
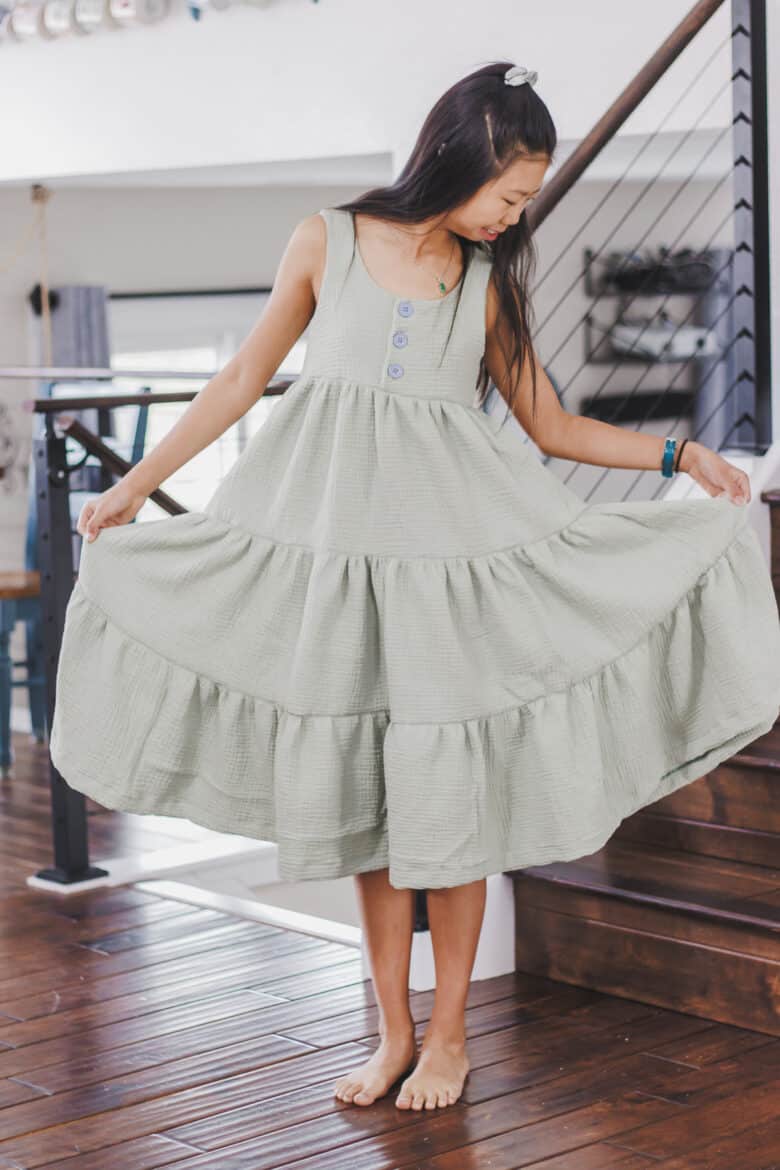
I also think this tank dress would be perfect over a fitted tee if you need to layer for spring. The skirt is so full and beautiful as well.
Other Summer dressed to sew
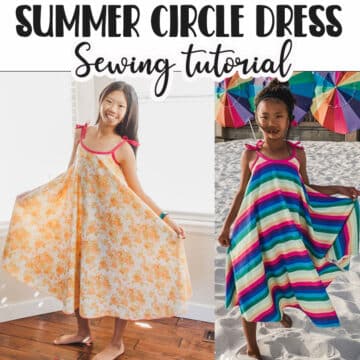
- Circle Dress Free pattern
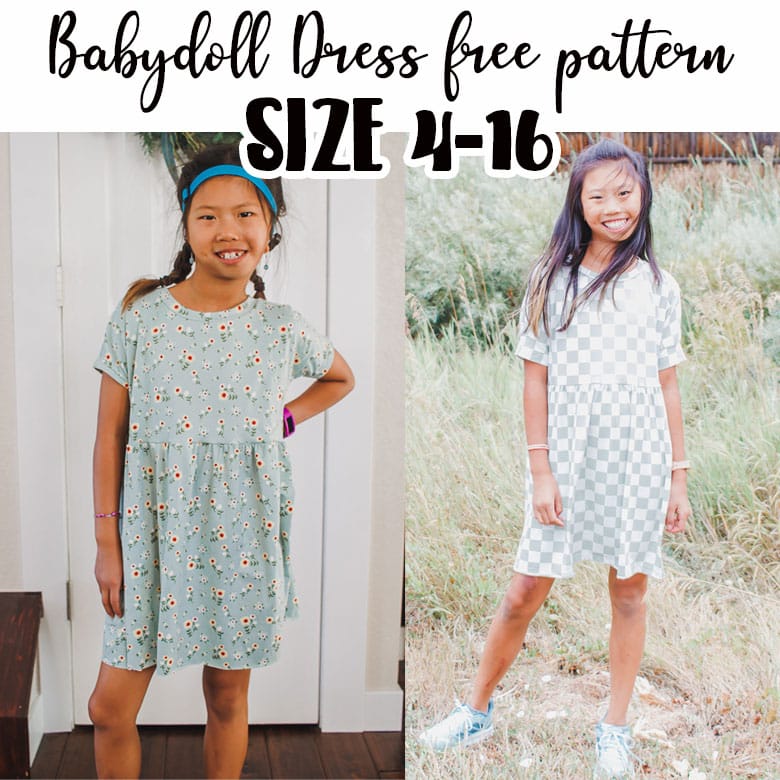
- Babydoll dress free pattern
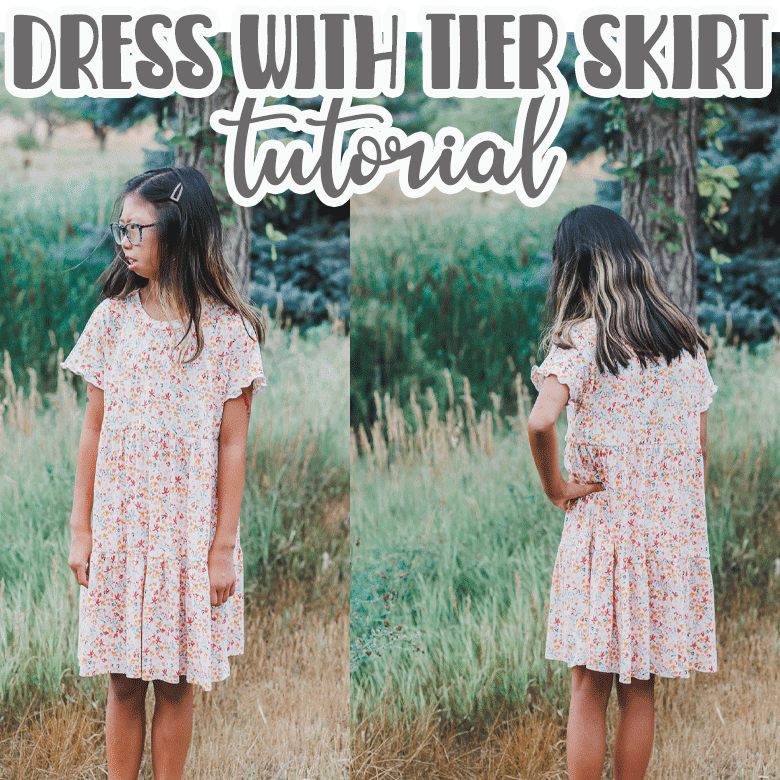
- T-shirt dress with tiered skirt
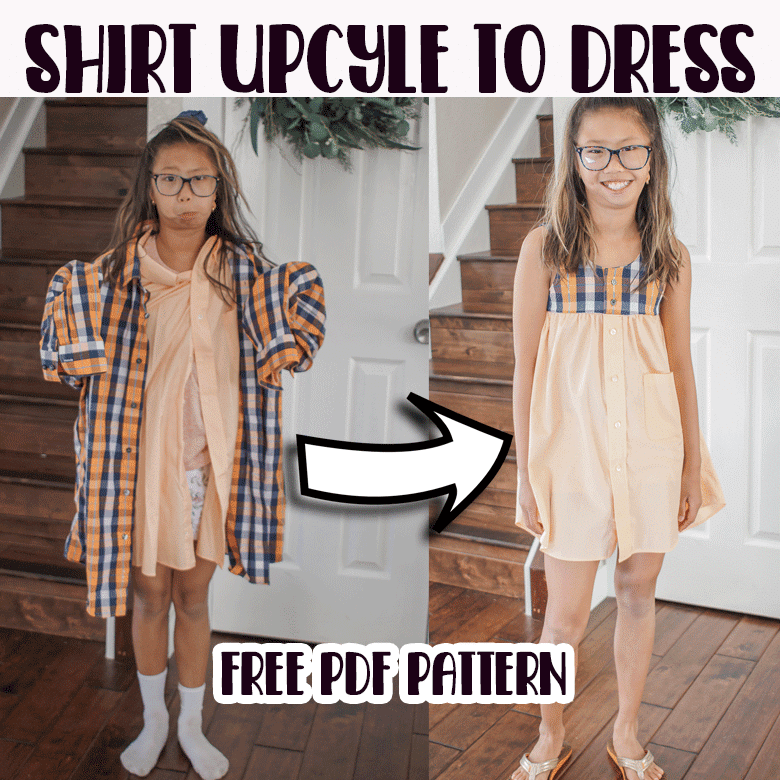
- Upcycle mens shirt to tank dress
- Knit fabric tank dress
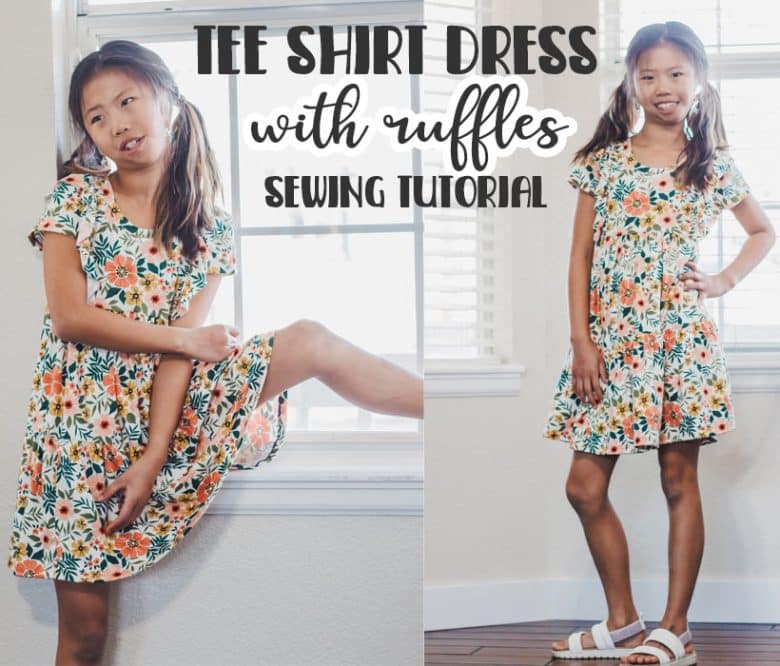
- Tshirt dress with ruffles hack
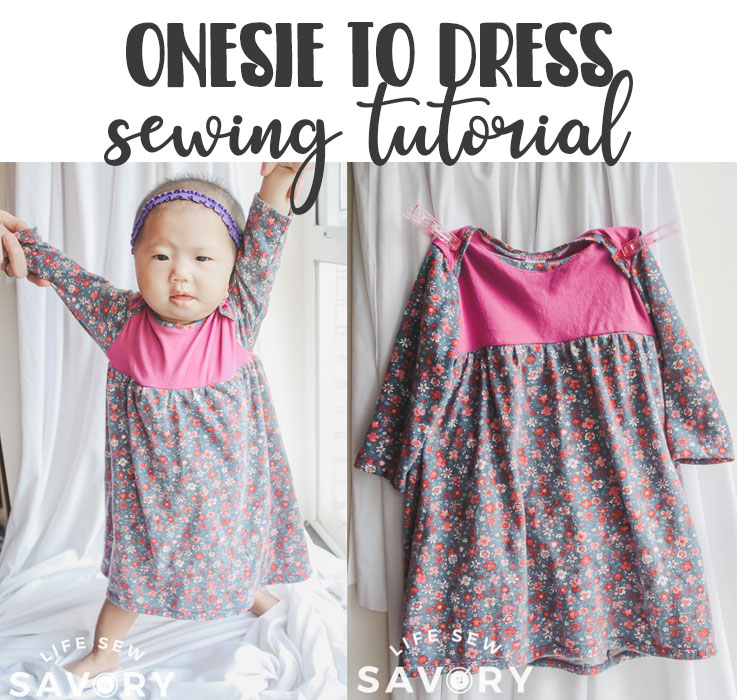
- Onesie dress sewing hack
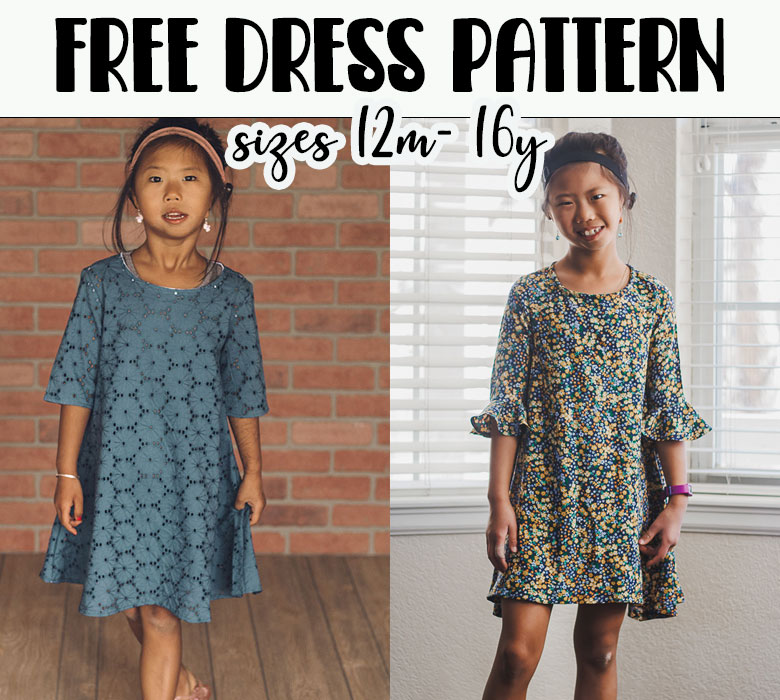
- Free dress pattern
- Tank pattern for woven fabric


Tiered tank dress free pdf pattern and supplies
Let’s jump into the tutorial. Here is what you will need to sew this tank dress.
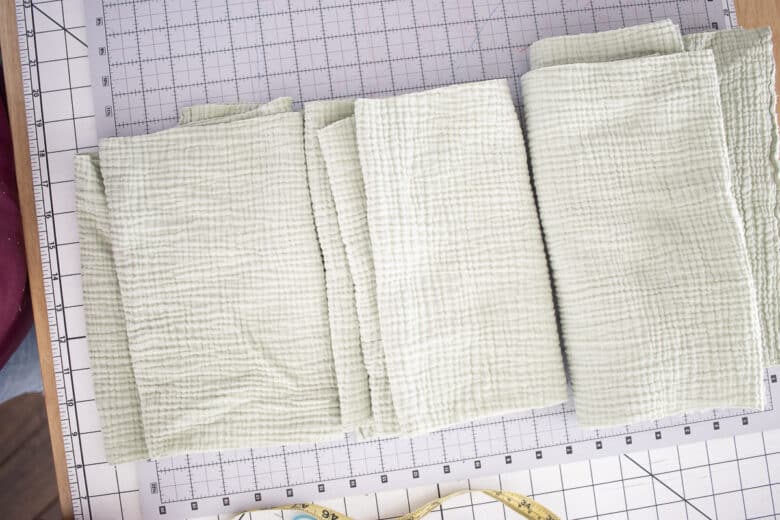
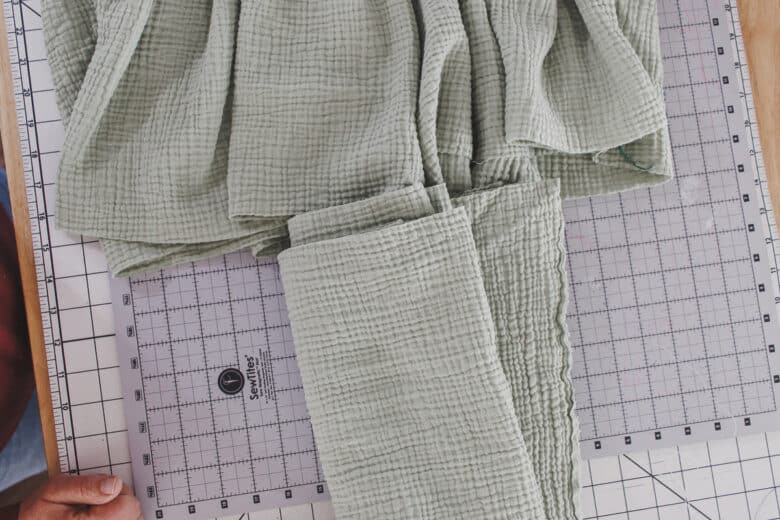
- 2-4 yards of fabric. {the size 10 here used almost 3 yards} The size 14 probably needs about the same as the skirt would be the same fullness, the smaller sizes can use less fabric.
- I used a fun double gauze fabric that is light and airy. Faux linen or other light woven fabrics would work well.
- 3-4 Buttons. Find a style and color that works for you.
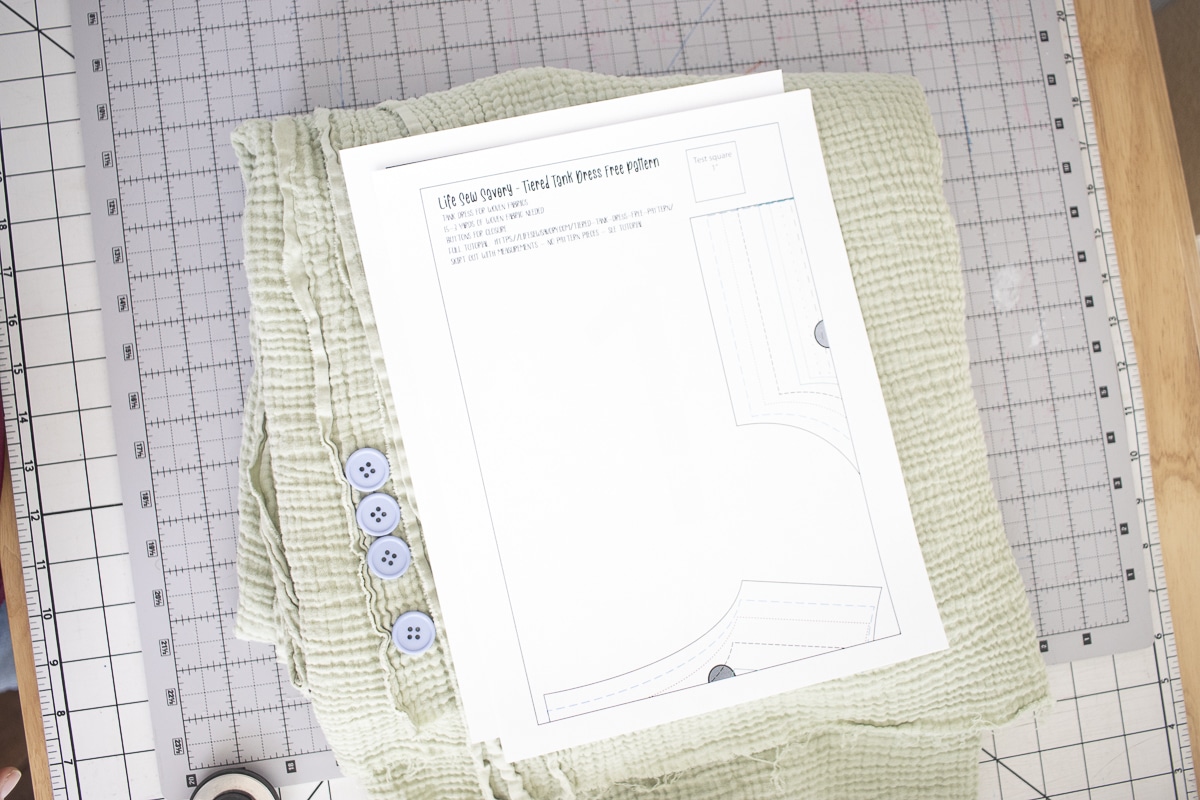
- Download and print the 4 page pdf pattern using the buttons below.
- The skirt tiered do not have printable pieces. The tutorial here and the pdf pattern have written instructions only.
- All seam allowances are 3/8″ or 1 cm.
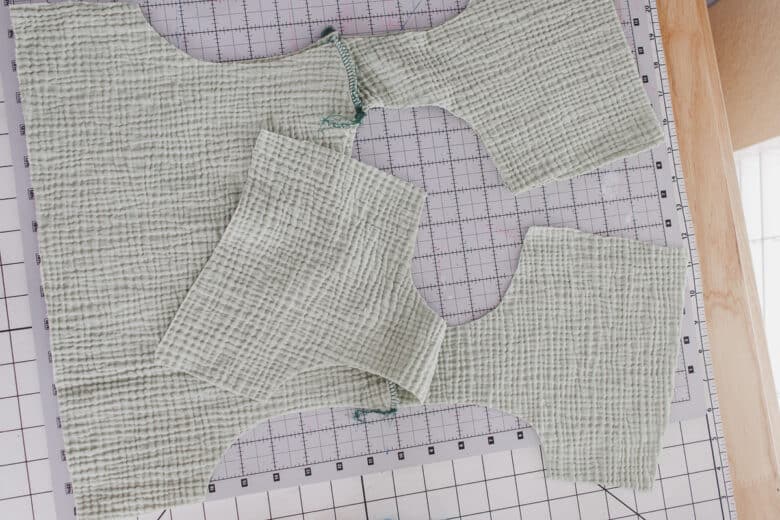
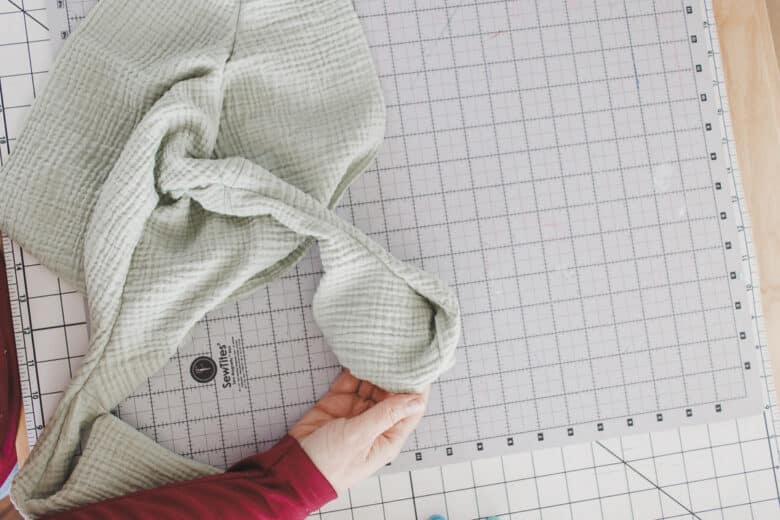
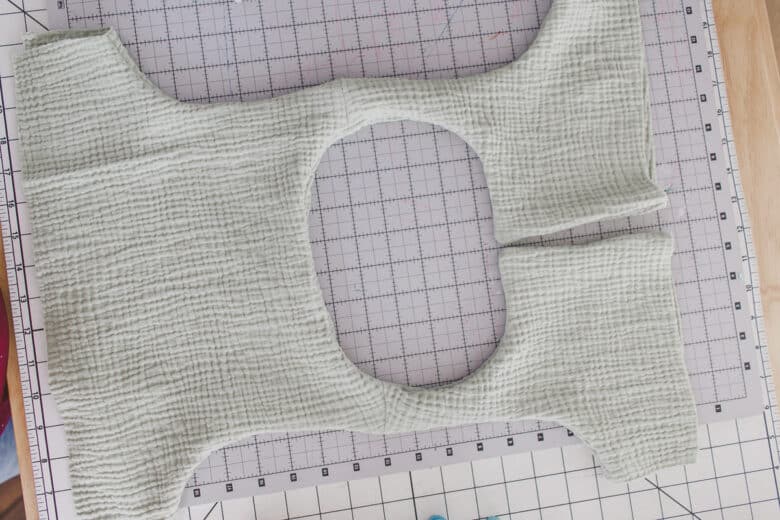
Here’s what the four page pattern pieces will look like when assembled. You can either trace the size you want to use or cut out the pieces. Since this is only 4 pages I cut them out. Usually I trace and keep the original pattern. The back you will cut on a fold and the front you do not. You will need two backs and four fronts to sew this tank dress.

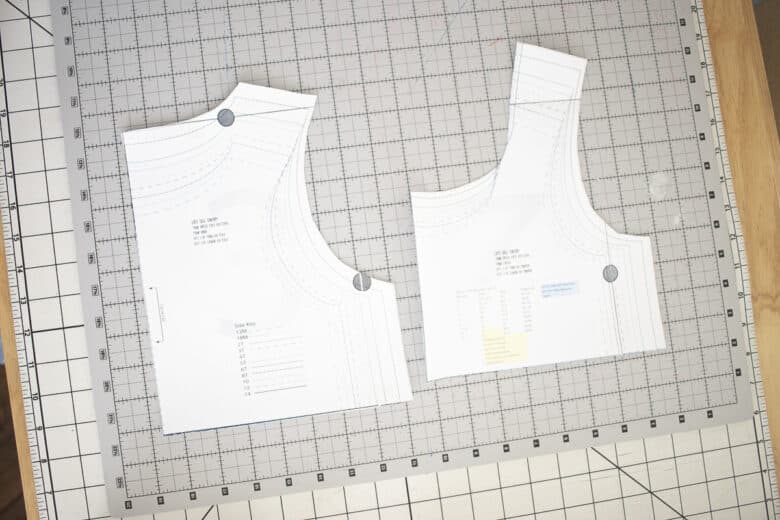
I would suggest sewing up the tank bodice, then when that is finished, cut and sew the skirt. There are suggestions for the skirt on the pdf pattern and I will also give a ton of details for cutting and sewing the skirt below in the tutorial.
Tank dress sewing tutorial
Time to get sewing! Now that you have prepped to sew {at least for the tank top} let’s dive in. Reminder, all seam allowances are 3/8″ or 1 cm. I sewed the whole thing with my serger. You can use a serger or a sewing machine straight stitch.
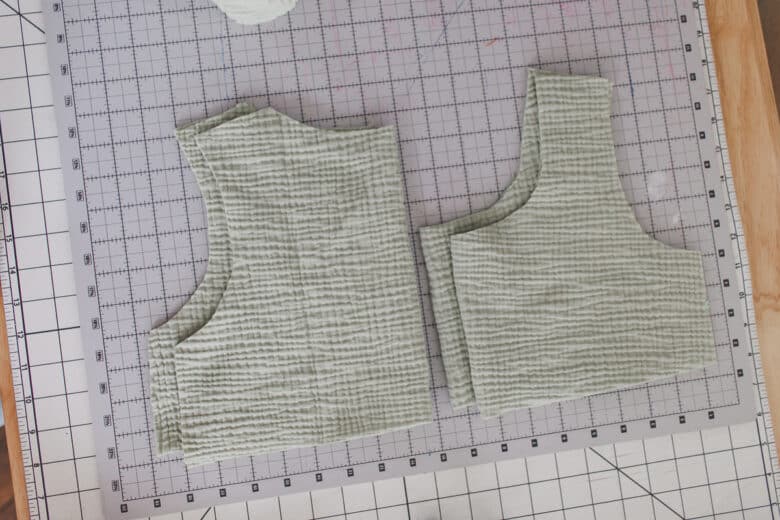
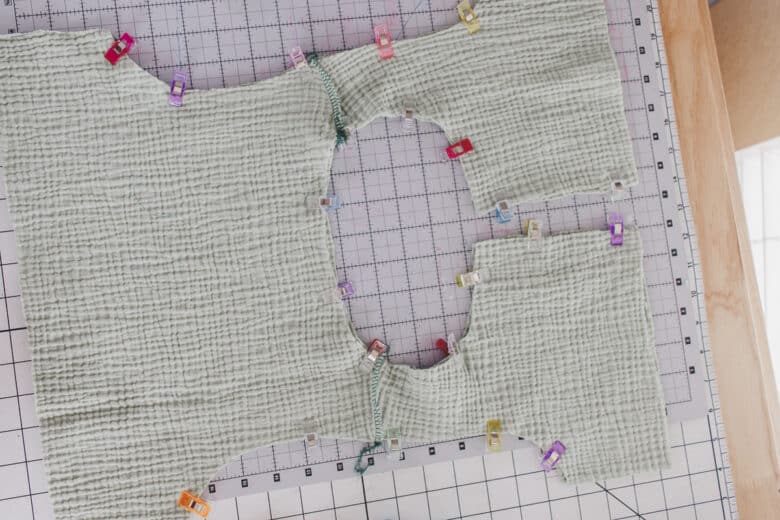
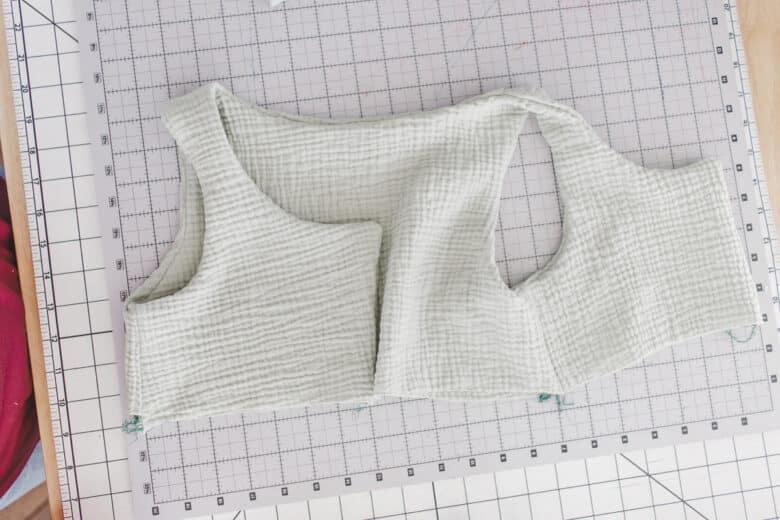
You should have two back pieces and four front pieces. Line up shoulder seams of one back and two fronts. Sew the shoulder seams on one set. Repeat this with the other set of tank pieces.
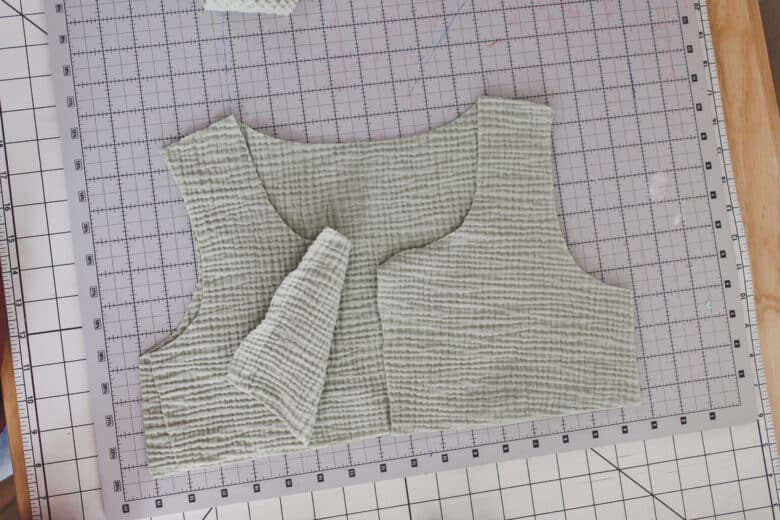
With right side up, lay the tank out. Place the other set on top with right sides together. Pin or clip the front opening and around the neckline and also the shoulder edges. Sew with your serger or sewing machine.
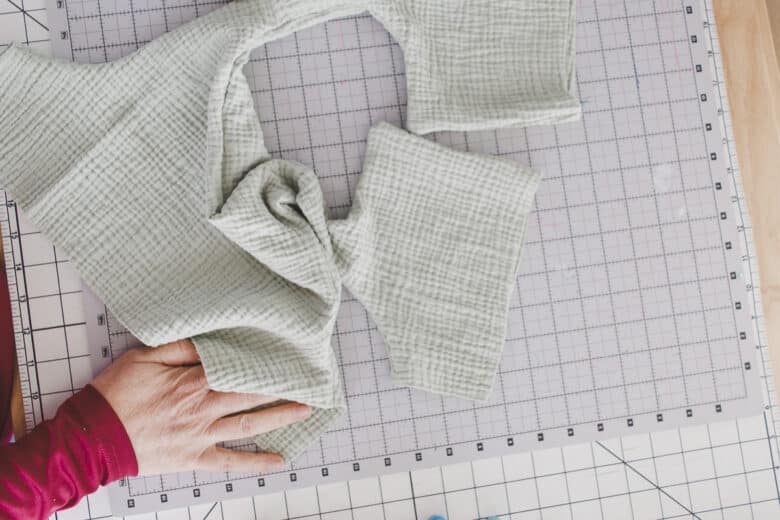
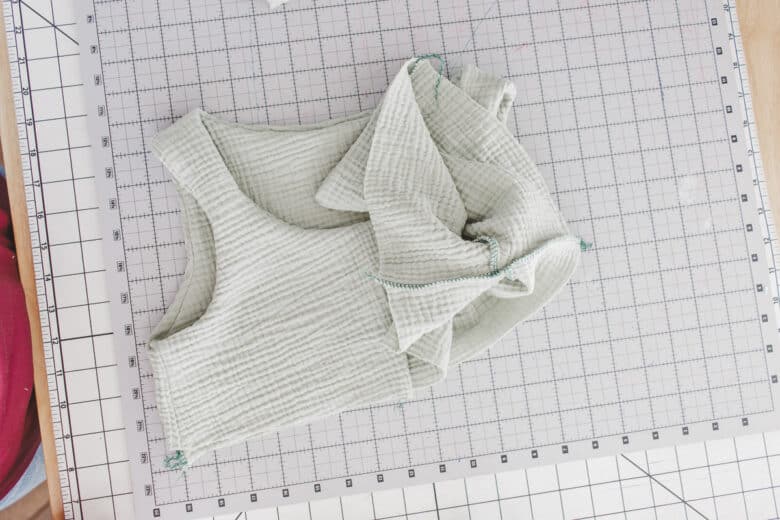
Now you should have these seams below sewn. If you used a sewing machine you will need to clip the curves on the seam allowance before turning. Bring each front piece through the shoulder to turn right side out.
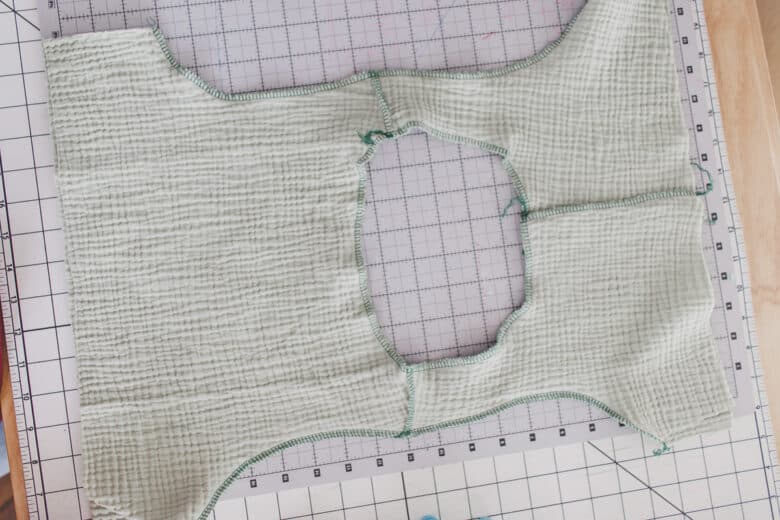
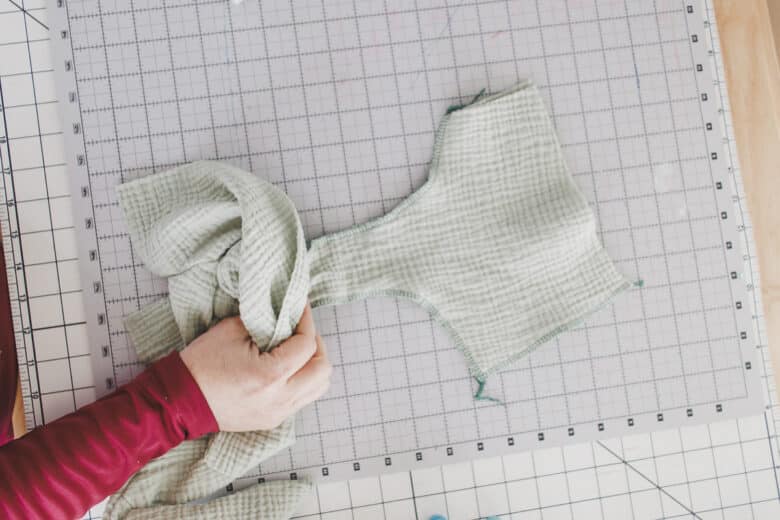
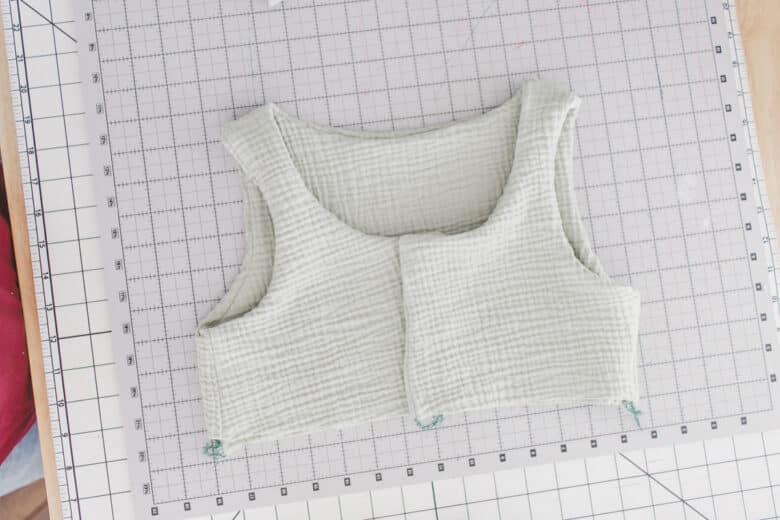
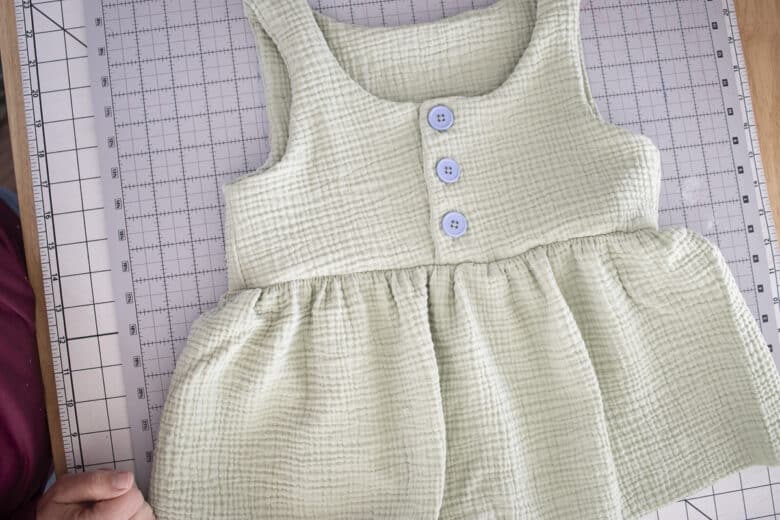
Your tank bodice is now right side out. At this point I would suggest pressing and even possibly top-stitching if desired. I didn’t do either step with this double gauze, puffy fabric. If you iron it, the fabric gets flat and weird.
Next we will sew the side seams. On one side of the tank, move the open side seams close together, then will right sides of the fabric touching, match the center under arm seam. Pin or clip along the open side seam. Do this for both sides of the tank.
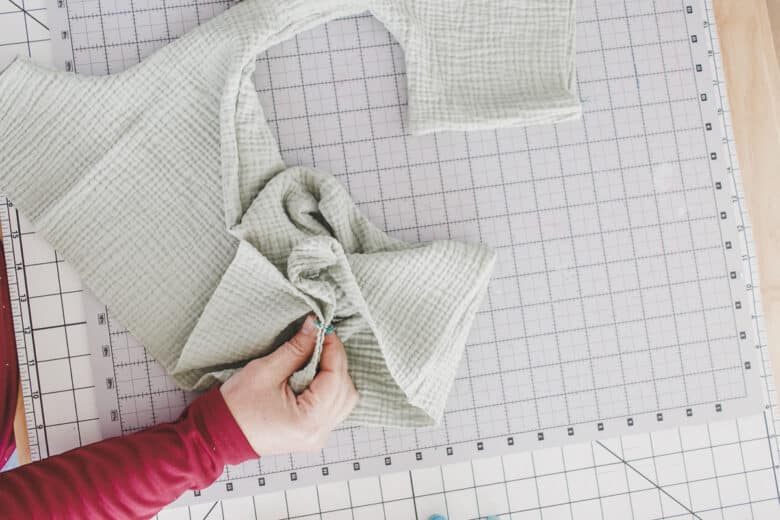
Sew the side seams, then fold the fabric back over to hide the seam inside the layers.
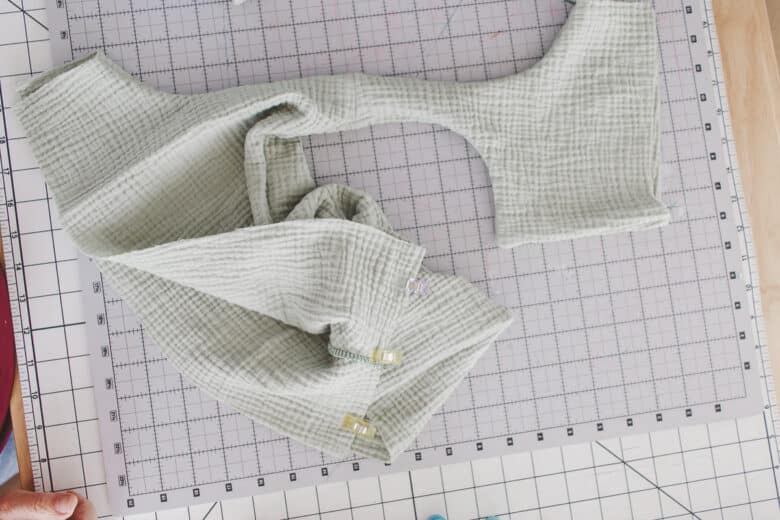
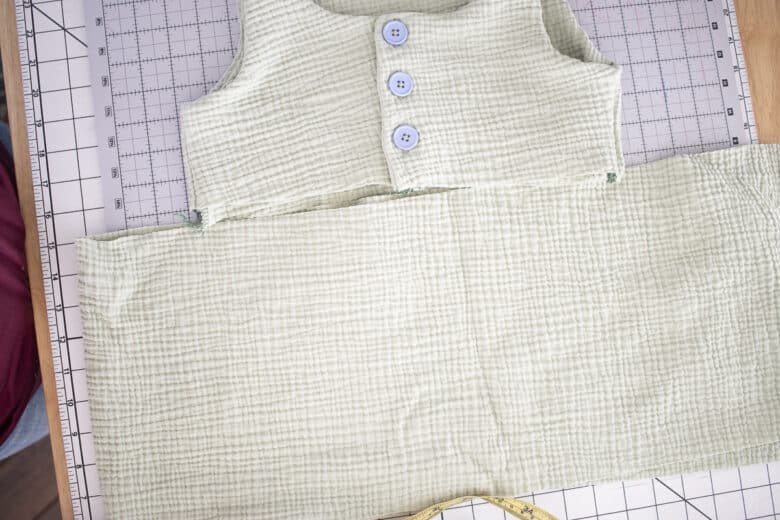
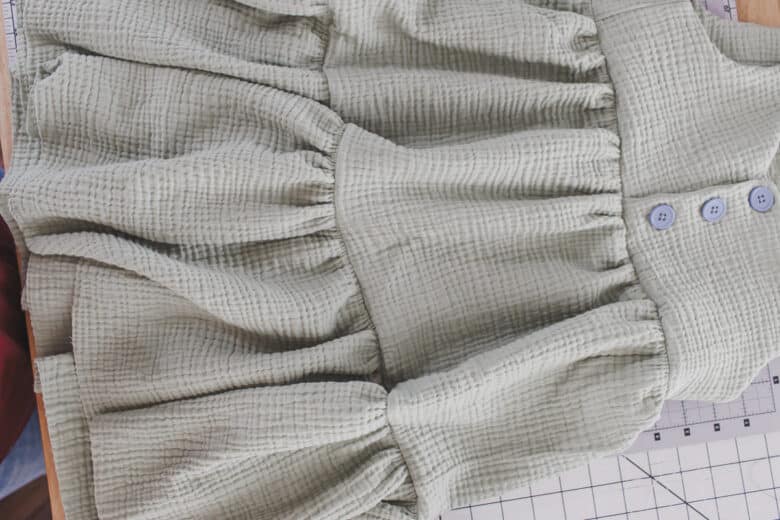
Now you have a tank bodice that is coming together. Overlap 1″ on the front pieces, pin or clip in place to mark overlap.
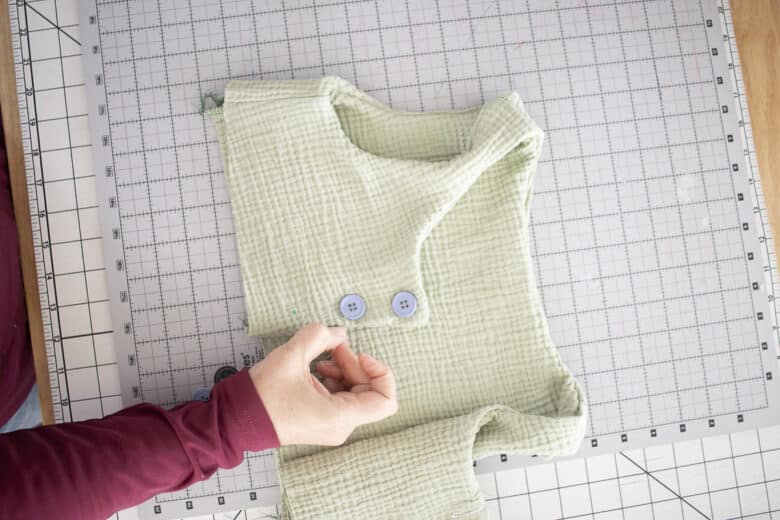
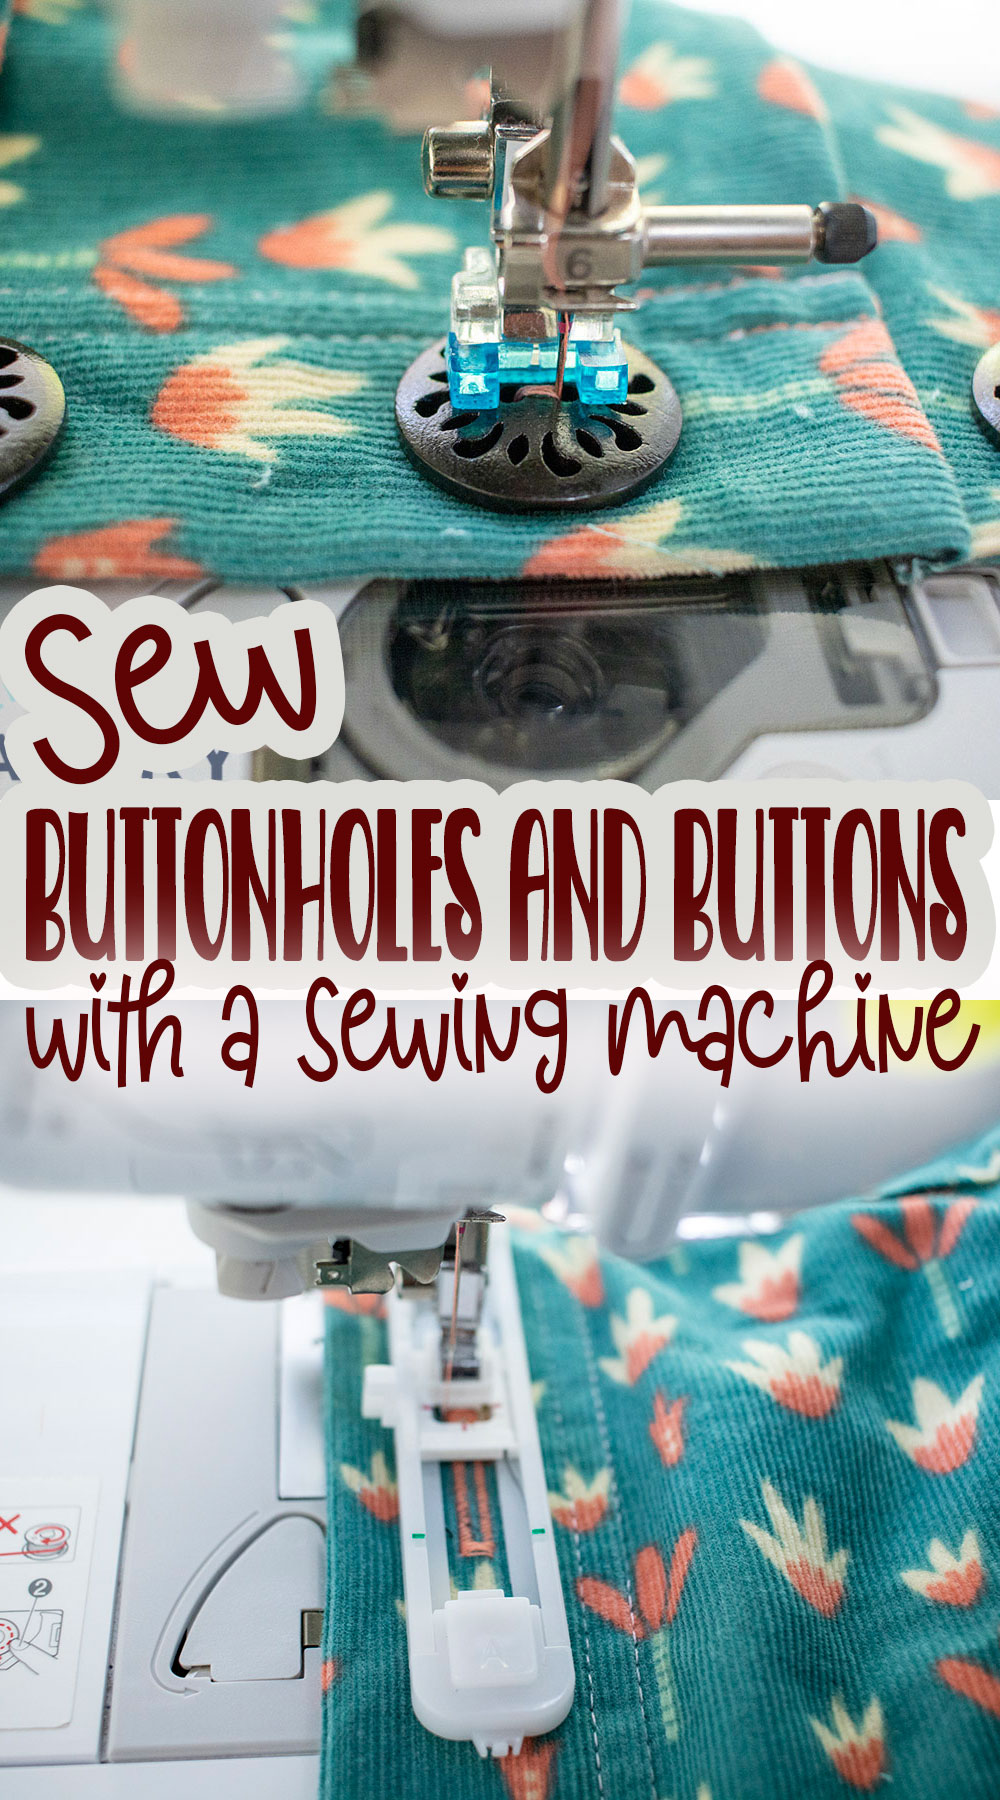
Arrange 3/4 buttons to your liking. Start at the very top of the neck and work down to raw edge. Do not place a button too close to the bottom or you will not be able to sew the skirt. After placing the buttons, I like to make the bottom of the button for hole placement.
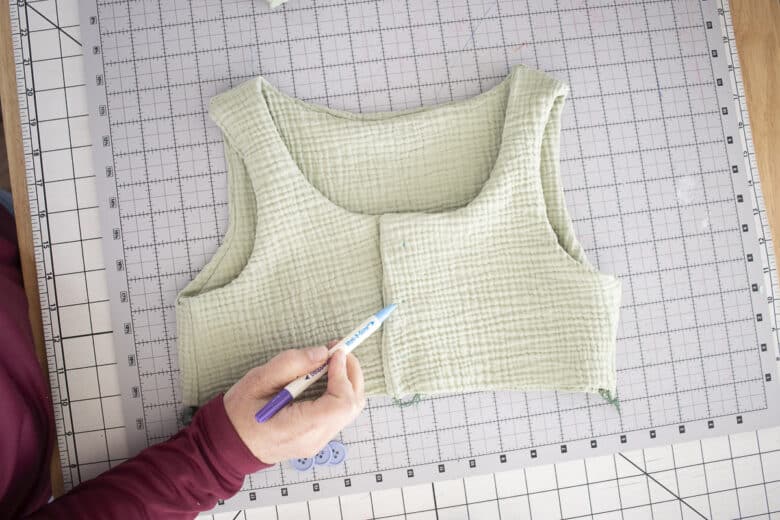
Sew the buttonholes on your sewing machine. {tutorial linked if needed} Cut open the holes and then mark through the center for button placement.
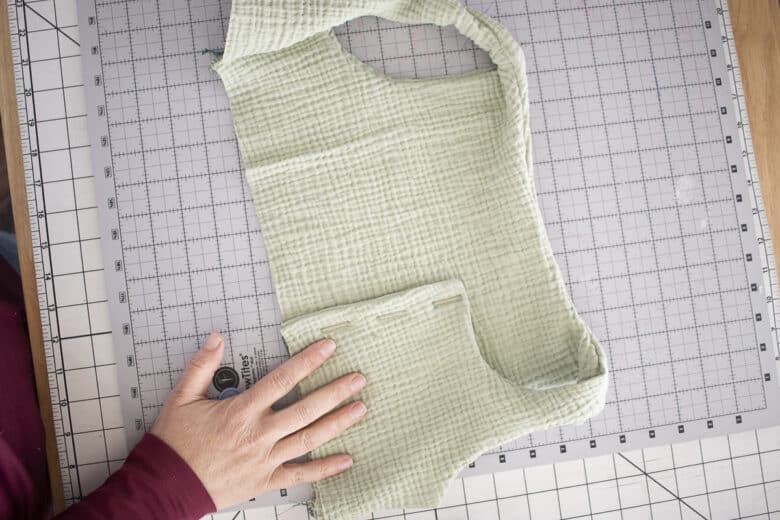
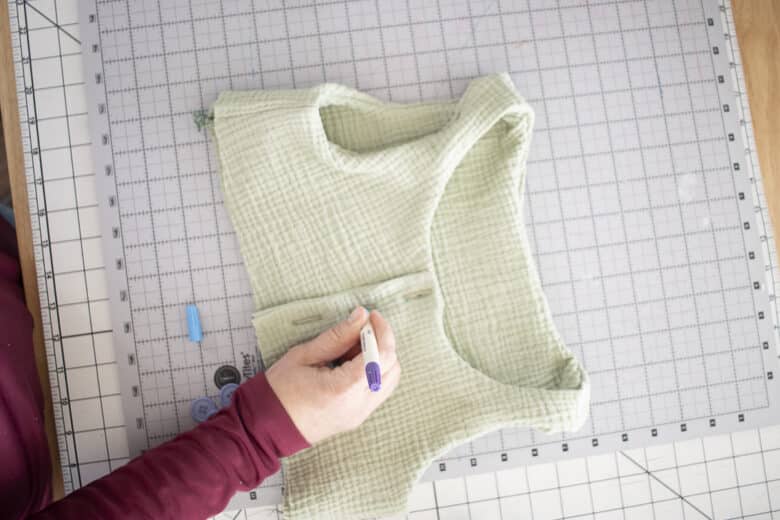
Sew on the buttons.
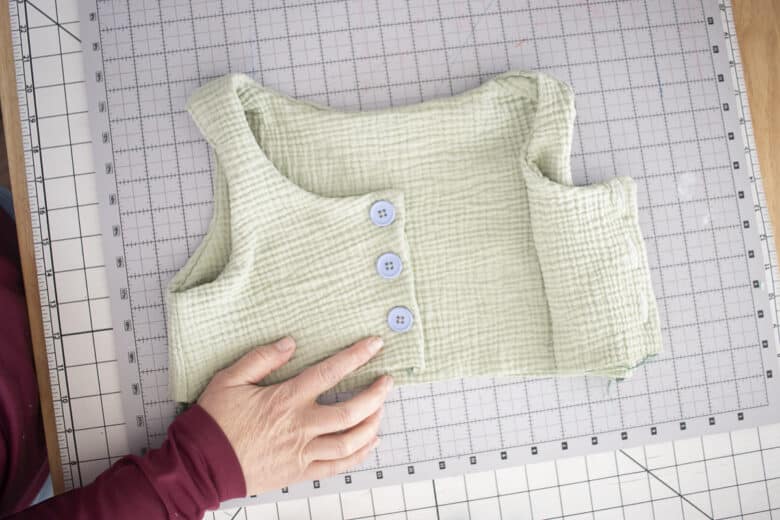
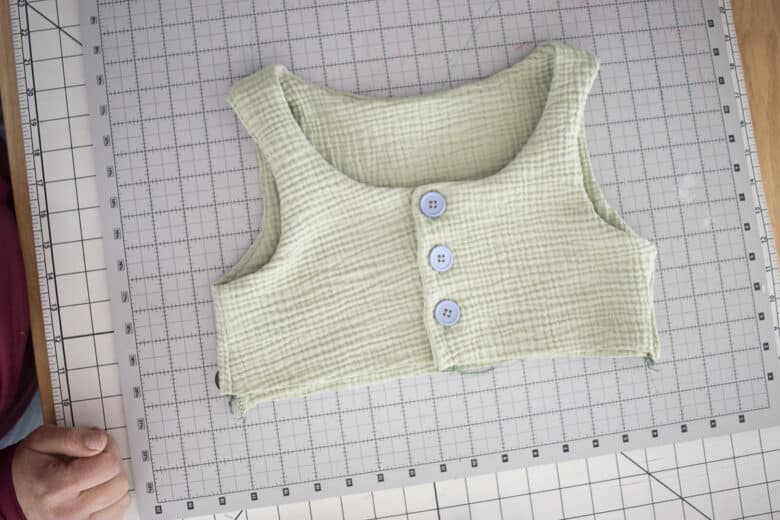
I’m loving how this is all coming together! Now measure the bottom of your bodice, the skirt will be built off this measurement. Mark this circumference {mine was 28}, then decide how long you want the skirt to be. I wanted it around 30″ long.
You can measure your child from the shoulder top down to see how long you want the completed dress to be, or lay this tank over a dress that you like the length.
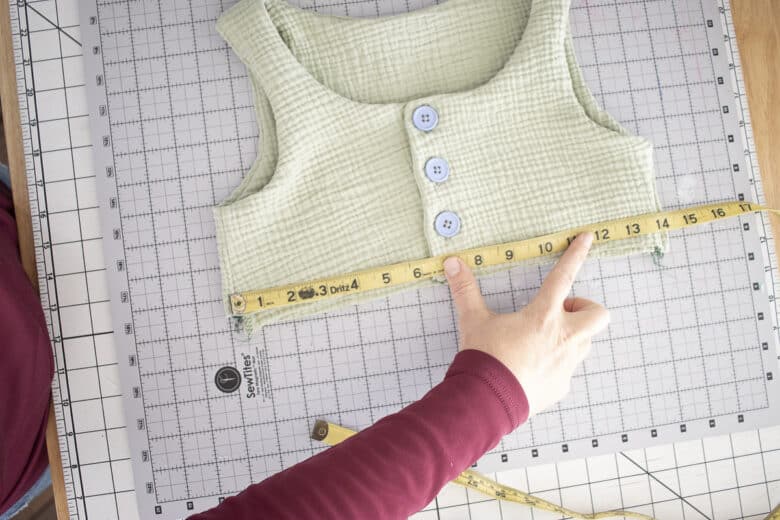
After you have your dress length {mine was 30}, divide that by three {or two if you only want two tiers} So I needed 3 tiers of 10 inches. You also want to add 1″ to each tier for seam allowance. This is how you decide the height of each tier.
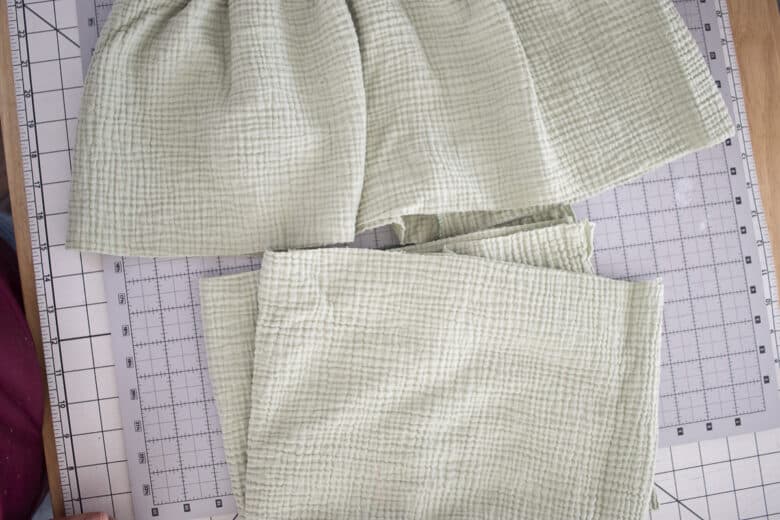
Now for the width. Ideally you want each tier to be around 1.5x the width of the one before. So the first tier, my tank bottom is 28″, so my skirt tier should be around 42″, My fabric was 48″ wide, so I just went with 1 width of fabric. I kept my skirt simple, first tier 1 width of fabric, second tier 2 widths and third tier 3 widths of fabric.
If my fabric was wider than 48″ I would have not used the full width for the first tier. This is again for the size 10/12. For smaller sizes you will not want to use this much for your first tier. I cut all the strips.
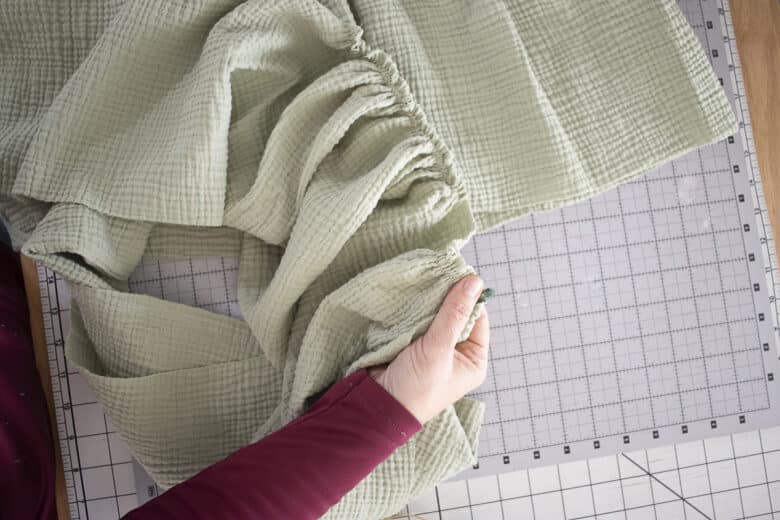
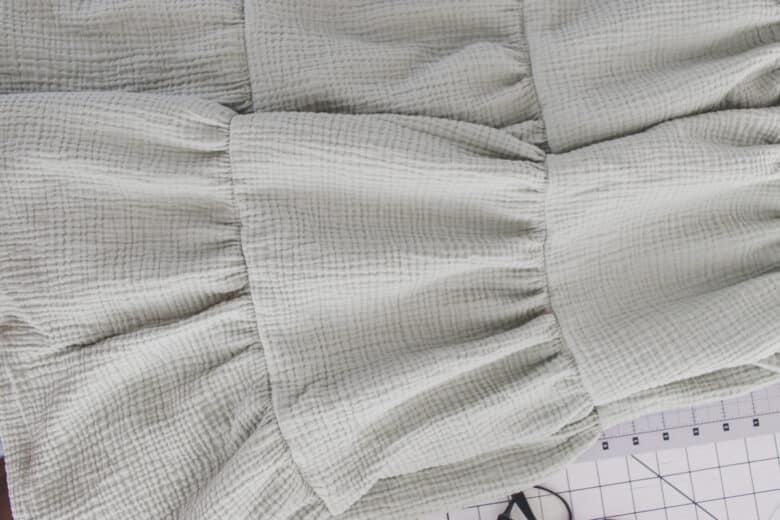
For the first tier, sew the width of fabric in a circle, then gather that circle to match the size of the the bottom of the tank. Need help with gathering? See this gathering tutorial post. I used a two thread gather for this skirt, all tiers.
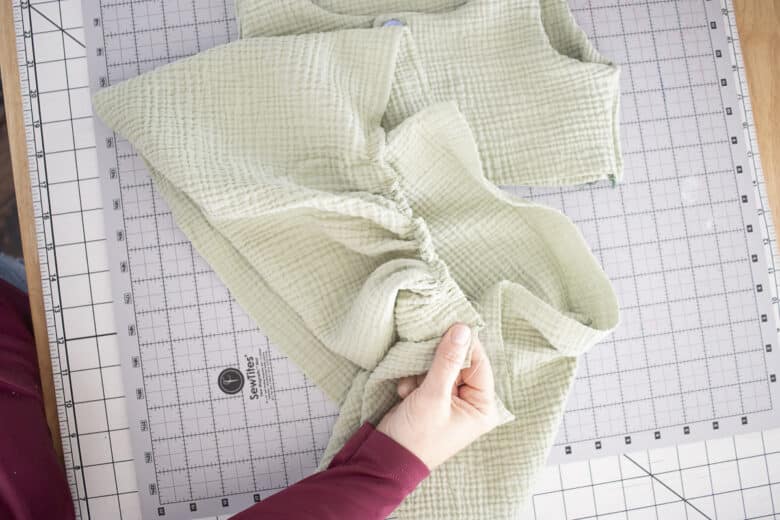
Evenly space the gathers. Pin or clip the gathers to the bottom of the tank top. Sew with your serger or sewing machine. Remove any gathering stitches you can still see.
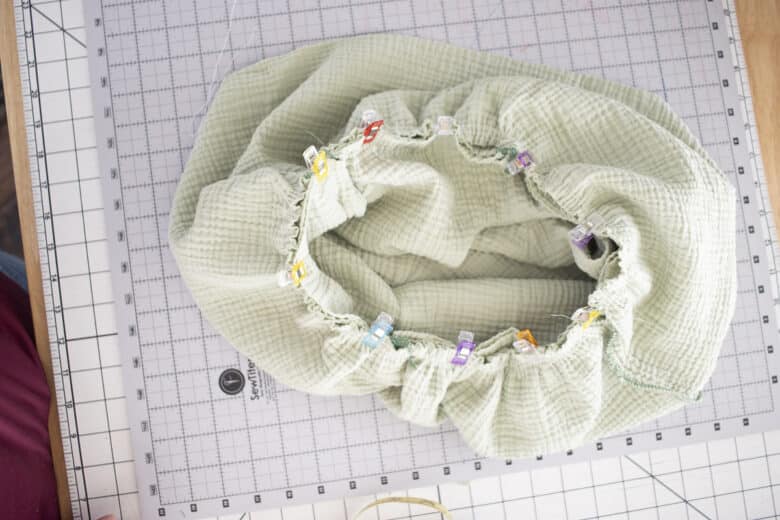
For the second tier take the two pieces of fabric and sew the short ends into a circle. Gather the top of the tier.
Evenly space the gathers, then sew it to the bottom of the first tier. Remove any visible gathering stitches as before.
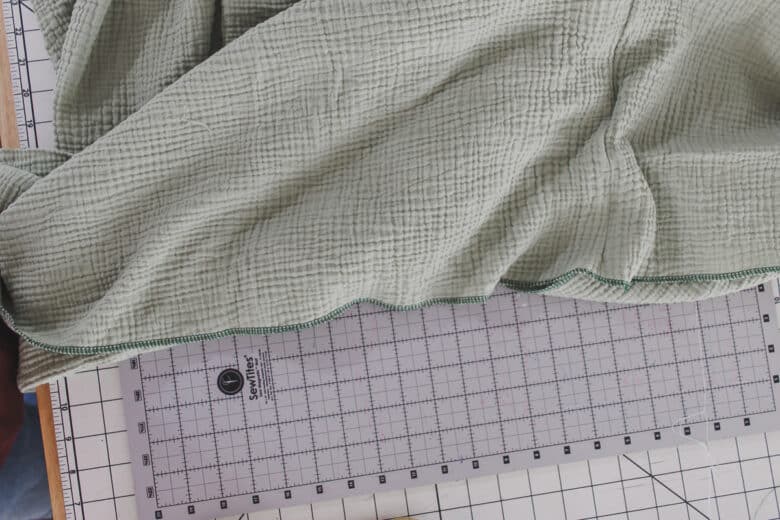
I like to hem the third tier before its on the skirt to make it easier to sew. I sewed the three pieces of the bottom tier into a circle, then sergered the bottom. Fold over a 1″ hem and sew with a straight stitch.
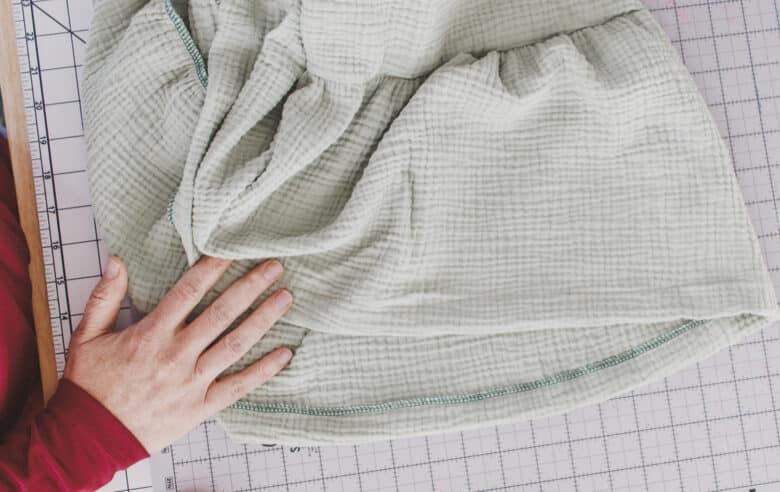
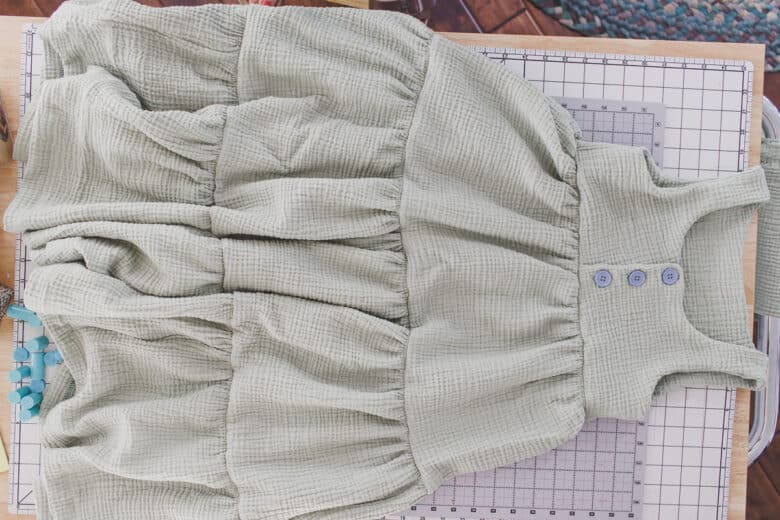
After hemming I gathered the top of the 3rd tier to match the bottom of the second. Sew it on and your tank dress is finished.
I was so thrilled to see this finished! It was a bit of work with all the gathering stitches and spreading out the gathers, but totally worth it in the end!! I would highly recommend the double gauze for this project, just so cute!
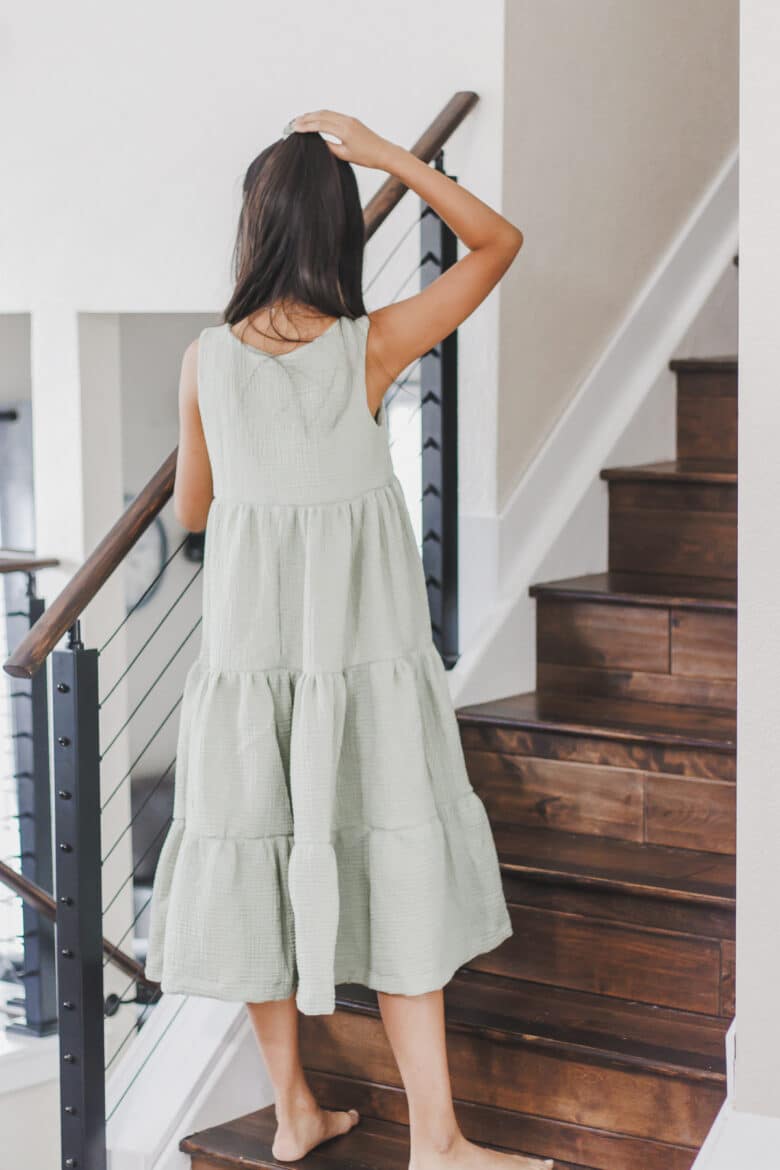
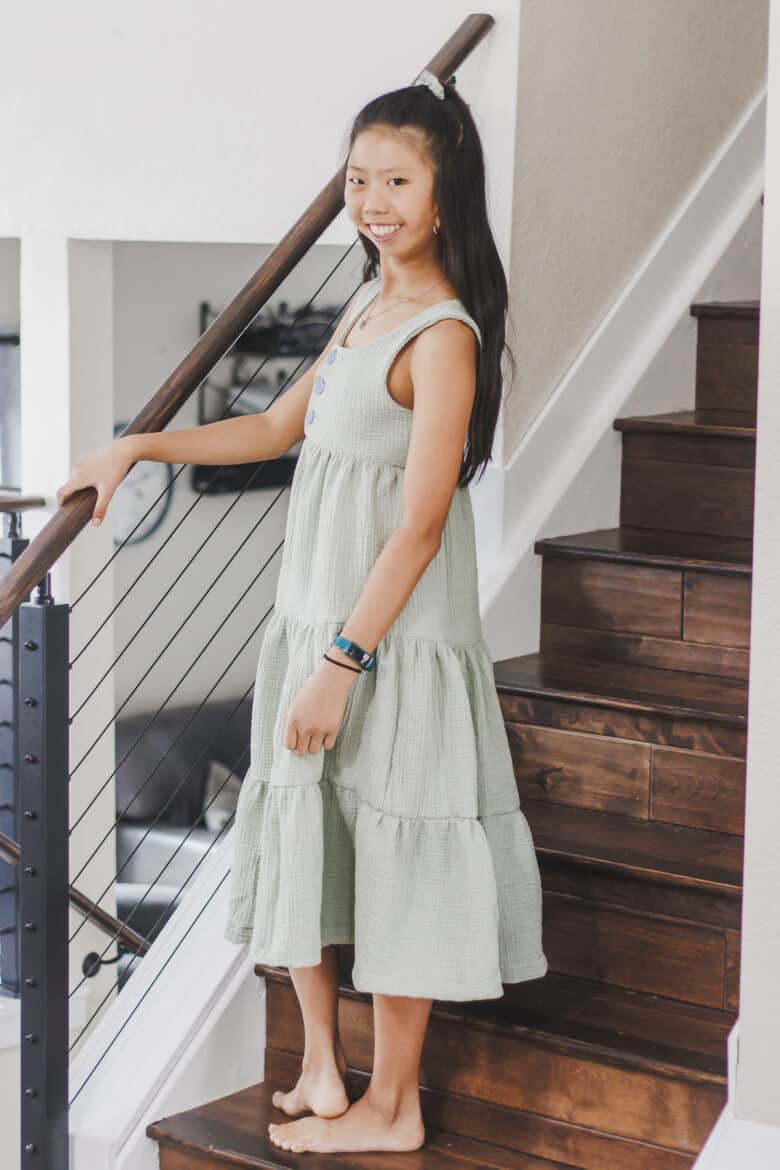
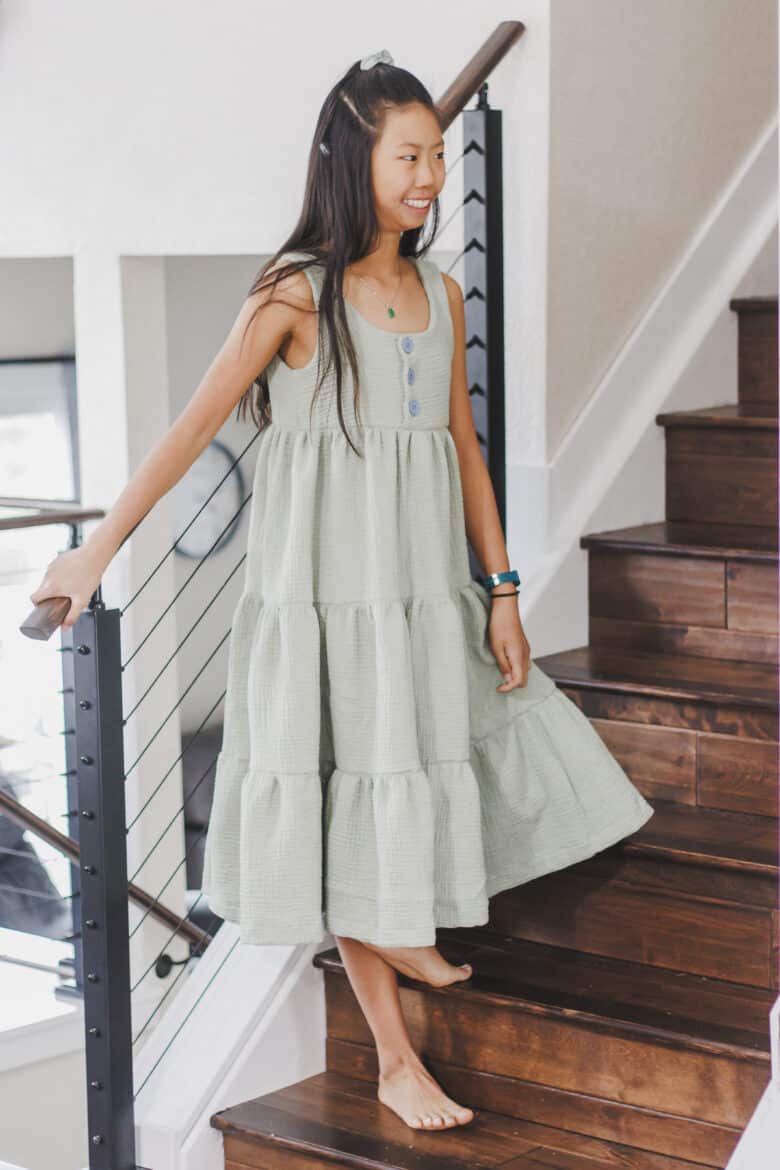
Here are a couple of outtakes from our photo shoot. {haha}


Leave a Reply