inside: use the video tutorial in this post for creating offset lines in your vinyl designs. This is a great feature for creating layers in your vinyl designs.
**reposting 1/2024**
I recently learning how to use offset lines for vinyl designs. I’m making my kids sweatshirts for with their school logos on them for Christmas and I wanted to figure out how to make the double layer designs. I didn’t realize there was a button for this in my Brother software so after some playing around and NOT having success I finally figured out that I could use the offset button to create the design I was looking for. Here is a video tutorial for using offset lines for vinyl cutting.
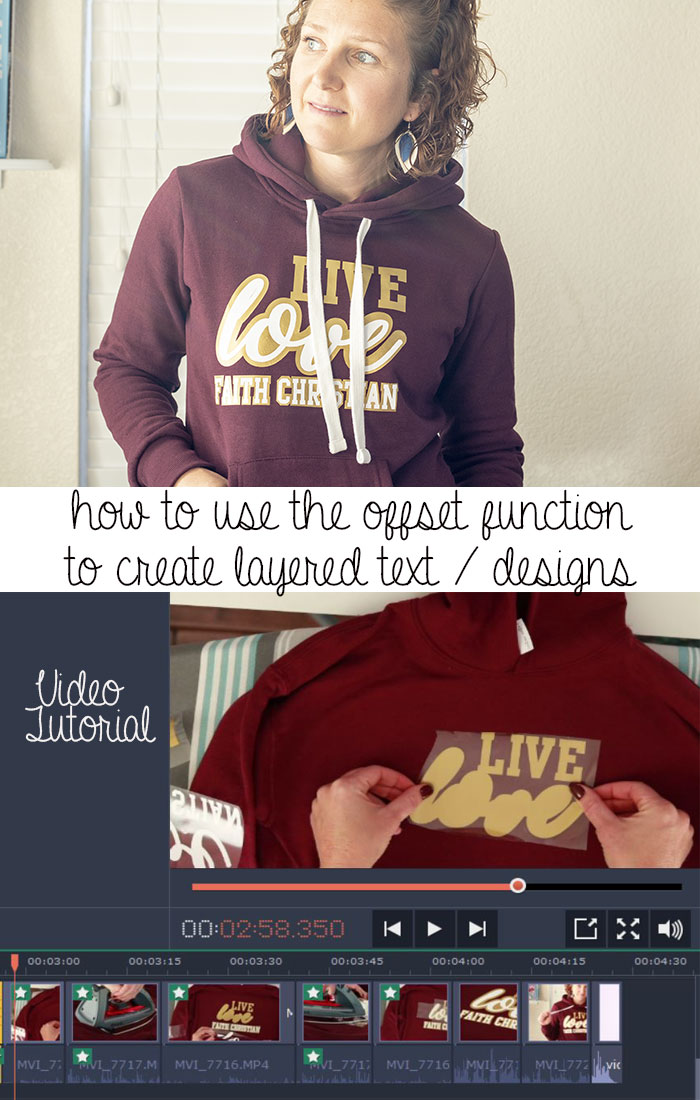
Using offset lines for vinyl cutting –
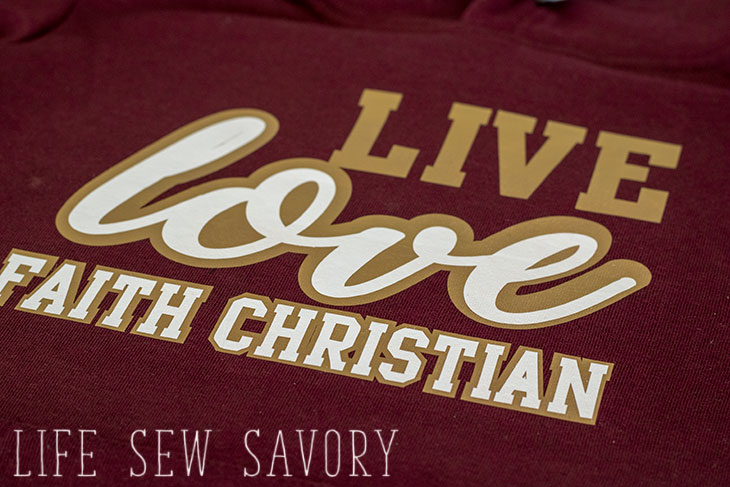
This post will mostly be a video tutorial but I will write out the instructions as well in case that is easier for you to follow. You can find the full tutorial and set by step for using offset lines for vinyl letters when you scroll down. Here is a close up of the double layer text design I created for this project.
My son has been wearing a couple of sweatshirts over and over and they are getting pretty ratty… He doesn’t know it yet, but under the tree Christmas morning he will be getting two new custom shirts. This is a design I made for a girls sweatshirt, but the concept is the same on the other designs as well. I created a few different ones for my kids and their friends.
Ok – So here is the step by step in words… again – scroll down for the video {if you have an AD blocker running you will have to disable to see the video. Also, sometimes I can’t get the sound on in chrome, so you may have to try another browser if you can’t get the sounds to play}
Step by Step Offset directions
- create you design with text or photos
- use the offset button to choose how much you will outline your text and set the options for corners and offset only the outside or the inside lines as well.
- Check your design for preview.
- Use the layers tab to HIDE half of the design. Decide which parts of the design you want for each color. Hide the color you will not cut first.
- Transfer the file to your cutting machine, the hidden lines will not transfer. Cut the first color.
- Go back to your computer and reveal the hidden lines, and then hide the ones you just cut. Re-send to your cutting machine and cut the second color vinyl.
- Iron one layer at a time onto your shirt… Keep all the vinyl covered when working on the layers so you don’t melt it!
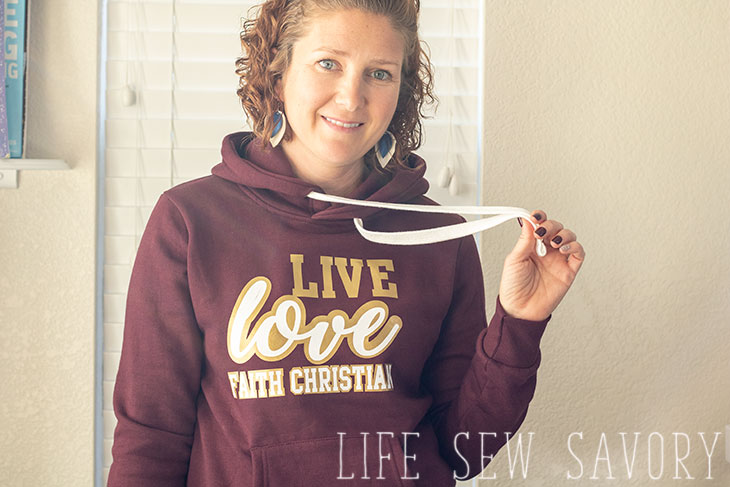
Creating double layer vinyl letters –
Here is the full video tutorial. If you are having trouble seeing the video, make sure you aren’t running an ad blocker. I’ve also had luck using a different internet browser if there is an issue.
Other vinyl tutorials to try




Leave a Reply