inside: Sew up some cute quilted Easter decor with this tutorial and egg svg.
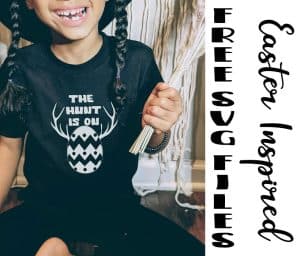
Have you started to think about Easter yet? I know St. Patricks day is tomorrow, but this year the two holidays are pretty close together…. so today I’m part of an Easter Inspirations series and sharing this cute quilted Easter Decor. I’ve just added {spring 2019} the free svg fie to cute the egg part with your Scan N Cut or other cutting machine.
Make sure to scroll all the way to the bottom to see all the other amazing Easter Projects. As for me, I’m combining my love of holiday decorations and sewing in this pretty simple project…Quilted Easter Decor….. It’s a great way to use up scraps and if you can sew a straight line – or even not-so-straight, you can make this!
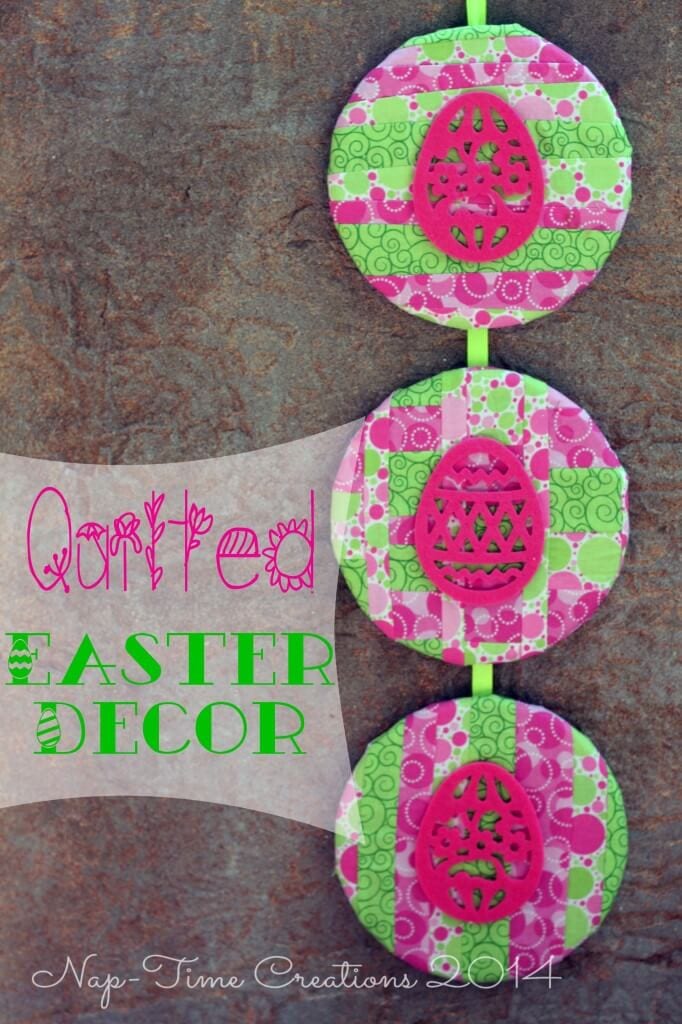
Quilted Easter Decor –
You will need
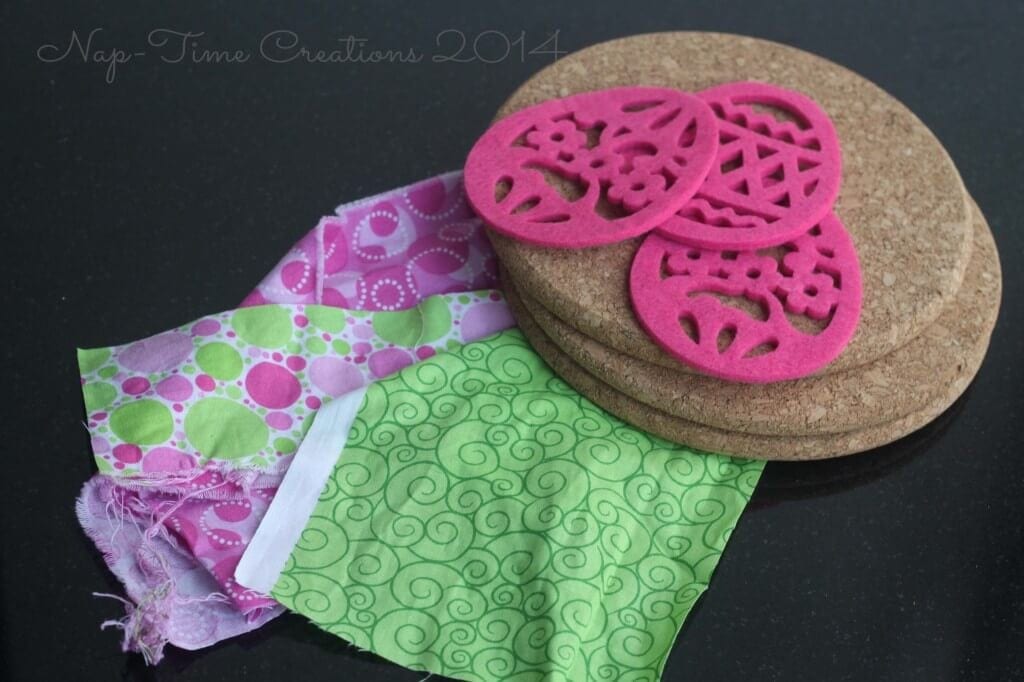
- 3 circle cork boards,
- fabric scraps and
- some felt Easter shapes – like these on Amazon {great deal!}
- I found these Egg shapes at IKEA, but you could always just cut out some egg and chick shapes from felt. I also found the corks at IKEA. **added….you can now use this free svg file {and pdf} to cut out the egg on your cutting machine. Here are some cute Easter fabrics too!
Download the file, then unzip it and use the SVG or PDF file to cut out some cute egg shapes {or create your own!!}
 I created three different quilted patterns. I didn’t measure when I cut… I just wanted the scrappy look. You will need to cut the fabric 1-3 inches wide and 2 inches longer than the cork circle. You can make some all the same size, or really mix it up.
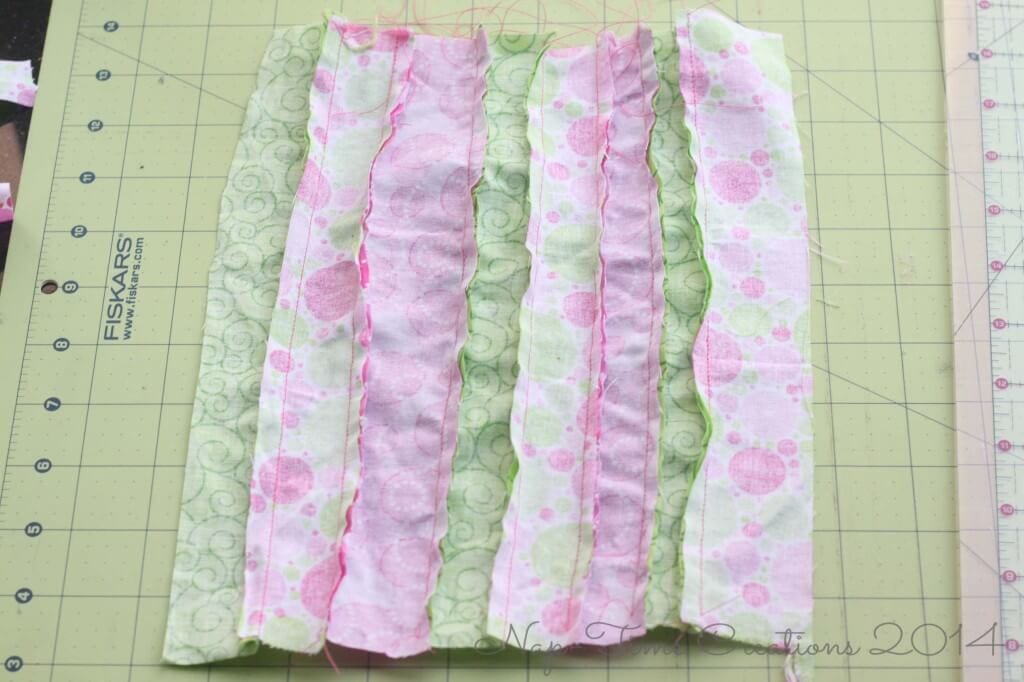
This one I sewed all the lines on an angle. 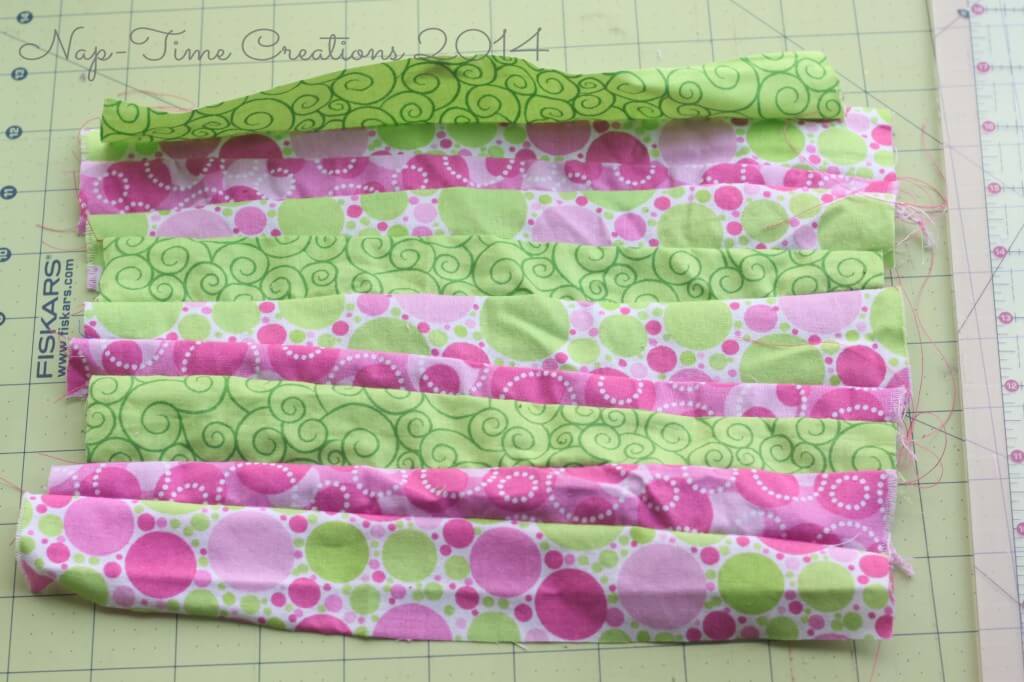
And this one I just went crazy and sewed small patches in a row, then joined them with a small strip of fabric.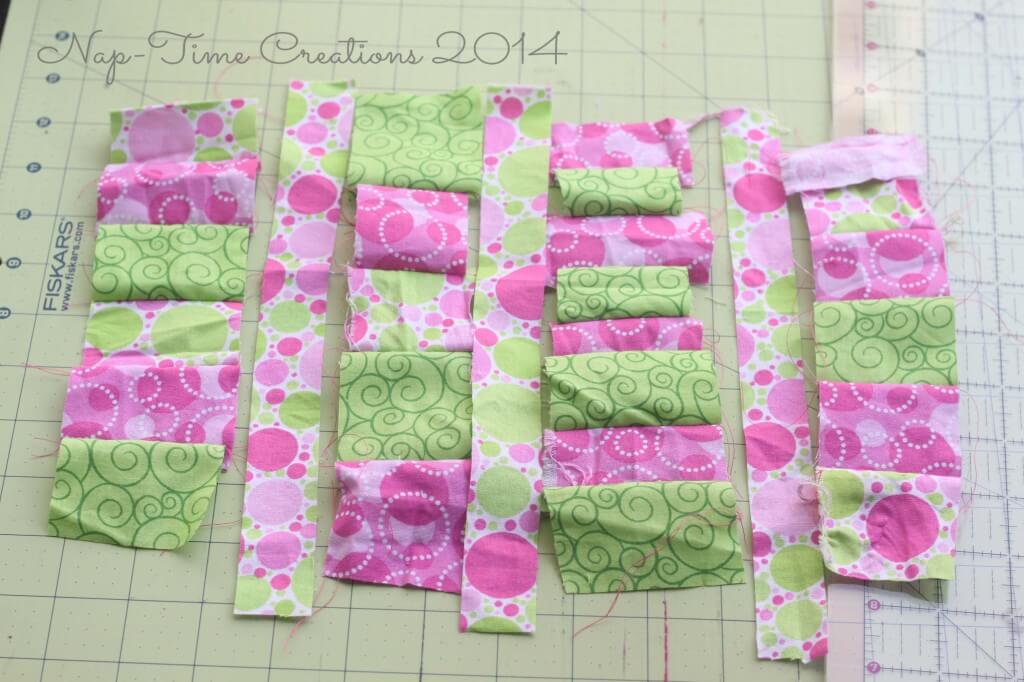
Measure to make sure you have a good size. You will need enough to stretch to the backside and staple.
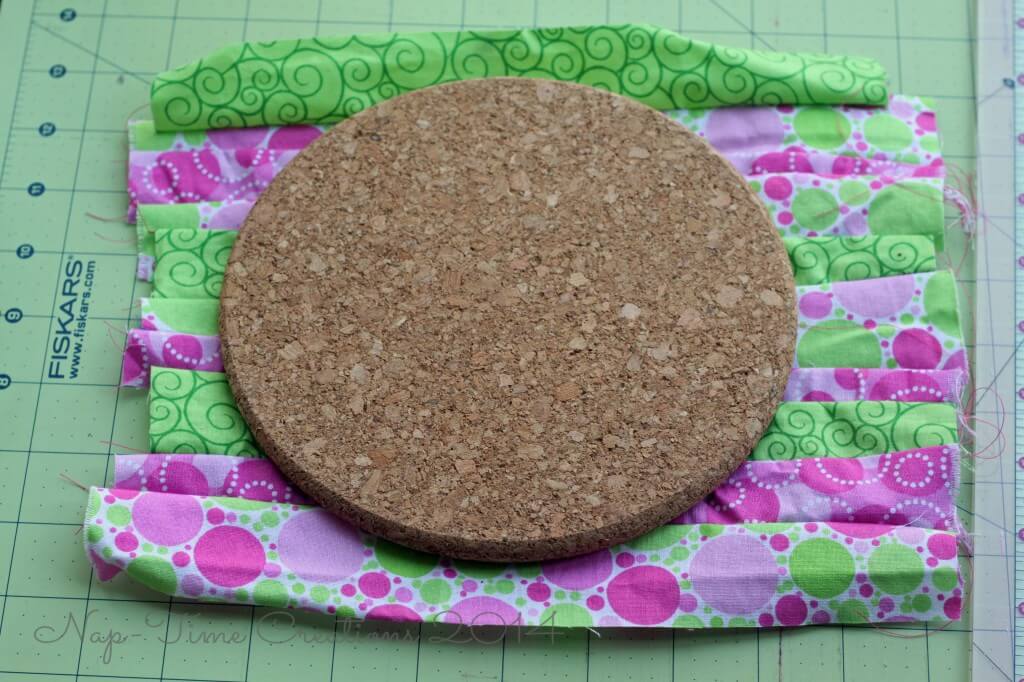
Start by stapling four different opposite sides, then work around between those staples attaching as you go.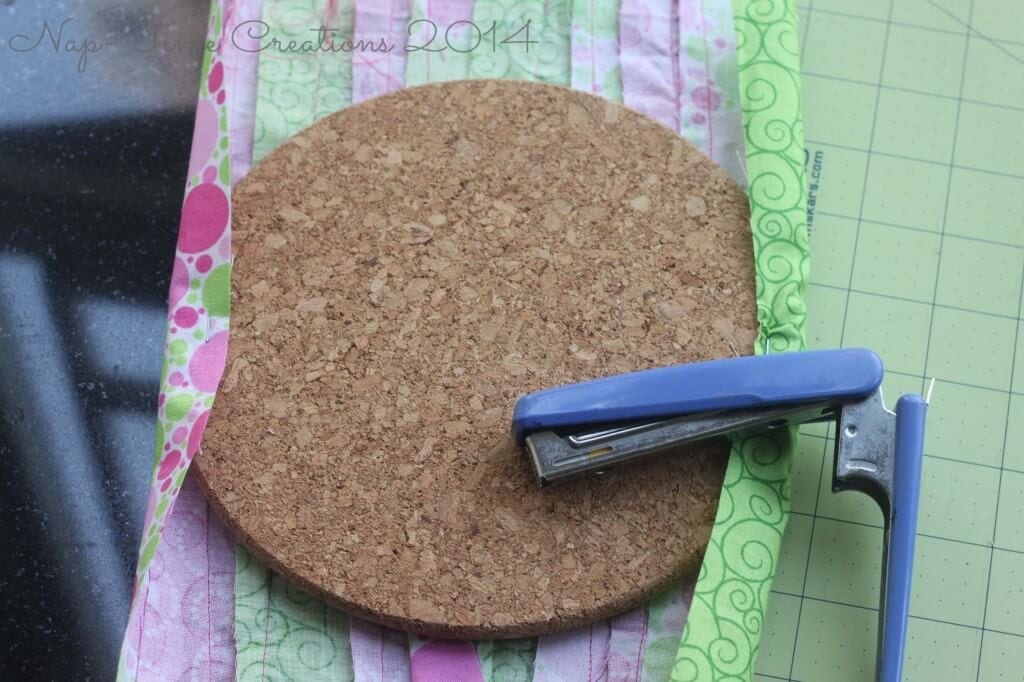
The back will not look pretty, but I didn’t care… no one will see it. If you really mind you could cover the backside of this with a felt circle. I did trim the extra fabric.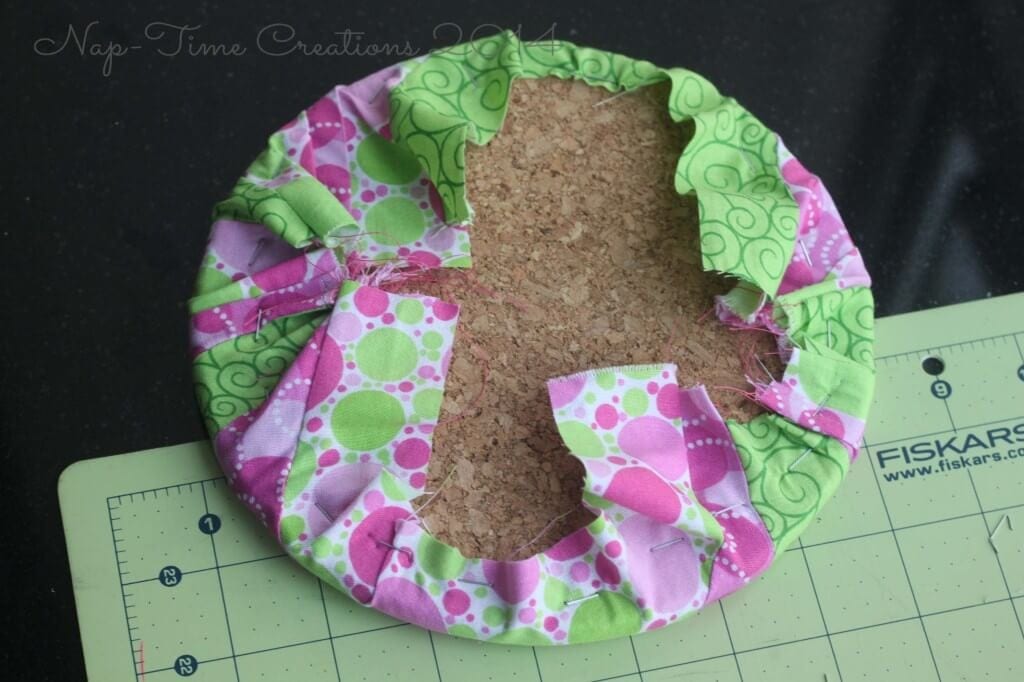
Place your felt shape on top and glue to hold.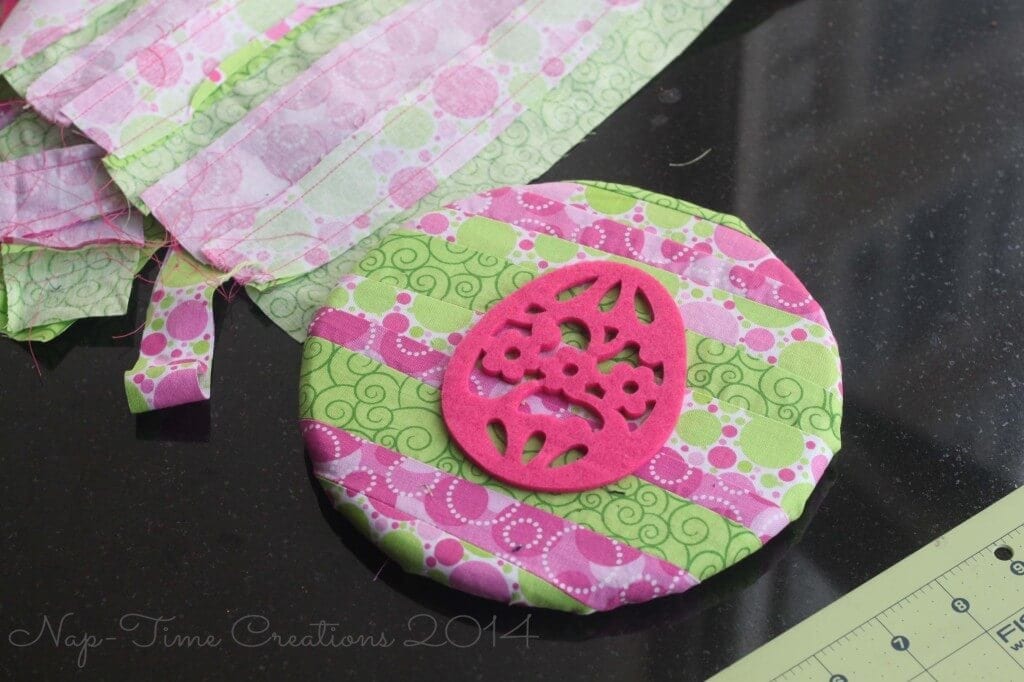
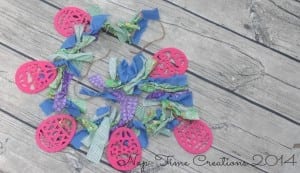
Cute, right? I just love the way this looks. You can hang just one, or attach them together with a ribbon like the first photo. 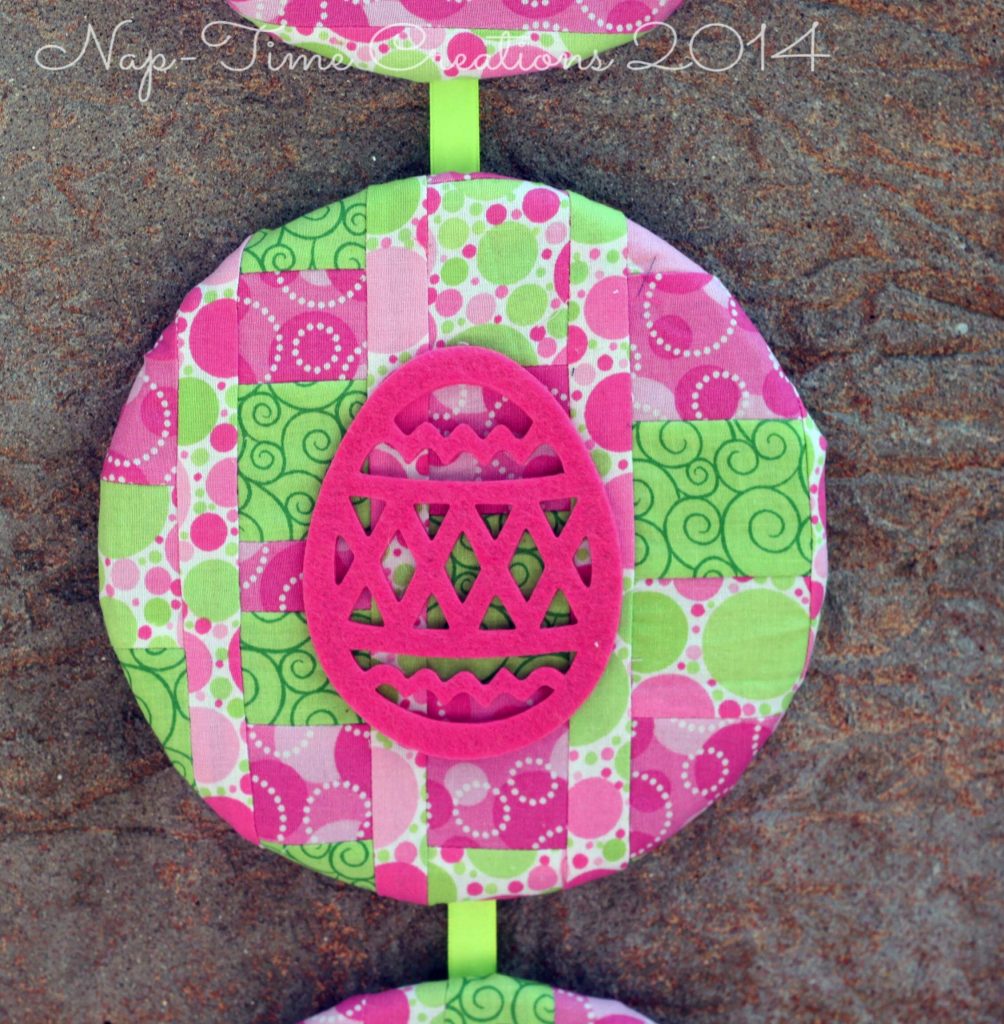
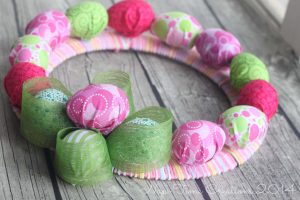
It also looks great just like this. I’ve hung them up in our home and we are loving the bright Easter colors. 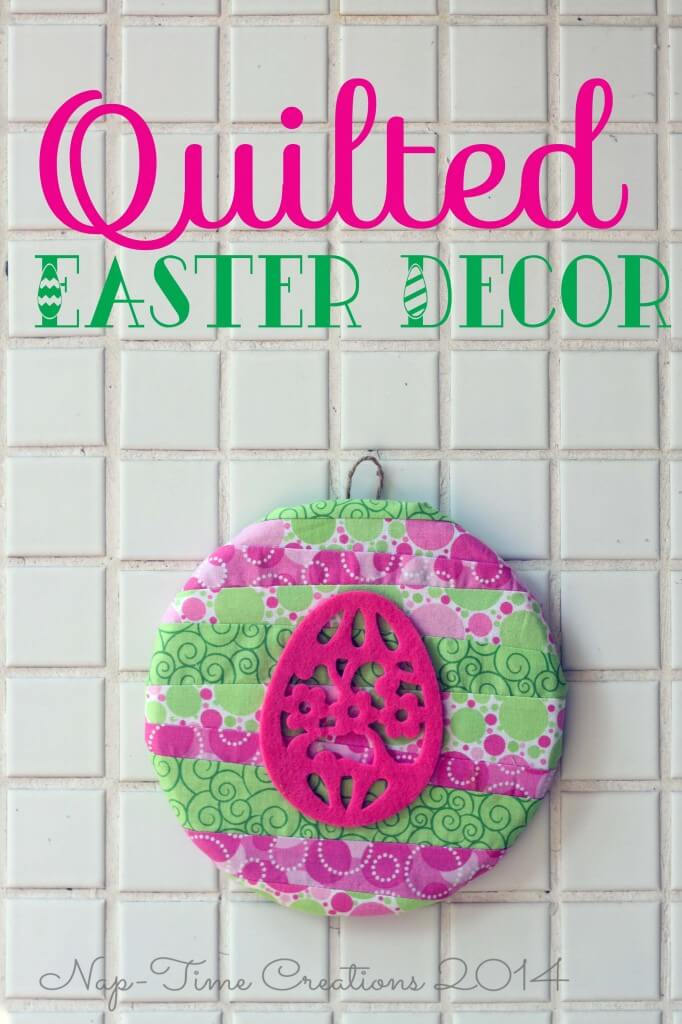 Hop on over to my blog and see all the Easter I’m posting this week!
Are you ready for more Easter inspiration? Check out these awesome Easter projects from some of my talented blog friends.
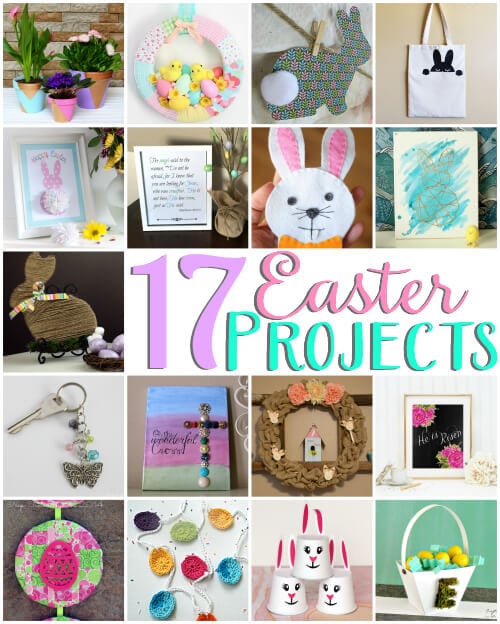
From Top to Bottom, Left to Right:
Pastel and Gold Painted Flower Pots by Happy Go Lucky






Bethany says
I love the colors and fabric you used for your Quilted Easter Decor! Thanks for being a part of the blog hop. 🙂
Marilyn says
This project is so fun and colorful! Thanks for inspiring me today!
Kristen from The Road to Domestication says
So creative and PRETTY! Thanks so much for taking the time to link up with us over at the #HomeMattersParty – we hope to see you again this Friday! Feel free to bring a friend!
Kristina & Millie says
Oh these quilted Easter Decor signs/banners/artwork – not sure what to call them! – are awesome! I love the colors you choose – very spring! and since the strip quilting is about the only quilting I can do well, I love you did that style! This idea would be great for just about any holiday by swapping colors or to match any decor. I could see doing some with little toys for a child’s room! Thanks for sharing with Snickerdoodle Sunday!