inside: Sew a beautiful girls button front skirt with this free sewing pattern and tutorial. The perfect fall skirt with buttons all down the front and a fitted look. Sizes 2-14 for girls.
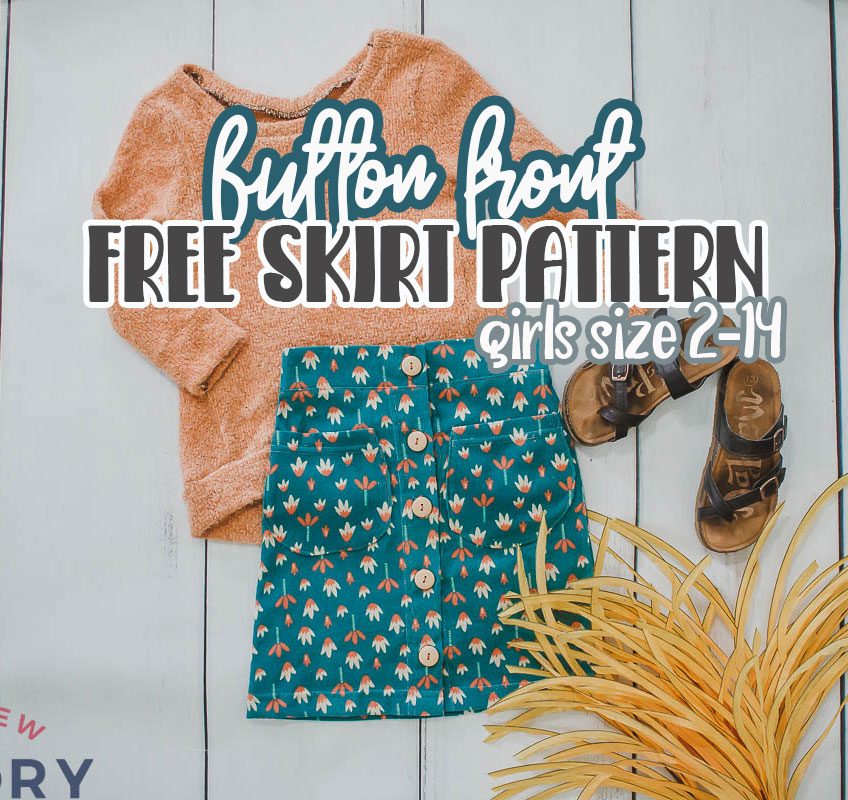
I’m SO excited it’s actually getting cooler here. Fall weather means fall clothes and my daughter has grown a lot since last fall so she needs new clothes. She needs a mix of play and school clothes that are comfortable and cute. This button front skirt is NEW free sewing pattern that I’m loving and I hope you do as well.
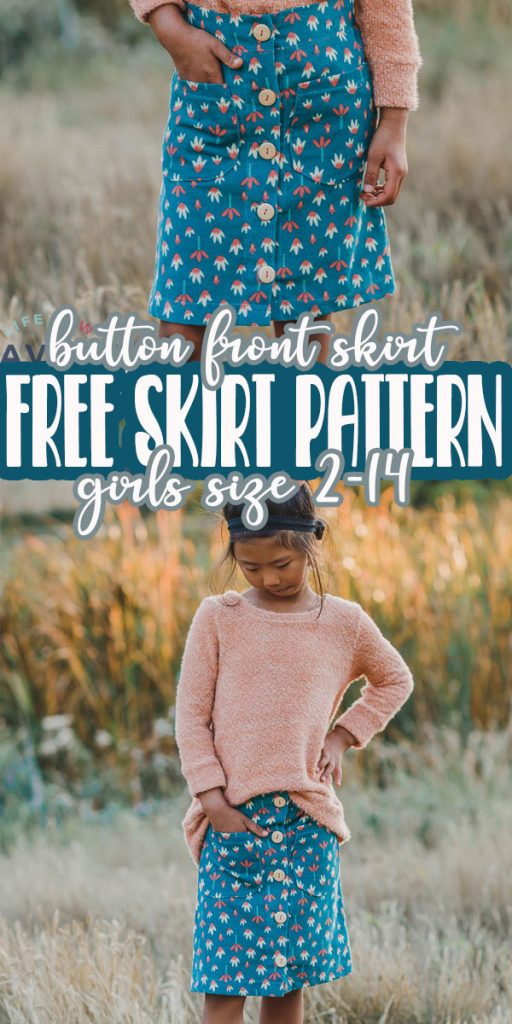
Girls Button Front Skirt Pattern –
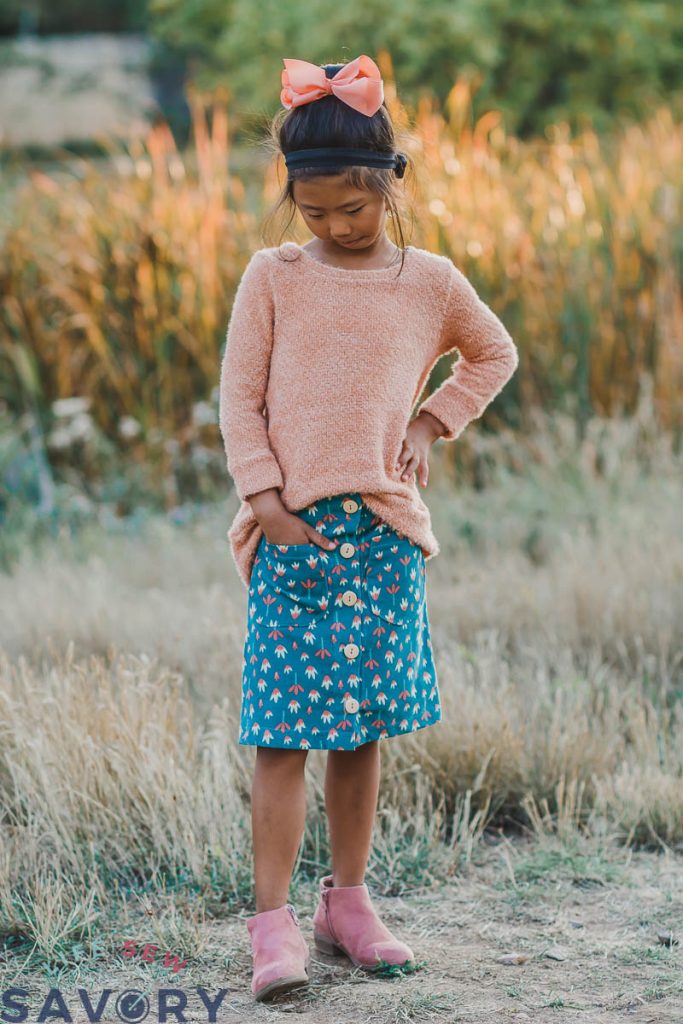
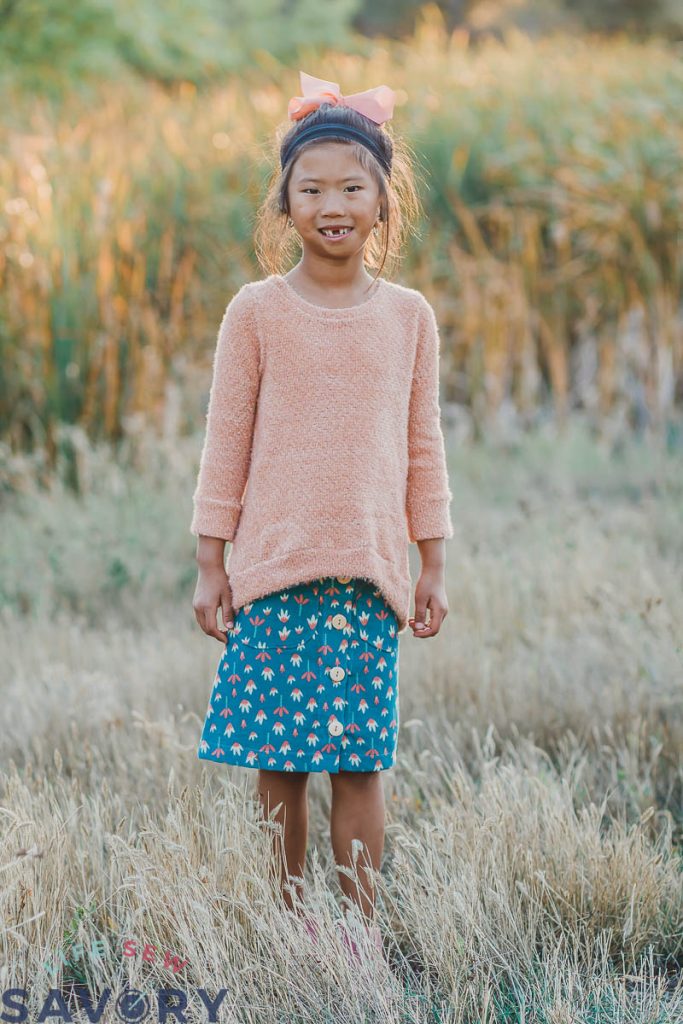
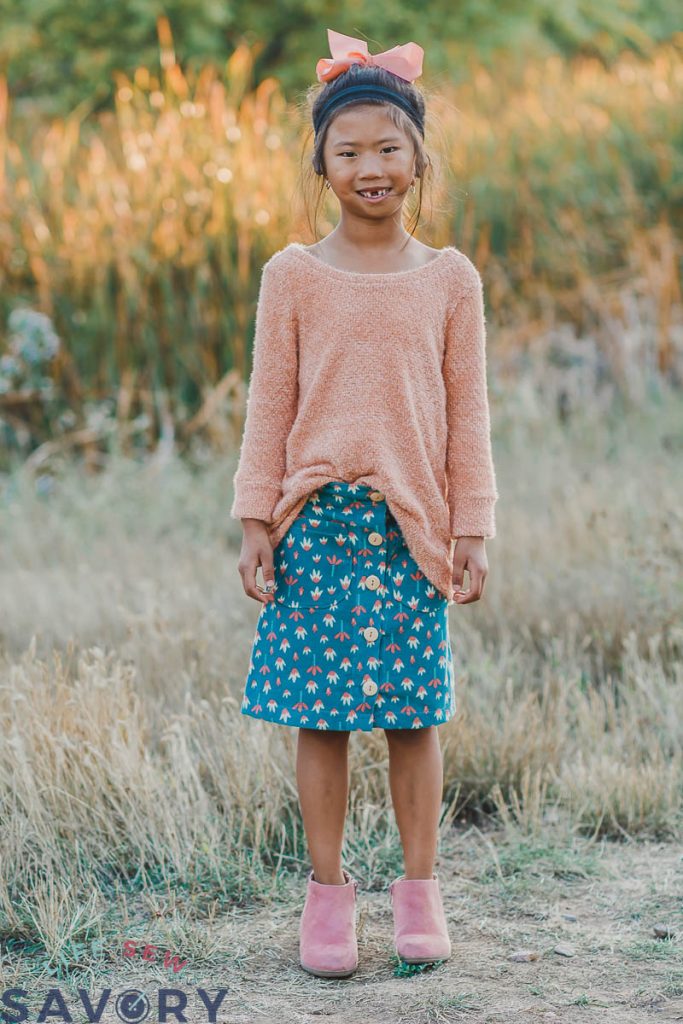
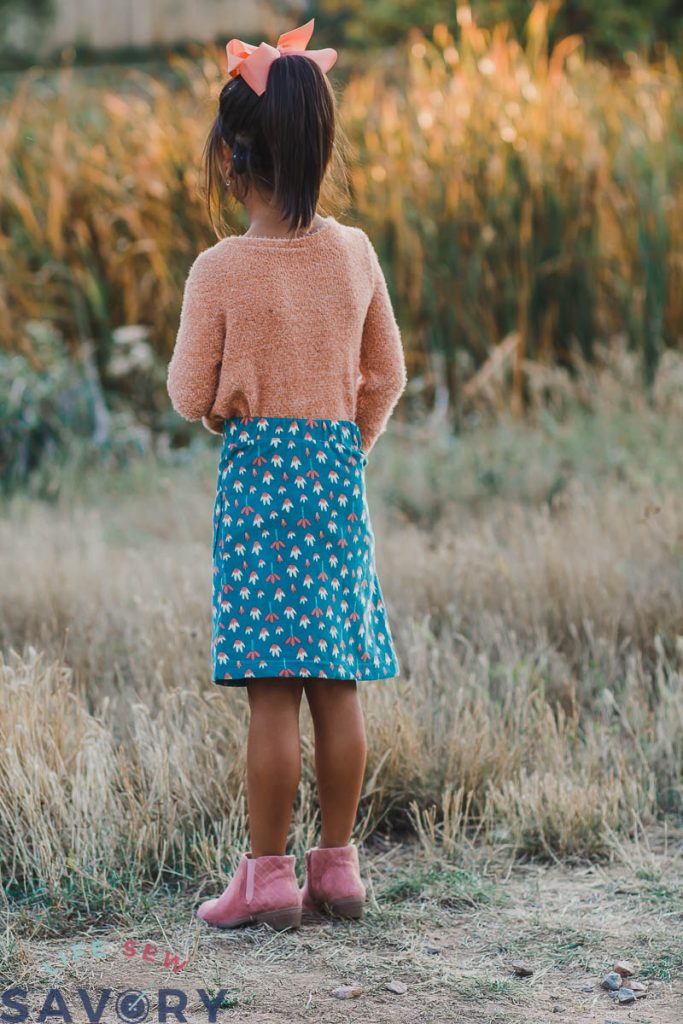
So cute for fall right? This makes me SO excited for more fall sewing. Have you seen my post on all my favorite fall fabrics?
I made the sweater to go with the skirt, but it ended up a bit longer than really looks good with this skirt, so we will have to find another shirt to wear. The sweater was sewn with the free sweatshirt tunic pattern. It was fun and easy to turn into a sweater.
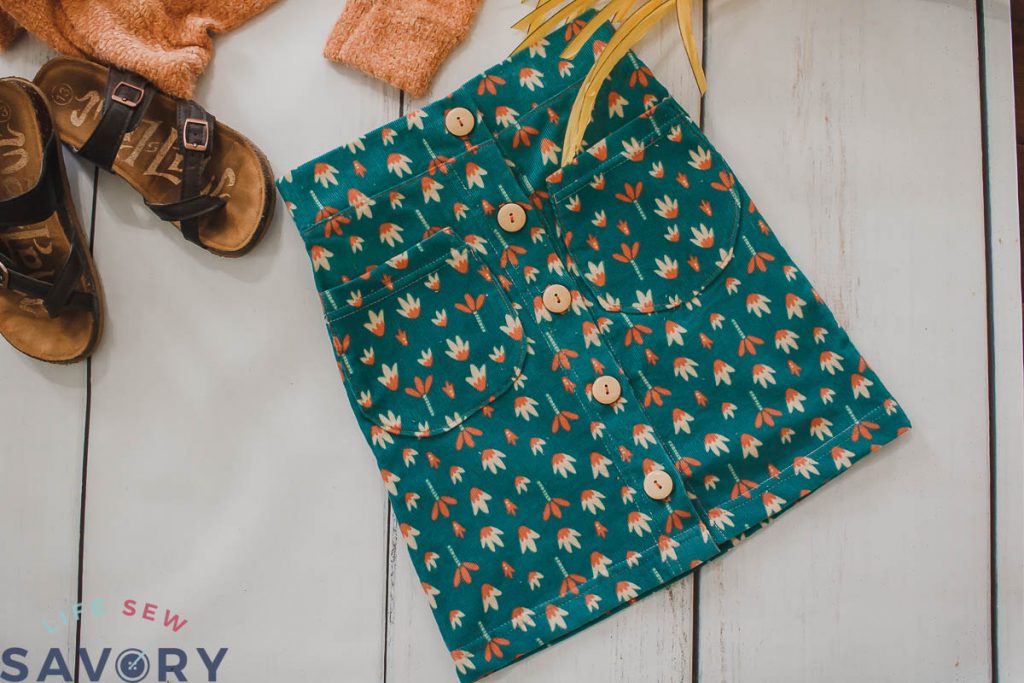
I love this skirt in corduroy… I found this particular fabric at Hobby Lobby. It has just a hint of stretch and is a medium weight.
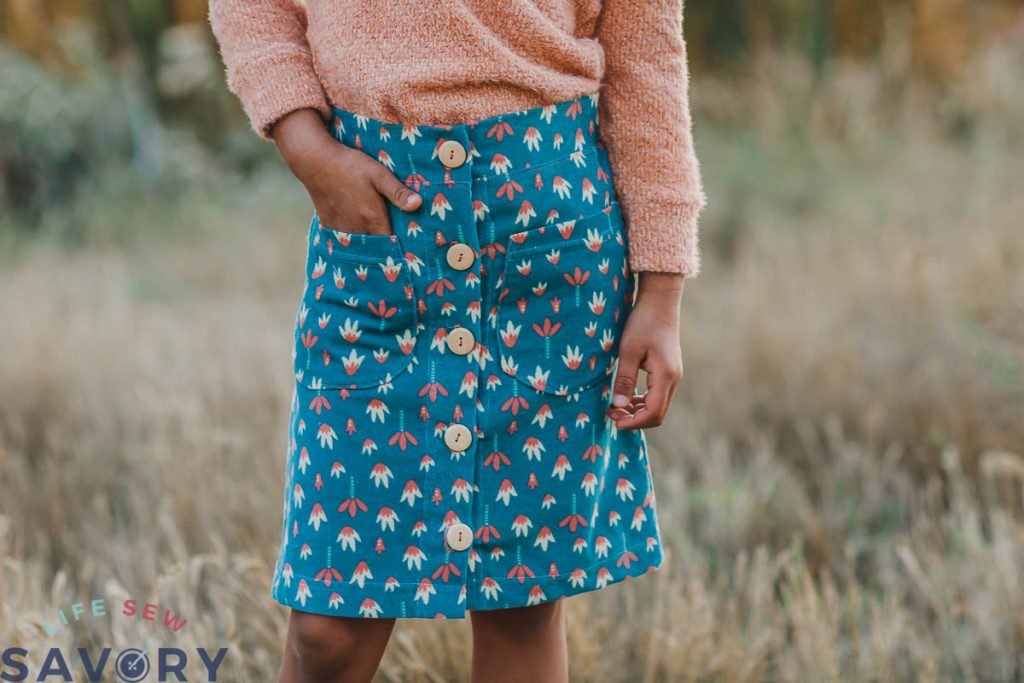
This skirt would work well in any woven medium weight fabric. Twill, corduroy, denim… just not too stiff or heavy.. AND.. a womens version is coming next Friday.. SO excited for my version as well…
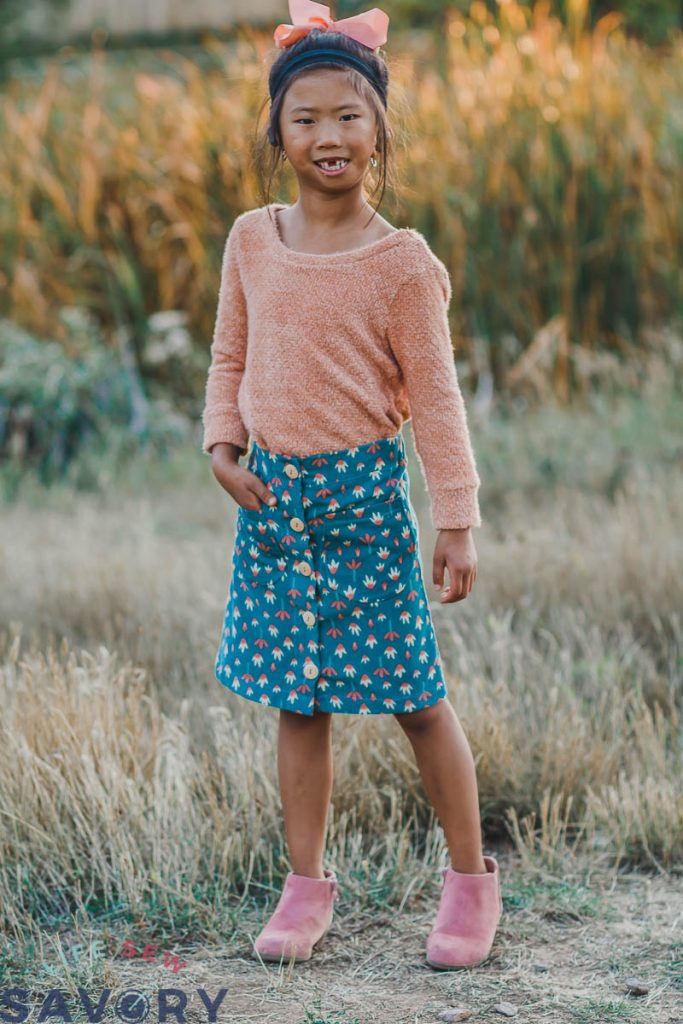
It was warm when we took these photos, but this outfit would look amazing with leggings as well. Here is the free girls leggings pattern as well for you to use for this outfit.
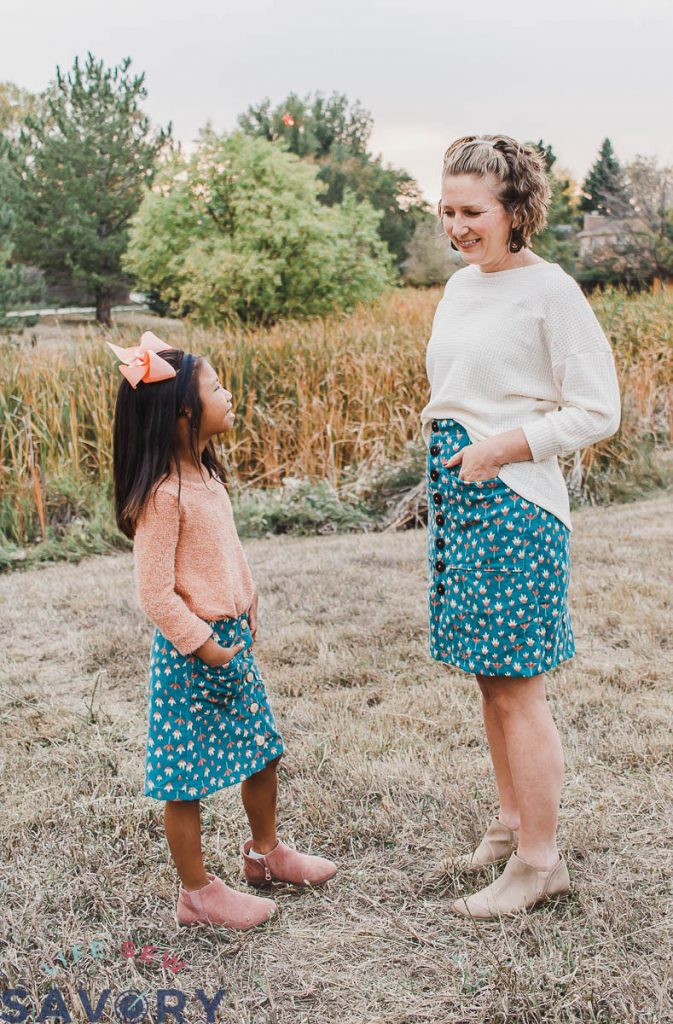
Want to match your little one? Here is the WOMENS VERSION of the same skirt.
Other free skirt patterns and tutorials
- Cotton and Tulle Skirt
- Circle Skirt
- Paper Bag Style Skirt
- Tiered Skirt
- Shirred Waist Skirt
- Ruffle Layer skirt
Free Skirt Pattern Download –
Print and assemble the pdf pattern. You can download it from my shop HERE, or the button below. Need help with assembly? Check out this tutorial: Everything you need to know about PDF patterns .
Free version includes pattern pieces and the tutorial can be found here.. all for free. Want it all in a PDF format you can download and print? Get both pattern AND instructions in the premium version.
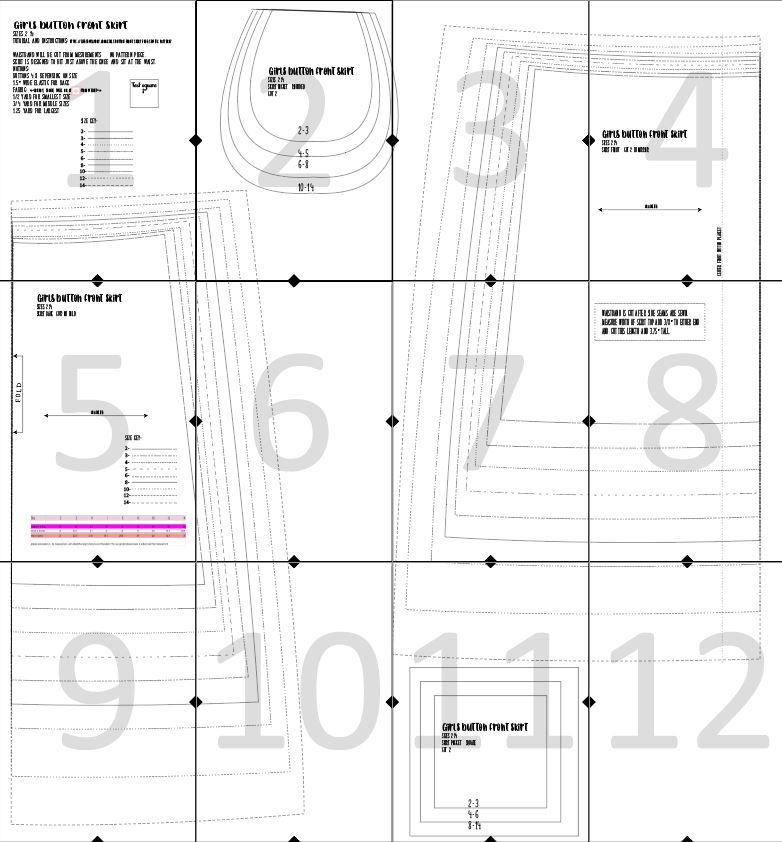
Here’s the pattern layout for your assembly use.
Here is the size chart to decide which size to sew. Choose size based on hip and then adjust and blend sizes for height and waist.

Button Front Skirt Sewing Tutorial –
A 3/8″ seam allowance is included unless otherwise noted.
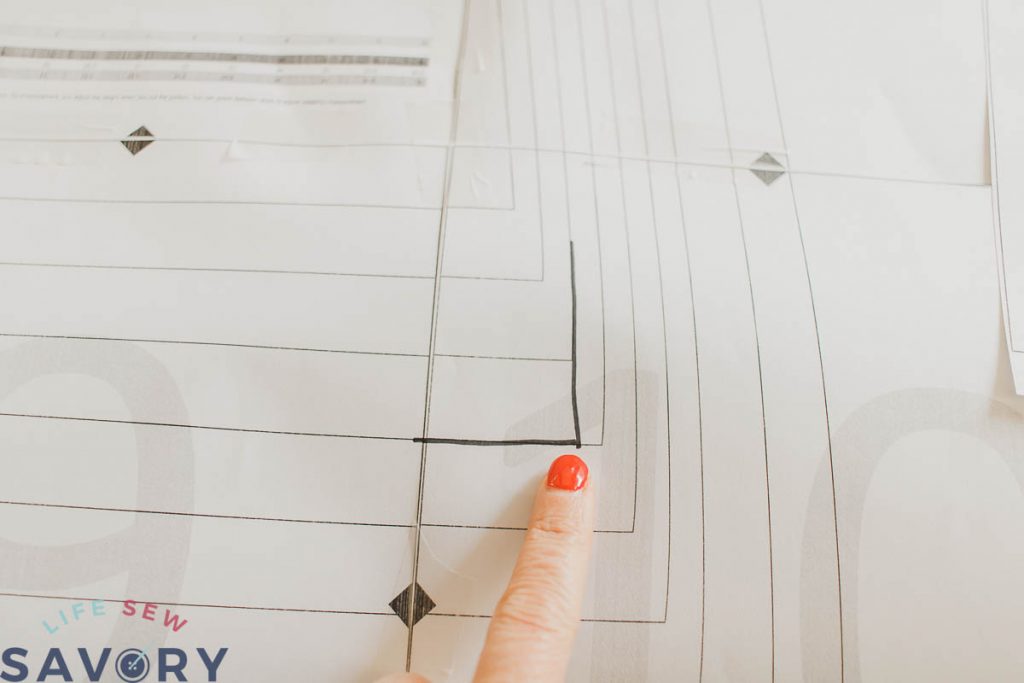
Like mentioned above start with the hip size, then blend the waist and length if needed. My daughters hip measured at a size 4, then I blended to size 5 for height. You can do the opposite to make it wider and short as well. Feel free to shorten the skirt if you want a shorter version as well.
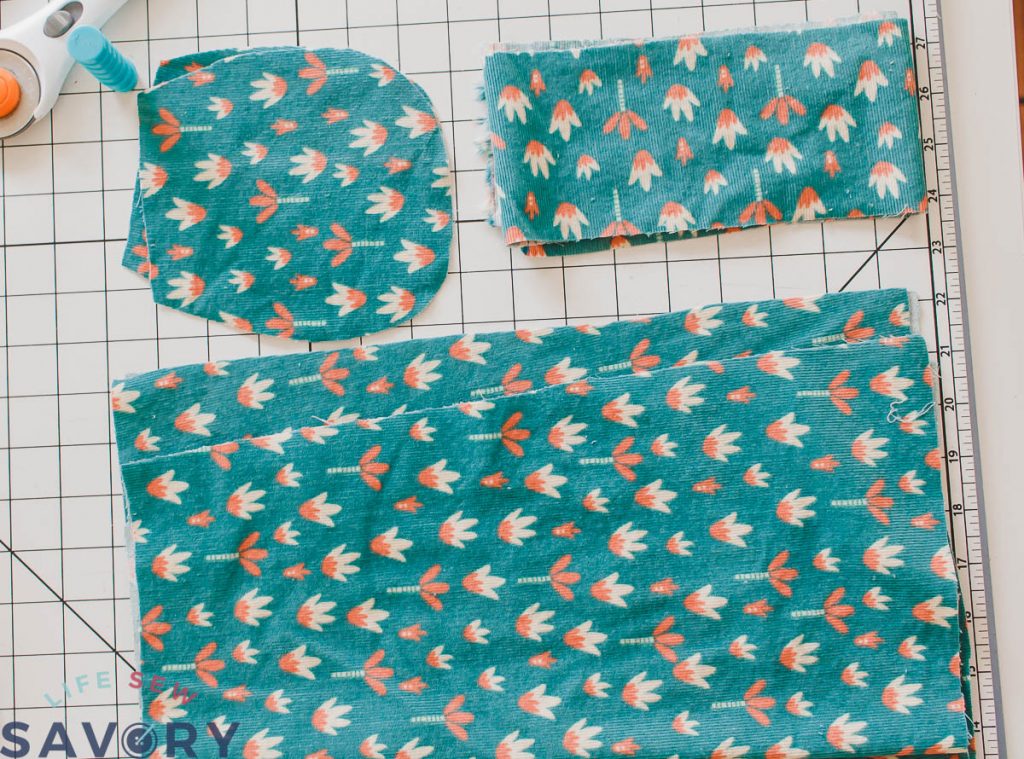
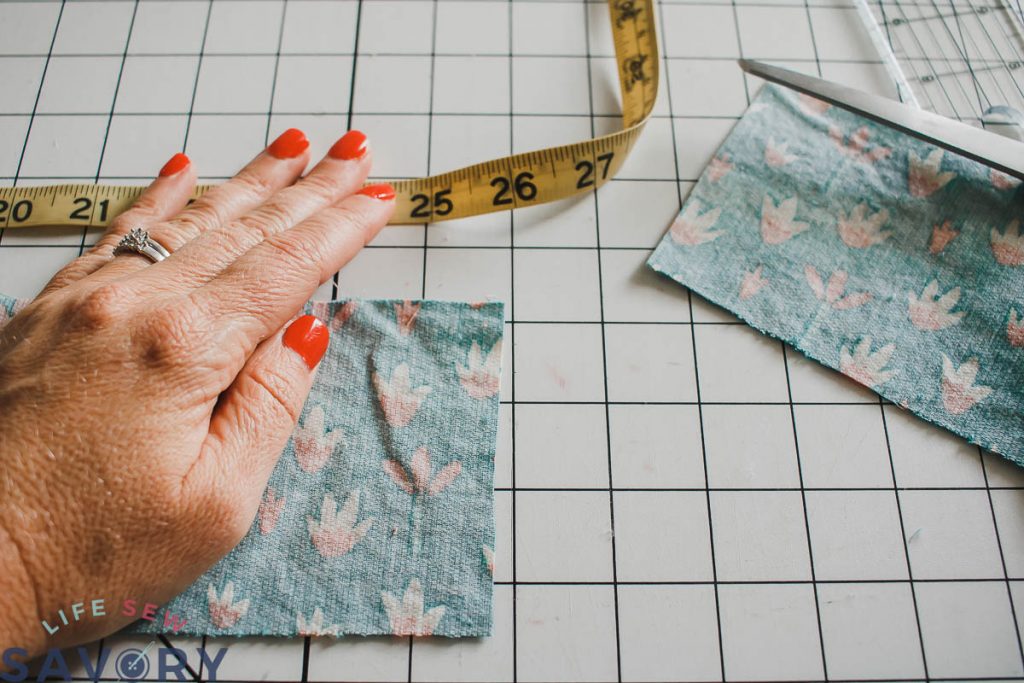
Here are all the pieces cut out. I chose the rounded pocket, you can chose the rounded one or the square one.
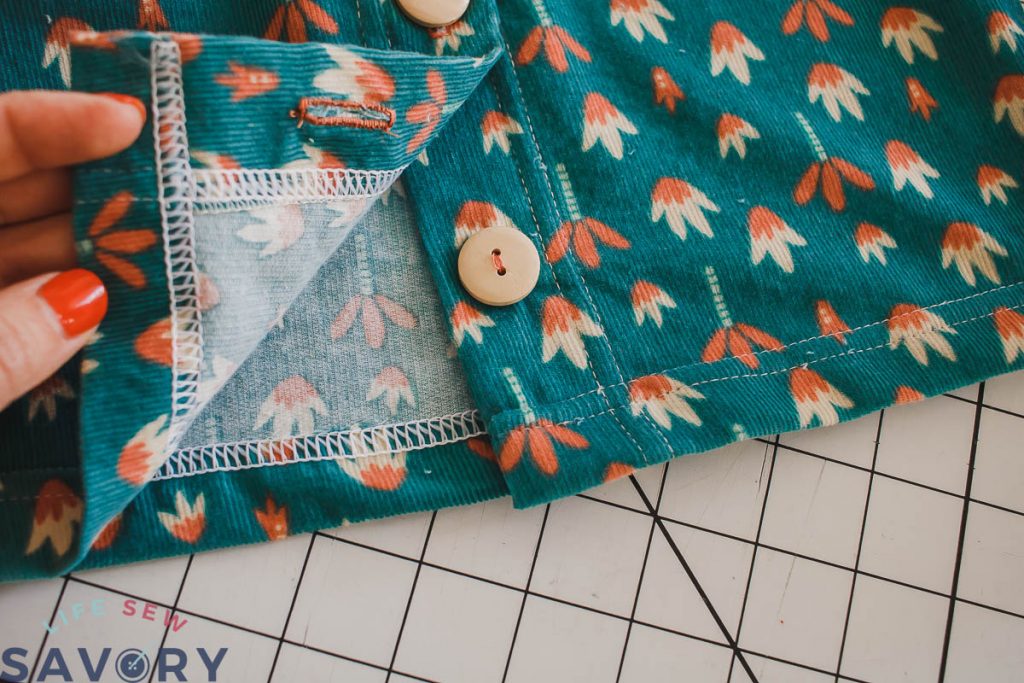
Finish the raw edges of the front center. Finish with a zig zag or serger. Fold over the front button facing. This is marked on the pattern pieces, or just fold over 1.5″.
Top stitch along the edge. You can use a twin needle or coverstitch to top-stitch.
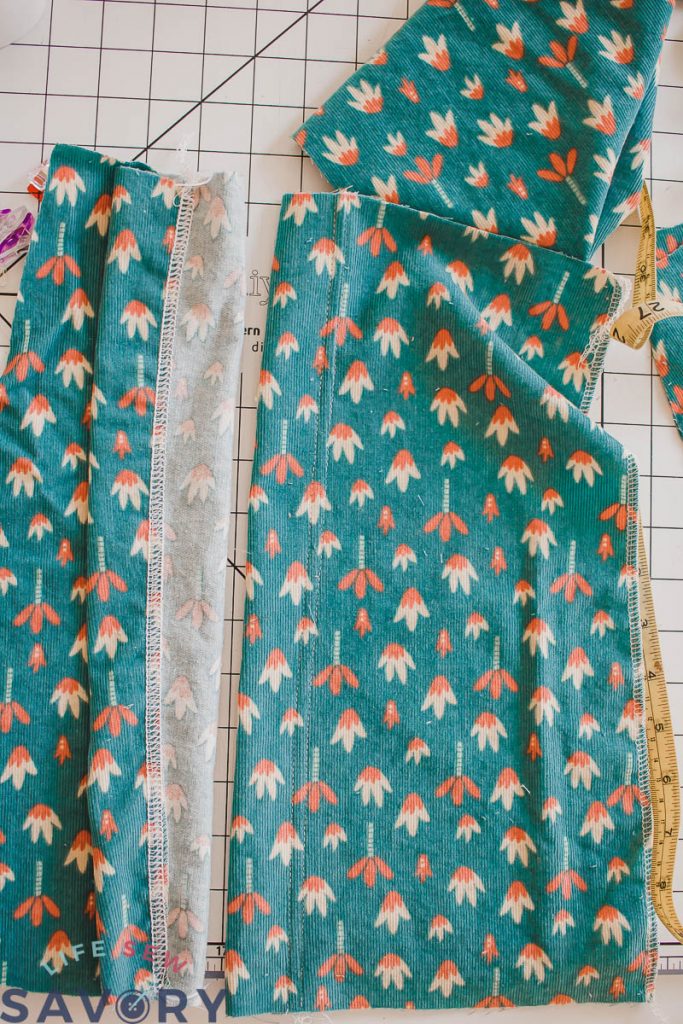
Overlap the front plackets 1.25″. Pin or clip this top edge.
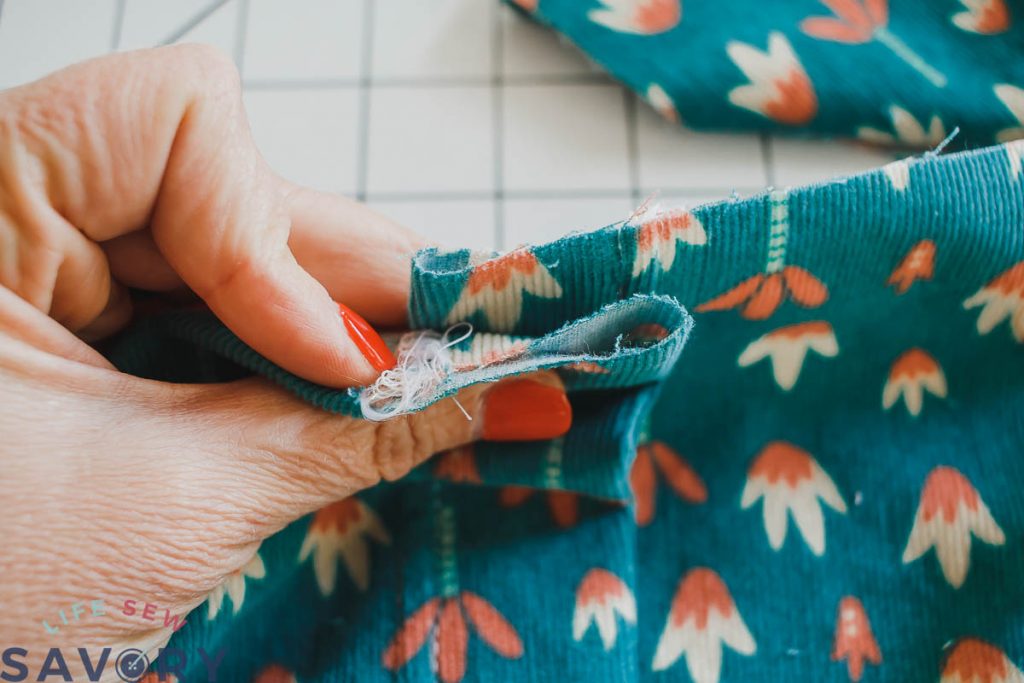
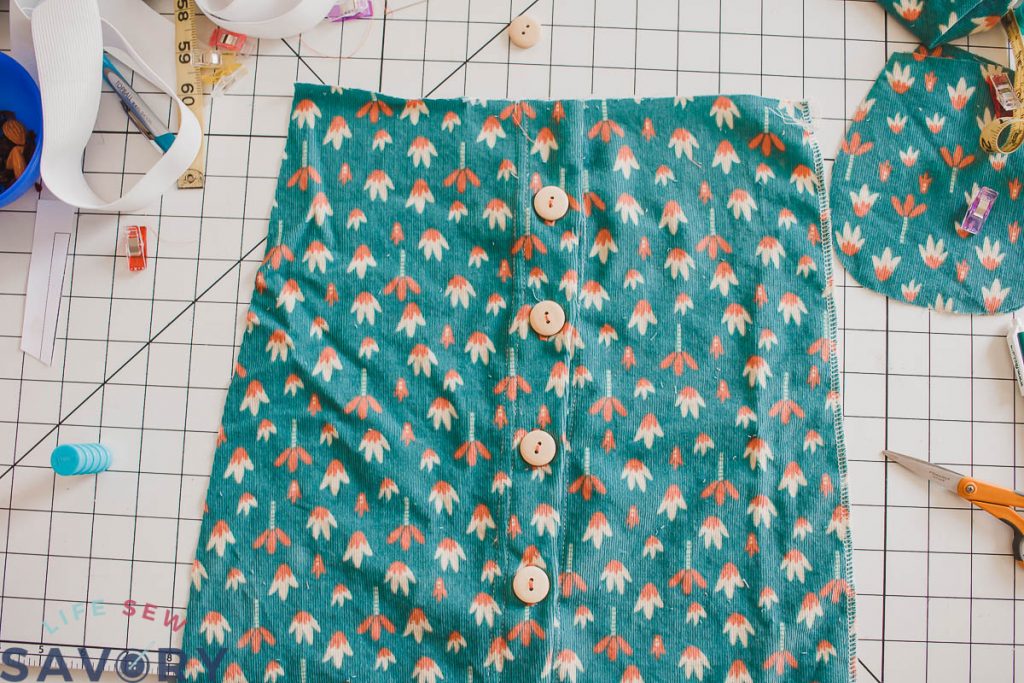
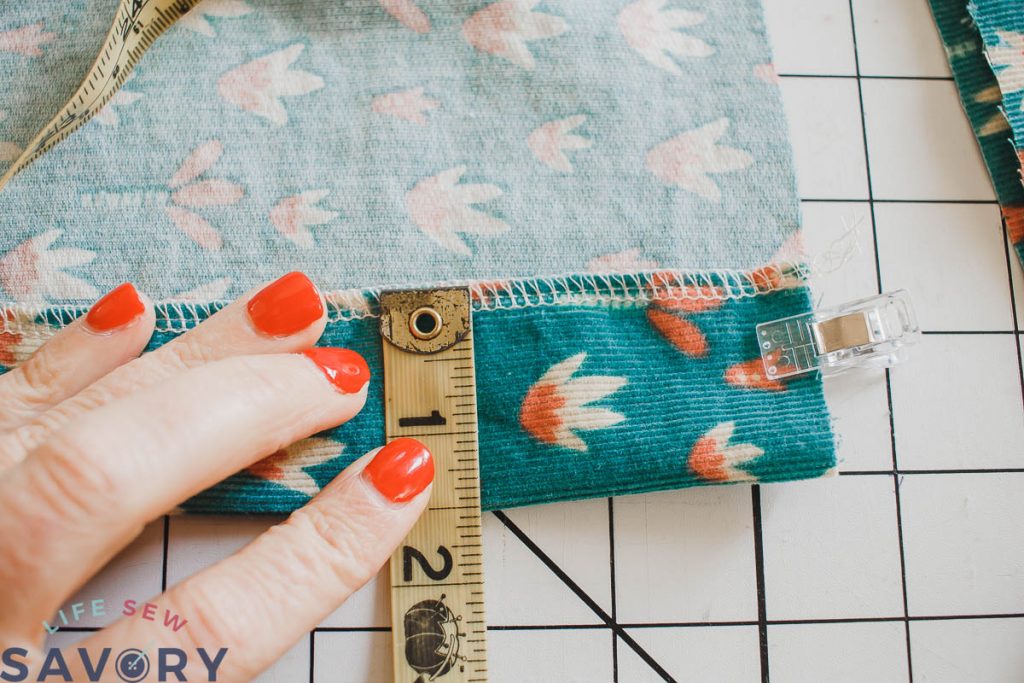
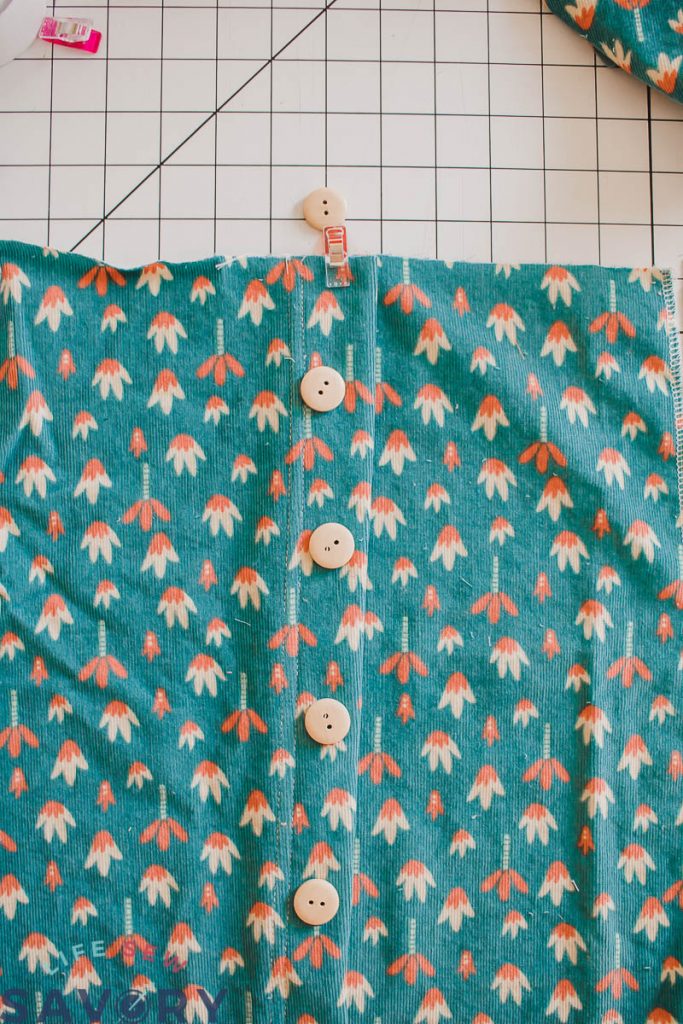
Lay out buttons on the placket. For larger buttons they should be spaced 3″. For smaller buttons you may need to put them closer together. Place the first button 2″ from the top edge then space the rest each 3″. Leave at least 3+ inches at the bottom edge of skirt with out buttons. You can have a larger opening/split if you want.
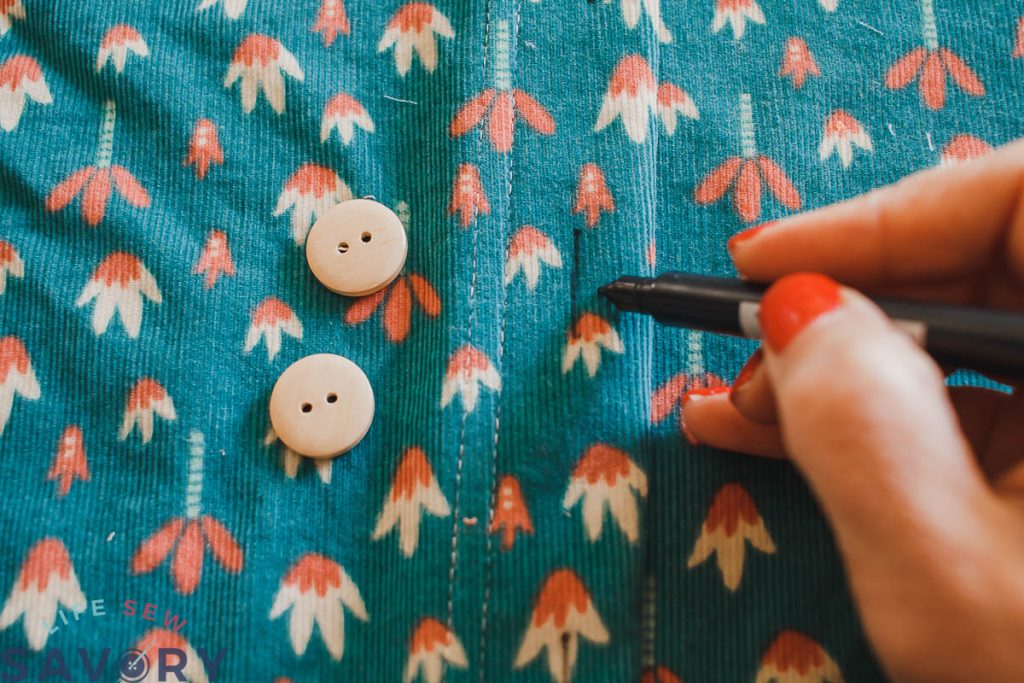
Mark the top and bottom of each button, then connect the dots for button hole markings.
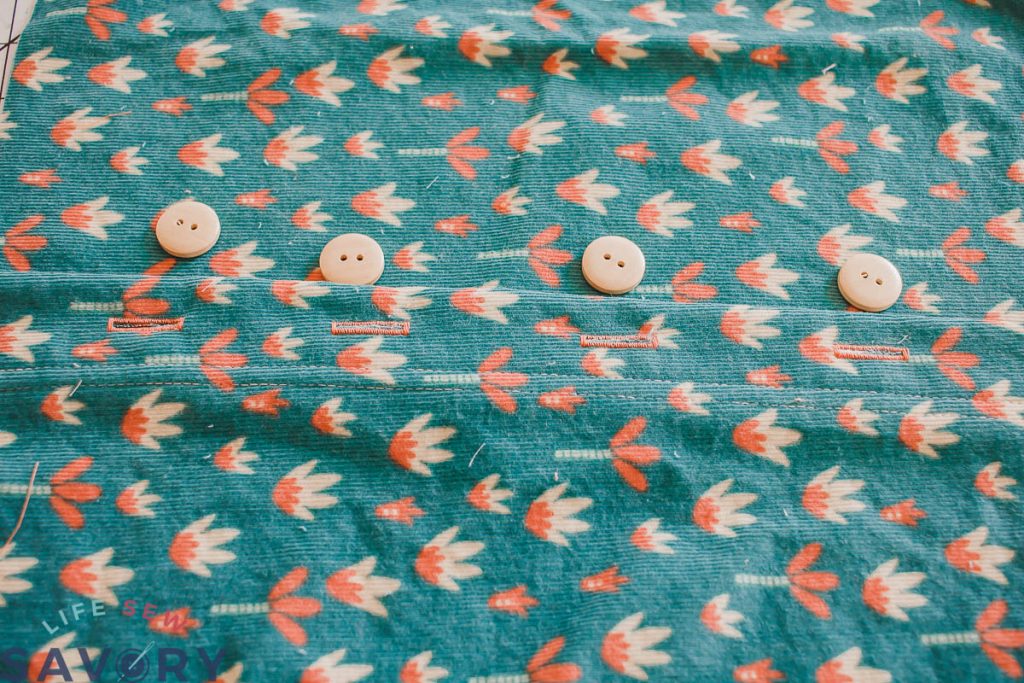
Sew button holes on each marking. ** you could also use snaps if you want**
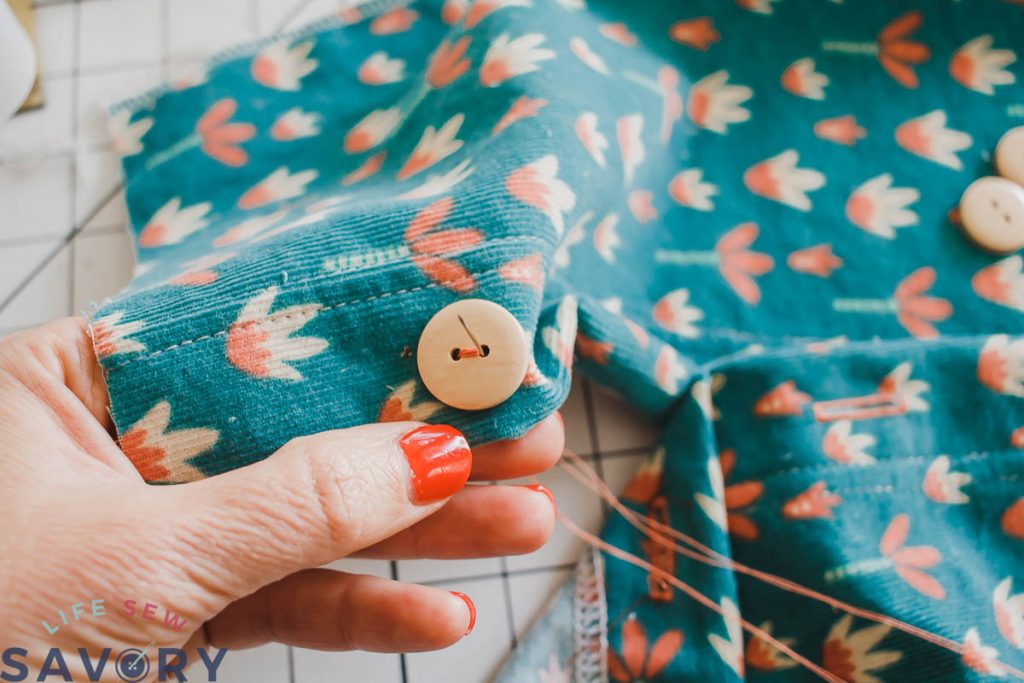
Pin placket layers back together with overlap and mark button placement through each hole. Sew the buttons in place on bottom layer of placket.
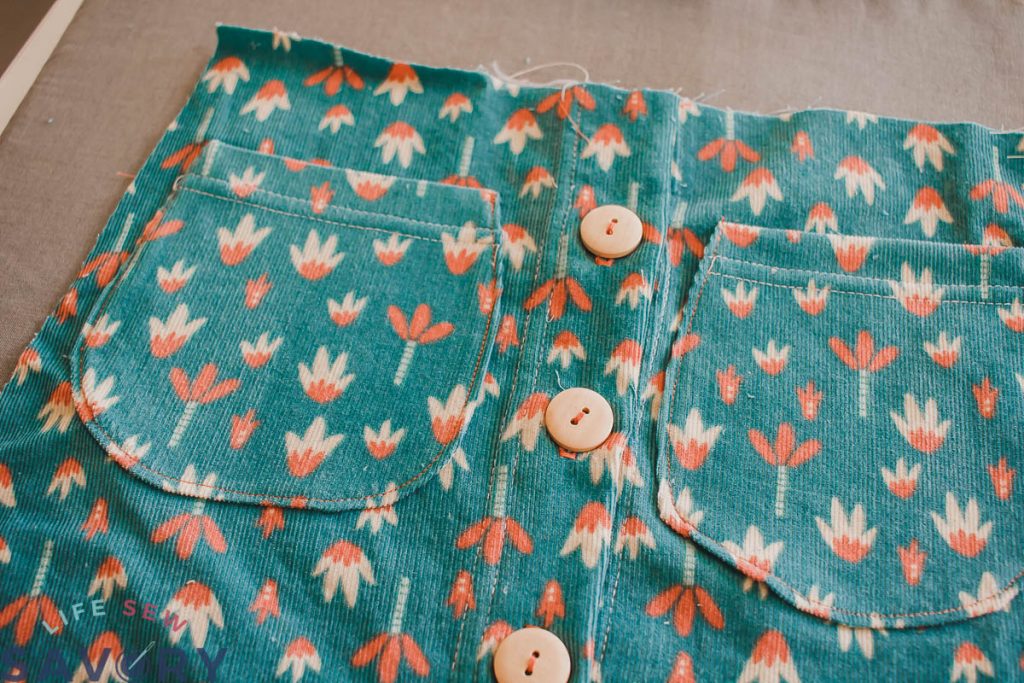
Completed front of skirt.
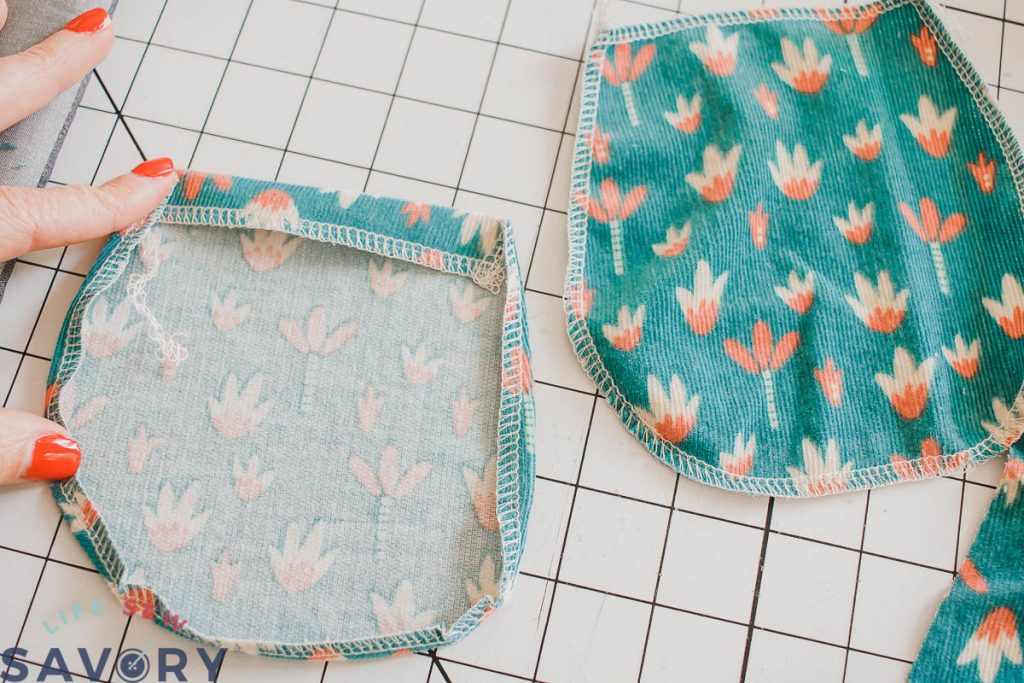
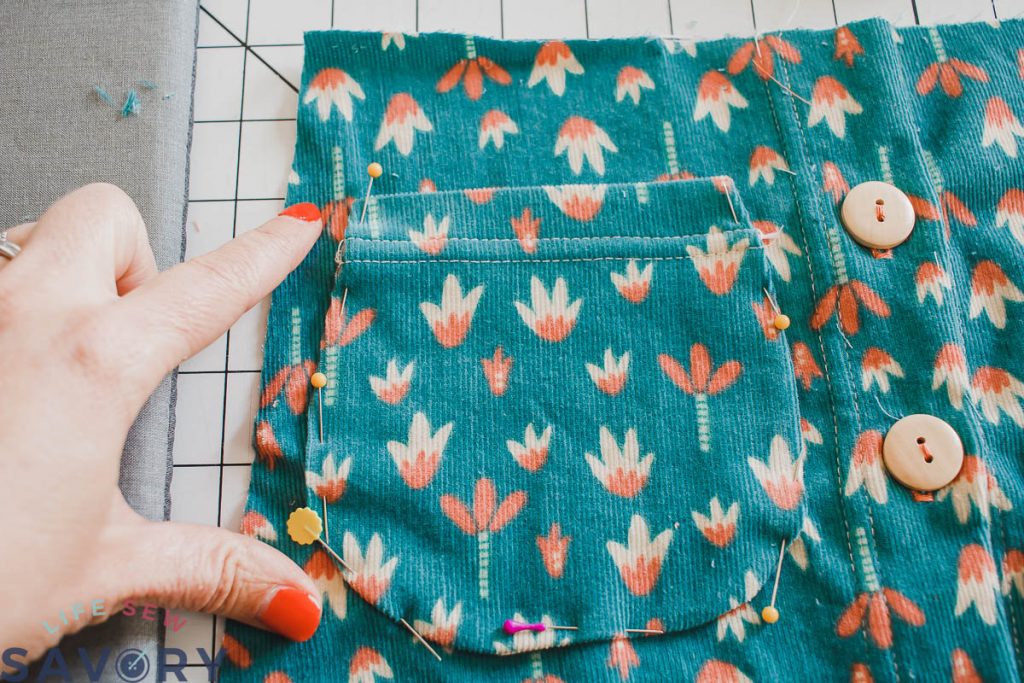
Finish the raw edges of desired pocket shape. Finish with zig zag or serger. Fold back a top edge hem of 3/4″. Then fold and press back 1/4″ around the rest of the pocket. Sew the top hem, then pin the pocket to the front of the skirt. Place the pockets 2″ down from the top, and centered on each side of the skirt. Sew each pocket, sewing close to the edge.
Place skirt front and back together {they may not be the same widths} sew the side seams from top to bottom.
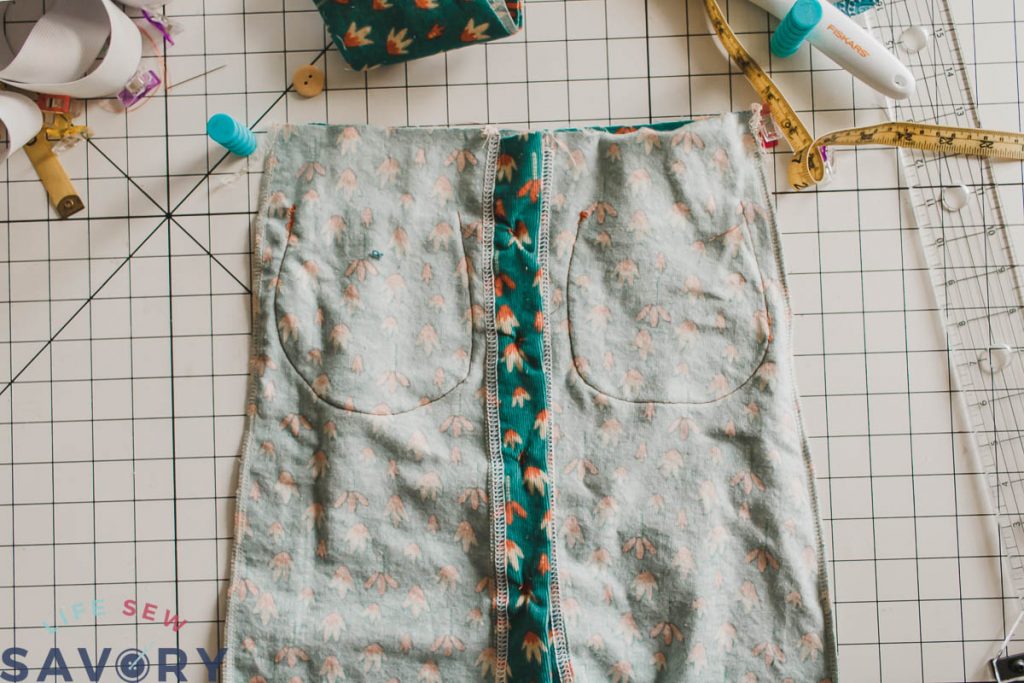
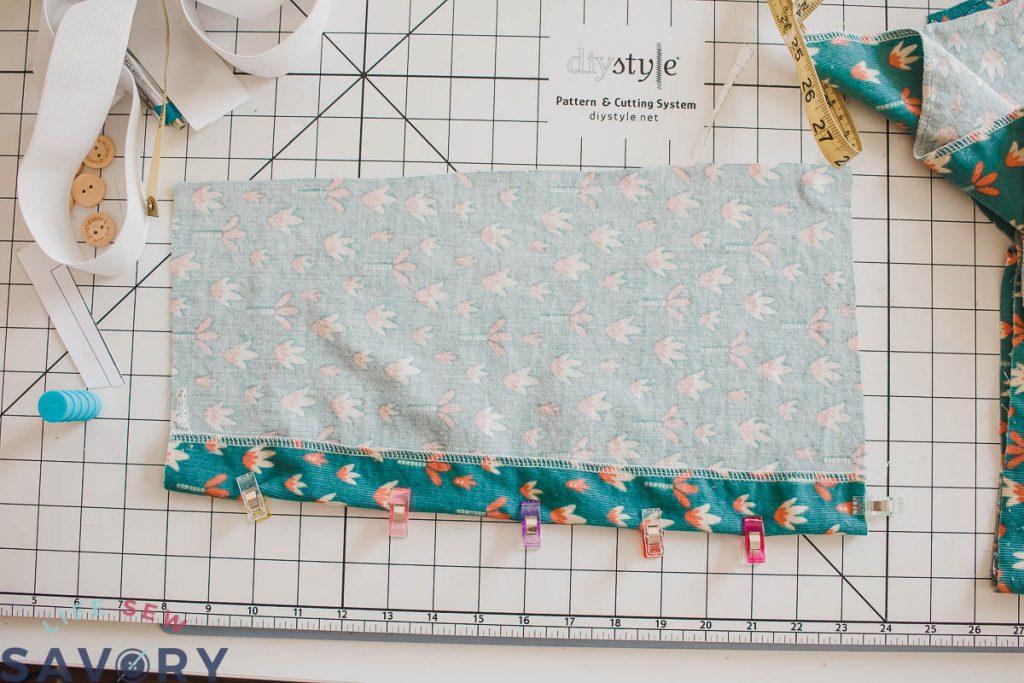
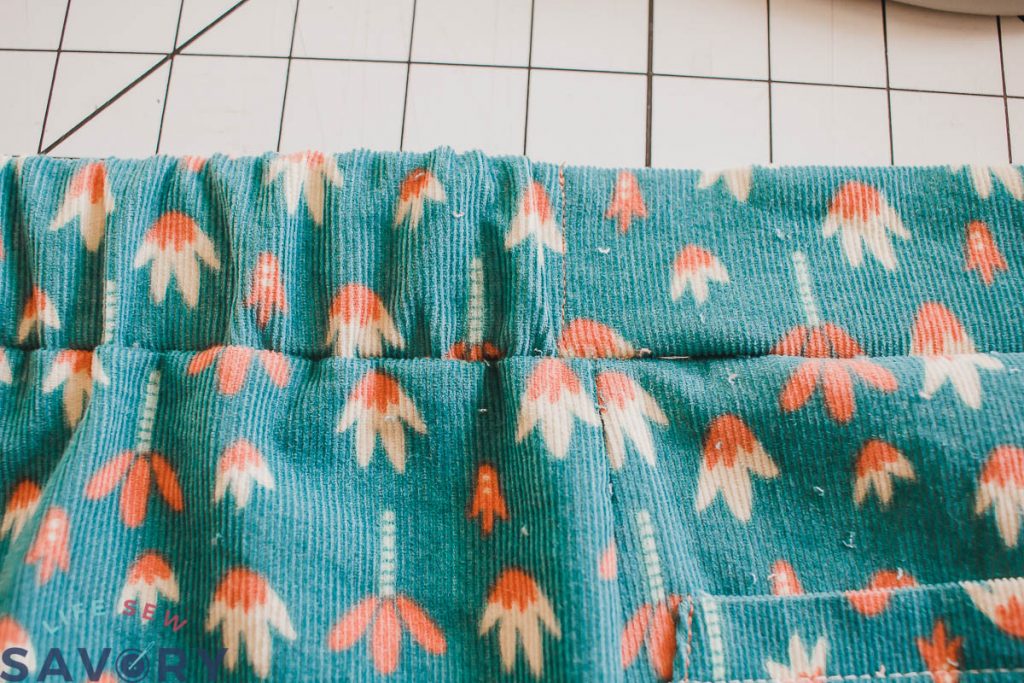
Unbutton the skirt and open it up. Measure this top edge and cut the waistband using this measurement. Take the measurement and add 3/8: to each side. Cut a waistband this length and 3.75″ tall. {this information is also on the printed pattern pieces}
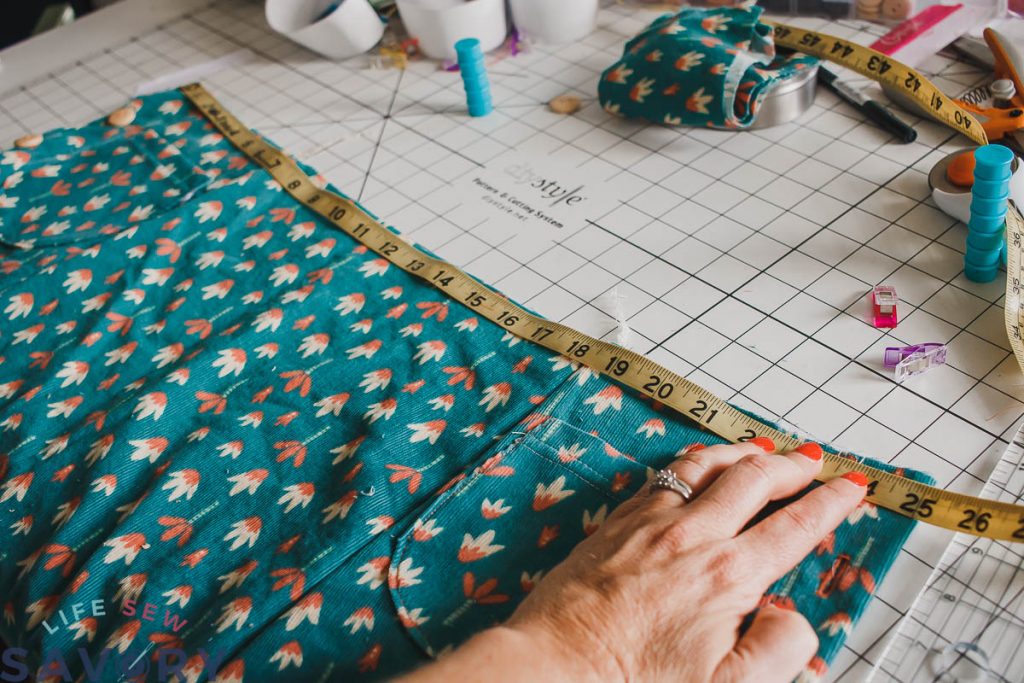
After you cut the waistband, fold together with right sides touching and the short ends folded. Sew the two short ends then turn right side out.
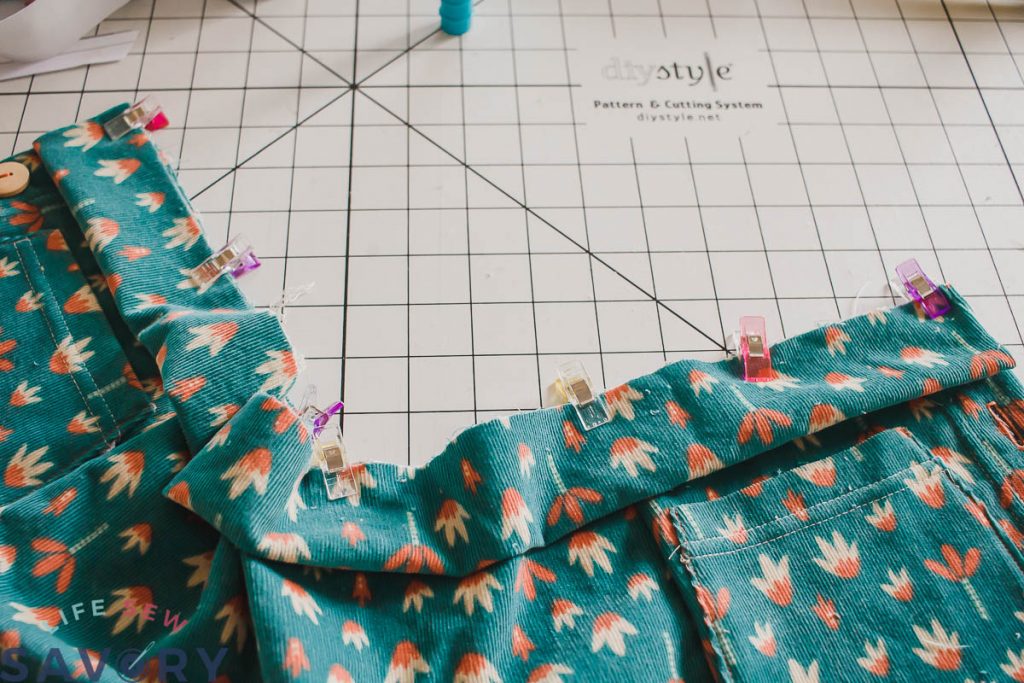
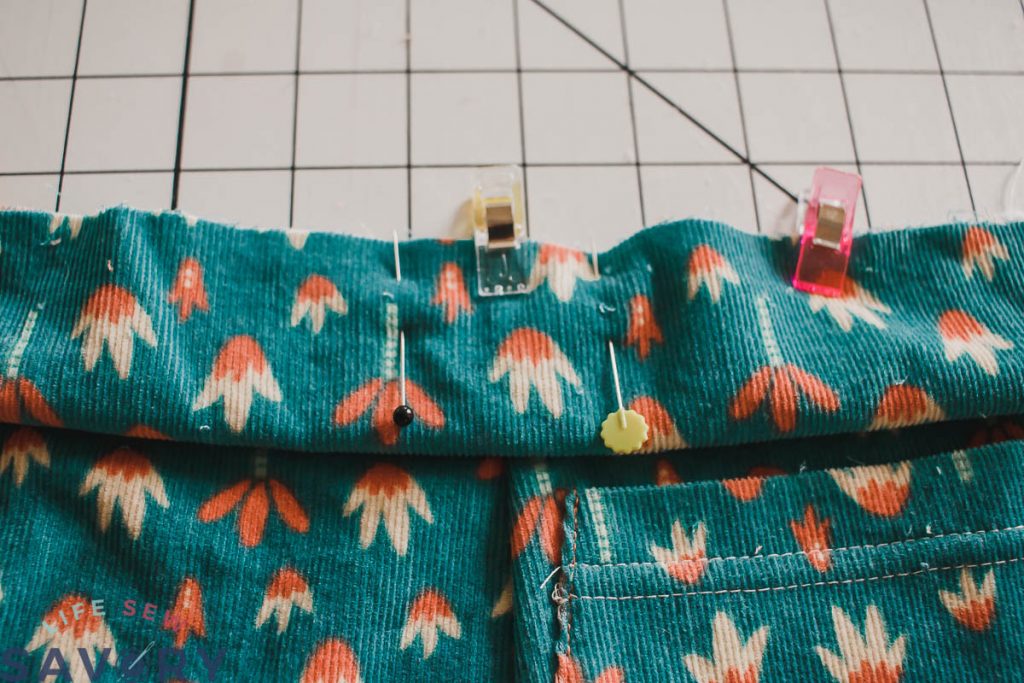
Line up each short ends of the waistband with the placket edges of the skirt. Pin the waistband along the top edge of the skirt. Mark a 1.5″ place over one side seam. When you sew the waistband don’t sew this place. You will use this to thread elastic into the back.
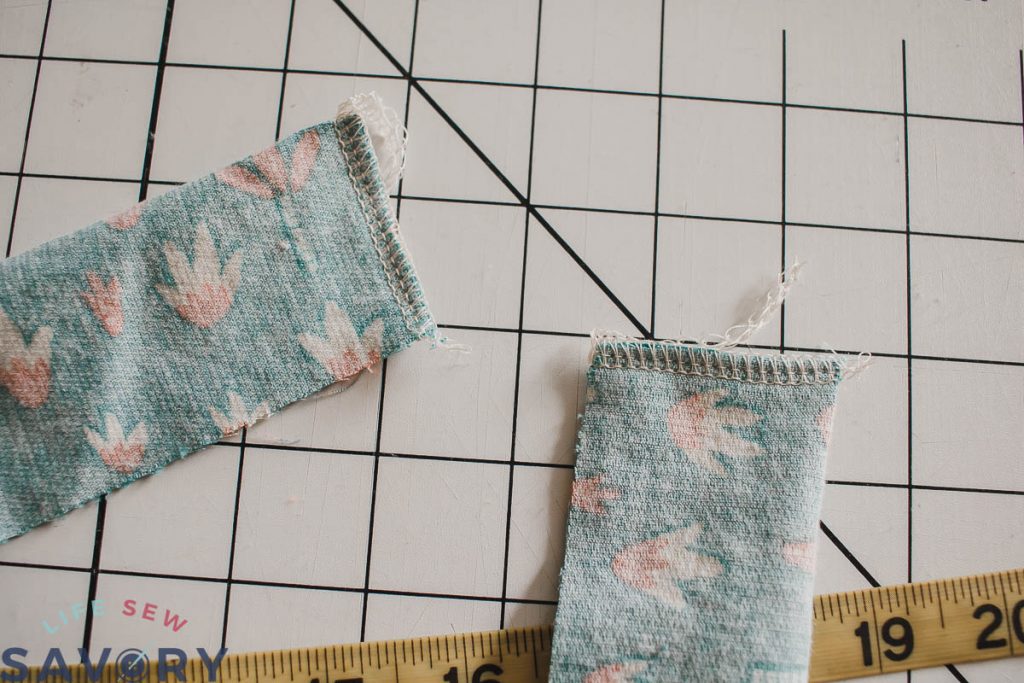
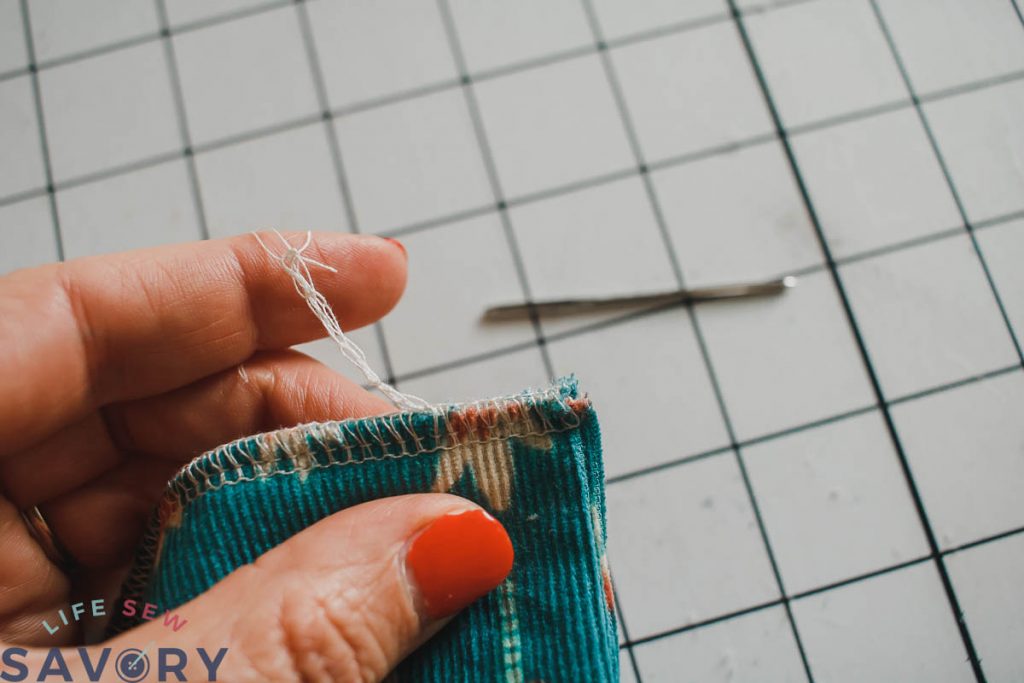
Finish the serger raw thread on each side of the waistband. If you used a regular sewing machine, finish the seam allowance with a zig zag.
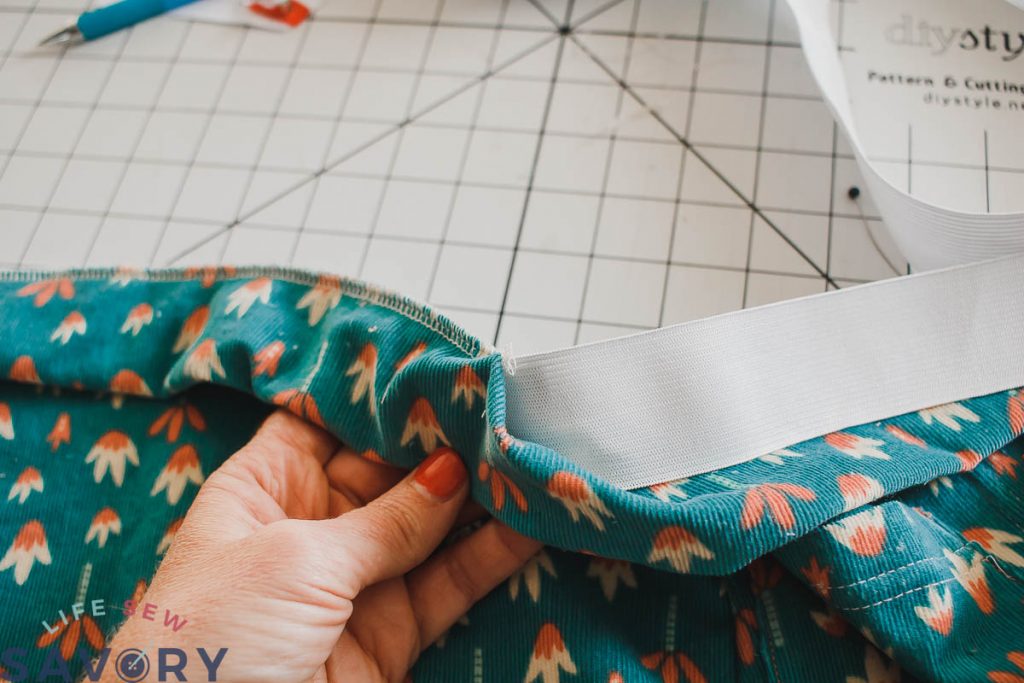
Cut a length of elastic 1 inch shorter than the back width.
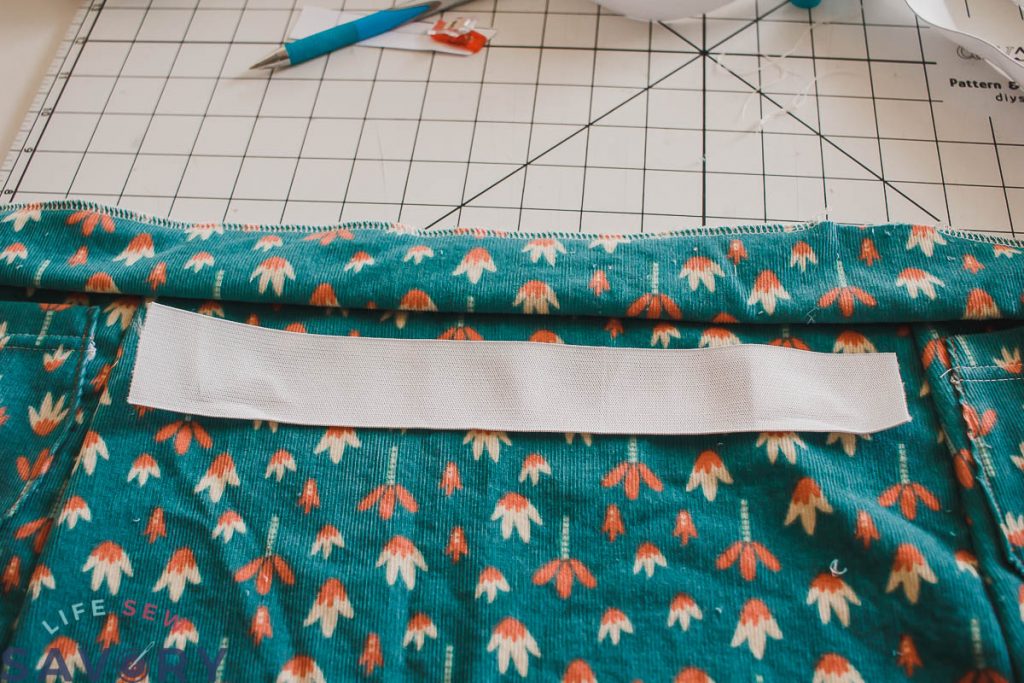
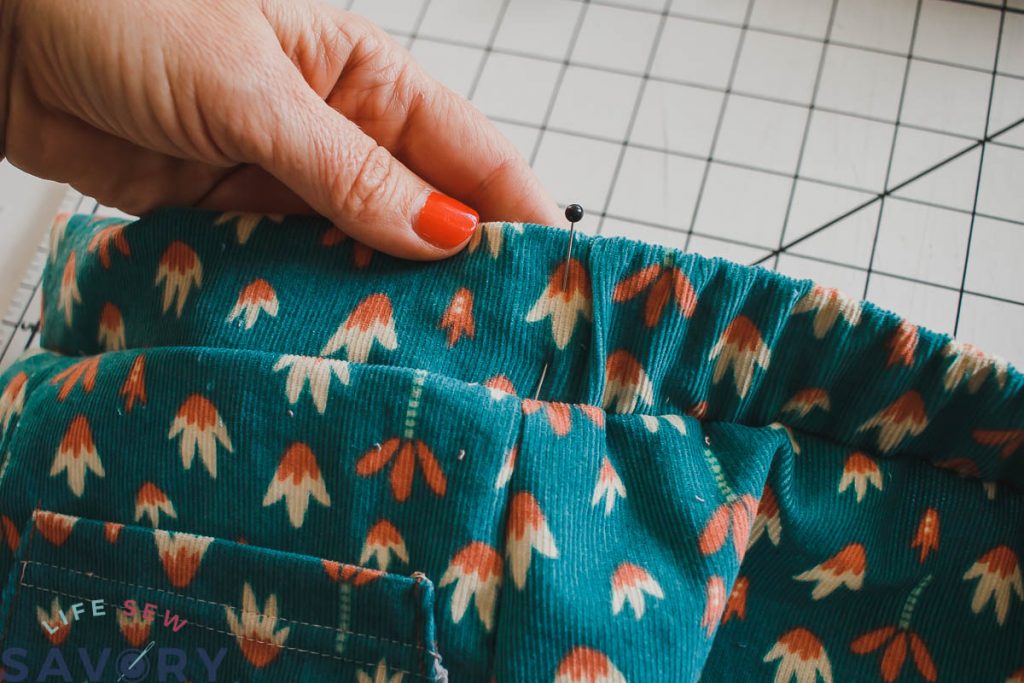
Thread the elastic through the opening that you left. Thread it all the way through to the other side seam and then pin. The tricky part here is to then remove the safety pin or other threading device that you used for the elastic. Pin the elastic in waistband at both side seams.
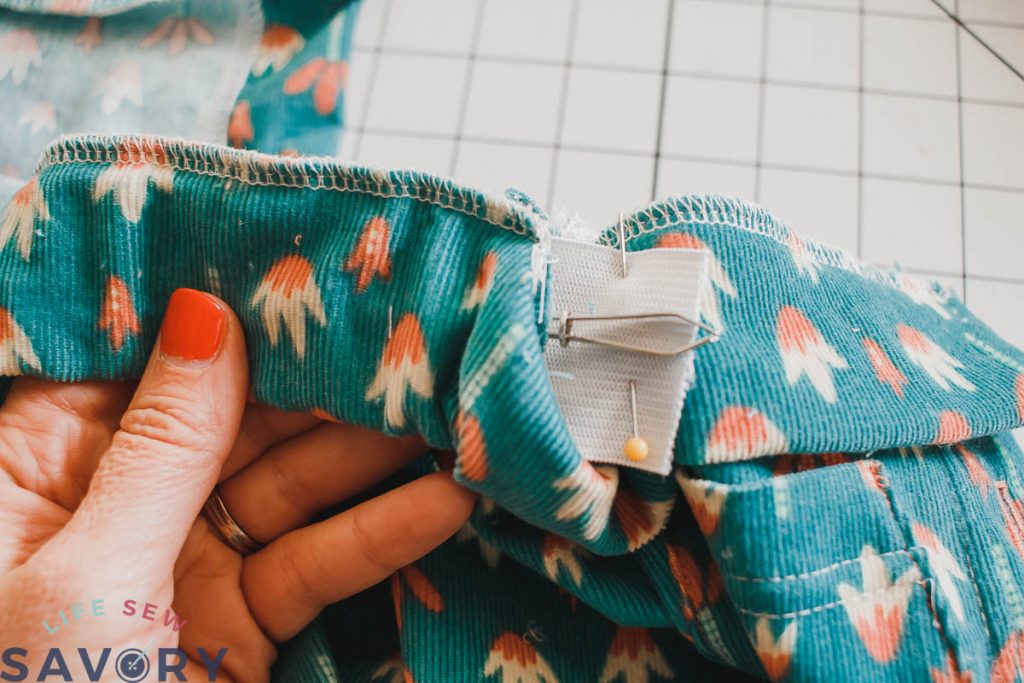
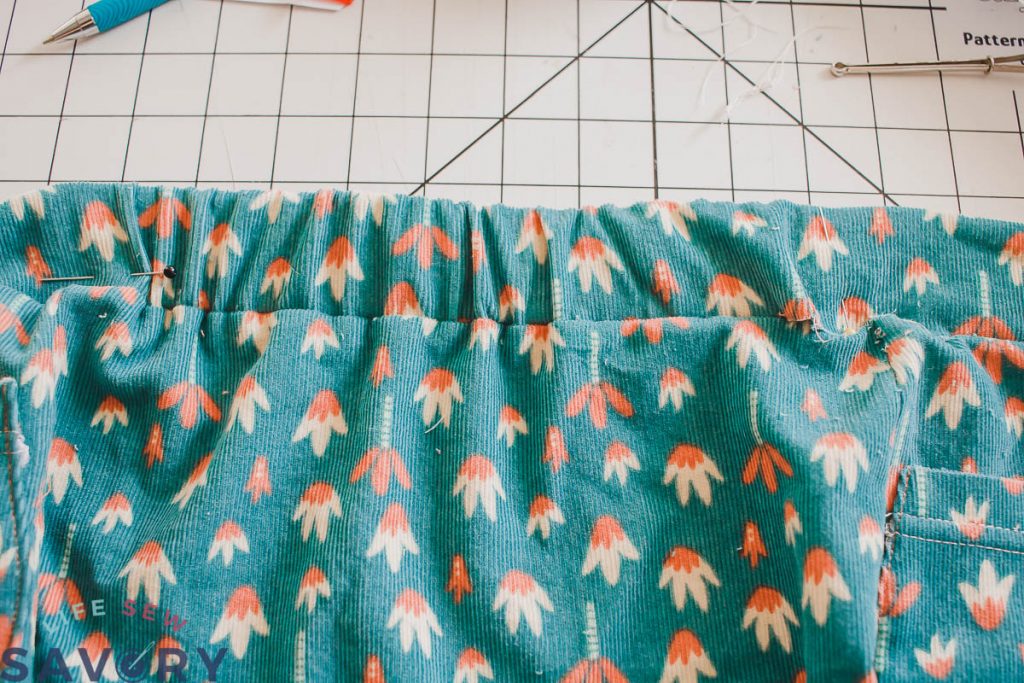
At this point you will want to have your child try on the skirt and adjust the elastic to get a good fit at the waist. Sew the elastic through the waistband at the sides. Sew the opening on the band closed.
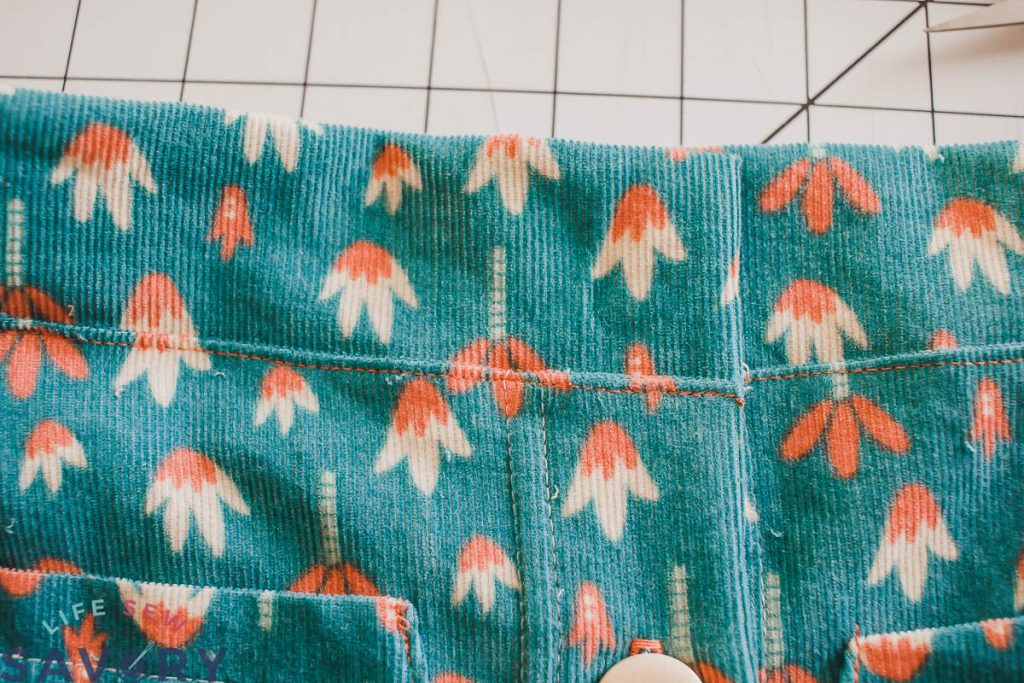
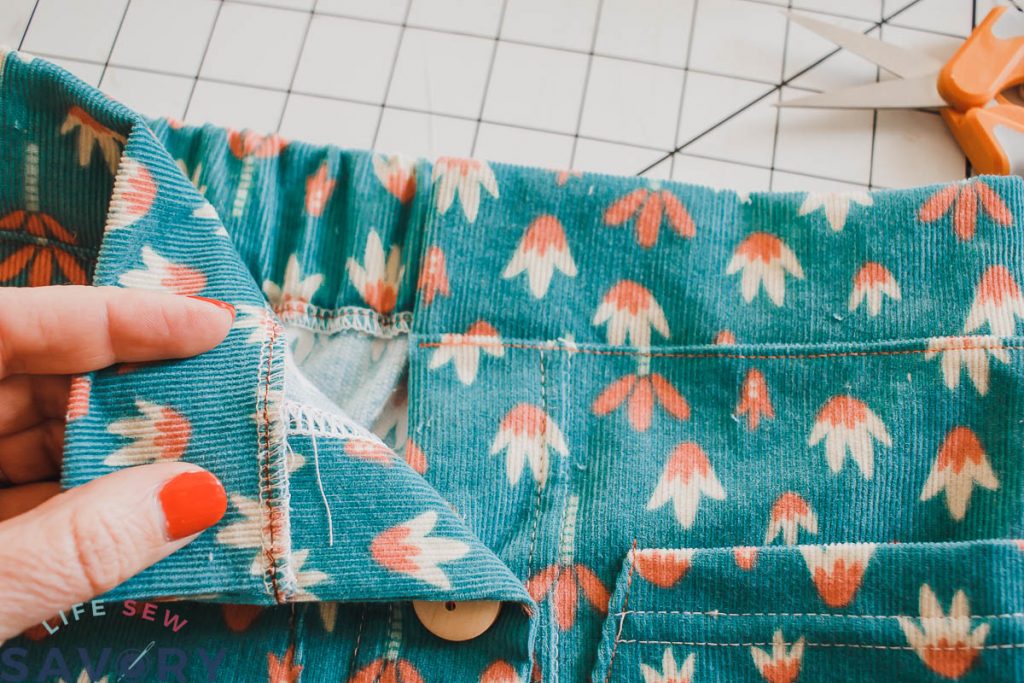
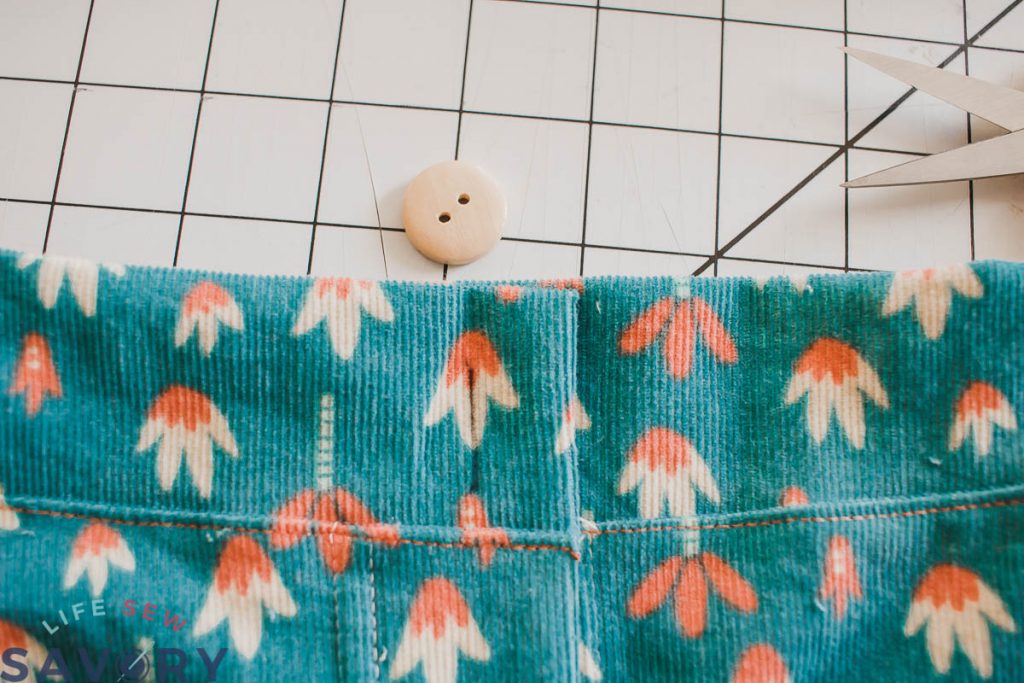
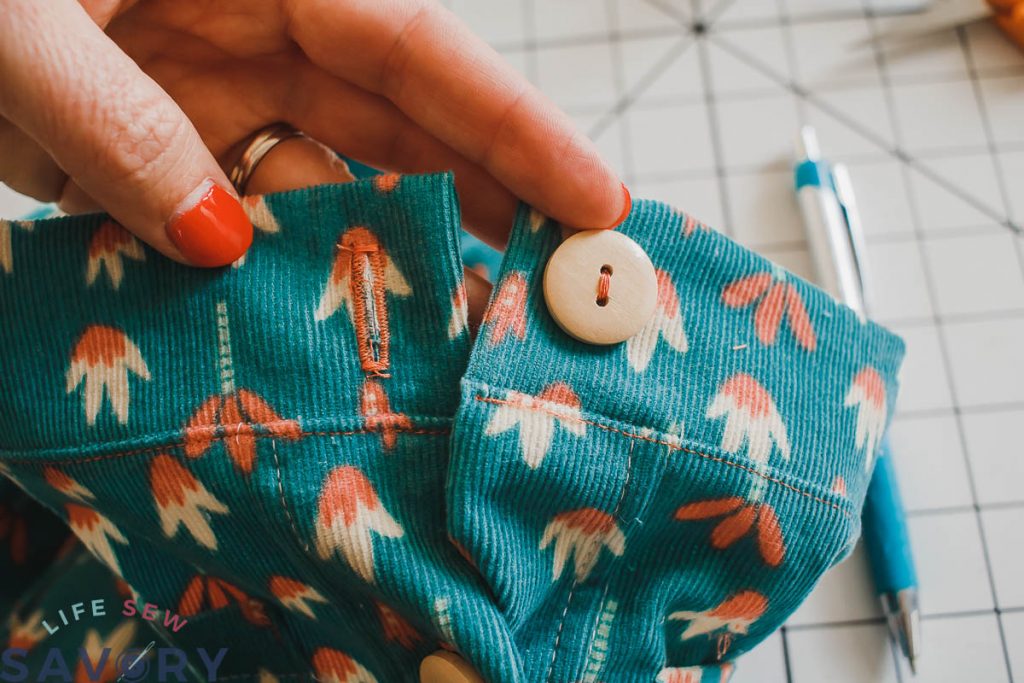
Then top stitch the seam allowance towards to the skirt and away from the band. Place a button 1″ from the waistband edge and centered on the band. Mark the button hole and button placement and then sew the hole and add a button.
Hem the skirt with 3/4″ hem.
make a cute shirt or sweater or two to complete your look and enjoy fall! Or spring or summer or winter with your adorable new button front skirt. If you enjoyed this free sewing pattern please tell your friends where they can find it too!





DanyJo says
Bonjour,
Merci pour ce joli de patron de jupe à boutons. Je débute en couture et c’est important pour moi de commencer avec des choses simples. C’est vraiment très sympa de m’offrir cette opportunité
J’ai pu constater que les explications sont très bien faites. J’ai hâte de commencer ce petit modèle.
Cordialeent
Violeta says
Your button front skirt came out so cute! I would totally wear one myself, and I love your tutorial! I’ve featured your post on Crafts on Display here: https://craftsondisplay.com/sewing/girls-button-front-skirt-free-pattern-47195/
All the best,