inside: Sew a t-shirt with woven fabric back for a fun added detail. This t-shirt hack is for creating a shirt with both woven and knit fabrics. Use a free sewing pattern to create a beautiful shirt.
I wrote this t-shirt hack post several years ago when I created a peacock costume for Rose one Halloween. You can see the original post for a woven back shirt here. I recently thought about that shirt and wanted to sew Rose another one now. This t-shirt with woven fabric back tutorial is now here in this post. You will see some photos of the original tutorial and my new project too.
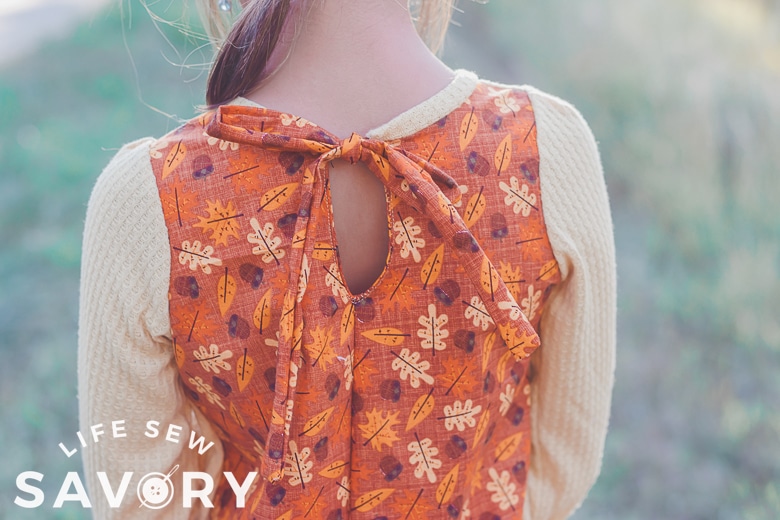
Knit and woven t-shirt tutorial
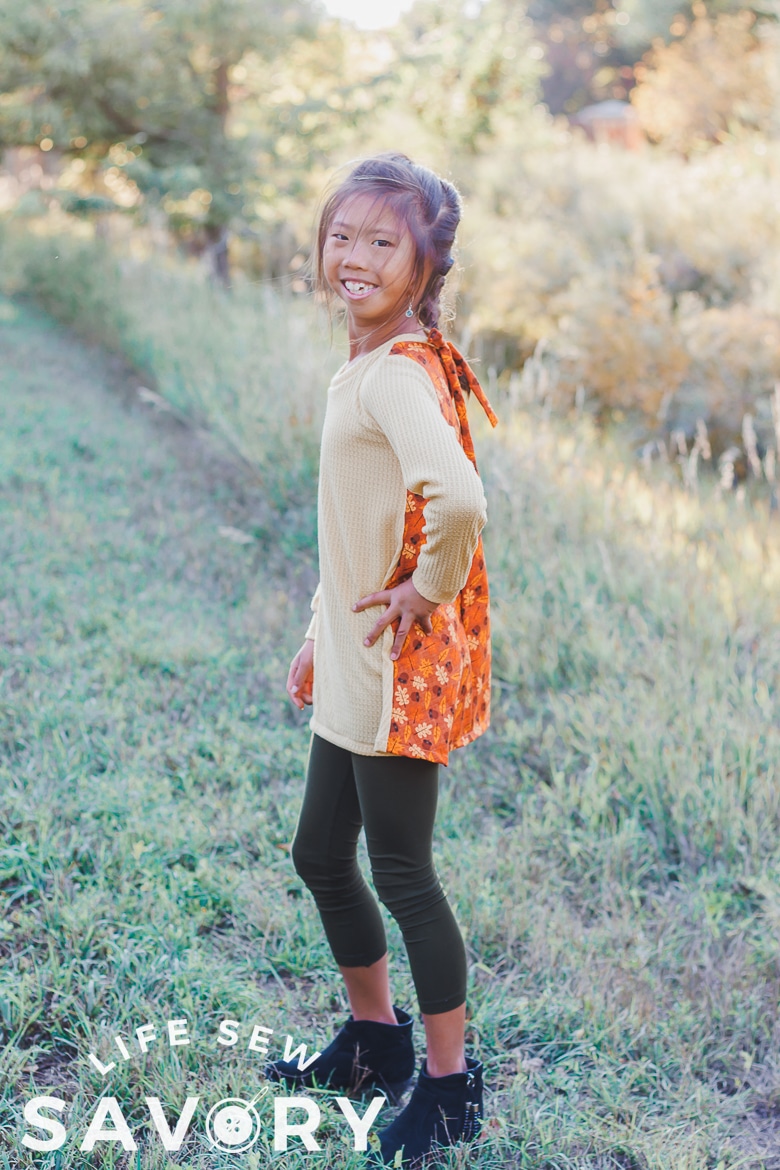
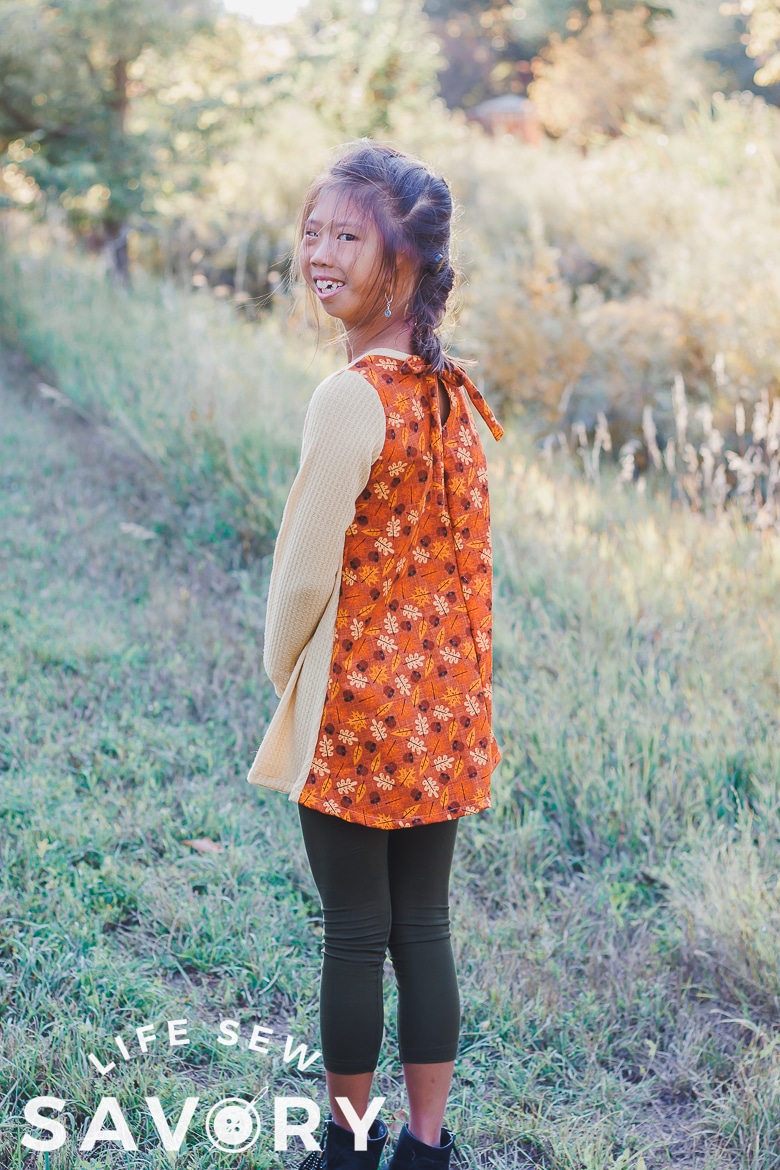
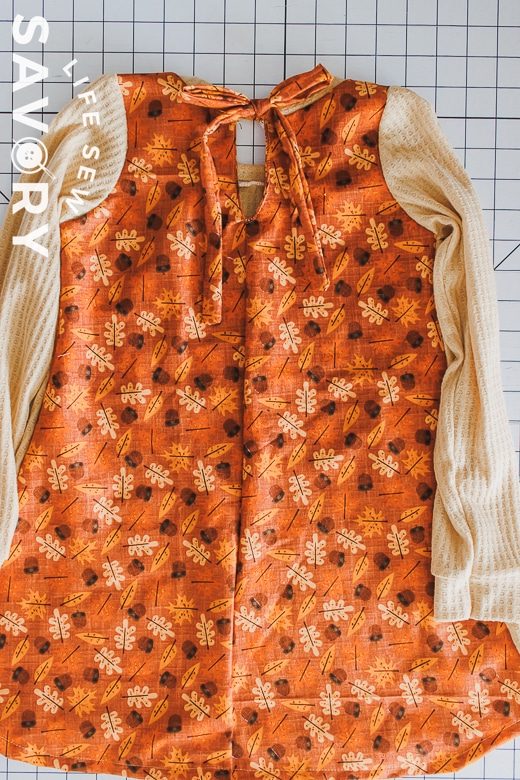
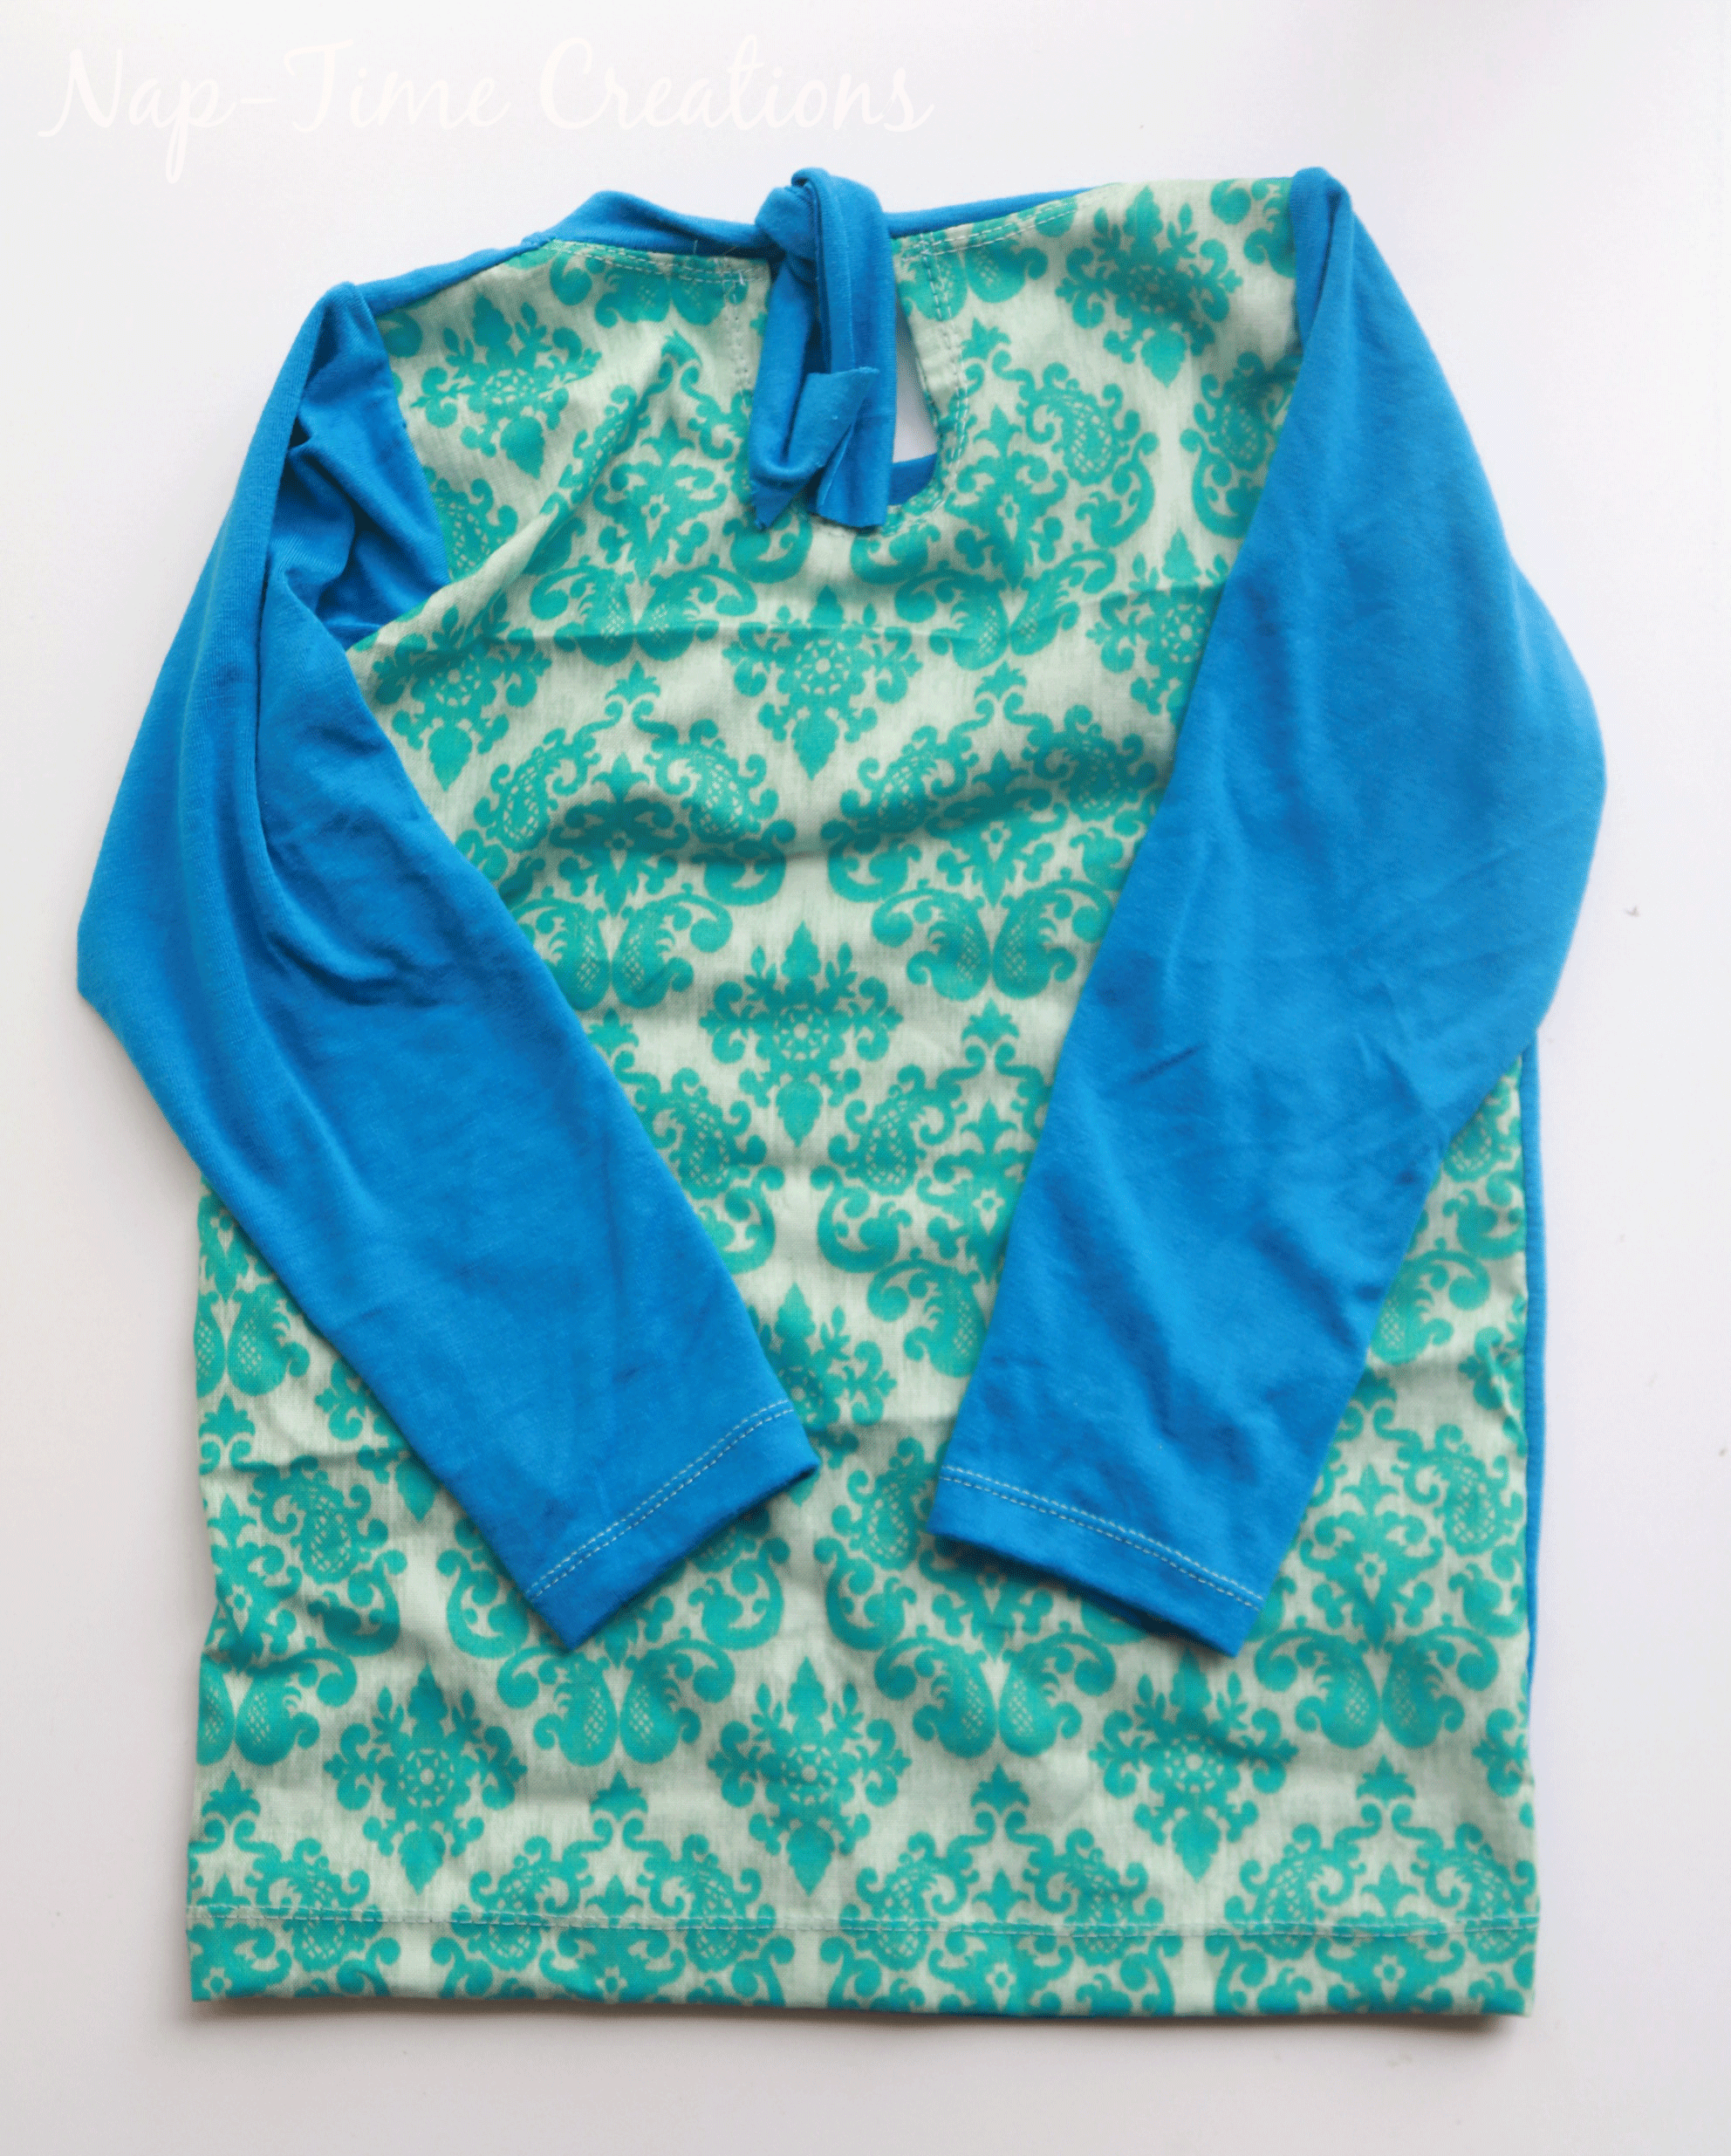
Here are the two versions of this shirt that I have sewn over the years. The first was part of the costume and the second was to try and use the cute fall fabric I had on hand. The knit fabric in the fall version is a super soft waffle and it’s so delightful as a fall shirt.
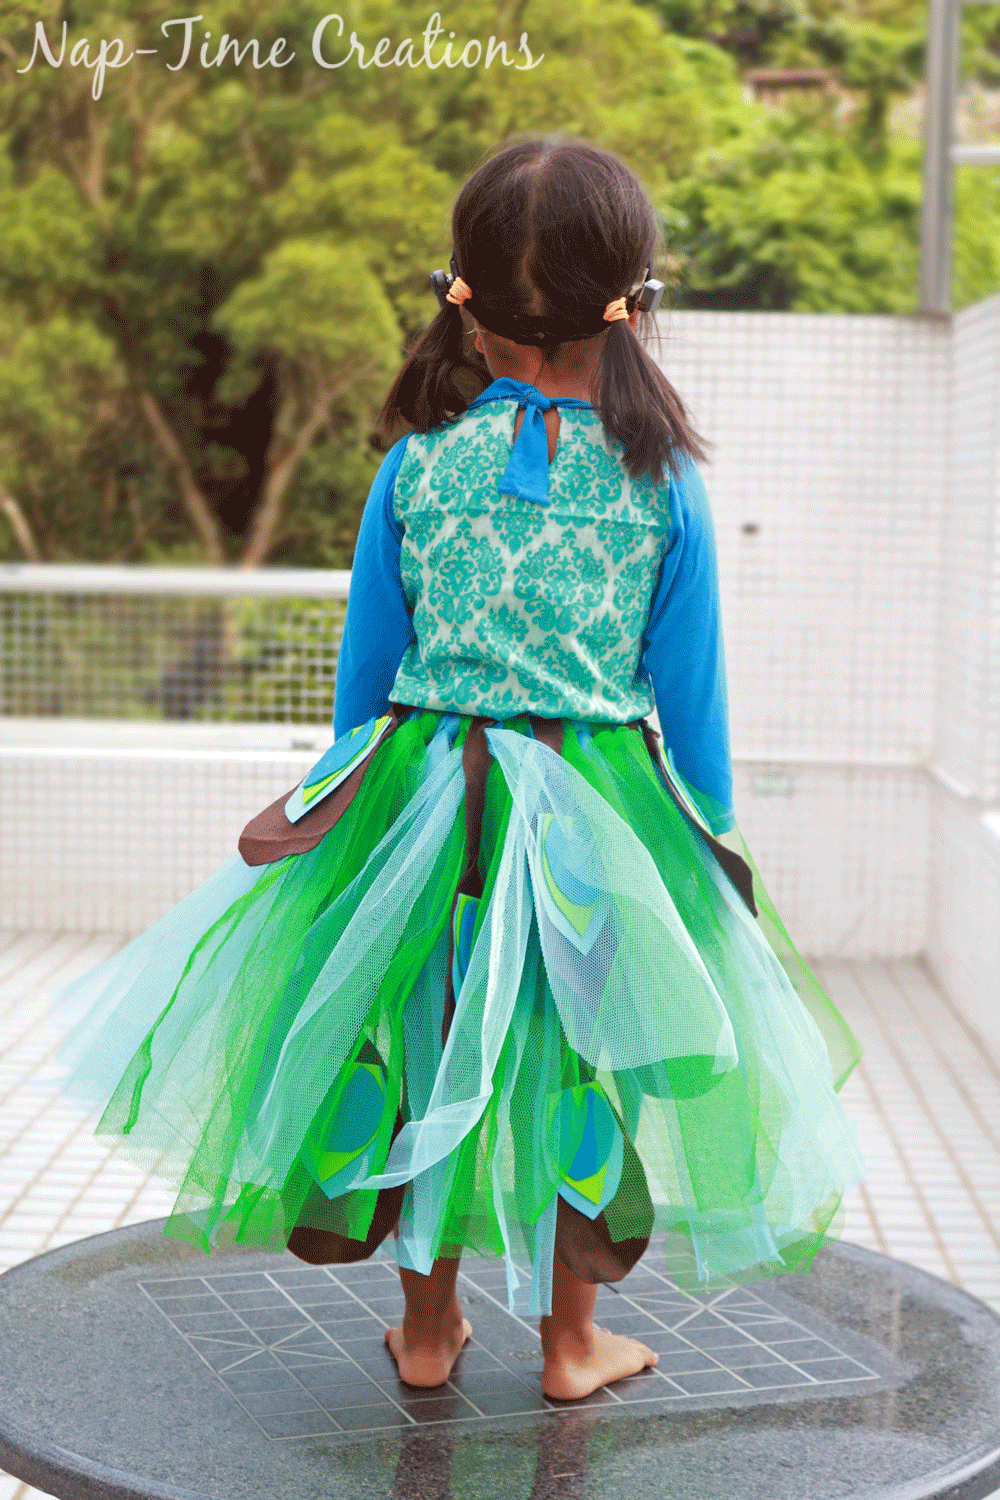
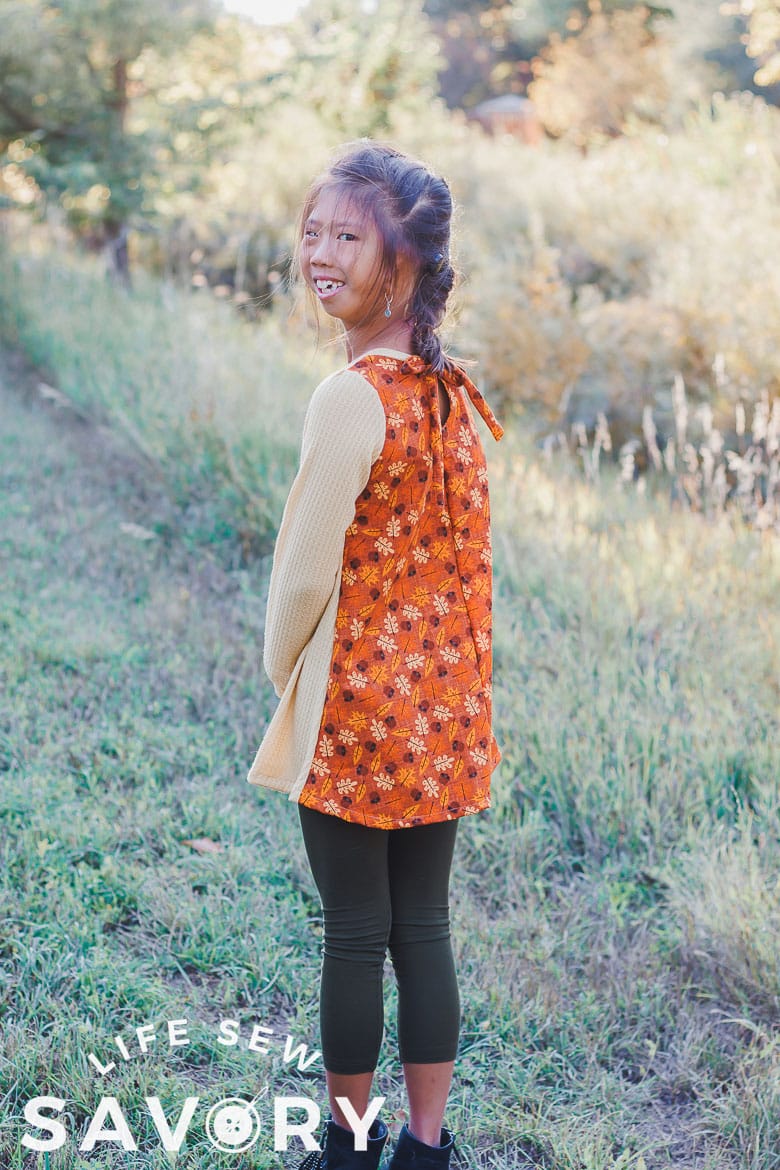
I used my free swing tee pattern for the new version so that I could make it into a tunic length. I added about 3 inches to the t-shirt pattern to make this tunic to wear with leggings. Rose is wearing leggings sewn from my free legging pattern. {but they are from last year and too short!} haha

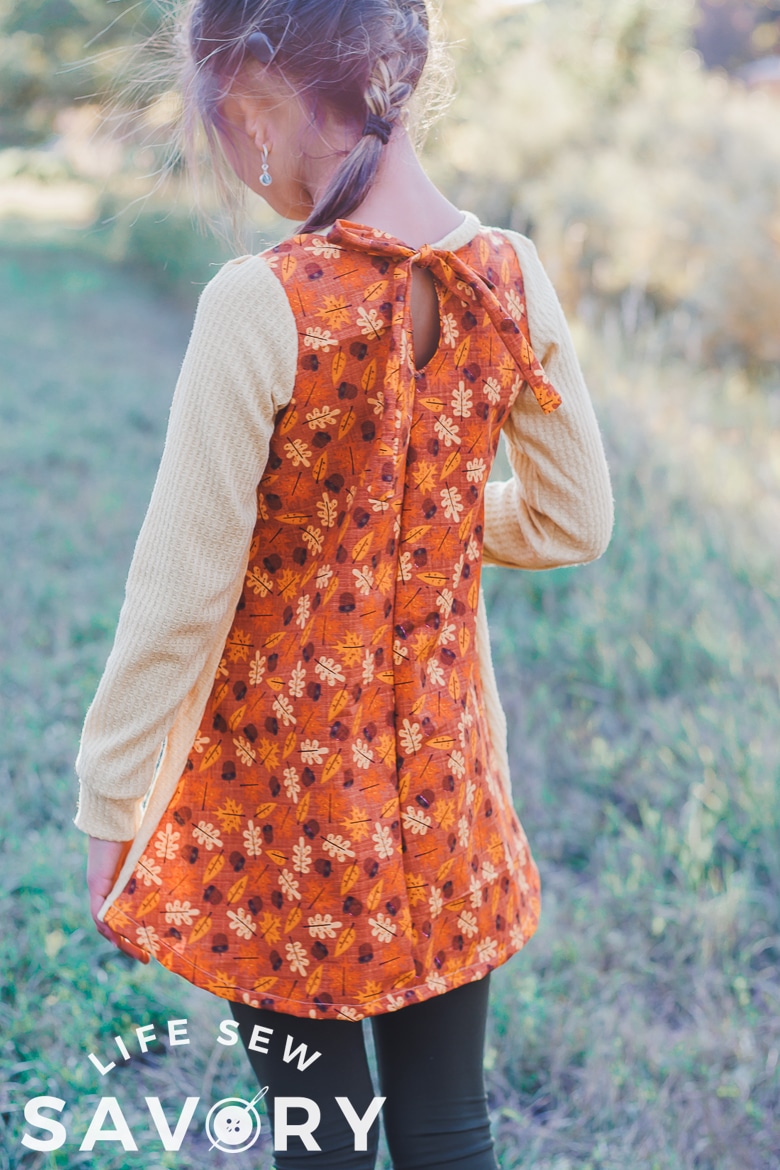
I also added a back center seam to this version as I didn’t have enough fabric for a full back panel of the fall fabric I was trying to use.
Knit and woven shirt sewing tutorial
Ok! ready to sew a t-shirt with woven fabric back? It’s a fun and easy sewing tutorial.
Grab your favorite t-shirt pattern or use one of my free ones.
- Fitted Tee {used in the blue version}
- Swing Tee pattern {used in the new fall version}
- Raglan Tee
Cut out the front and sleeves as directed.
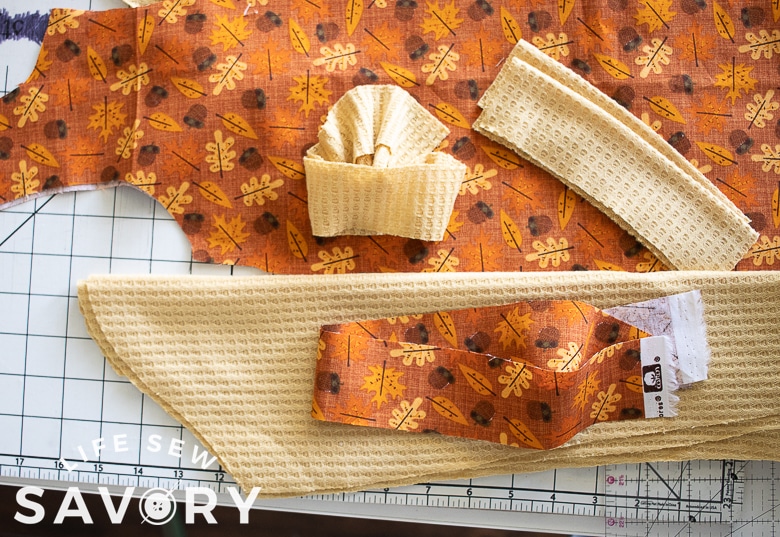
On the center fold of the back pattern piece you will cut a rounded opening {key hole} You can see mine extends about 1/2″ inwards and about 1/2 way down the arm opening. You can make any shape you want. On the brown version I made it a bit straighter.
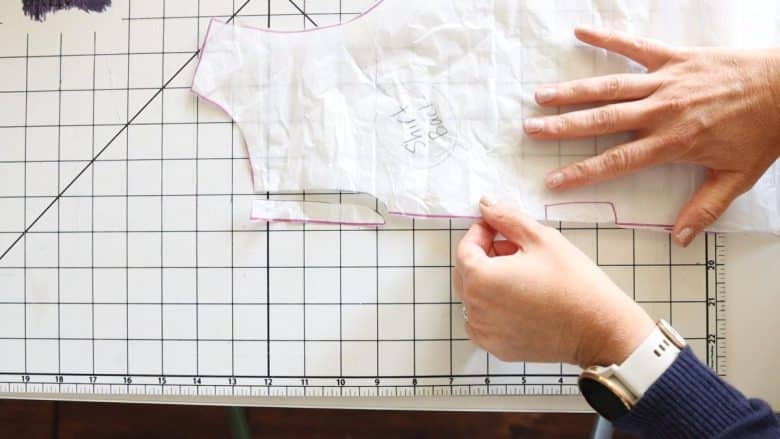
Cut out the back of the shirt. NOTE: I cut the width of my back 1 size larger than the front since it doesn’t stretch. I didn’t make the shoulders wider, just the sides under the arms. {I did NOT do this on the brown version}
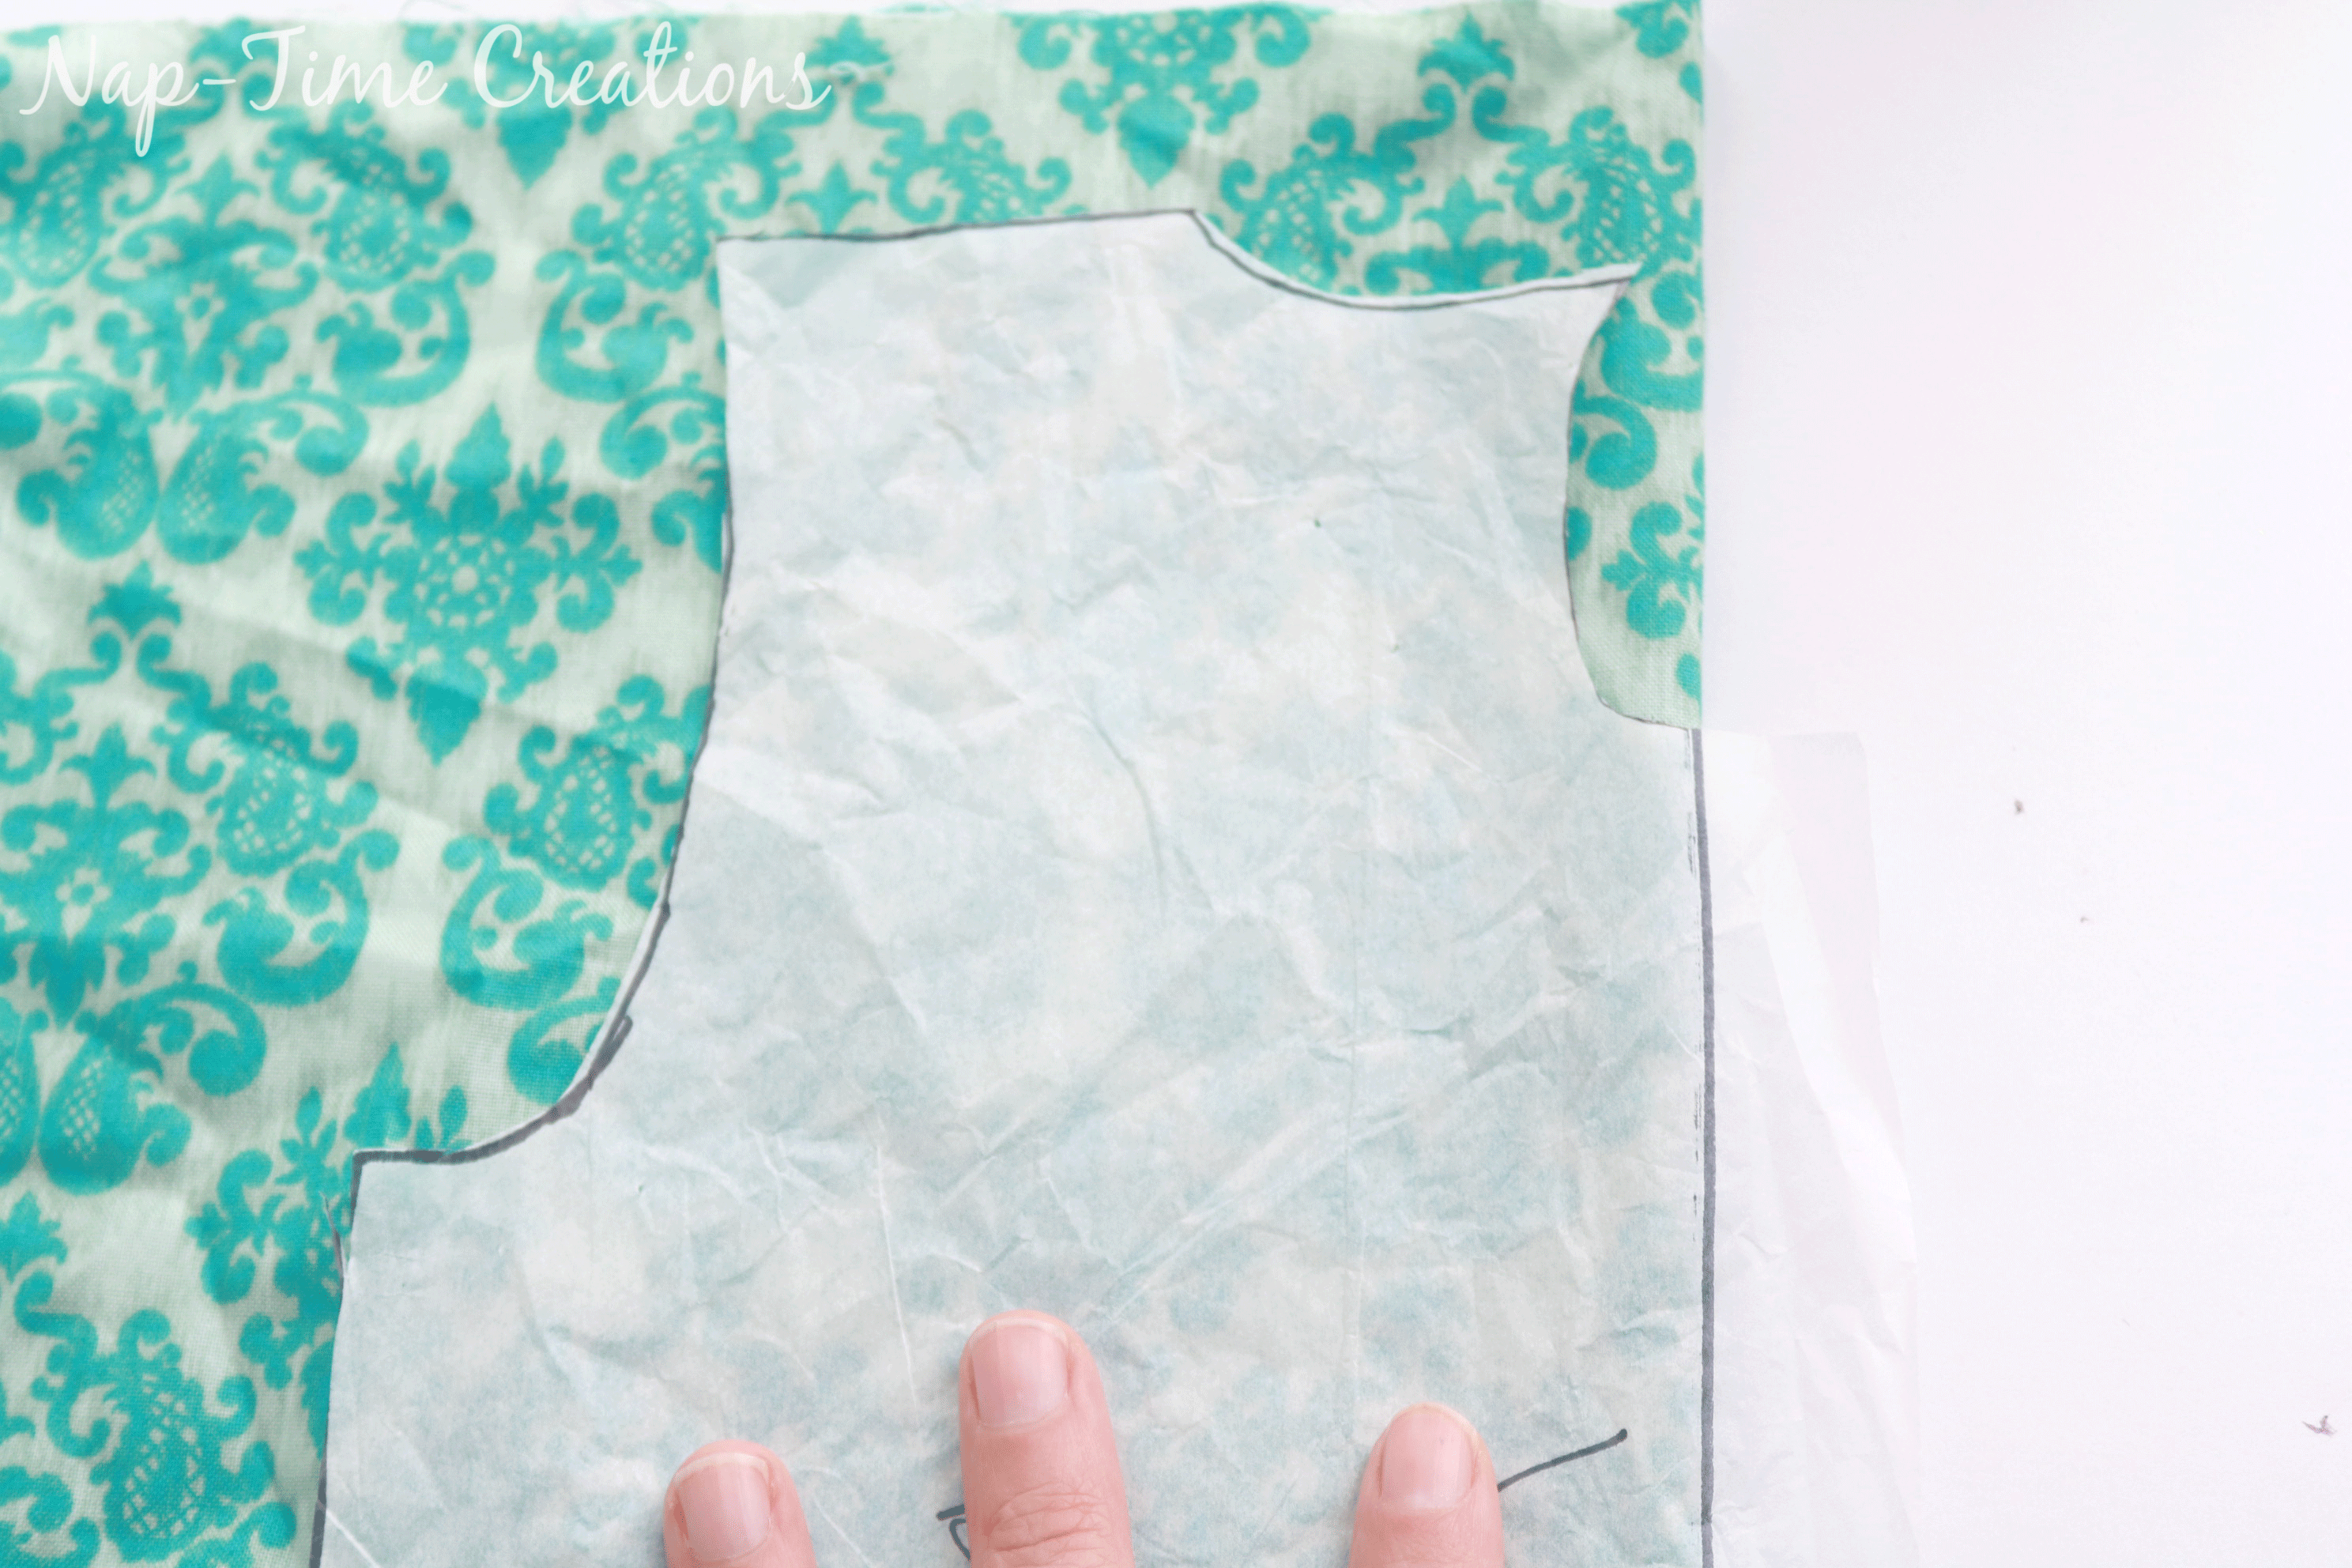
On another piece of the same fabric we will now create a facing for this opening. Lay your pattern piece on the fold again and trace the keyhole opening.
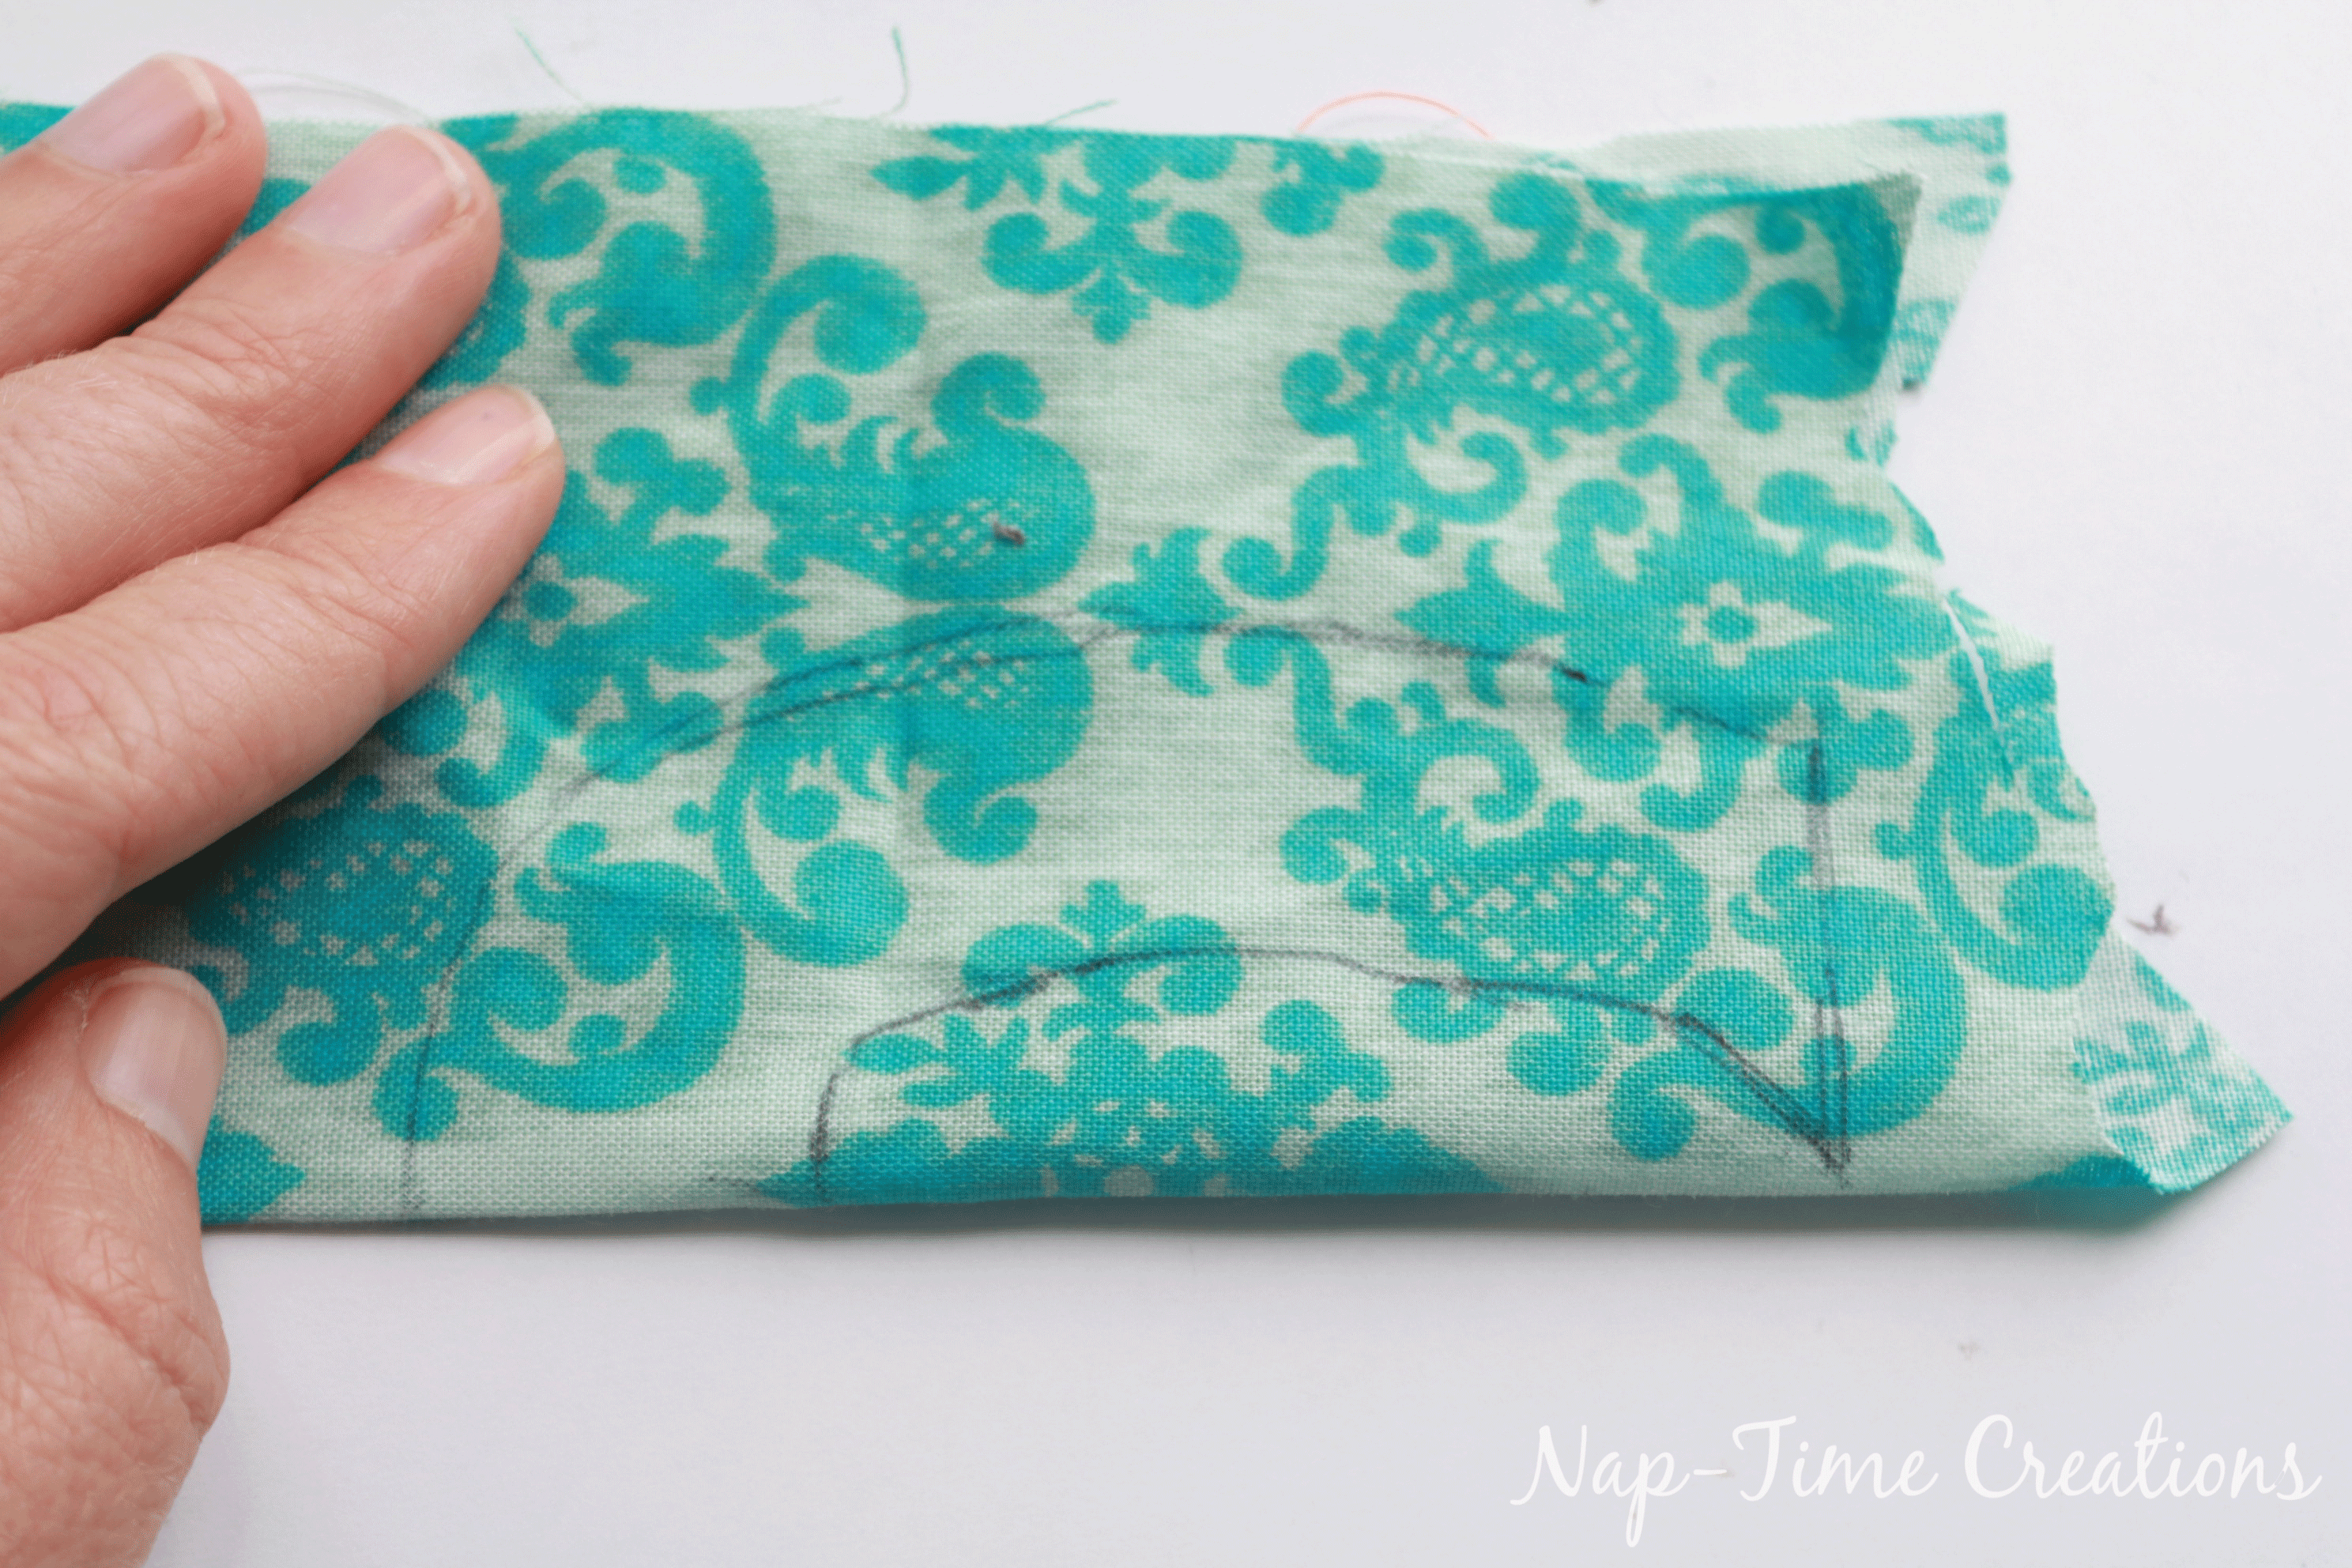
Move the pattern out of the way and make a 1″ wide facing on the fold. Cut out on the fold.
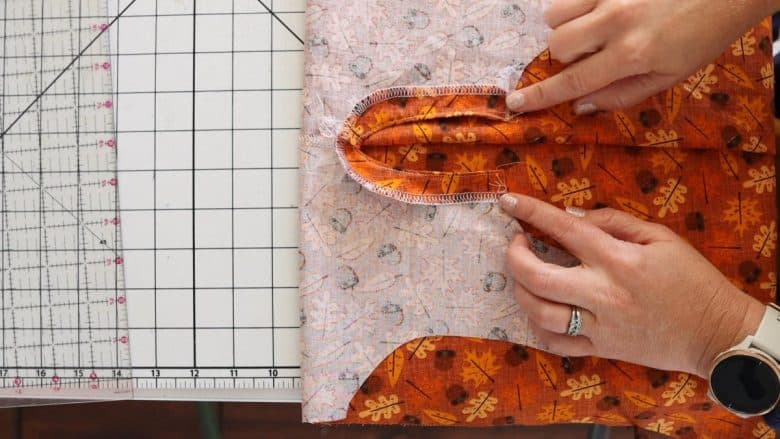
Finish the outer edge of the facing with a zig-zag or serger. Place right sides together on the back of the shirt and sew the facing to the shirt on the curved line. Fold the facing to the back of the shirt and iron in place. Top-Stitch on outer edge of facing.
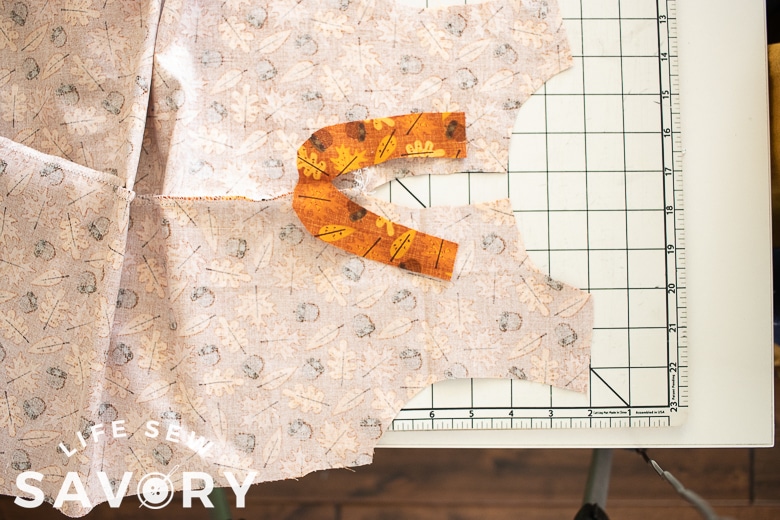
When you cut your neck binding add 10 inches to the length. You want 5 extra on each side of the back for the tie. {NOTE: in the brown version I added woven ties to the end of my knit neck binding. I sewed it after the keyhole}
Need help with your neckband? Check out my tutorial.
After you sew the shoulders of together for the front and back pieces, fold the neck binding in half with wrong sides together and place right sides together along the neckline. Center it so that the ties extend evenly on both sides of the keyhole. The binding will finish the top of the hole as well.
Top-stitch with a double needle or coverstitch machine.
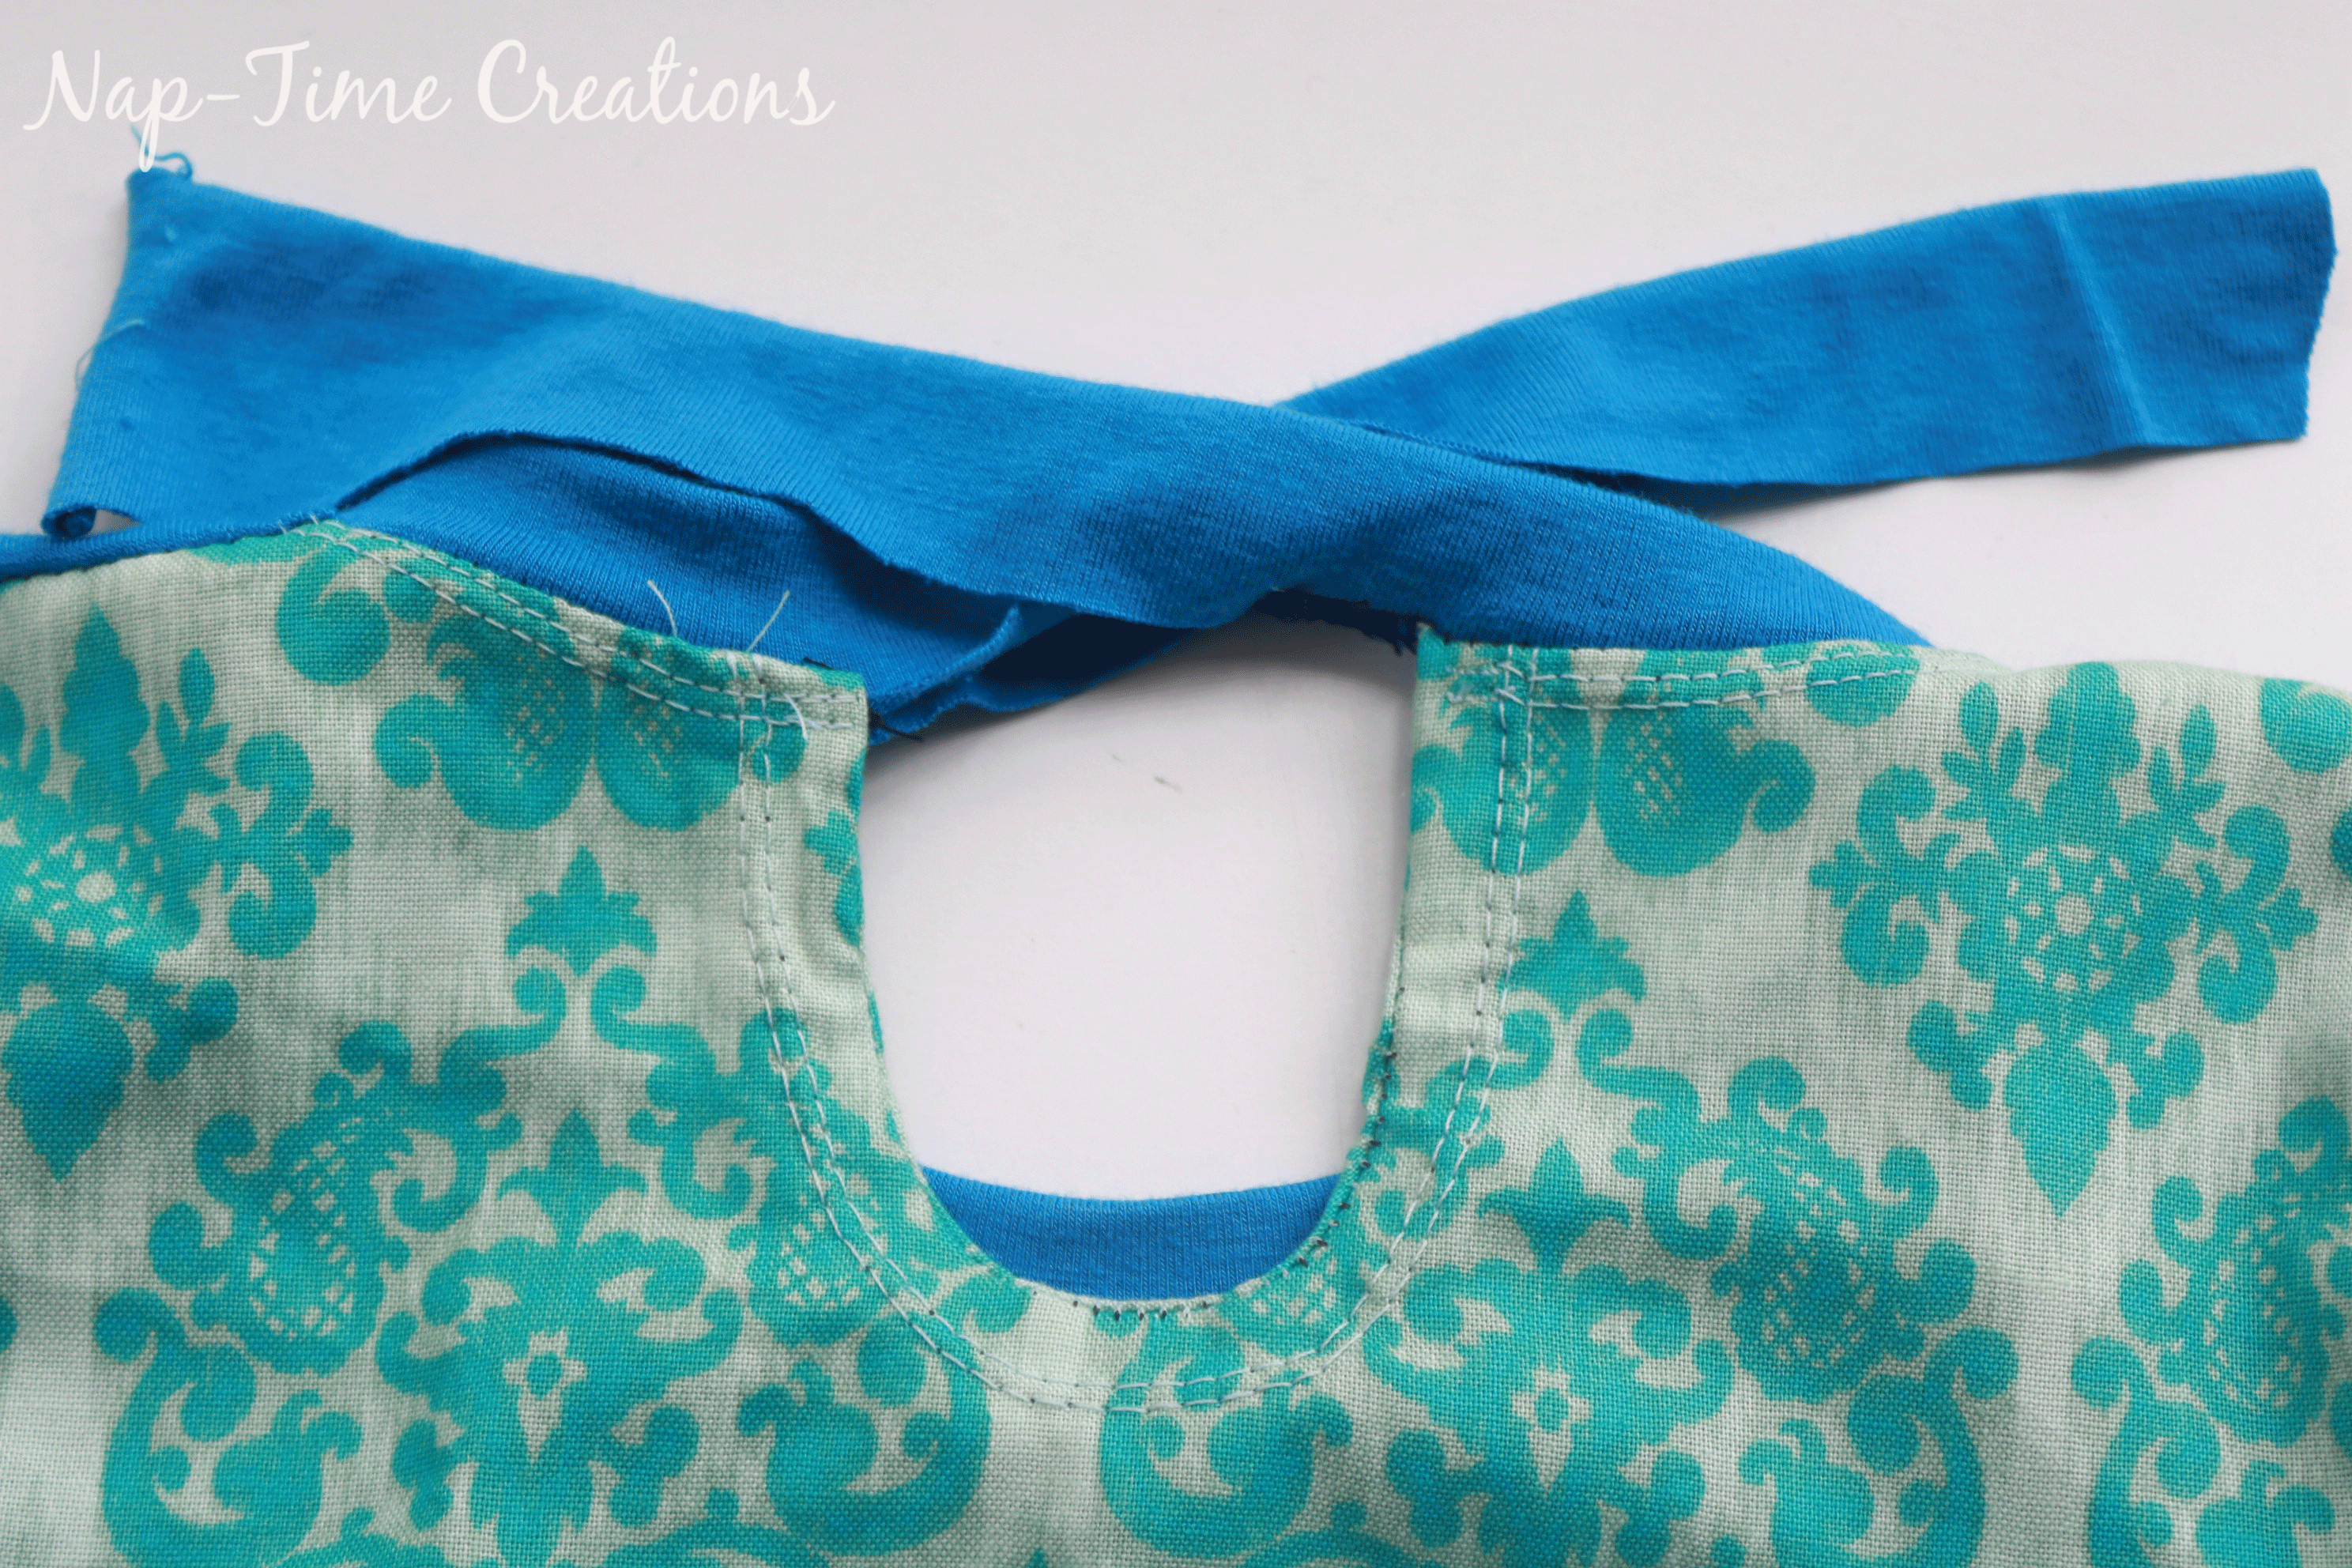
It looks so cute when the shirt is tied at the back. I think I actually do like the knit band tie best, because then you have some of that knit fabric on that back as well to contrast. AND… it’s easier to sew {haha}
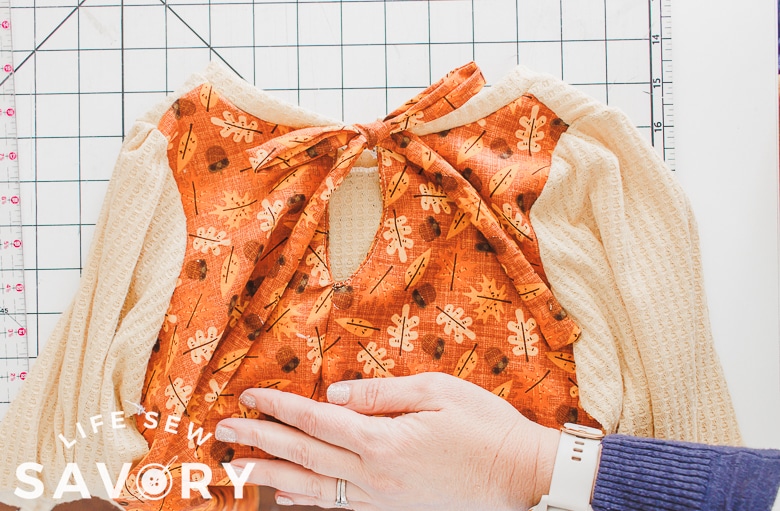
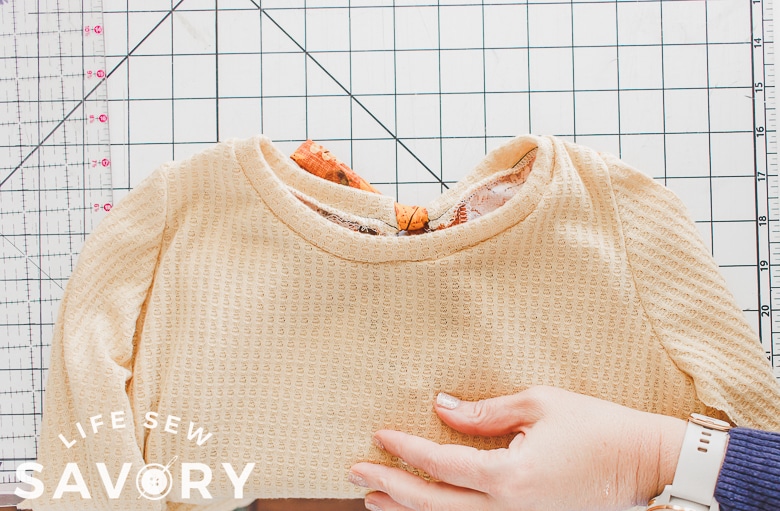
You can also see how one version is more of a swing bottom and the other is straight cut. Are you inspired to sew a T-shirt with woven fabric back?








Lisa says
So adorable, Emily! Thanks so much!!
Karen Little says
Several years ago I “adapted” a t-shirt pattern to make the top of pjs for two little boys. I didn’t want to make buttonholes — I have never reached the skill level I expect of myself so try not to make them 🙂 I used the flannelette I was using of the pj bottoms for the front of the shirt and made the back and sleeves from a knit. I couldn’t find a pattern at that time that included both a knit and woven fabric in the same t-shirt — not sure how I missed your pattern as i have followed you for years! Anyway, it was very successful, the boys loved their pj’s and all I did was find a free pattern for pj pants (probably yours) and then used a t-shirt pattern for the top. I used a knit binding around the neck — even though the front of the pj top was a woven fabric, there was sufficient stretch in the back and sleeves section of the neckband to allow for easy pulling on and off. I am going to try making the dress with a raglan t-shirt top — I love raglan tops and they fit my body much better. I am short and wide in proportions 🙂