



inside: Learn how to make a quick Christmas sweatshirt with sublimation and embroidery. Easy Sublimation and sewing/embroidery tutorial.
I’m in a fun creative sweatshirt decorating mode this November. I may keep it going for the whole month since I have a few more ideas I would like to figure out. Last week I shared an idea for embroidering tiny designs all over a sweatshirt. Today I’m combining sublimation with sewing/embroidery to create a fun custom look shirt.
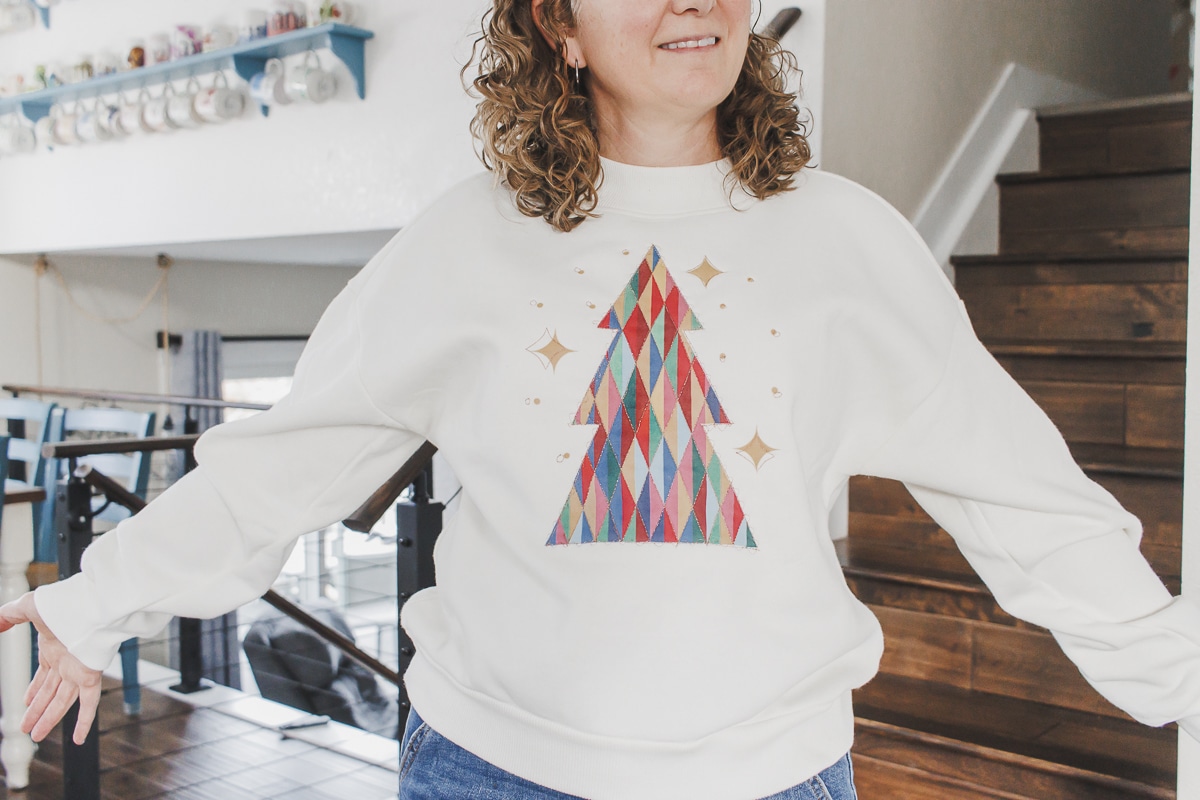
Christmas Sweatshirt with Sublimation and Embroidery
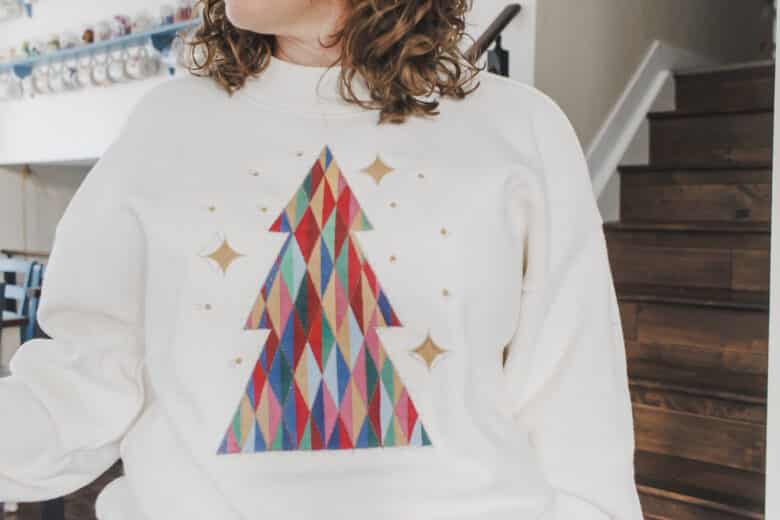
I’ve linked this sweatshirt below, but I found it at Hobby Lobby and its so much cozier than their normal inexpensive shirts. The neckline is a bit different and I think I really like it. I may have to go back and get a couple different colors. The tree file I can’t link as it’s from the Artspira App, but really any tree print that you can add some stitches to would work. Fun designs, shapes and swirls work well.
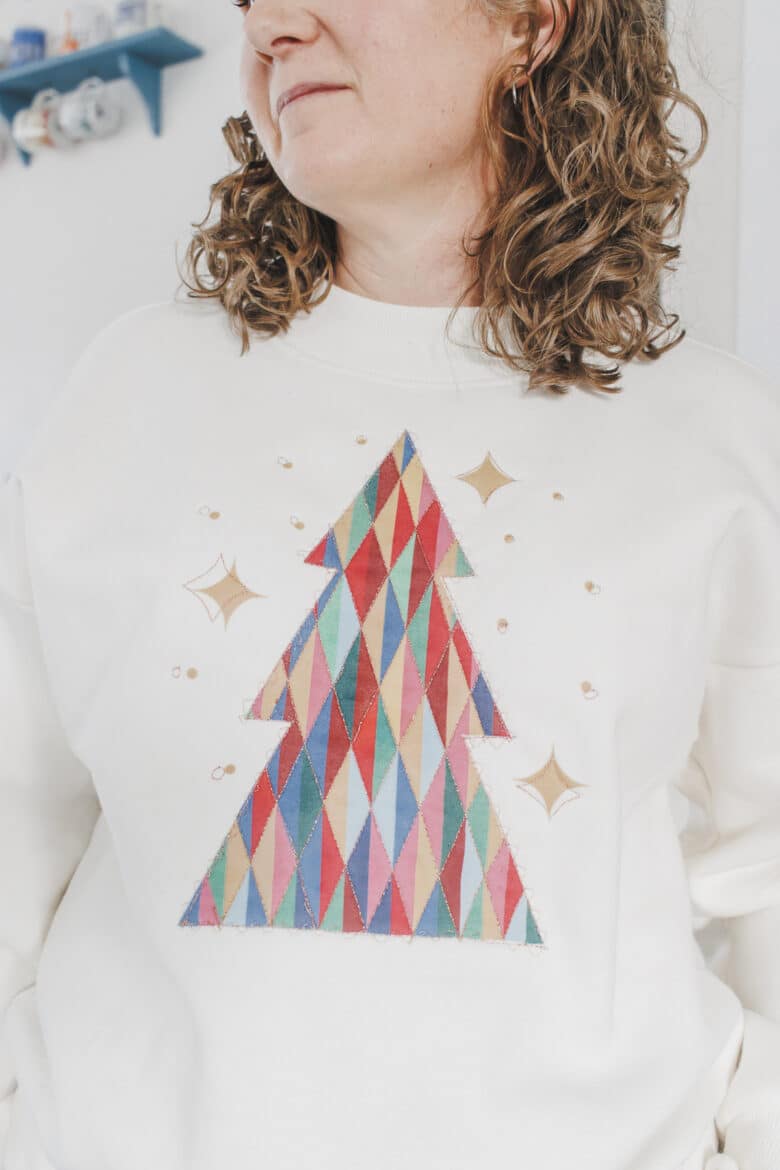
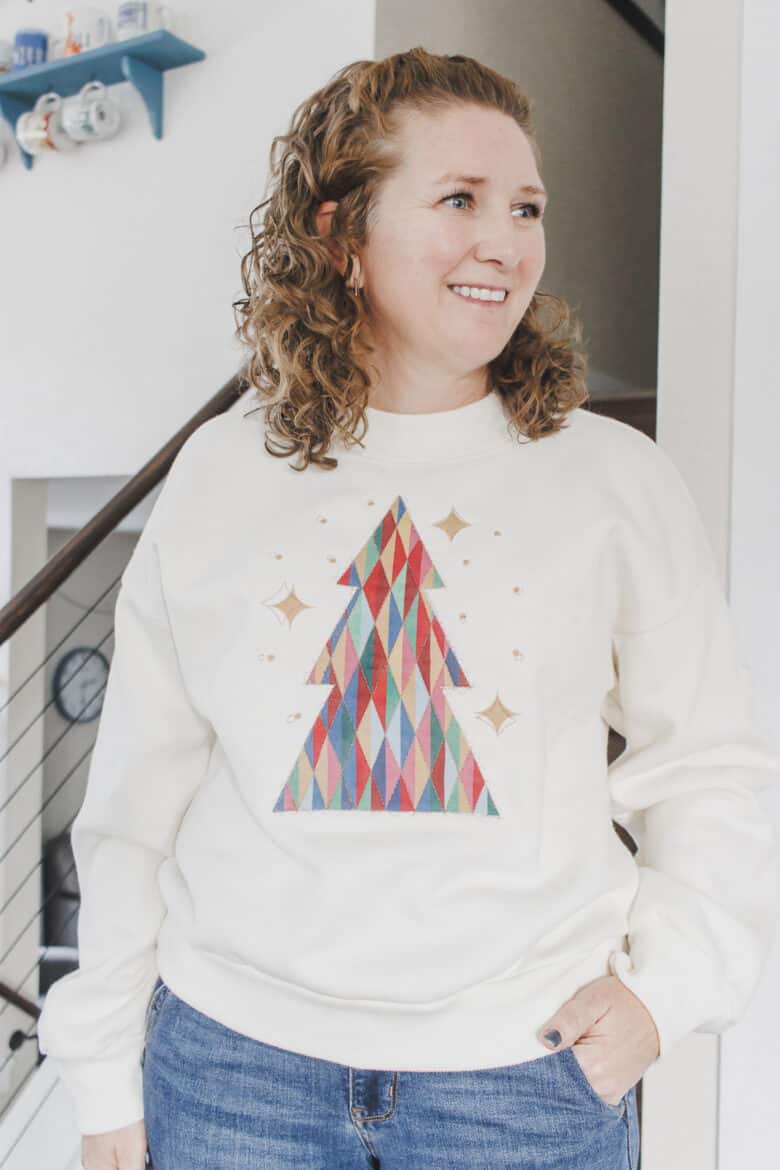
I used my embroidery machine for some parts of this project and then the sewing function on my machine to sew some of the straight lines on this tree and outline it. Below I will detail both, but really depending on your design you will create your own look.
Other sweatshirt tutorials
- Sports Applique Sweatshirt
- Blanket hoodie mash up tutorial
- Sweatshirt to dress tutorial
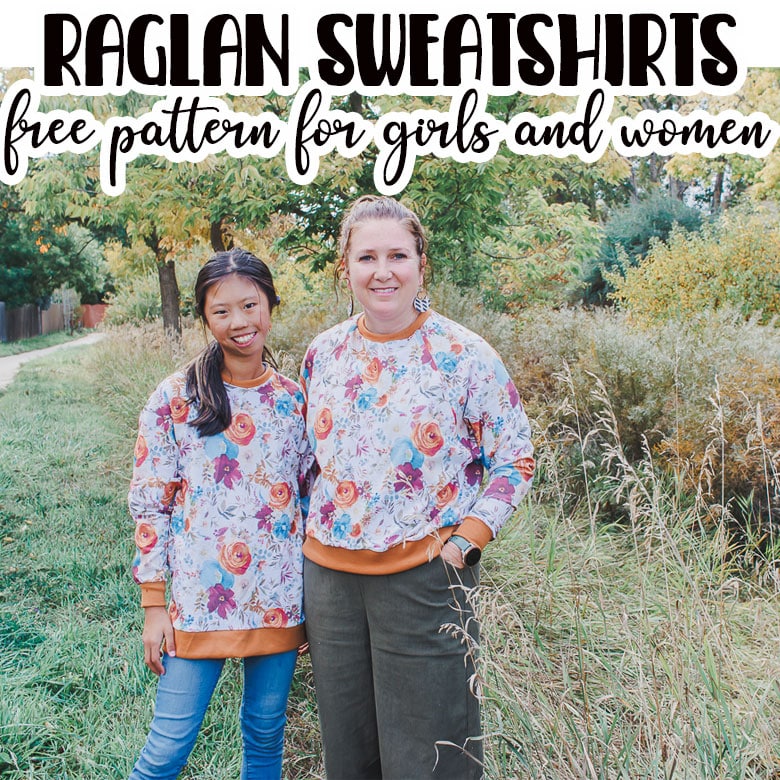
- Raglan sweatshirt -free sewing pattern
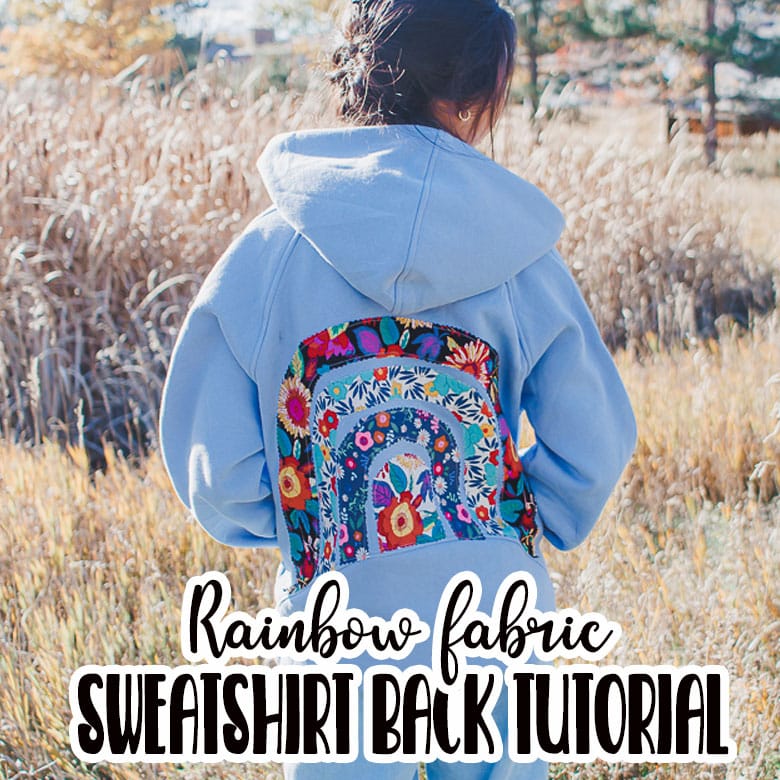
- Rainbow back sweatshirt add on
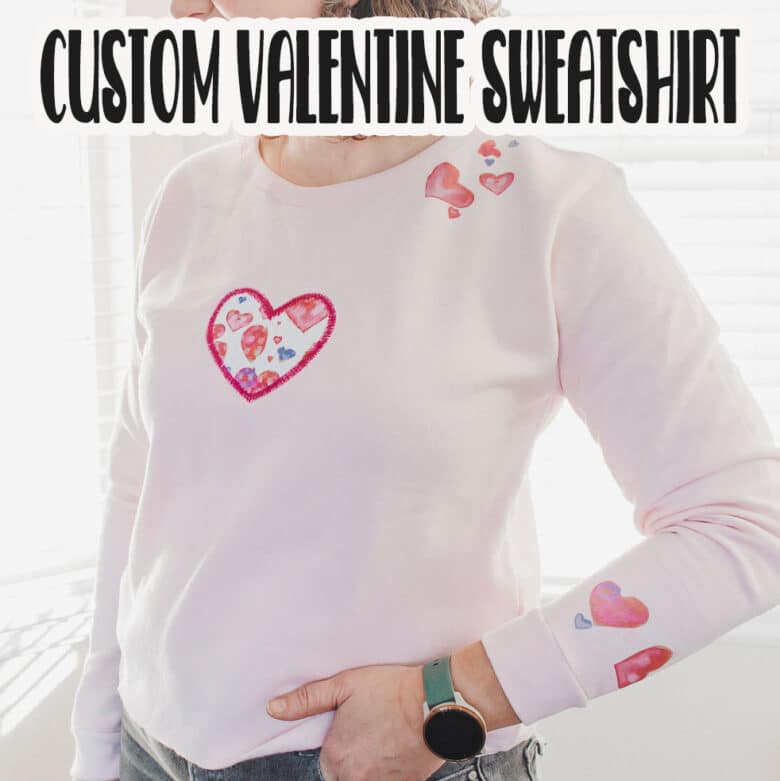
- Custom Valentine Sweatshirt
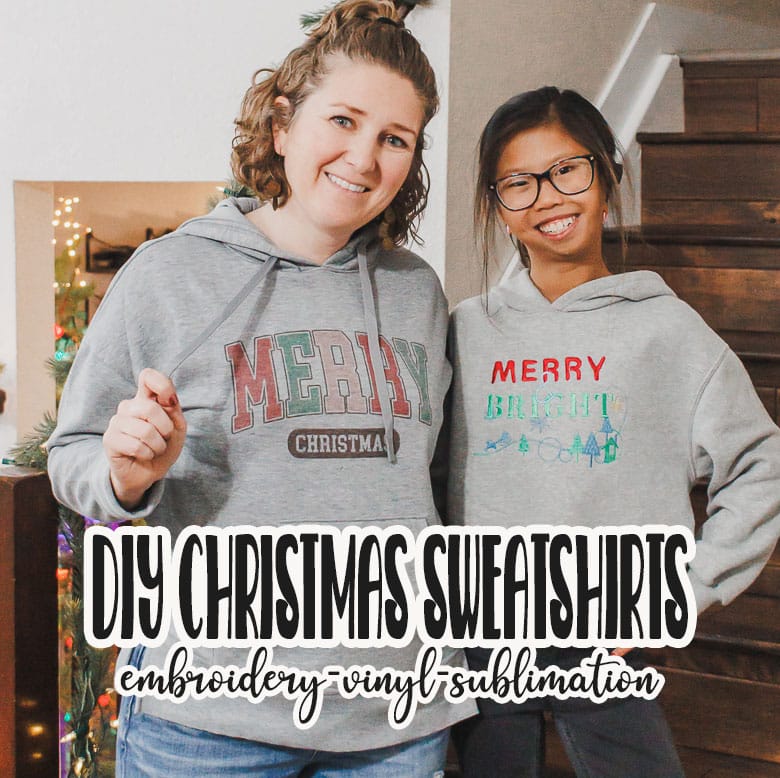
- DIY Christmas sweatshirts
- Simple sweatshirt sewing pattern
- Sweatshirt dress free sewing pattern
- Reverse applique tutorial
- Loose fit sweatshirt tutorial
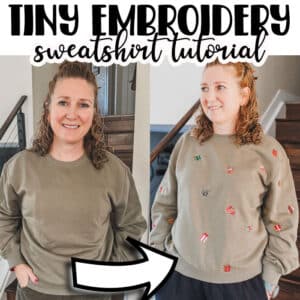
- Tiny Embroidery Sweatshirt
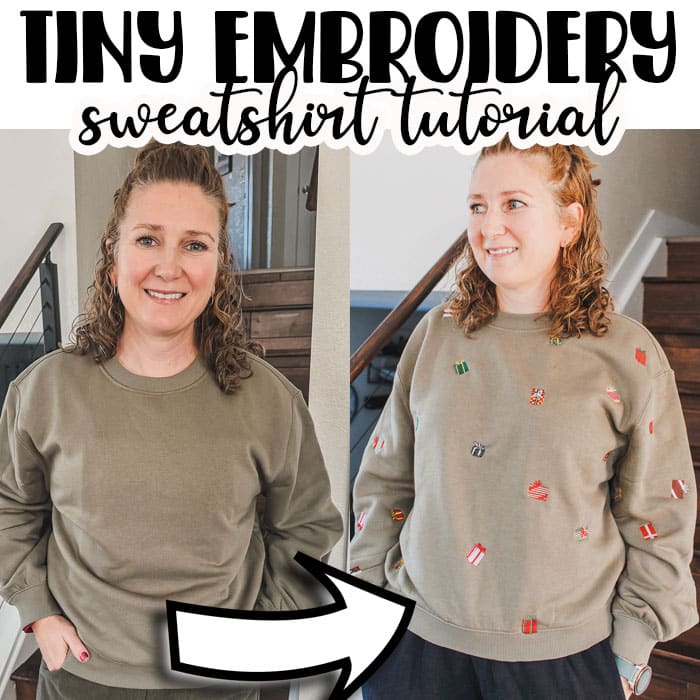
How to make an easy Christmas Sweatshirt
Let’s get making! Here is what you will need to create your own fun Christmas Sweatshirt.
- Sweatshirt {from Hobby Lobby} {From Amazon}
- Sublimation printer
- Fun glittery embroidery thread
- sublimation spray
- Sublimation design from Artspira{like mine} or like this one.
- Fleece interfacing for back
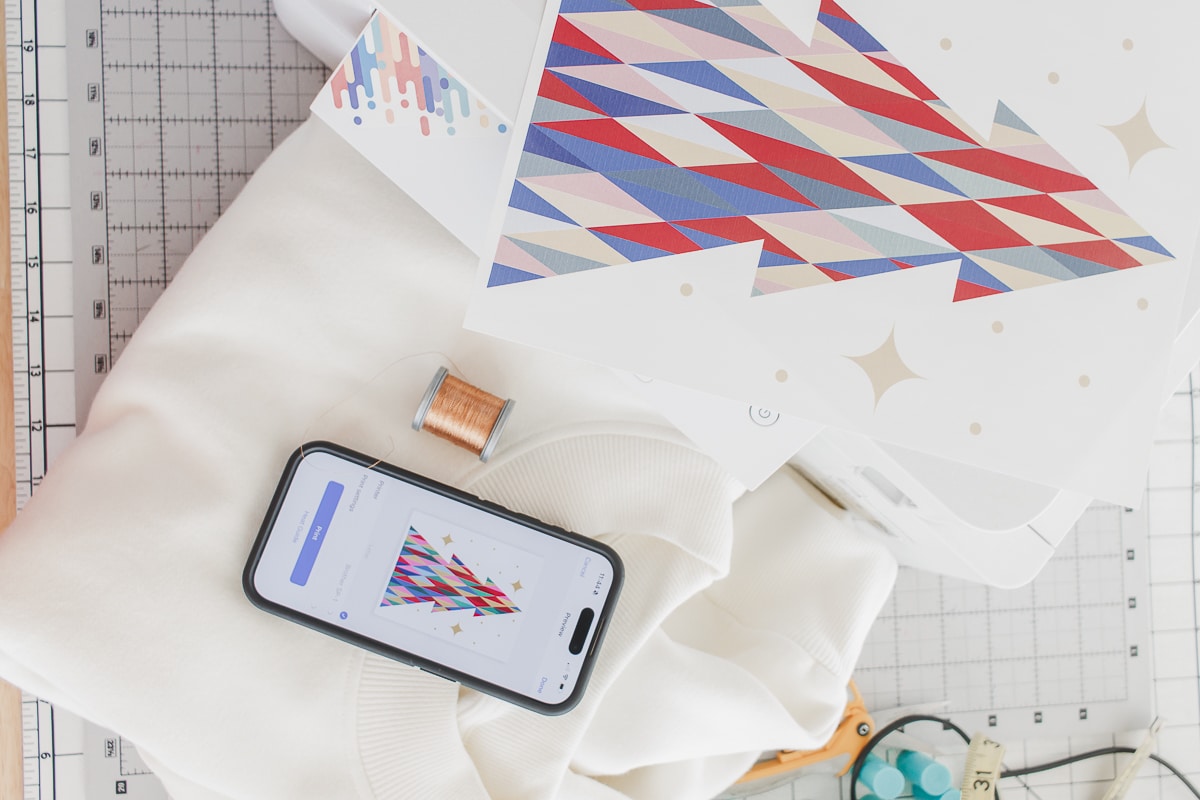
If using the Artspira App you can open up any print design in the the app, select it, then resize it to fill a printed sheet.
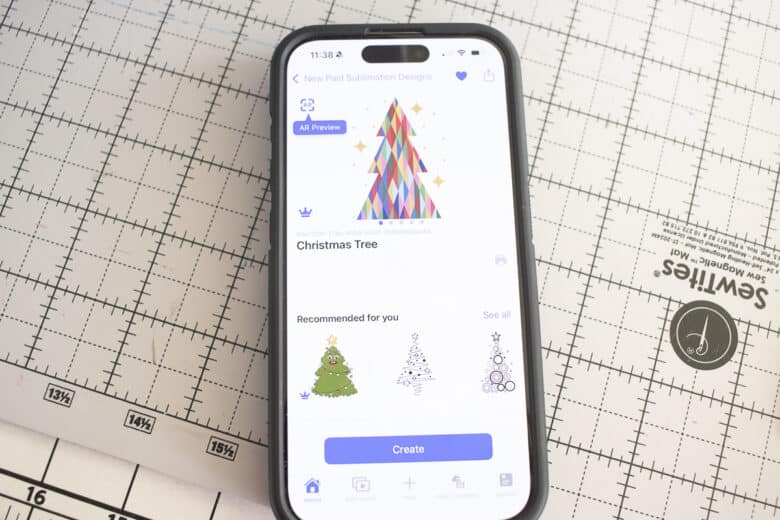
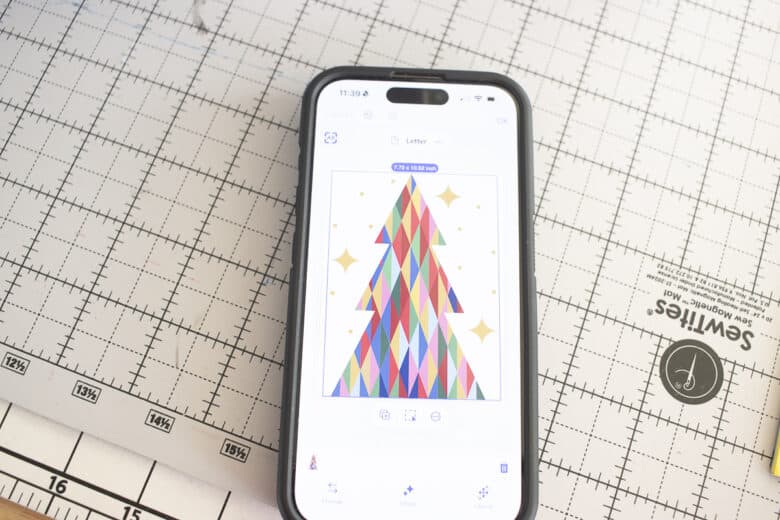
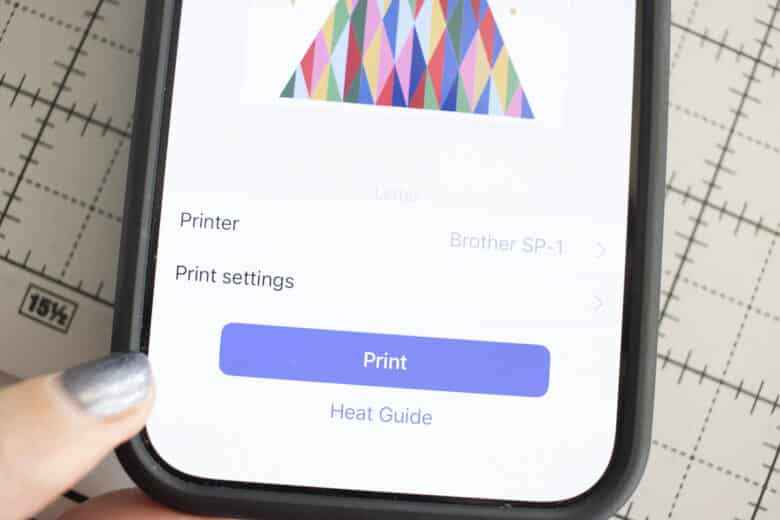
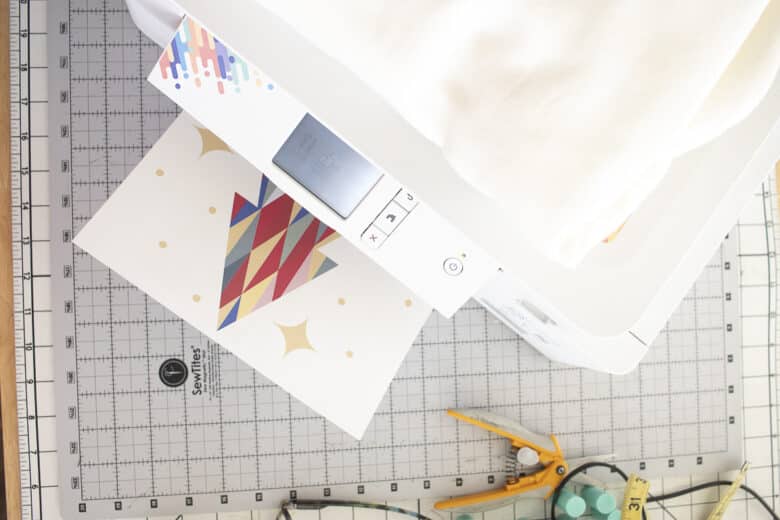
From there you can print on a sublimation printer. I have had this one for years and done SO many projects and I’m still using the ink it came with. I love it, so easy to use.
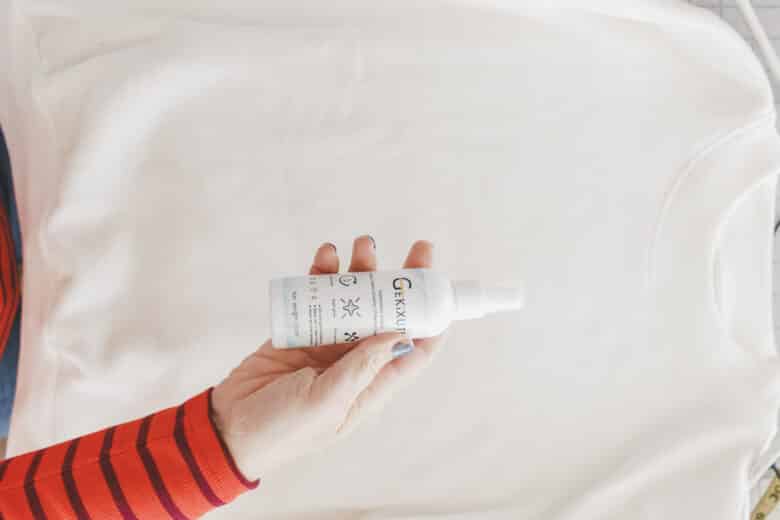
Recently I’ve been using this sublimation setting spray on my fabric BEFORE adding the sublimation. You spray and let it dry, then iron on your design. It’s suppose to help with vibrant colors and longer lasting designs. I haven’t used long enough to truly test this out, but it doesn’t hurt.
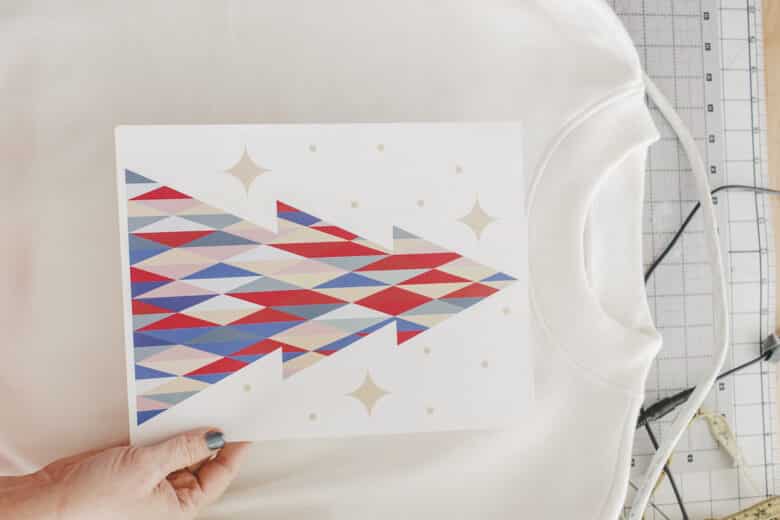
Press the design to your shirt based on your printer and paper instructions. I always lift a small corner to check the transfer before lifting the whole thing, that way I can press again if needed.
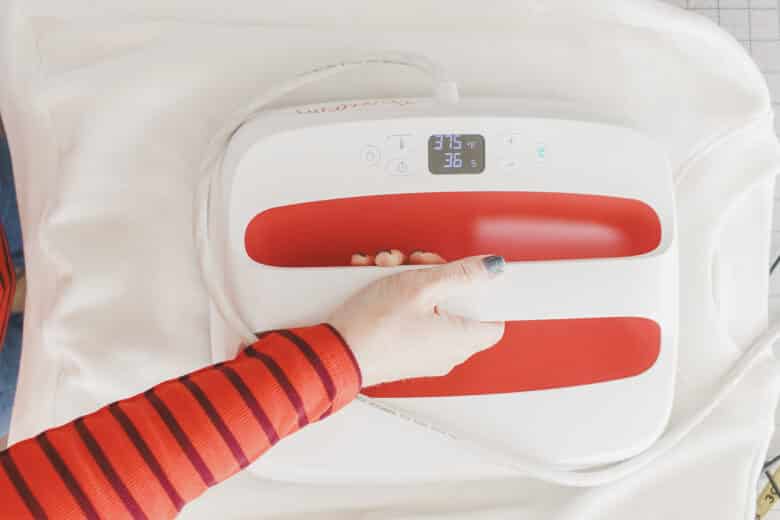
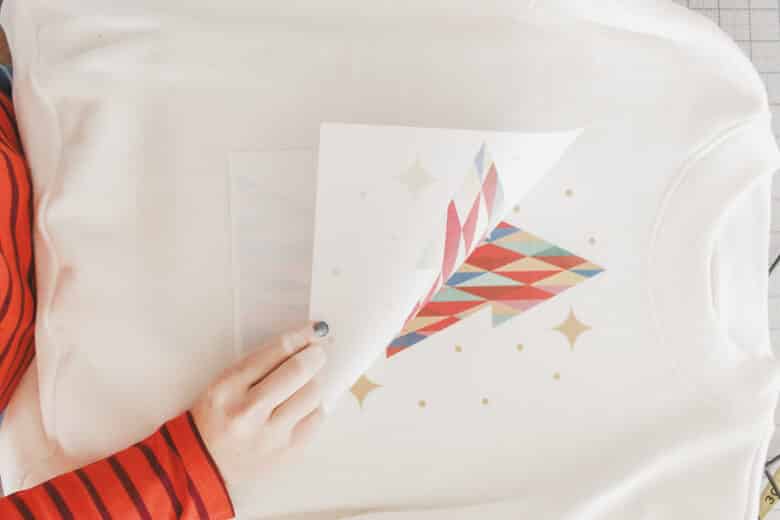
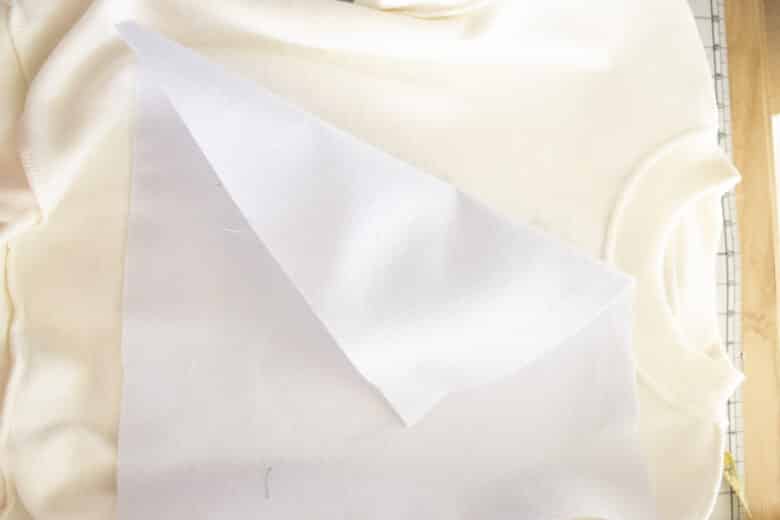
You should have a gorgeous print on the front of the shirt. You can leave just like that, or continue to the embellishment. I fused a piece of fleece stabilizer to the BACK of the shirt before sewing/embroidering.
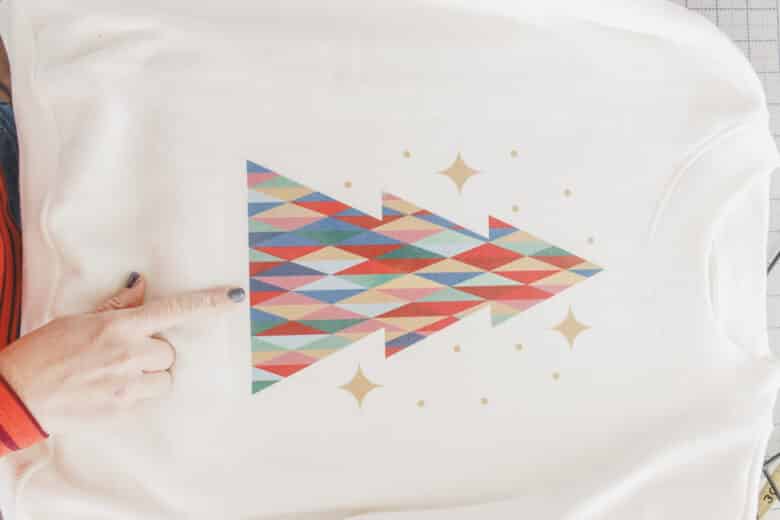
If you are adding embroidery, hoop the sweatshirt. My Brother Stellaire has the ability to see what’s in the hoop on my machine screen. I use the My Design Snap app to send the design in the hoop to my machine. Your machine may have a different way to send the hoop to your machine.
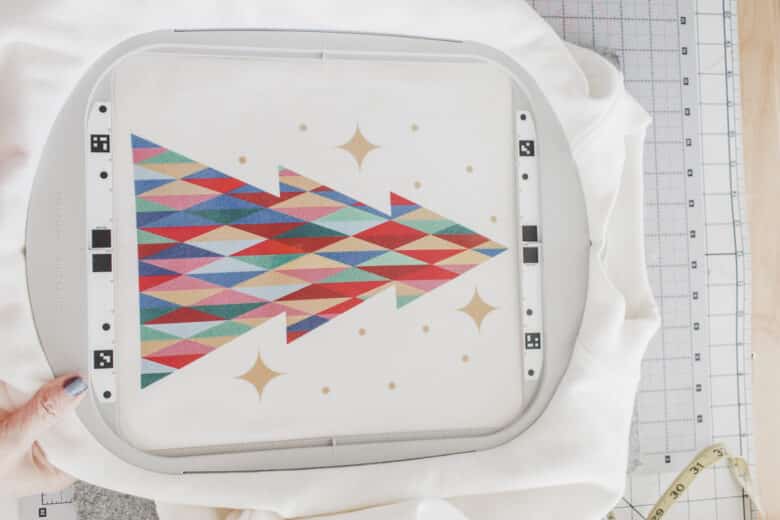
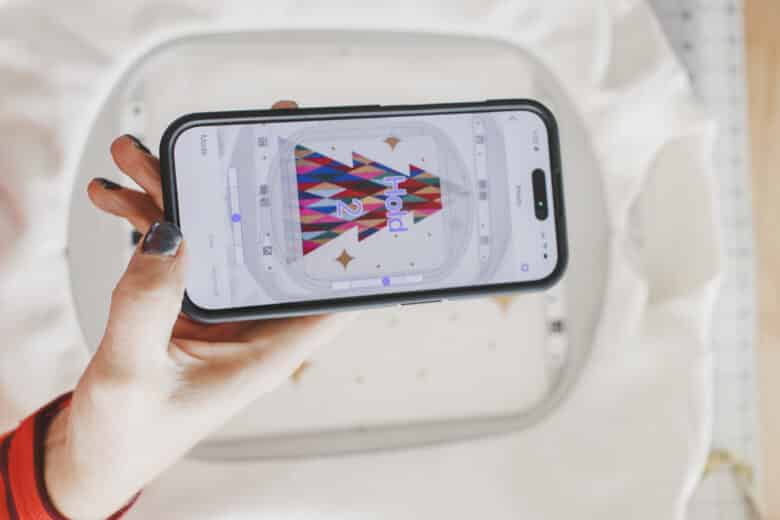
I used my stylus to trace the stars and circles around the tree. You can see what it will embroider in the second photo. If you don’t have the ability to draw your own embroidery shapes, you can add stars, circles or other designs to your print using build in designs on your machine.
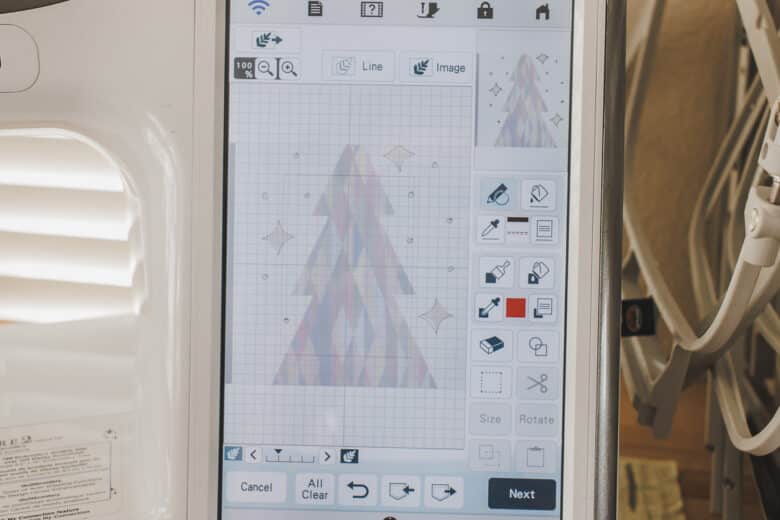
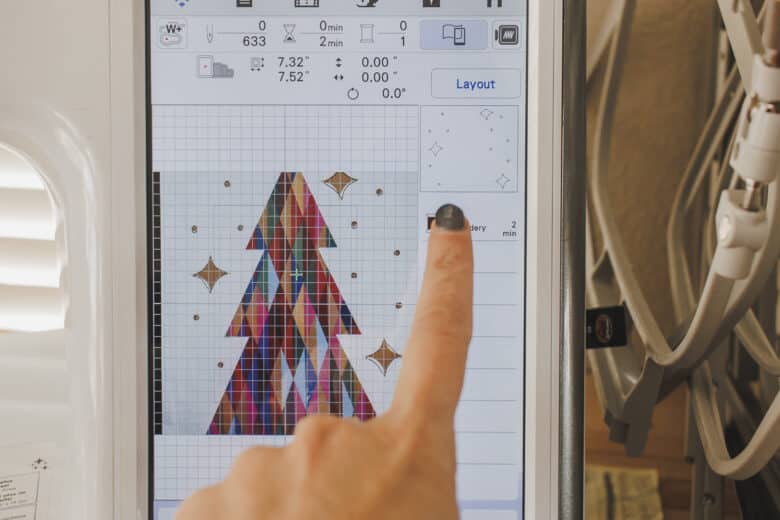
I used a glitter thread to stitch out the embroidery embellishment.
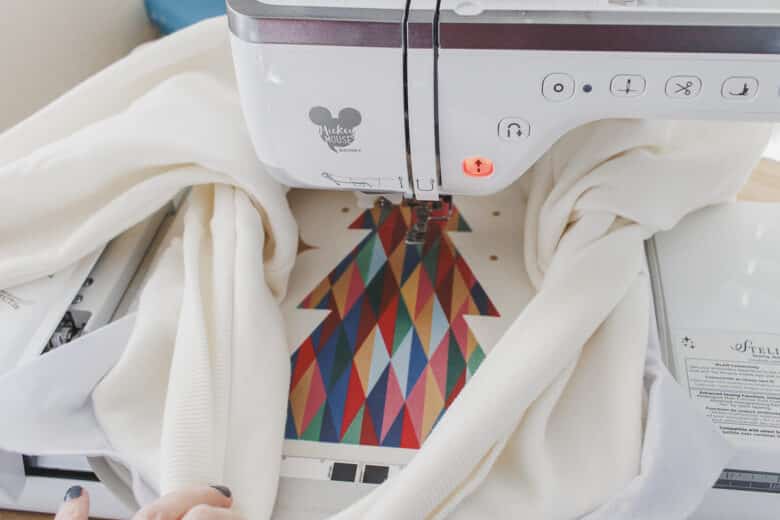
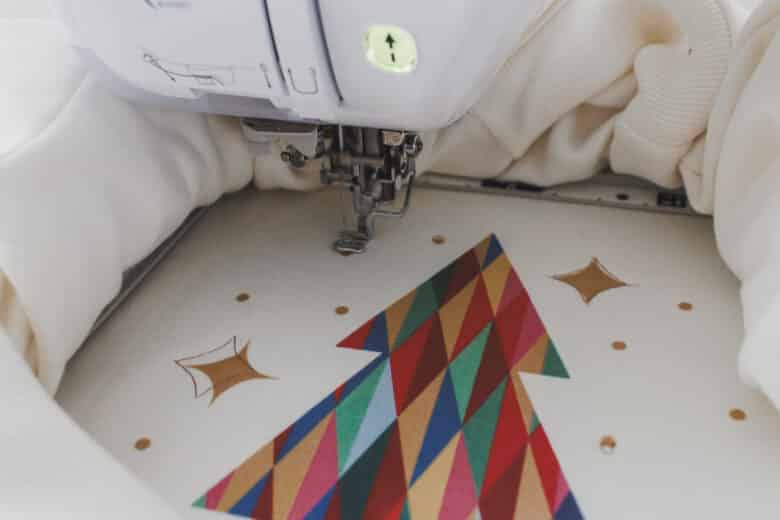
If you don’t want to add embroidery designs you could also do some free motion quilting/sewing on the design instead.
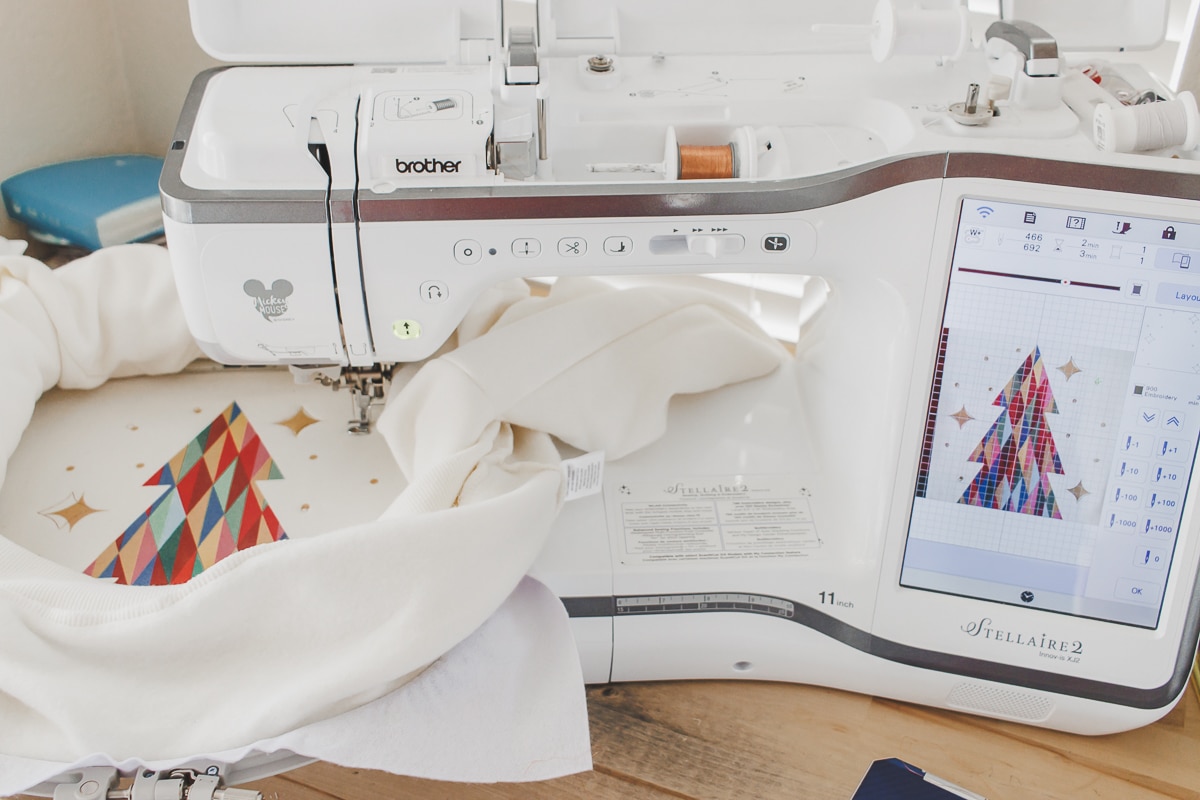
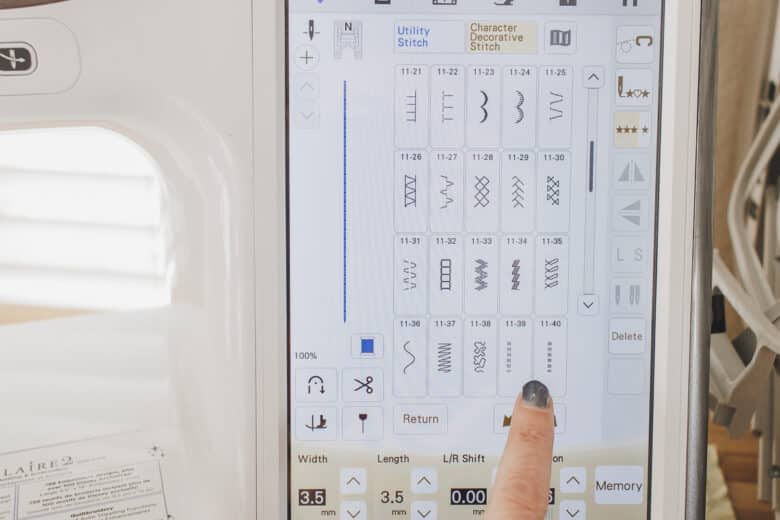
After the embroidery finished, I wanted to add more stitching to the tree. It was super easy since there were straight lines on the tree. I used a triple stitch to sew the lines.
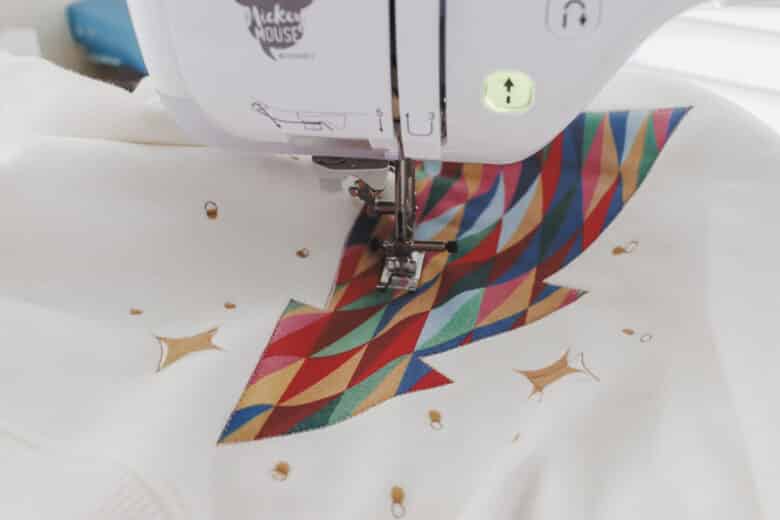
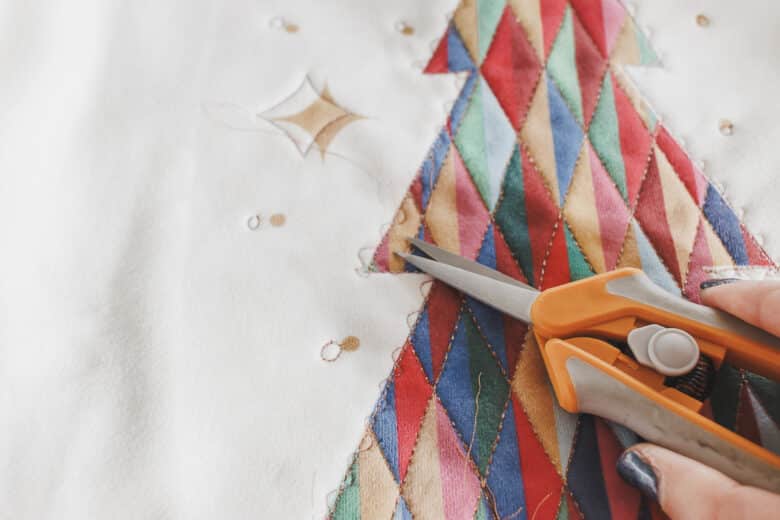
I love how it turned out! The fleece on the back gives it a bit of dimension to the design and I just love it. Trim the threads to finish.
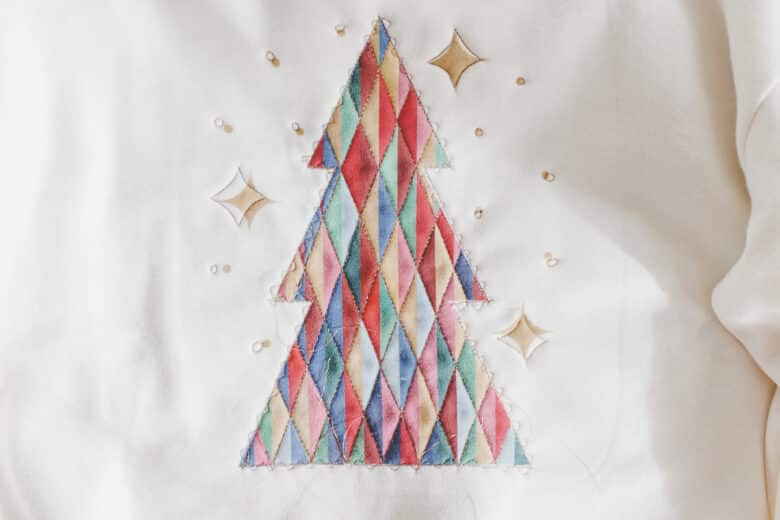
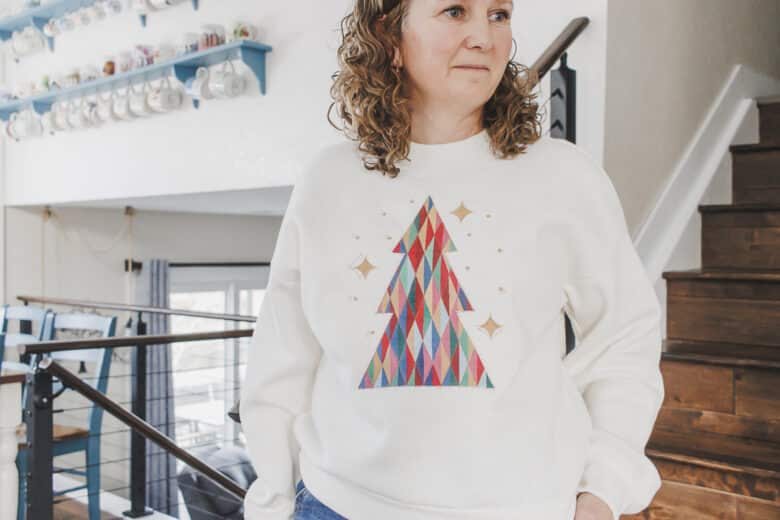
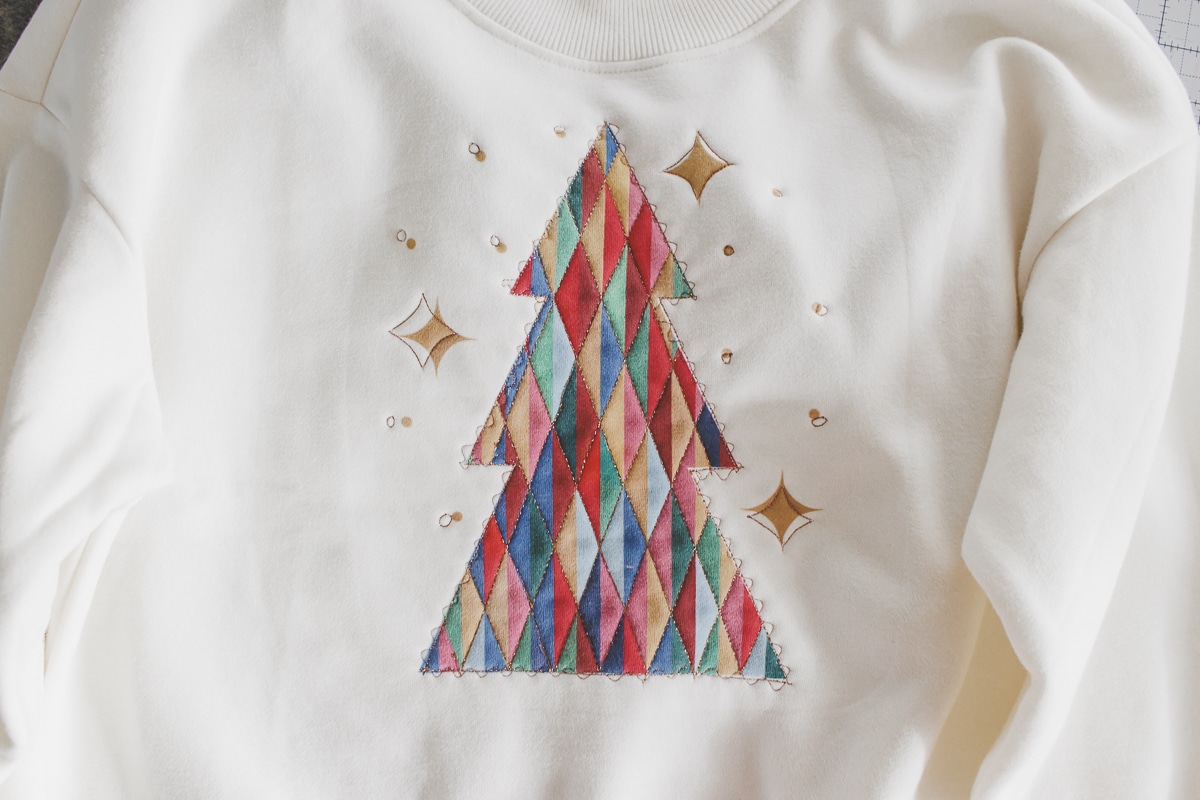
Here is my finished sweatshirt. It turned out better that I expected and it’s so cute!




Leave a Reply