



inside: learn how to create a fun and festive sweatshirt for any occasion with the tiny embroidery sweatshirt tutorial. Add any tiny embroidery design all over a sweatshirt for a unique design.
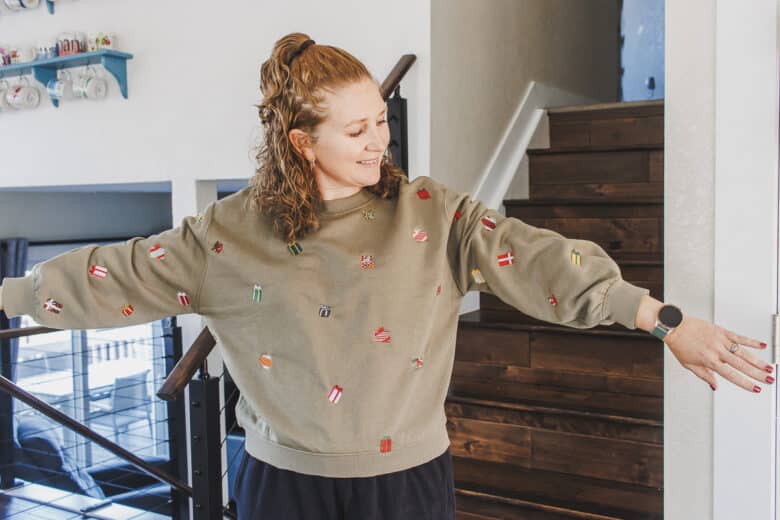
I was shopping earlier this fall and saw a sweatshirt with a tiny embroidery design all over it. I thought it was so cute, and tucked that idea away to replicate soon. Now that the holidays are just around the corner, I thought I would make a fun holiday sweatshirt with tiny embroidery all over it. Here is my tiny embroidery sweatshirt, with a tutorial so you can make one too. Mine is Christmas themed, but of course this would work with any small embroidery design.
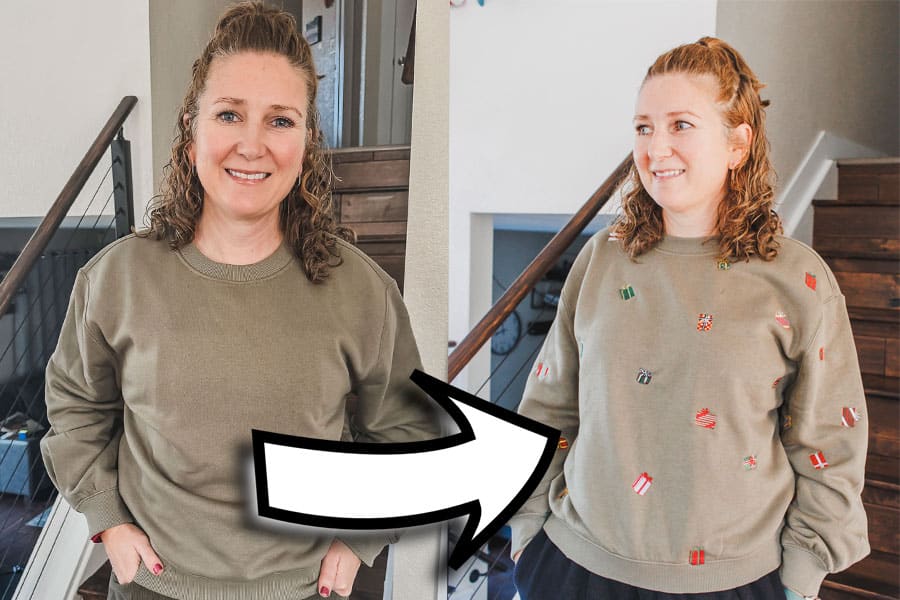
Tiny Embroidery Sweatshirt
Originally I envisioned this sweatshirt with a single embroidery file. Honestly, it would have taken SO much less time to use only one file, so maybe if I make another one of these I will do that. There were just too many cute present files in Artspira + though, so for this shirt I used four different files and switched up the colors for each present.
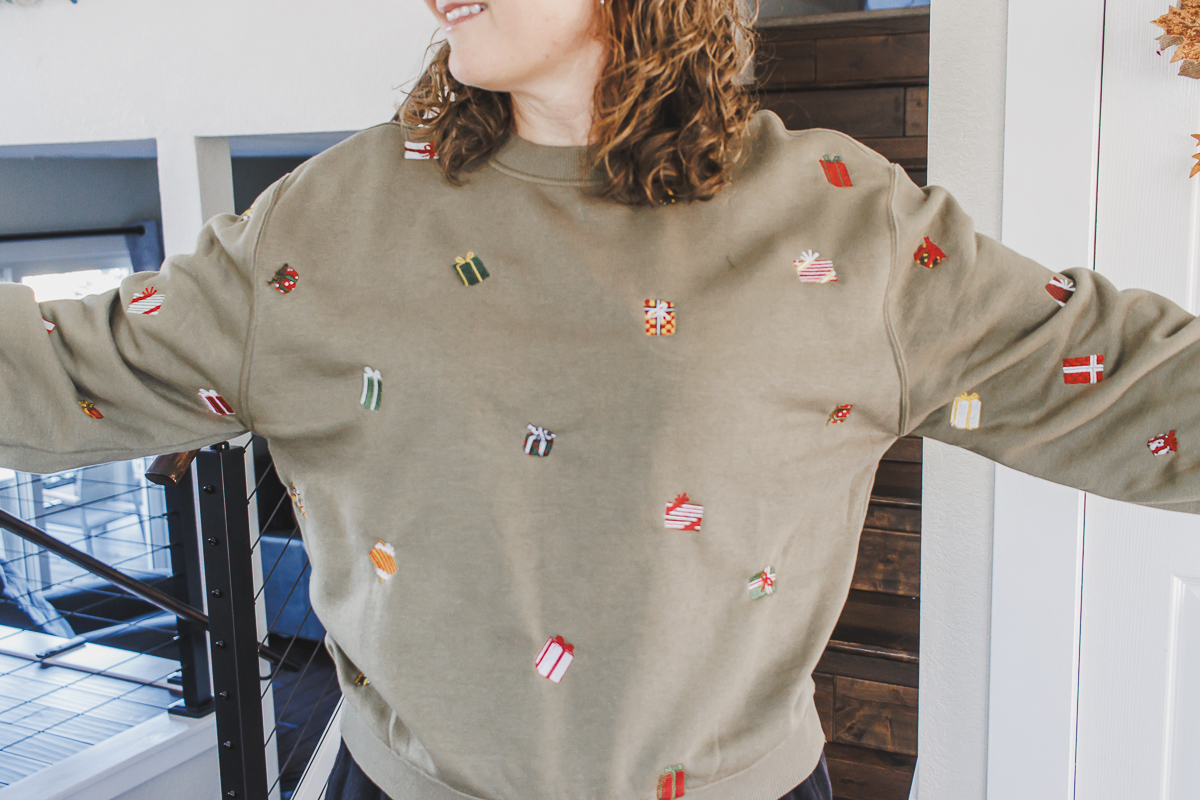
I kept the same color set for the whole project, but just switched up the colors for each present. You can do this with any tiny embroidery design, flowers, animals, holiday emblems, the list is endless. I would recommend using a file that is 1″ or smaller for these designs. The smaller the better it looks, in my opinion.
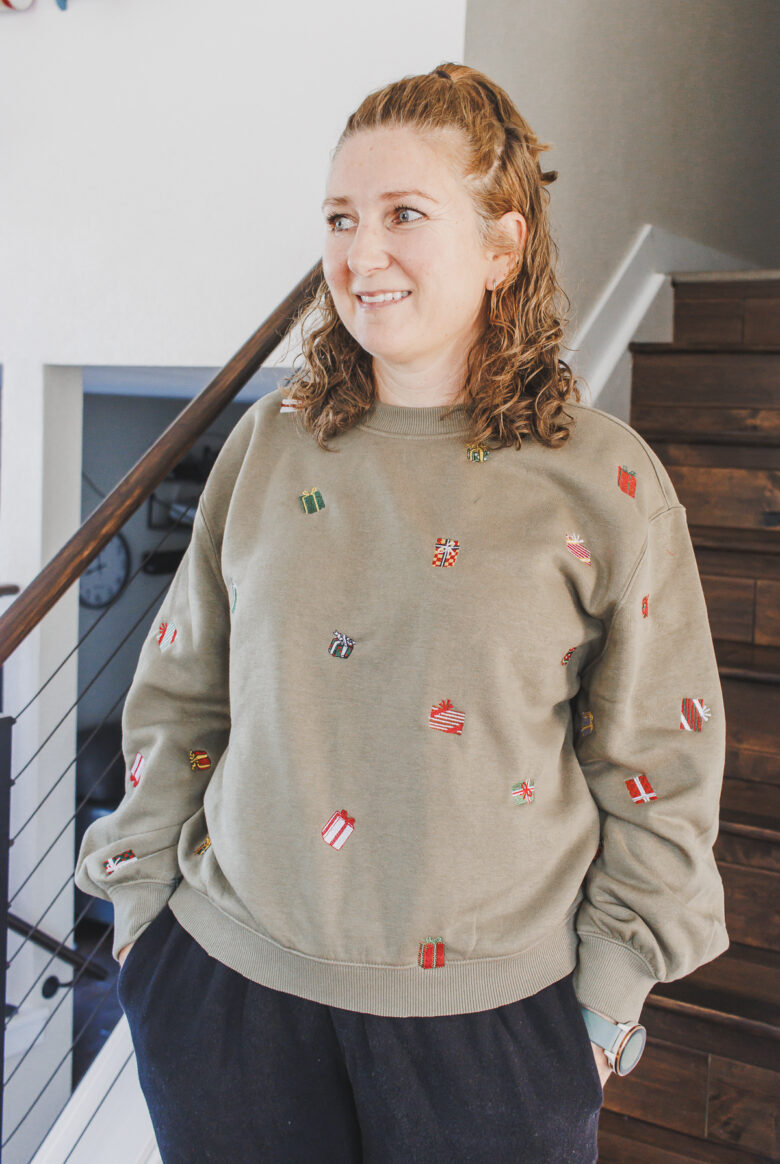
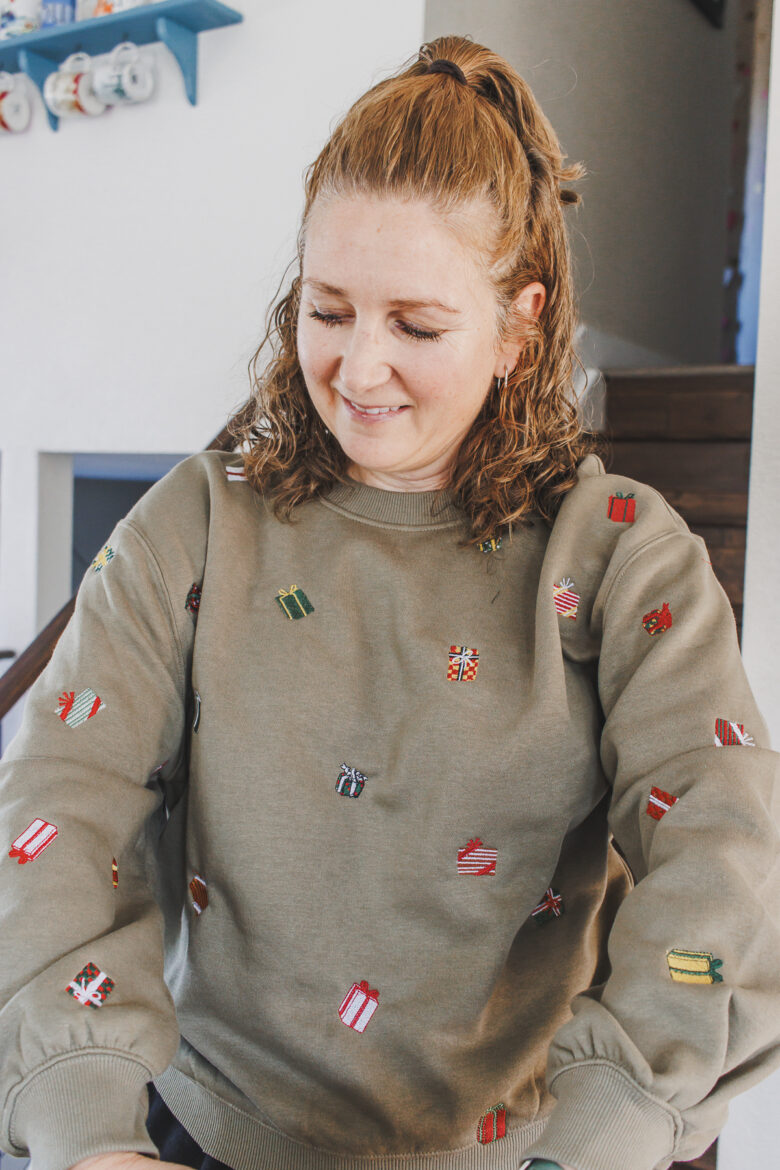
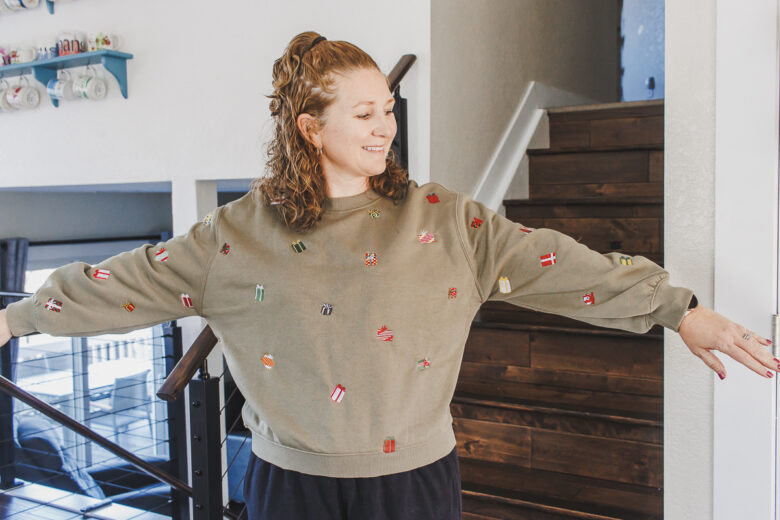
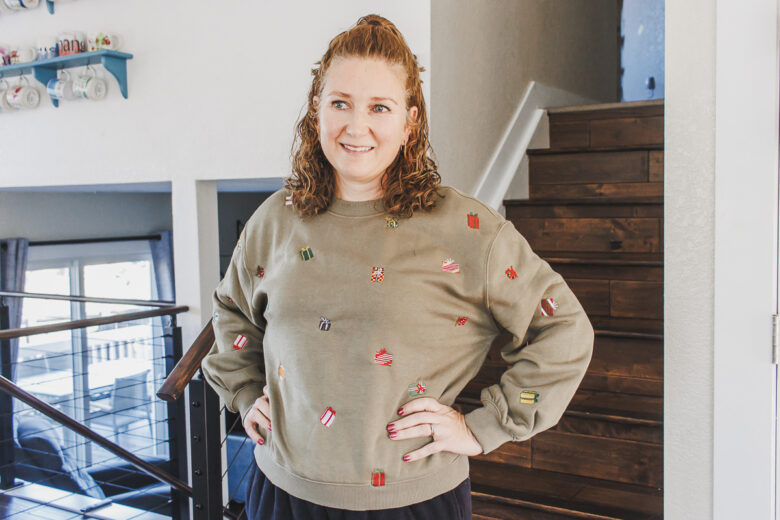
All these designs came from the Brother Artspira app, but you can purchase and use any embroidery files that are compatible with your machine. Now that I have this cozy Christmas sweatshirt I’m ready for the holidays {haha! just a million other things to do, but I have this finished!}
Other sweatshirt tutorials
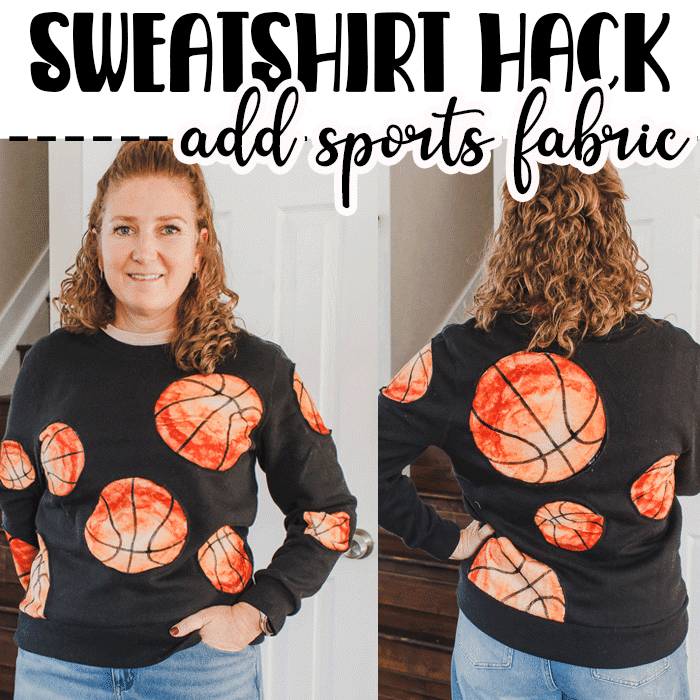
- Sports Applique Sweatshirt
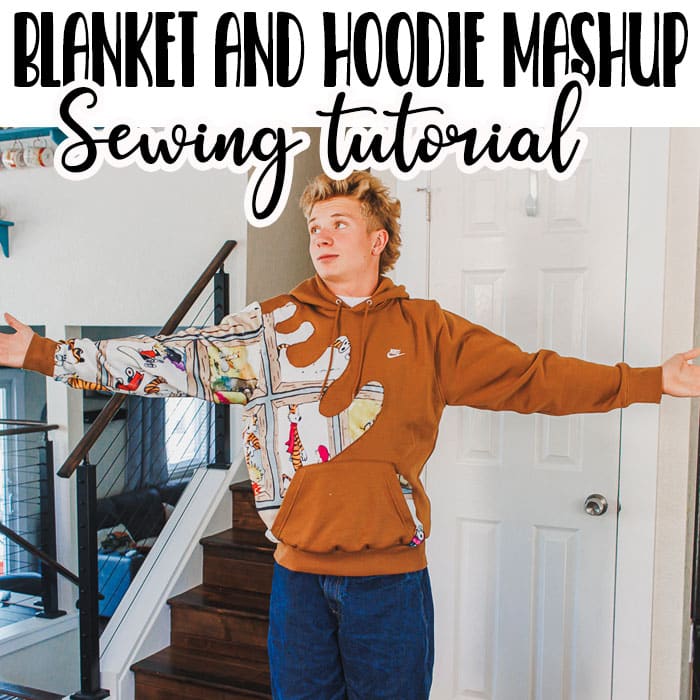
- Blanket hoodie mash up tutorial
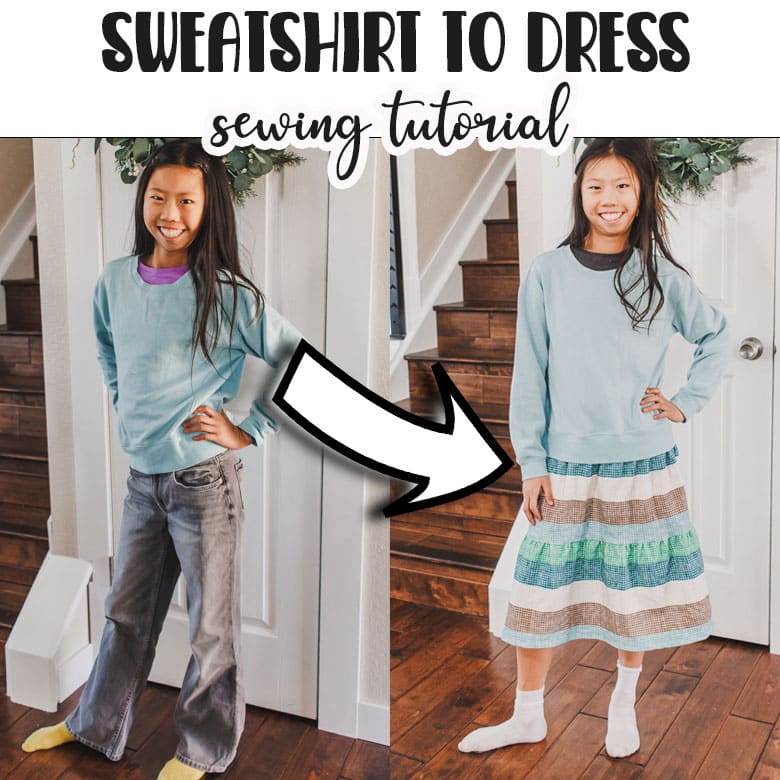
- Sweatshirt to dress tutorial
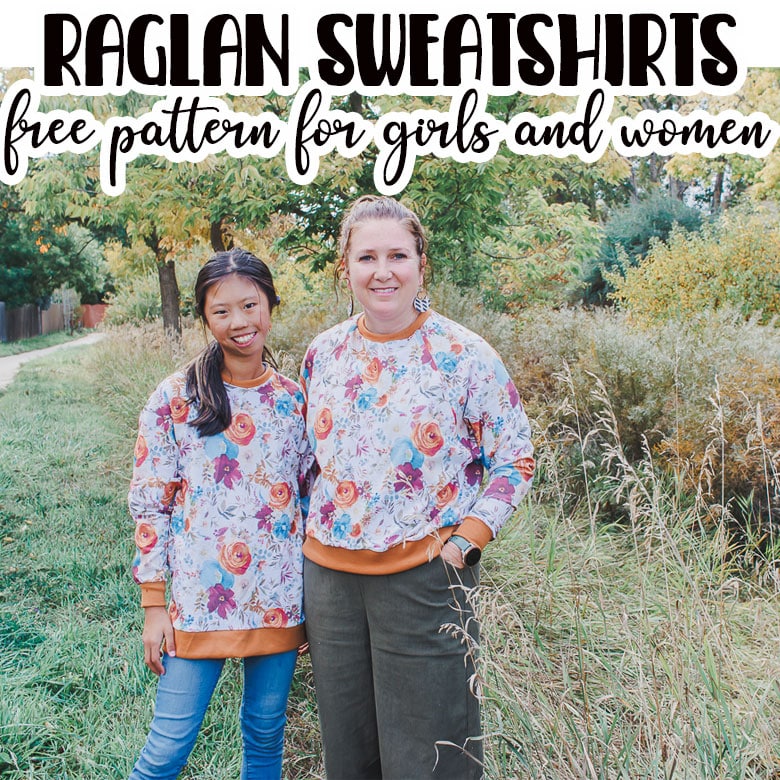
- Raglan sweatshirt -free sewing pattern
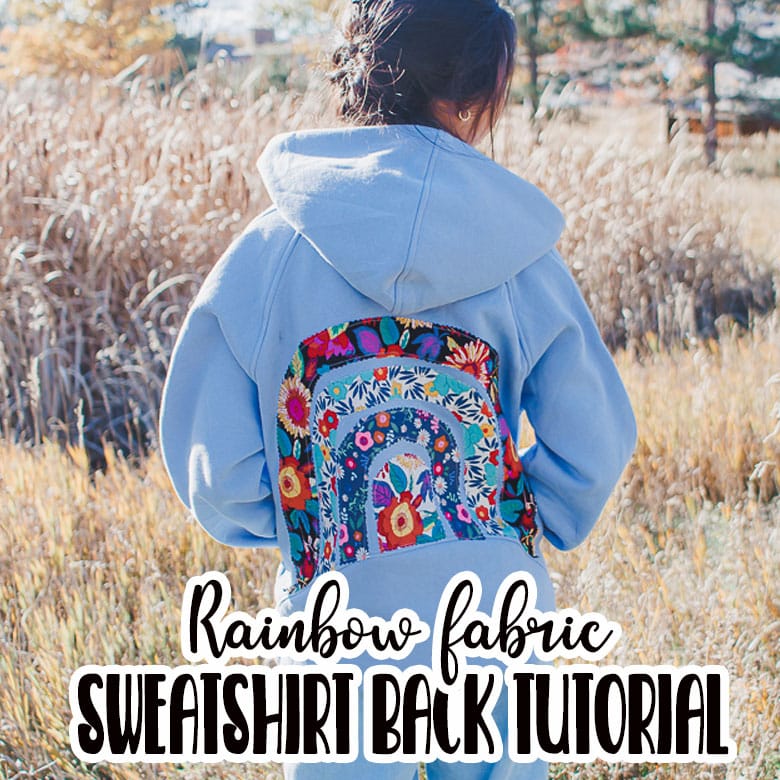
- Rainbow back sweatshirt add on
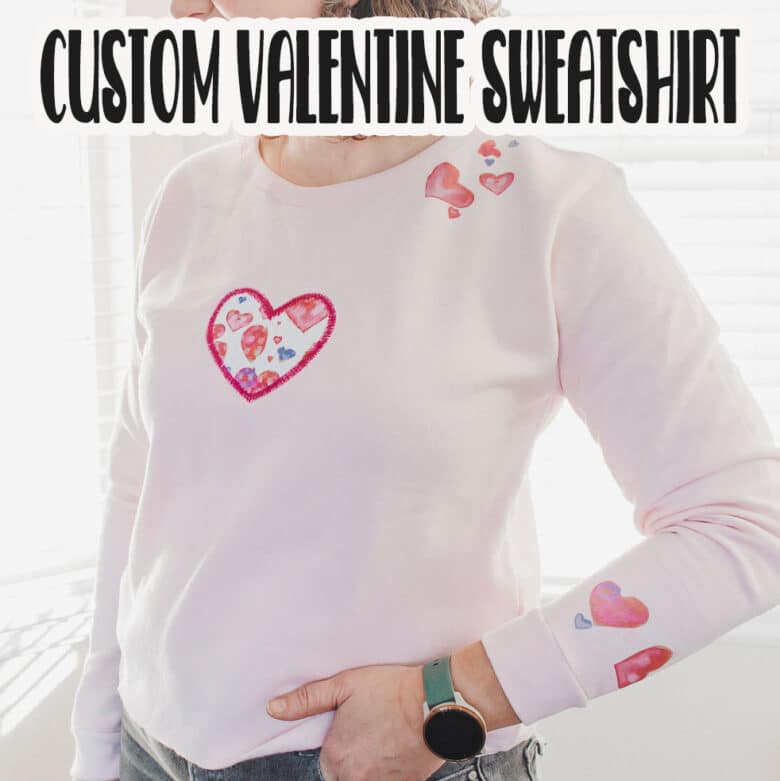
- Custom Valentine Sweatshirt
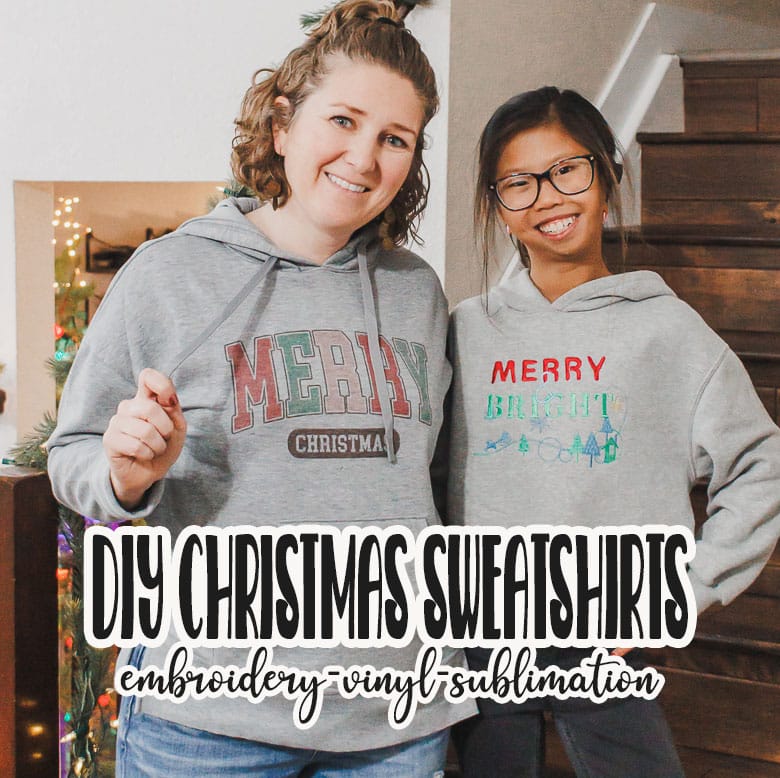
- DIY Christmas sweatshirts
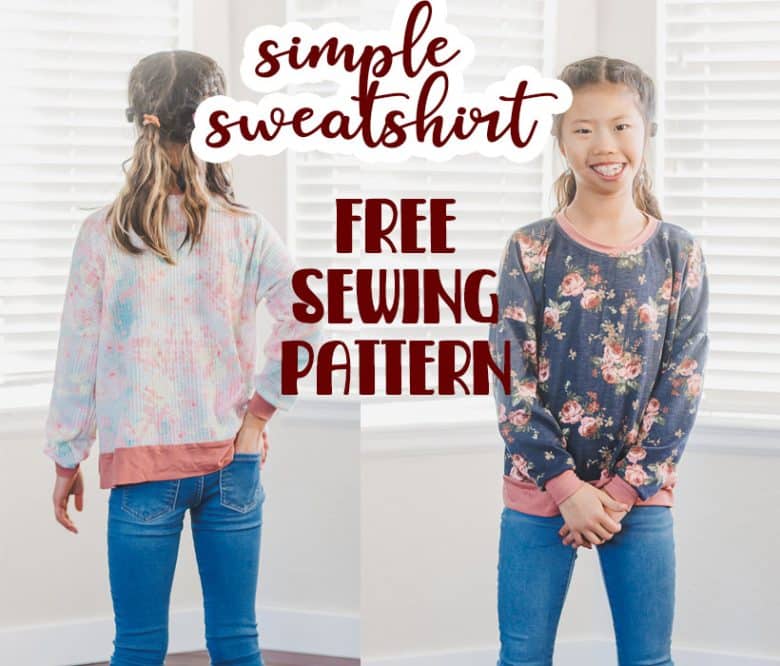
- Simple sweatshirt sewing pattern
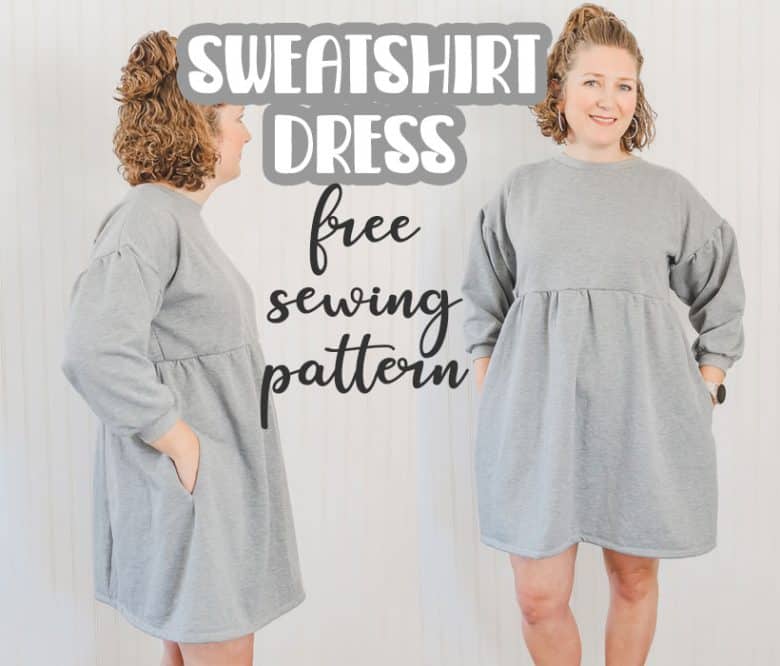
- Sweatshirt dress free sewing pattern
- Reverse applique tutorial
- Loose fit sweatshirt tutorial
How to make a sweatshirt with tiny embroidery
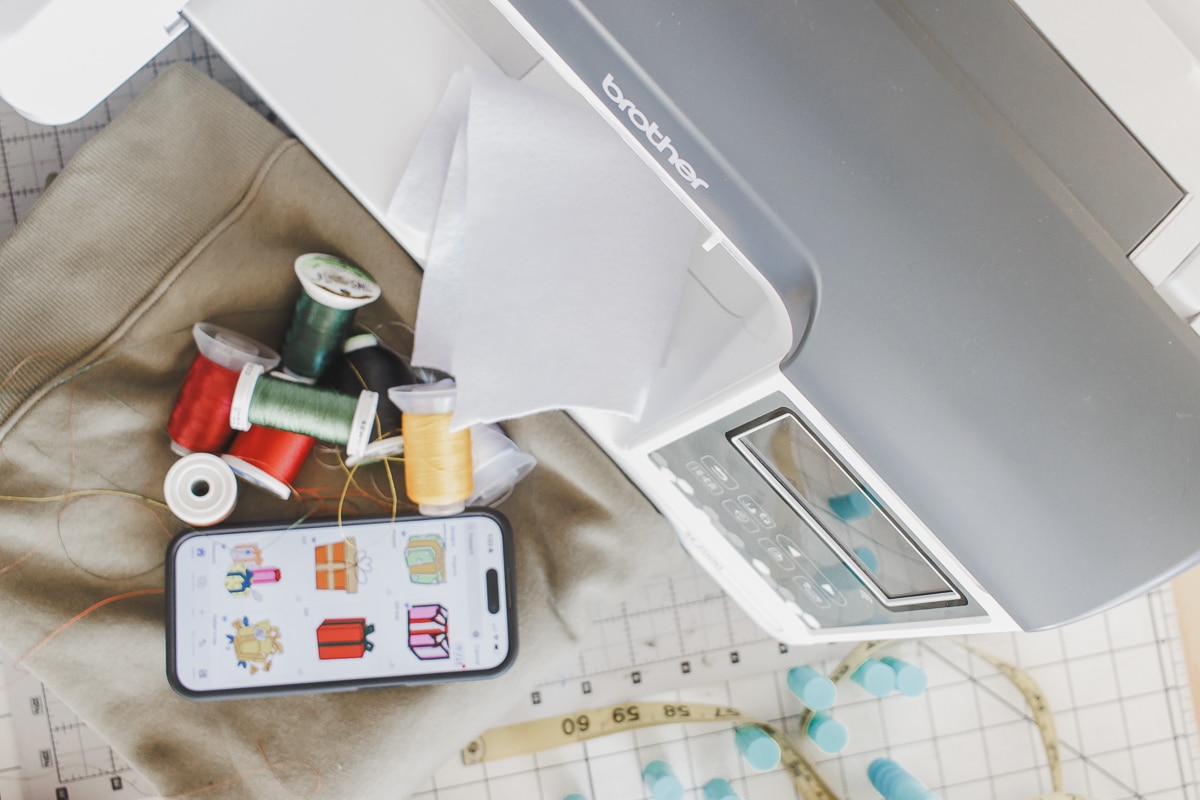
Ok, here is what you will need to recreate this project.
- Sweatshirt – I found mine at Walmart
- Embroidery Machine {this is the SE2000}
- This is a great little embroidery and sewing combo machine. Sews like a dream, has a 5 x 7 embroidery hoop and works with the Artspira App!
- Embroidery sticky stabilizer
- Embroidery thread
- Water soluble sewing pen
- tiny embroidery designs. {mine all came from the Artspira + library}
I started the project thinking I was going to hoop my sweatshirt for embroidery, so you will see the fleece stabilizer in the photo. I love using this fusible fleece stabilizer for sweatshirt embroidery, but in the end I used the adhesive stabilizer to make the process go faster.
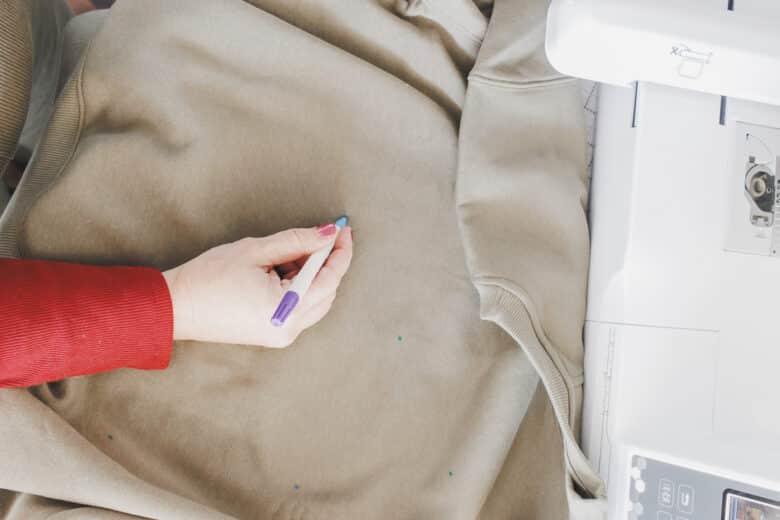
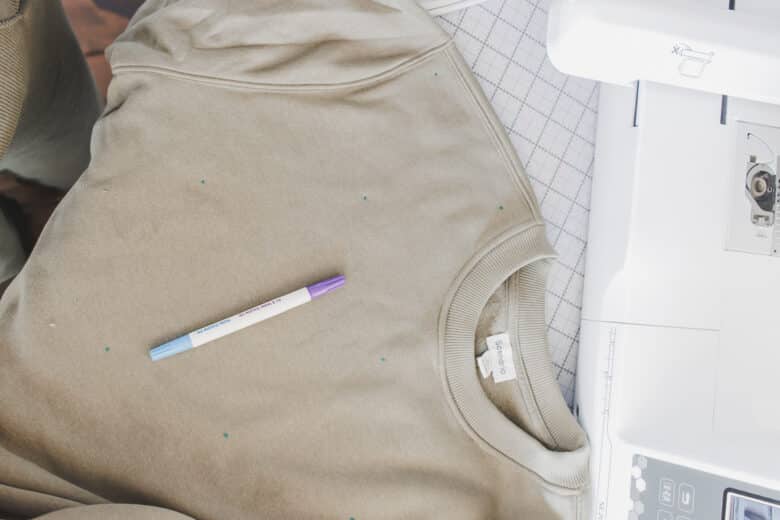
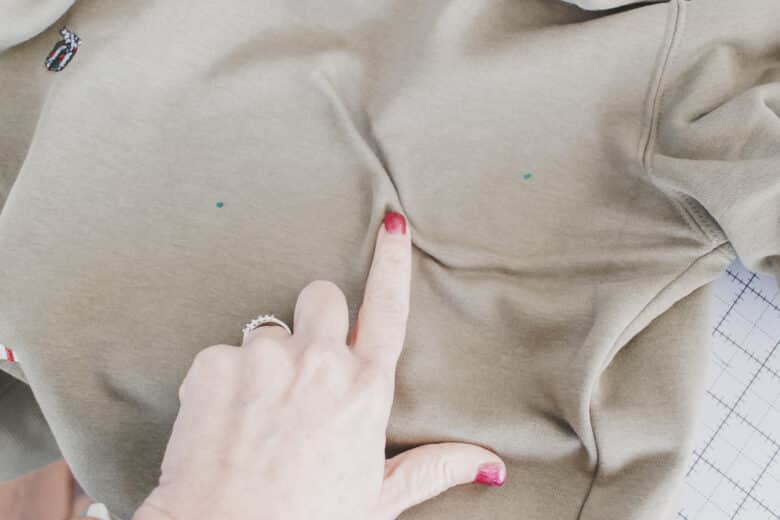
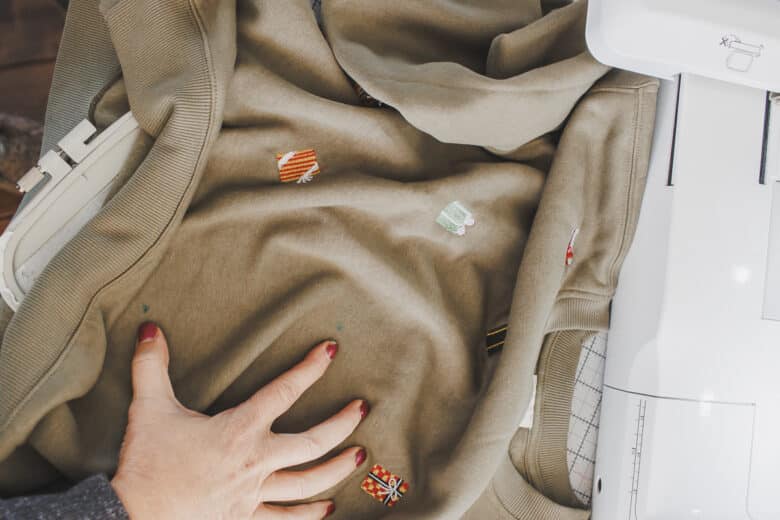
Start by marking where you want to embroider on the front of your sweatshirt. I just started by marking the front main part of the shirt. I wanted it to look scattered and not symmetrical, but you can design any way you want. I like to use the water ink, not air, because sometimes the air ink goes away too fast. If you place a mark in the wrong spot, just dab with a wet towel to remove.
Here are the two ways I hooped the shirt. First I started by hooping the sweatshirt and putting two dots in the hoop. Re-hooping and moving it took time I was trying to avoid, so I went to the adhesive stabilizer.
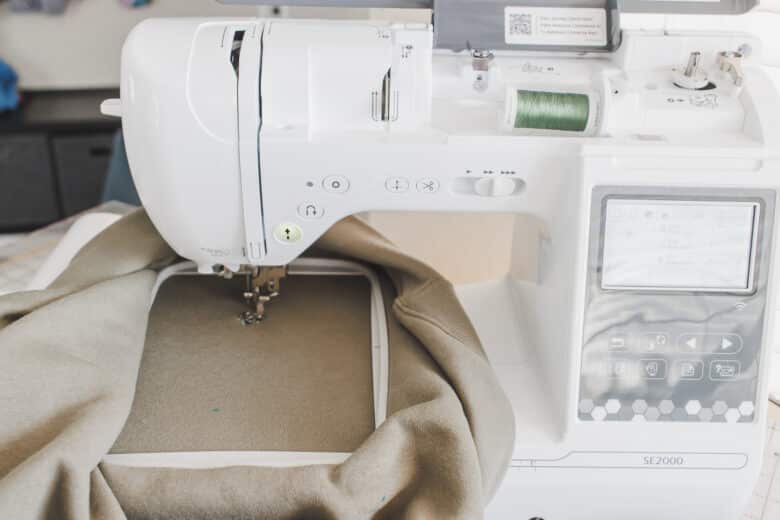
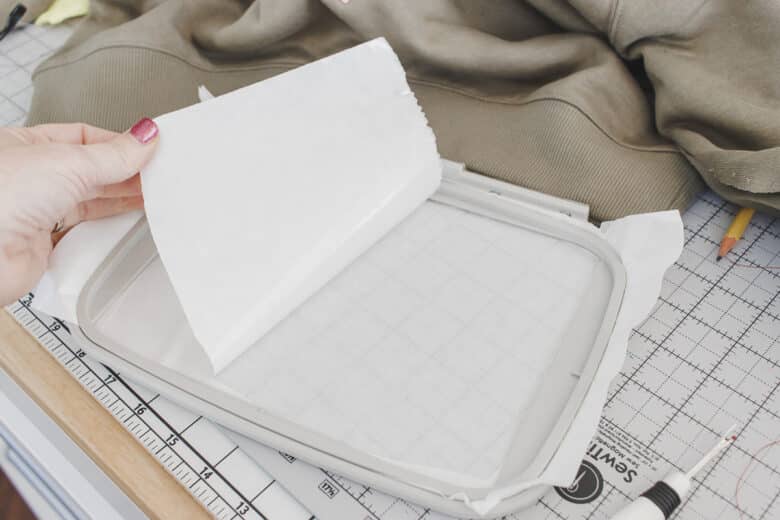
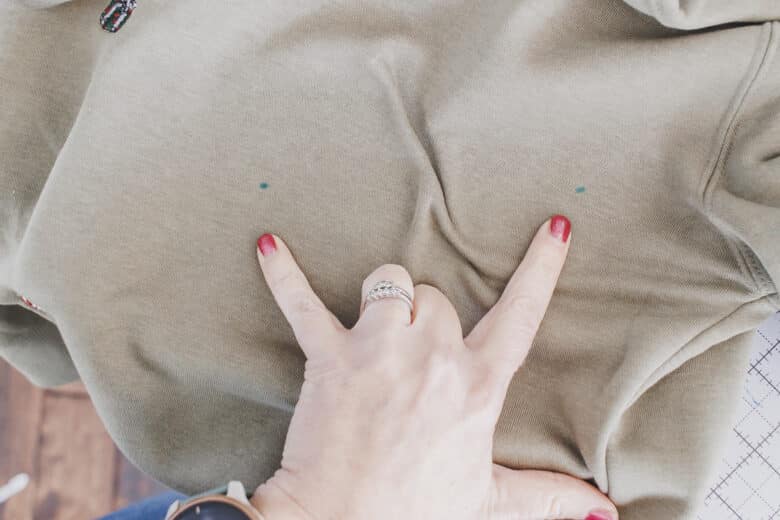
So the great thing about the adhesive stabilizer is that you don’t have to perfectly hoop the fabric. I still only got about 2 presents per hoop, but I was able to arrange the dots where I wanted. You can see the wrinkle in the middle, no worries, it works great.
After you stitch out the one or two designs, carefully remove from the stabilizer and preserve the rest of the material in the hoop.
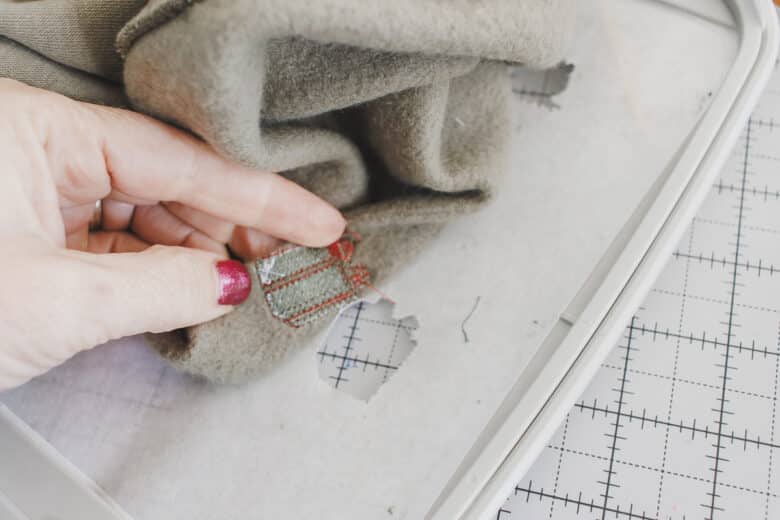
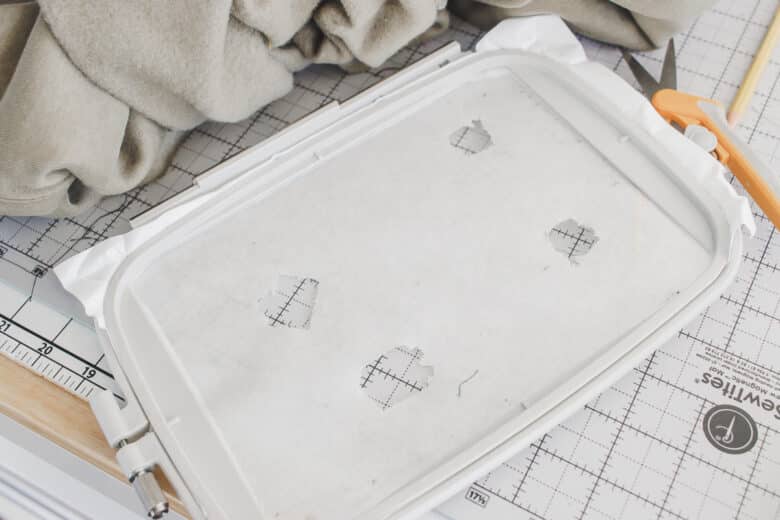
Here you can see I already stitched out two presents, and then I was able to place the fabric to get two more. Just make sure they are in a slightly different location.
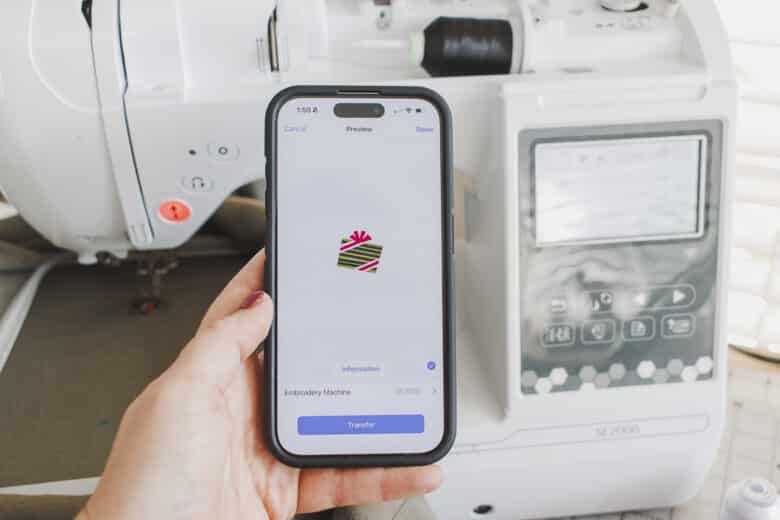
Now to the actual process. I transferred the design from Artspira to my machine {if you are using a different machine or location for your design purchase, just transfer to the machine using your normal method.
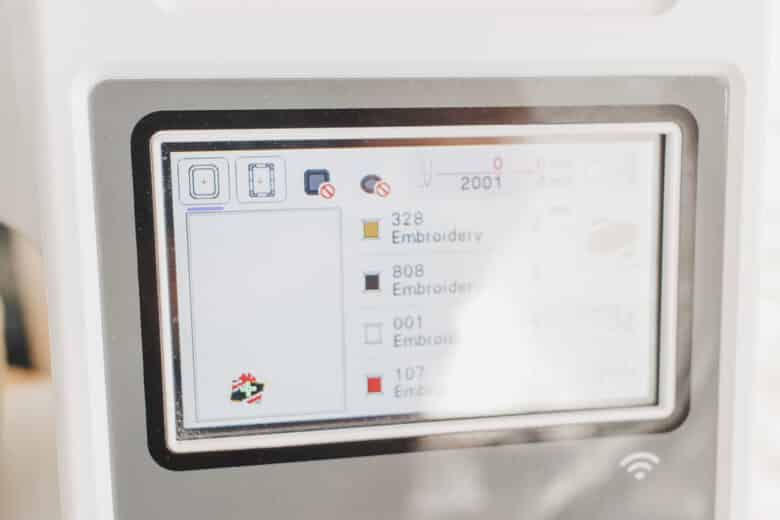
Once on the machine, move the design to be centered over one of the markings. ALSO- remember to rotate the design to the angle of your liking. Do not do them all upside down {ask my how I found this out – haha}
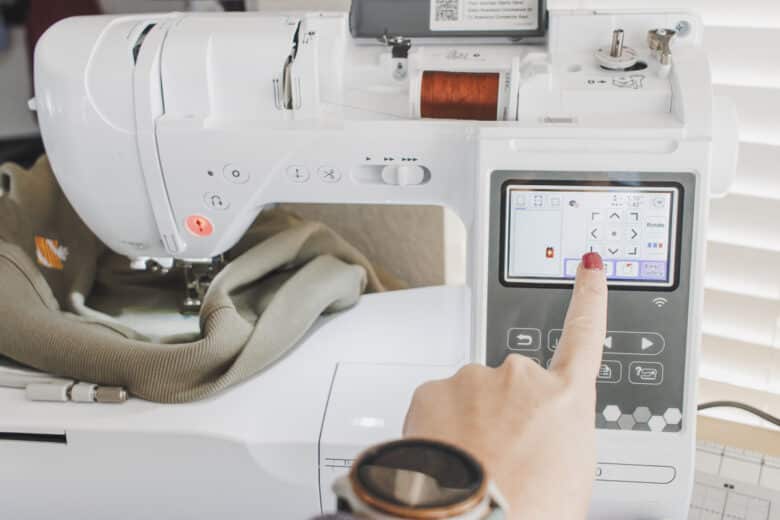
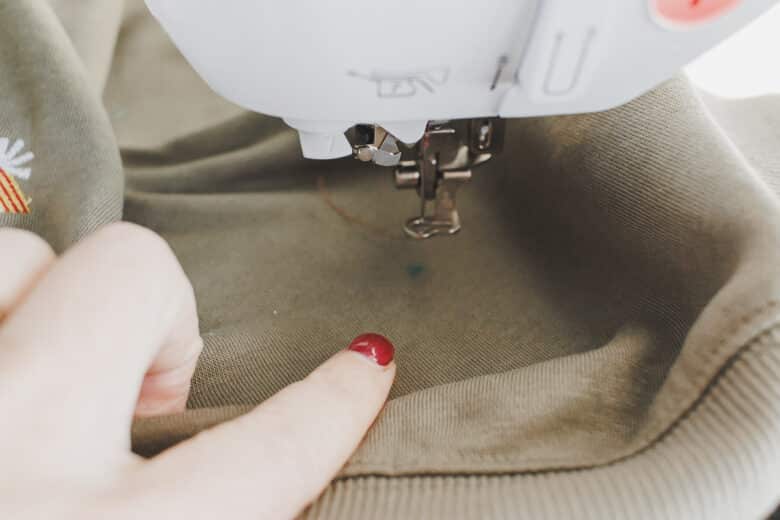
Stitch out the design in the hoop, or just with the fabric stuck down on the adhesive stabilizer.
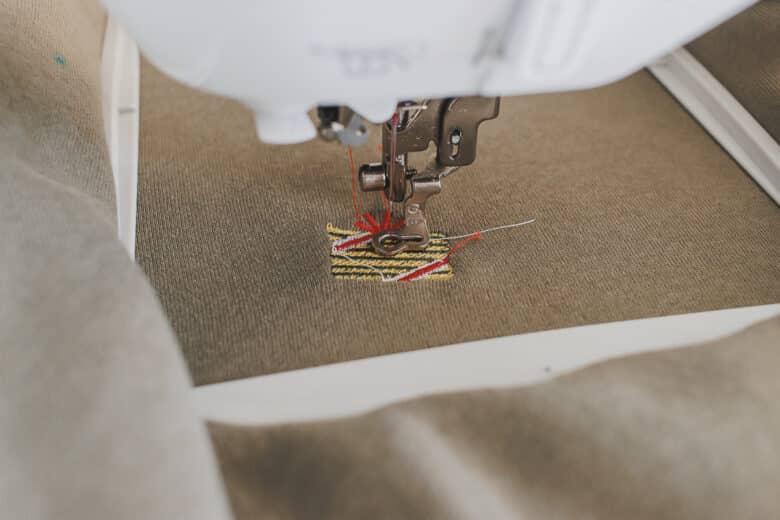
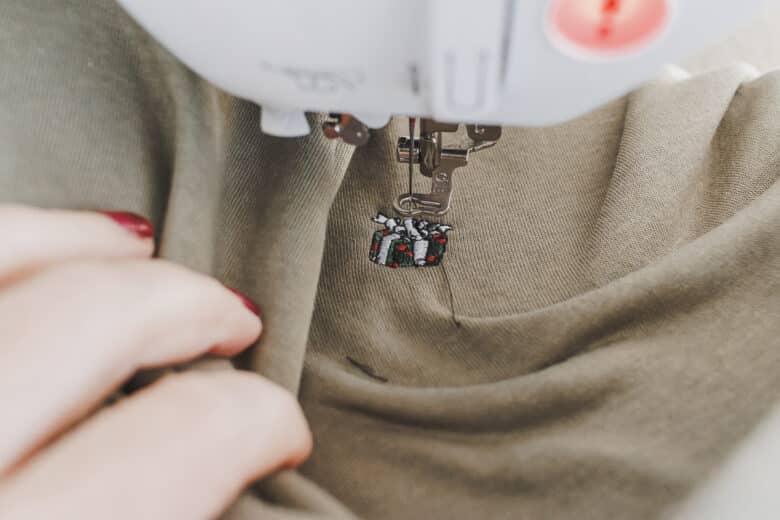
So for example I stitched out the first present. Then added another present design and moved the needle to be over the second dot in the hoop. Now I can stitch two without removing the hoop.
This is where using only one design would be son handy. Just change out the color and not have to keep changing the present design.
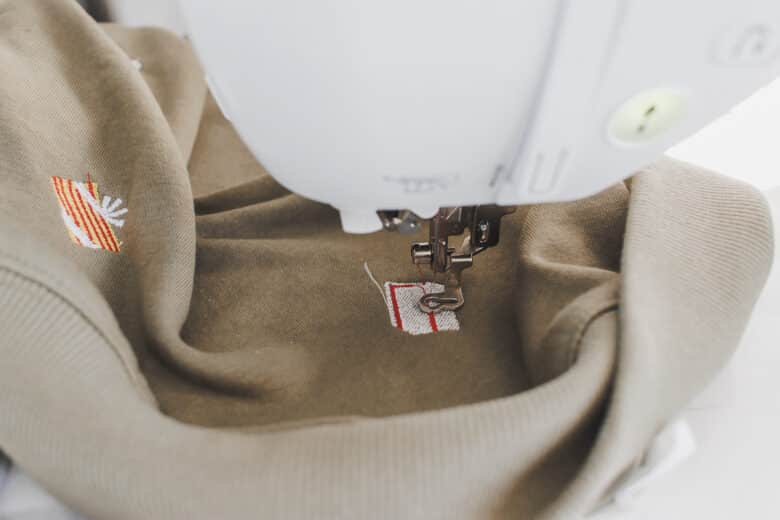
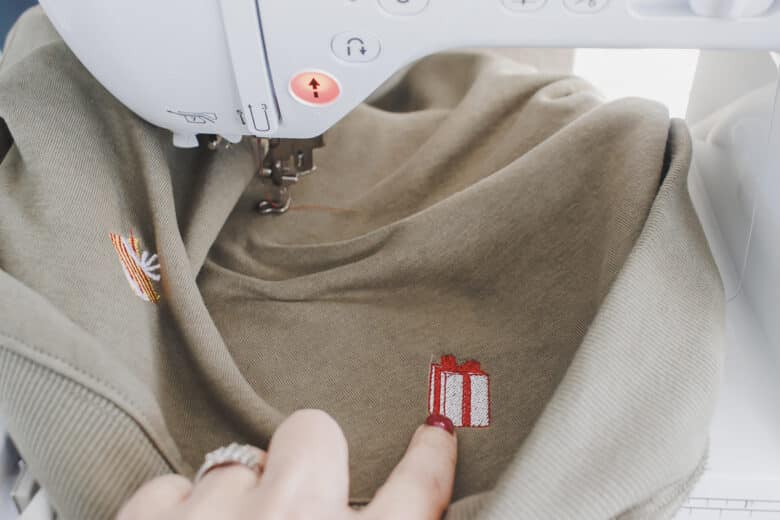
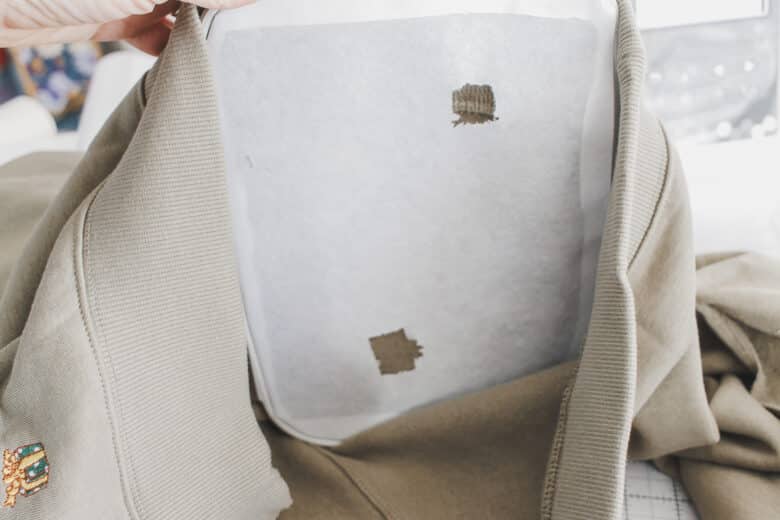
Once you finish the front, open up the under arm of the sleeves to stitch on each one of these. I found that just sticking one dot on the sticky hoop, embroidering, then peeling and sticking another dot was the easiest for the sleeve. I did not remove the cuff.
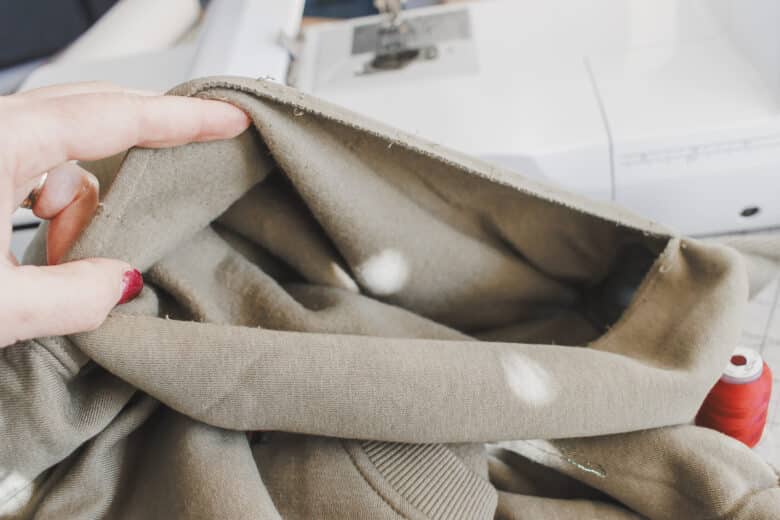
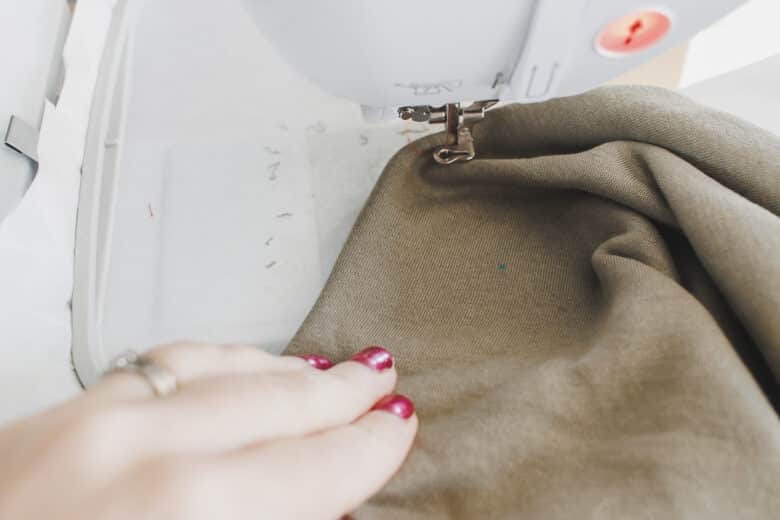
On the left you can see where I removed the sleeve, but left the hoop in place. It was easy to just stick the sleeve on another location of the hoop and stitch again.
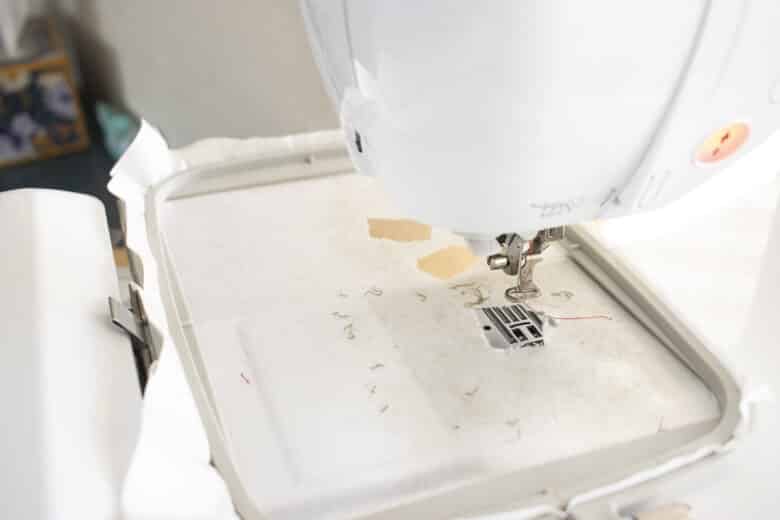
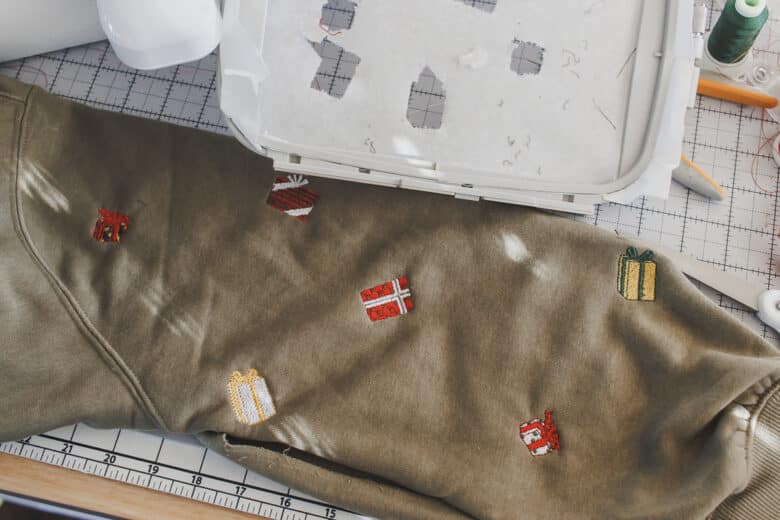
When you finish both sleeves, sew up the under arm to finish! And now you have a cute and festive sweatshirt.
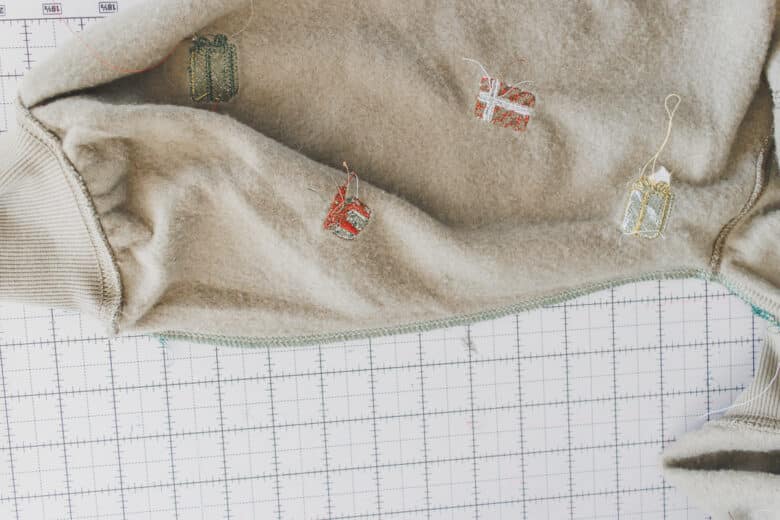
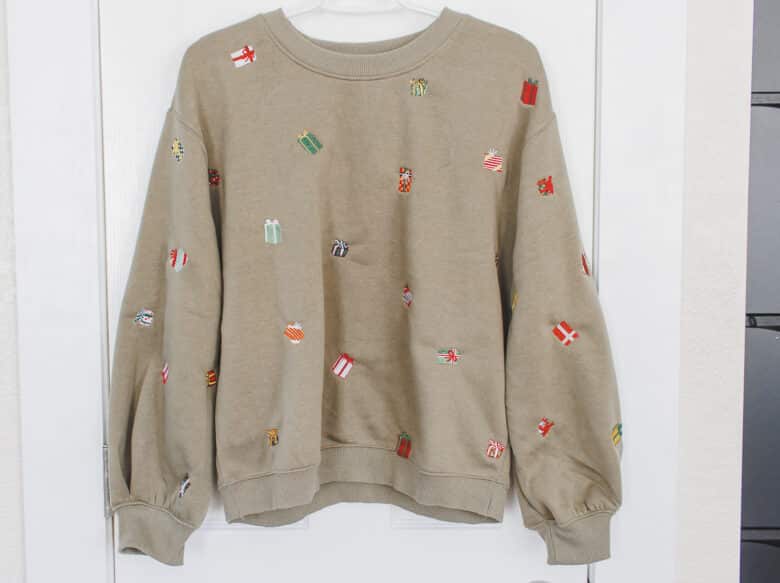
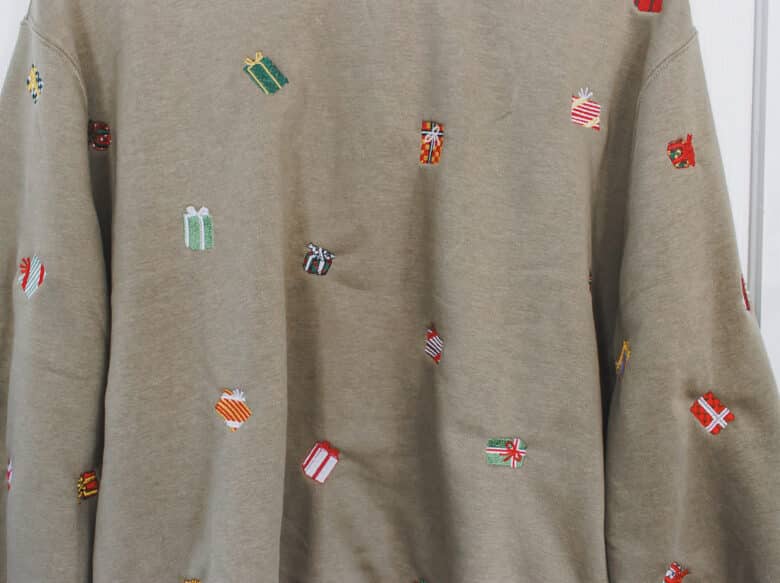
A few of the presents need some pressing, but right off the machine this sweatshirt is so so cute!!


Leave a Reply