inside: sew up this girls free tshirt pattern for comfortable shirts your kids can wear all year long. Short and long sleeve options in sizes 2-16 years in a fitted styled tee.
updated 6/2020
The girls free tshirt pattern is all new! I’ve been working my way through old patterns that needed a facelift and here is this weeks post. A girls free t-shirt pattern that has options for long and short sleeves all in the same pattern and is sizes 2 – 16 years. Make sure to check out all my Free sewing patterns here.
Girls free tshirt pattern –
Here are the details! I’ve compared the old and the new for you, in case you have already sewn up the previous version…
1 yard of knit will make all sizes and probably a couple of the smaller sizes. You can use the same fabric for the neck, or a ribbing fabric.
If you like this you should try the girls SWING TEE. It comes in both SHORT SLEEVE and LONG SLEEVE.
Photos of the previous version …
The reason I redid this pattern is I never liked how the shoulder sat… You can see in these two images below that the shoulder on the original were too wide.
Some of the larger sizes fit okay… This is the size 6, on my 7 year old model, but in the end I reworked the whole pattern for a more fitted shirt look.
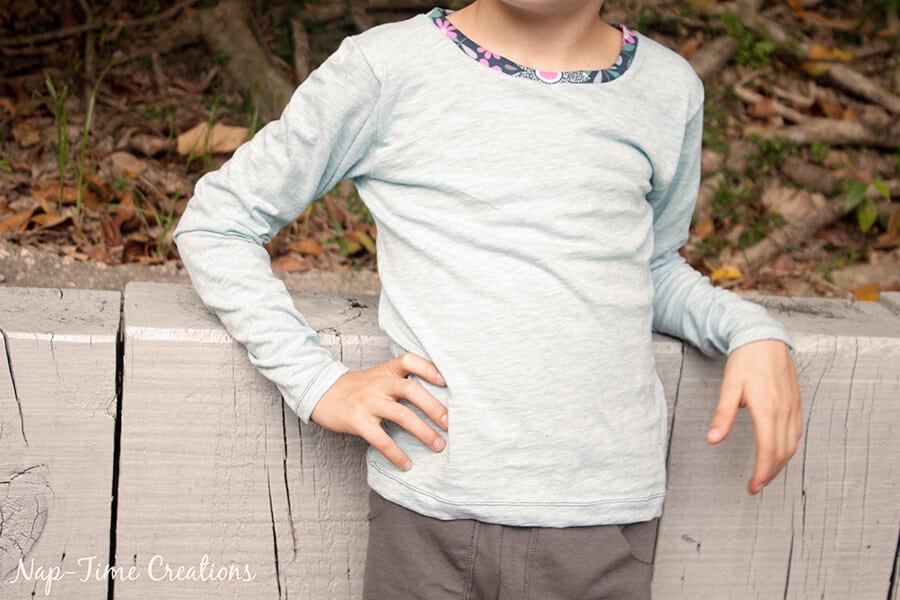
The all new Fitted Tee
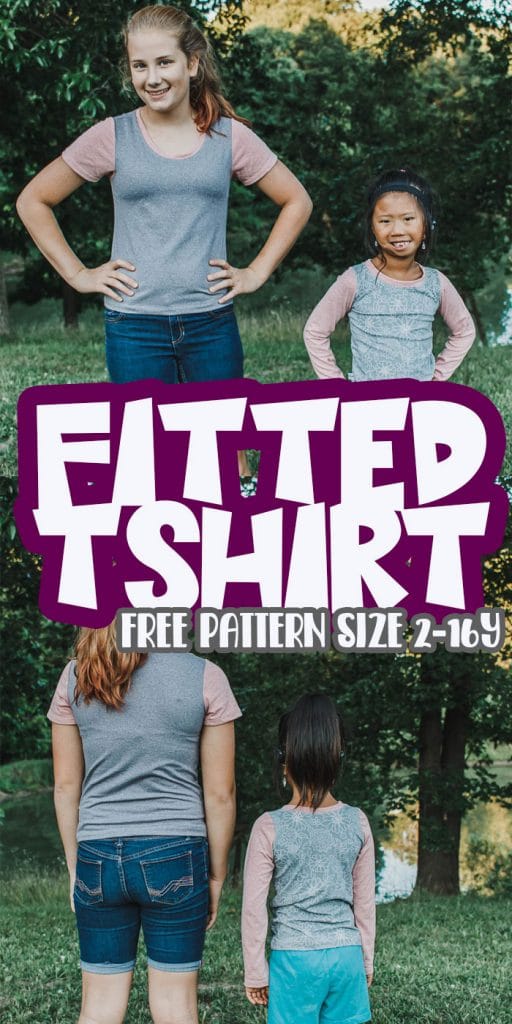
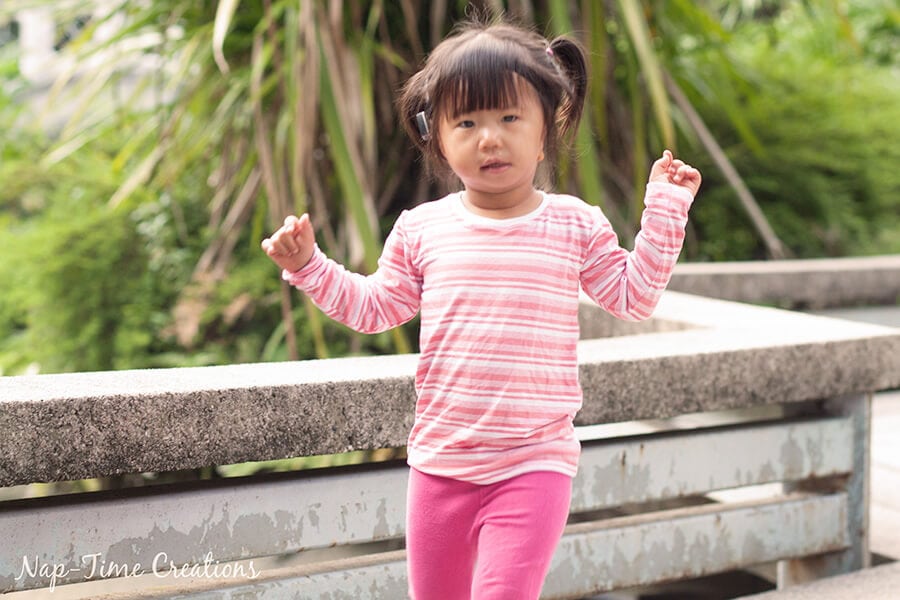
Here are a few more shots of the new shirt… My niece is wearing the larges size {16} I used her chest measurement for upper bust to determine sizing. My daughter is wearing the 4 in width and a size 6 in length.
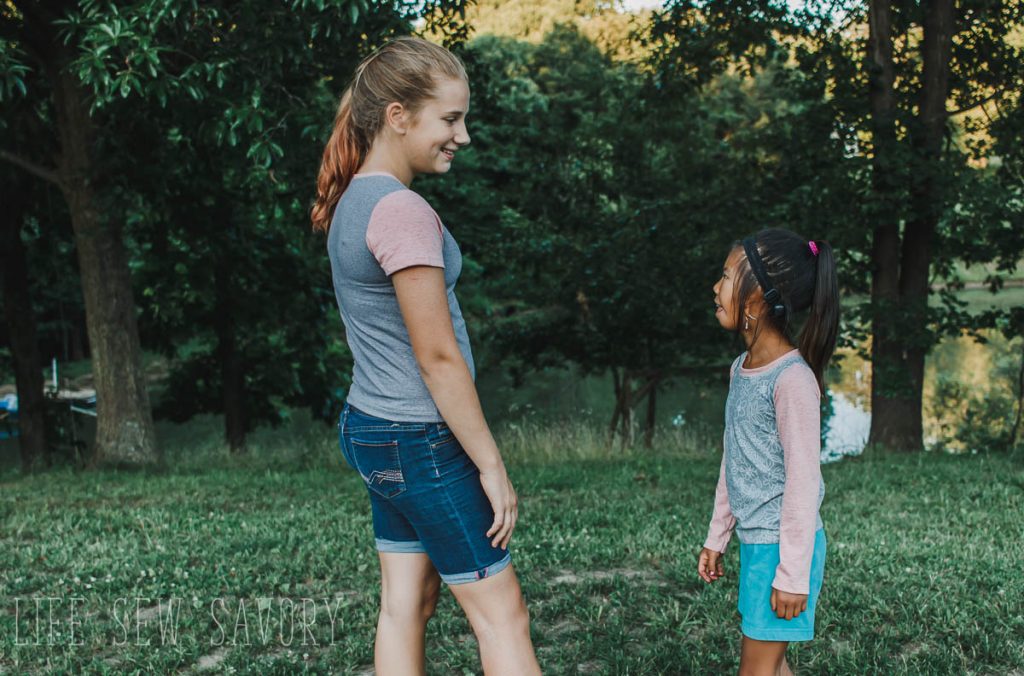
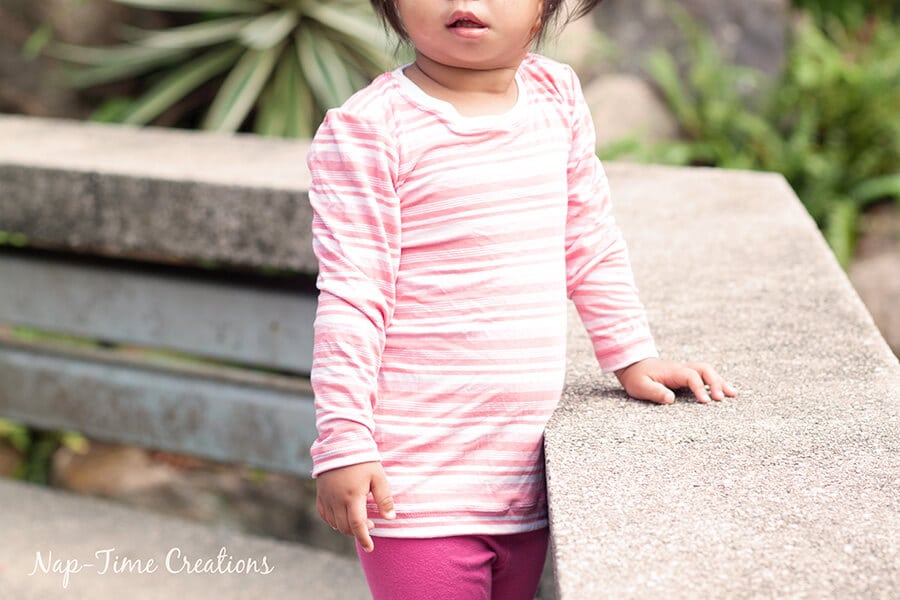
The long sleeve version…
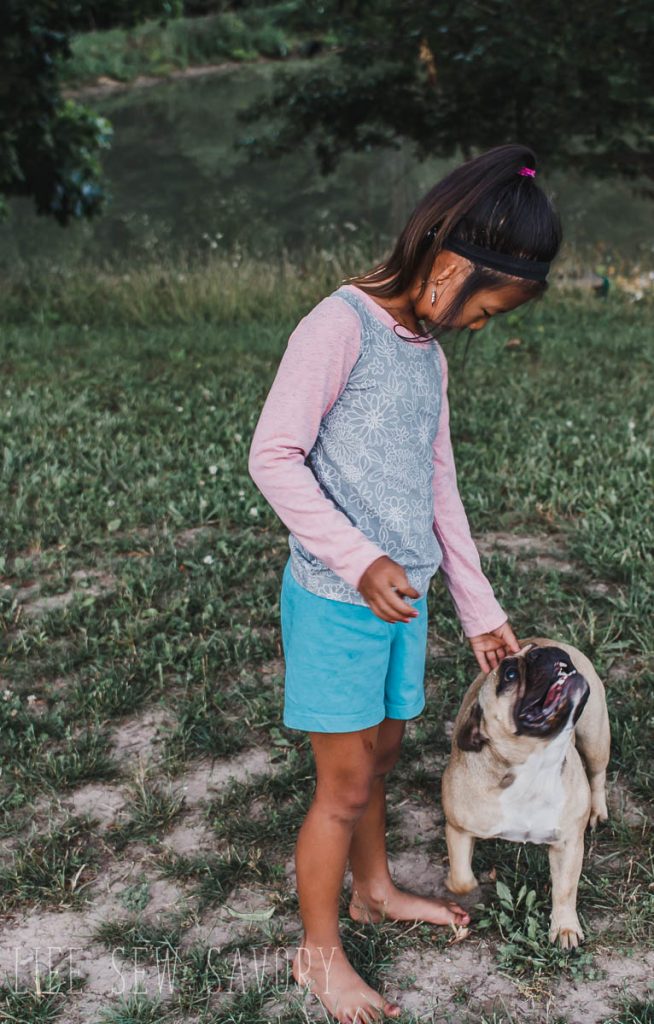
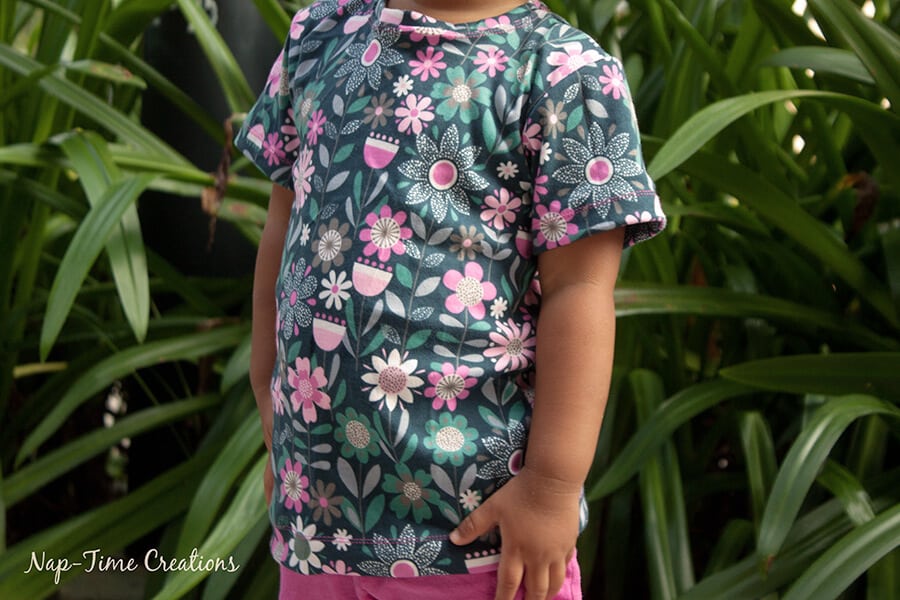
And the short sleeve version on an older girl. I’m much more pleased with the fit of this shirt now and the same top is used for my free t-shirt dress pattern. It comes in the same sizes and has an added circle or gathered skirt.
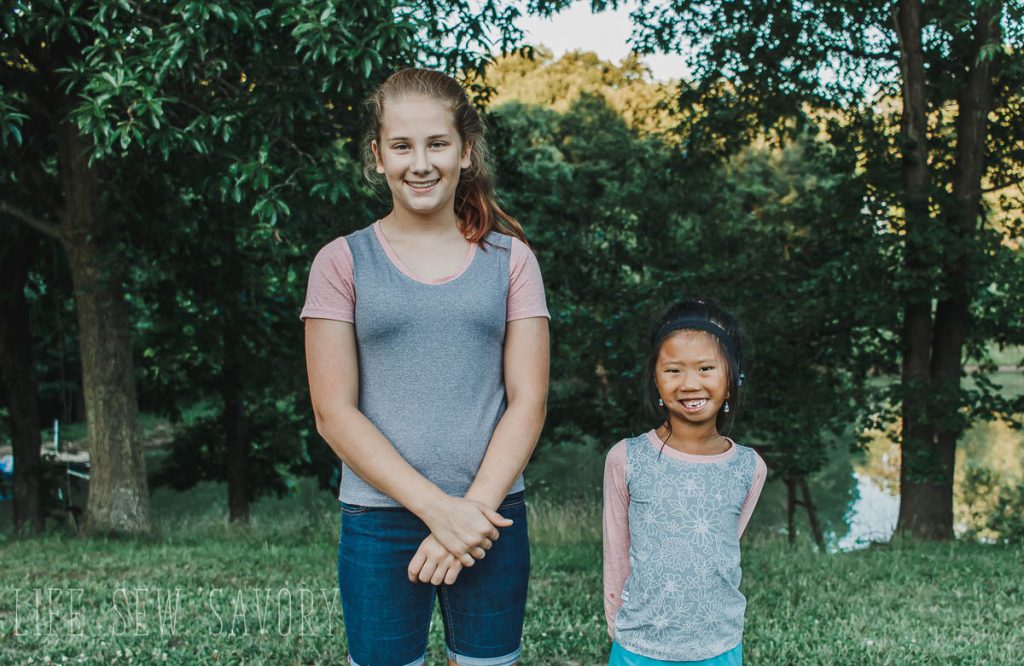
How to sew a t-shirt tutorial
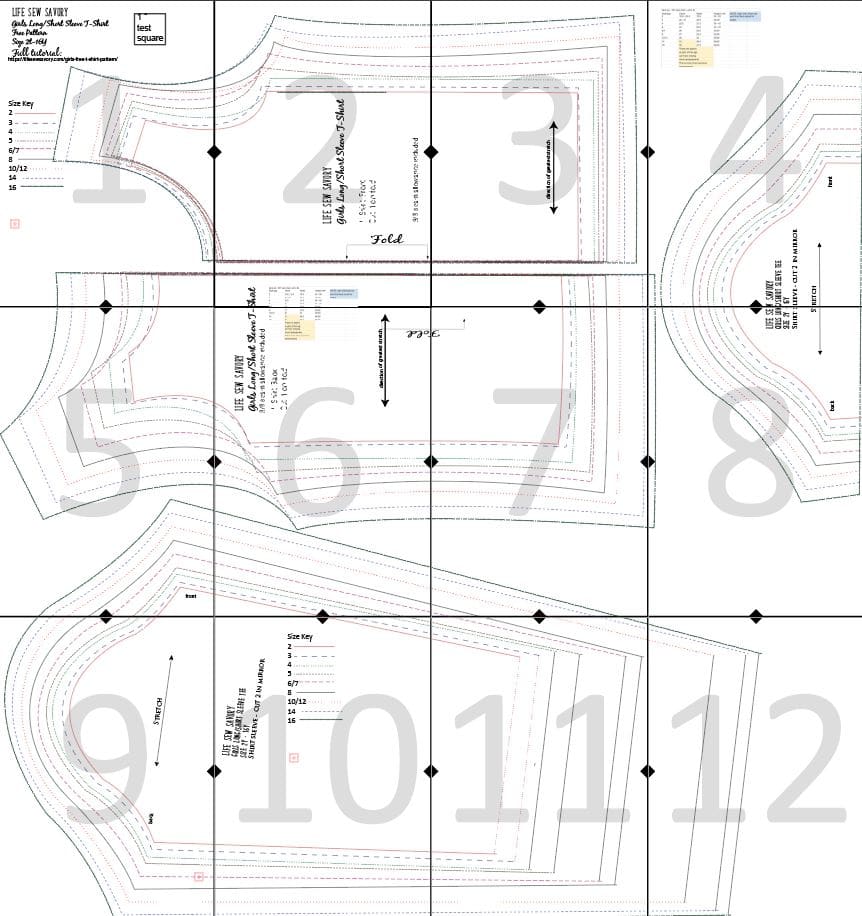
Make sure to print at 100% and should look something like this when printed. The place where it says “add neck instructions” here is now the pattern piece for the neck ribbing {ha!} A 3/8 seam allowance is included. Download the pattern using the button here.
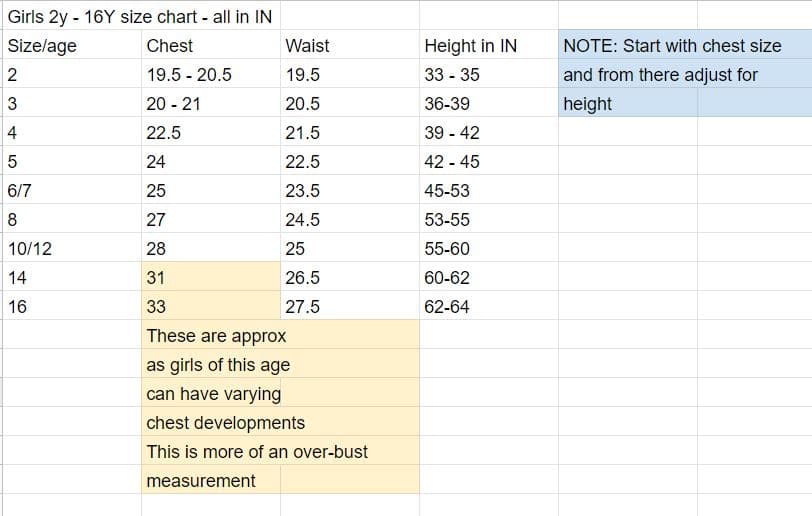
Use this size chart to determine the size to make. You can blend heights/widths to make the fit even more perfect if needed. Also feel free to add length. This should hit right between the waist and hip, but if you like it a bit longer feel free to add about 1.5″. I would rather have extra than the shirt be too short for you.
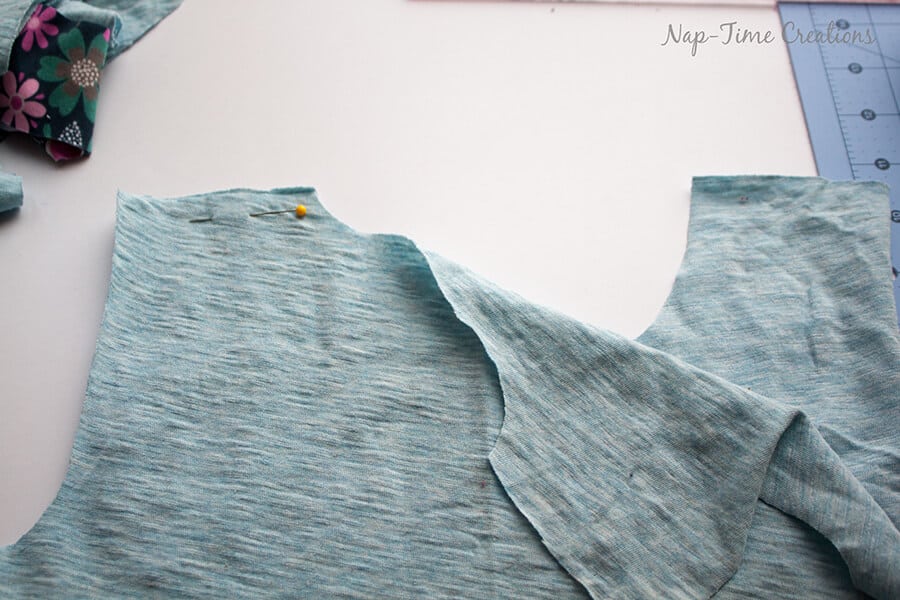
Let’s put it together…. If you’ve sew t-shirts before you can sew as you like…. Here’s how I put my kids shirts together. With RST {right sides together} sew one shoulder seam.
The NEW pattern does not have neckband piece. Cut a band using your favorite technique OR this PERFECT NECKBAND tutorial HERE.
Fold the neck ribbing piece with wrong sides together. Start pinning at the open shoulder and around the entire neck. You will have to stretch the ribbing slightly to fit.
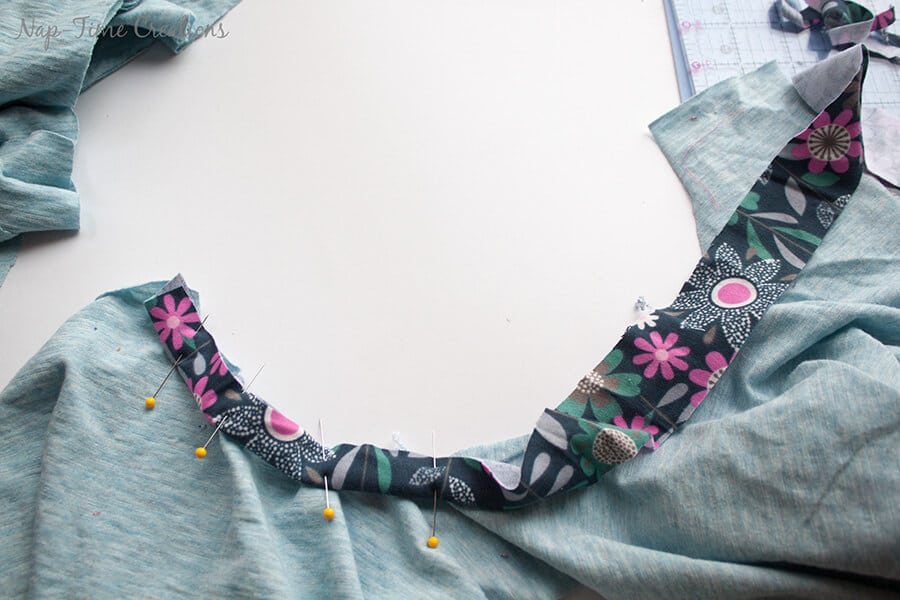
Sew the neck ribbing, then sew the other shoulder seam.
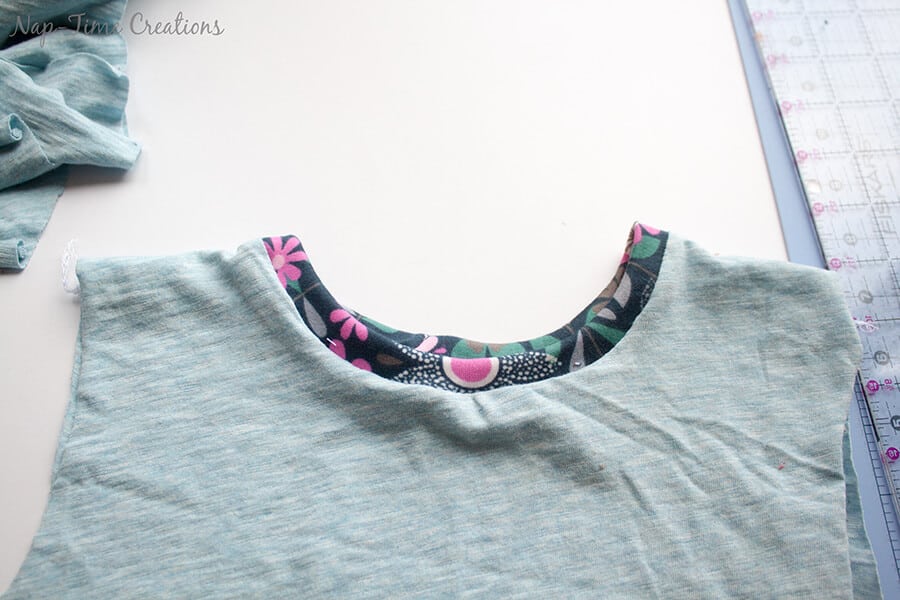
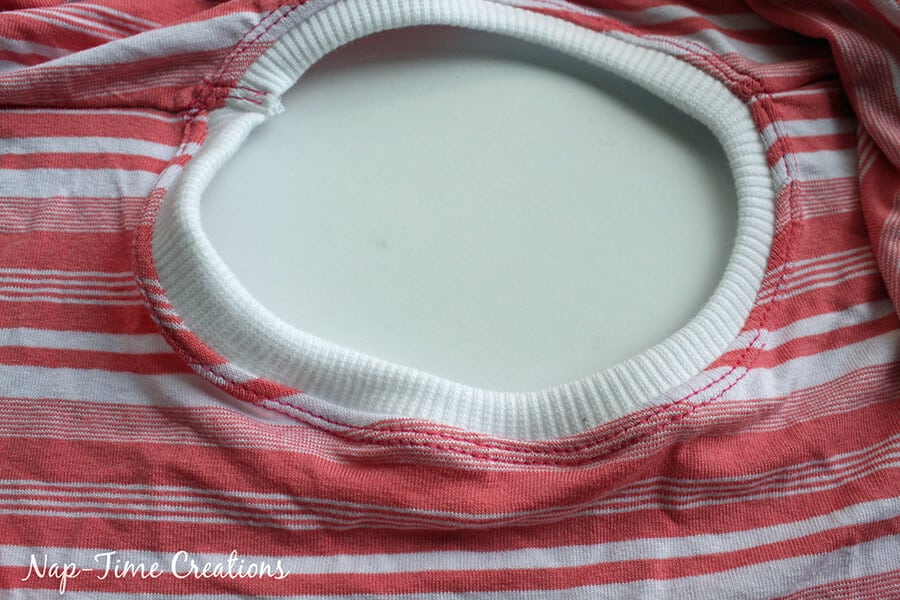
Top-stitch if desired. I use a double needle with woolly nylon thread on the bobbin. This has a great stretch for knit shirts. Open up the shirt and pin the sleeve to the front and back as marked. Work your way towards the center easing the curves. Then sew. Repeat with other side.
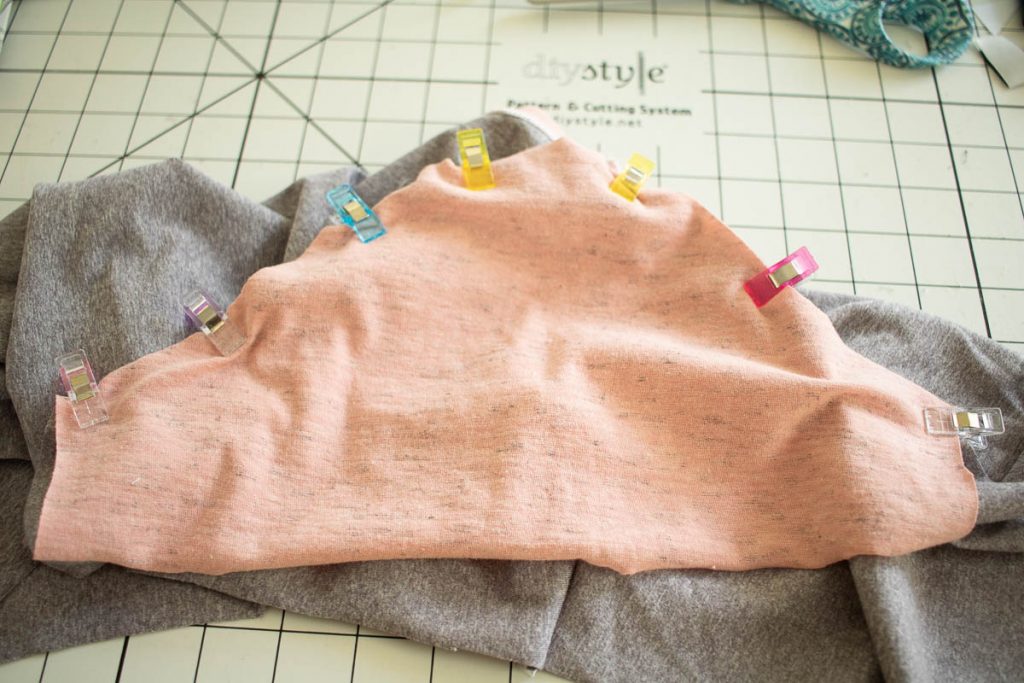
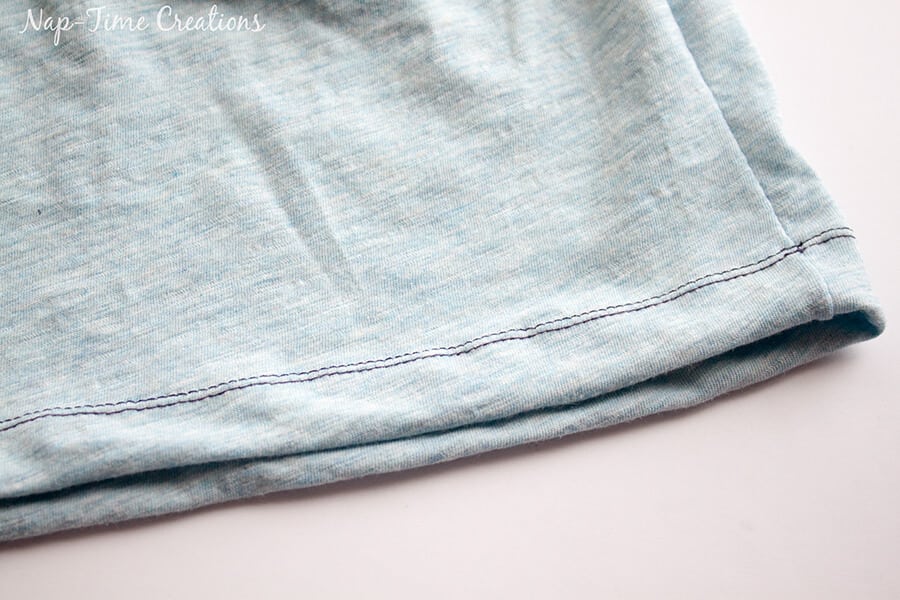
Hem the sleeve. Again I use the woolly nylon thread and a double needle. I used a .75″ hem.
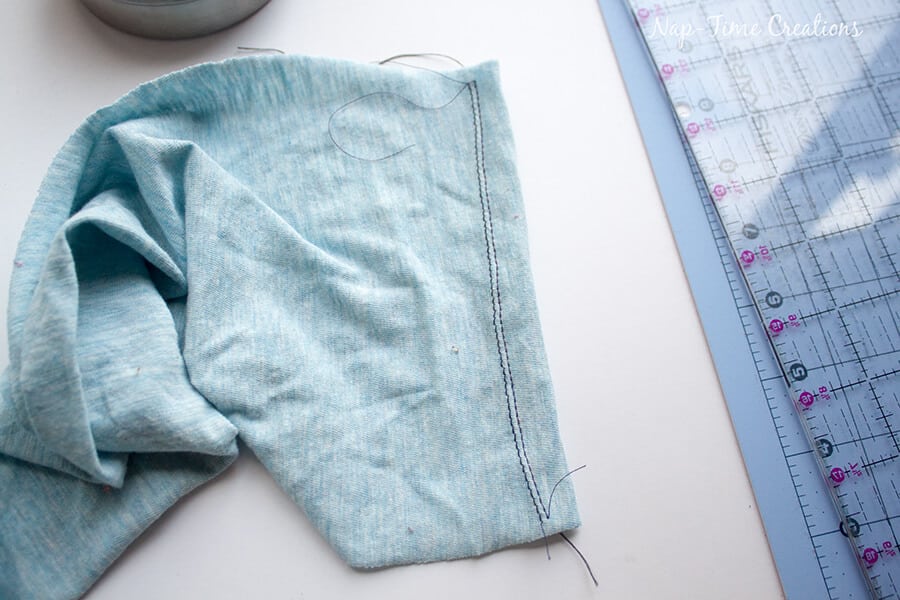
With RST match the sleeve hems and the sleeve seam. Sew from sleeve end to bottom of shirt.
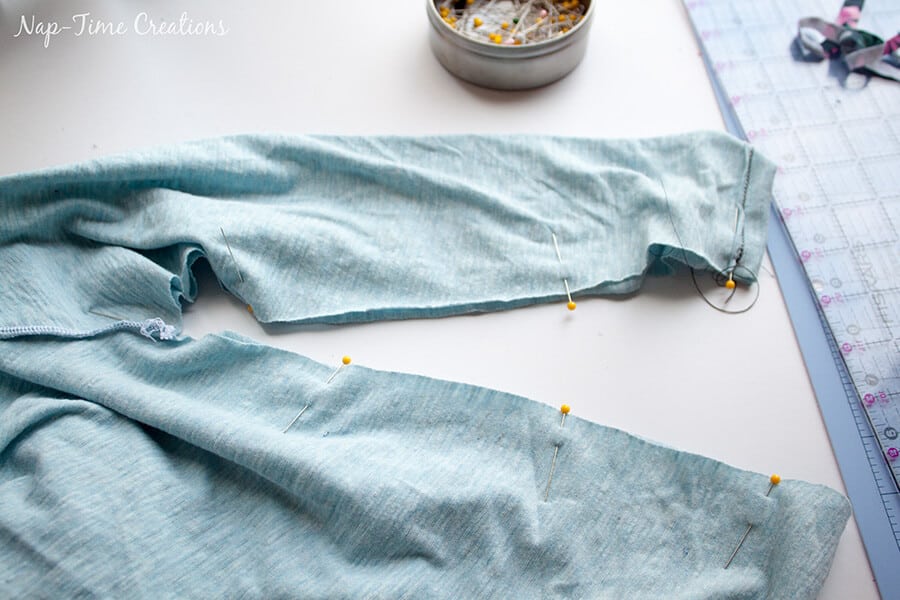
Turn up a 1″ hem and sew.
You did it! Please let me know if you have questions and I’d love for you to join the facebook group to show off your creations!! Here’s one more link to go DOWNLOAD THE FREE PATTERN.





Amanda says
All the patterns are so nice! I always ready to try creative and trendy t-shirt patterns. I am surely going to try these for my daughter. Thanks for sharing the article.
Connie says
Thank you for this pattern, I found it on craftsy. I did this awesome thing – I took two old shirts that I’ve been hanging onto that were too small on me and I used those. I folded one shirt in half at the center front neck seam, so that was my fabric fold, and then I used the hem at the bottom of the shirt for my t-shirt hem (so I knocked off like an inch off the pattern or so). Did this for the back of the tee too. Then I used a second different coloured tank top to cut out the sleeves and neck ribbing. I used the hem on the bottom on that shirt for my sleeve hem too. So the shirt was sooo quick to put together with a serger, and the contrasting colour of the sleeves/neck is super cute. I did kind of mess it up since my hem was offset a bit for some reason between the front/back but I put that thing together real quick as a test run. Definitely making more with old shirts now! Super easy! I guess I should mention I was making a 3T, and using size small ladies shirts so there was enough fabric.
heidi says
I’m sorry – I’m stuck on the neck binding. I don’t see any measurements or pattern for it? What am I missing? Thanks in advance for your help!
Tsport says
Cool patterns! I am totally impressed with your work. I just finished making one by following your steps and it was so fun for me. Thanks for the patterns.
Monique Thomas says
Hi, I can’t download this girls free t-shirt pattern, it just keeps reloading this page and doesn’t download anything. Is there something wrong with the link? Thanks.
Emily says
hi! Here is the download page.. I’ll check the links in the post..
https://lifesewsavory.com/product/t-shirt-dress-pattern/
Emily
sharmin says
need to subcribe
Melissa says
I’ve found that not all ribbed fabrics are created equal and they all behave differently. For necklines, I usually cut a strip of fabric the height that I want, then manually stretch and pin the ribbed fabric into the neckline to see how it looks, before cutting it. Certain areas of the neckline don’t need to be stretched as much as others. Then I sew the neckband into a ring, quarter both the neckline and the neckband, and sew it it. Then I’ll add a strip of thin jersey from shoulder to shoulder in the back of the neckband, tuck it under and topstitch down, to cover the serged seam and give it a finished look.