Inside: Learn how to sew a shirt with this cute boyfriend style free sewing pattern in several sizes and style options!
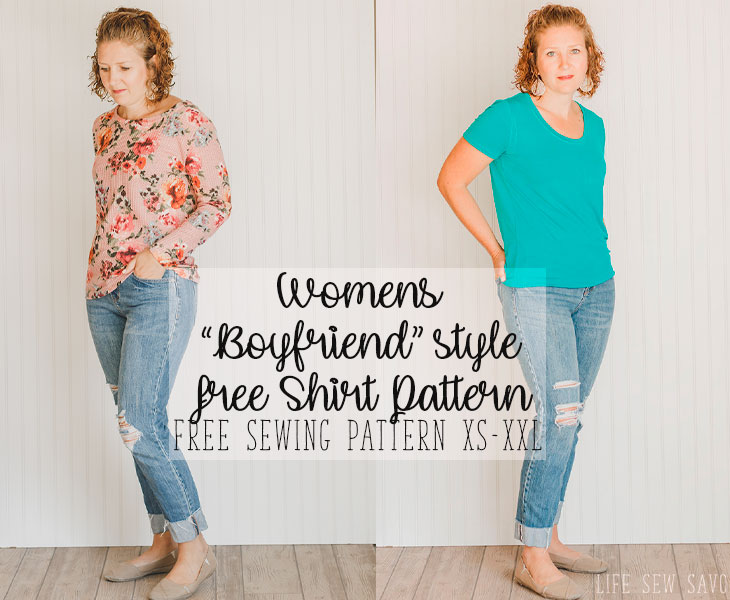
I first published a fitted womens free shirt pattern several years ago. That free pattern got an update last year, but I’ve been wanting to make a looser fit “boyfriend” style t-shirt and today here it is! I’m excited to reveal my latest free pdf pattern for women with this cute boyfriend tee! It’s got two sleeve lengths and necklines and I can’t wait to see what you do with this.
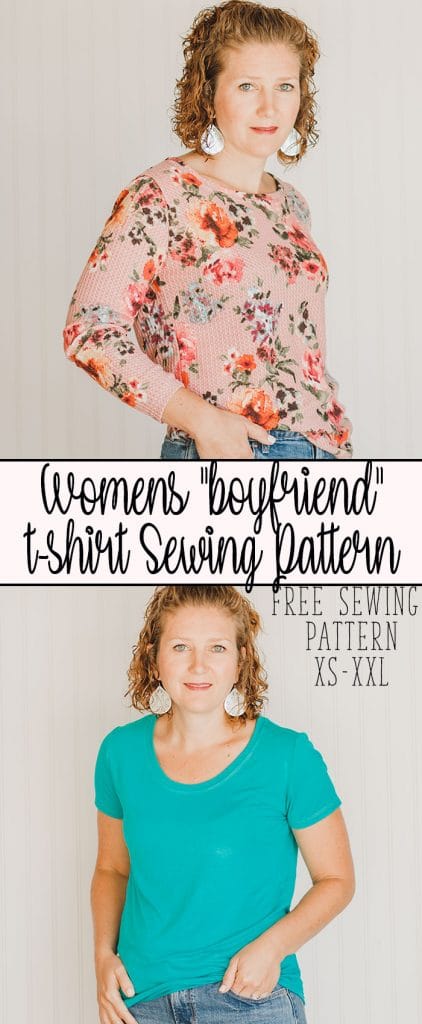
Free Shirt Pattern for Women-
You know how much I love free sewing patterns, and today I’m super excited to have another one for me {and YOU!}. Womens patterns take a bit more work than when I made free printable pattern for kids, but I just love them so much!

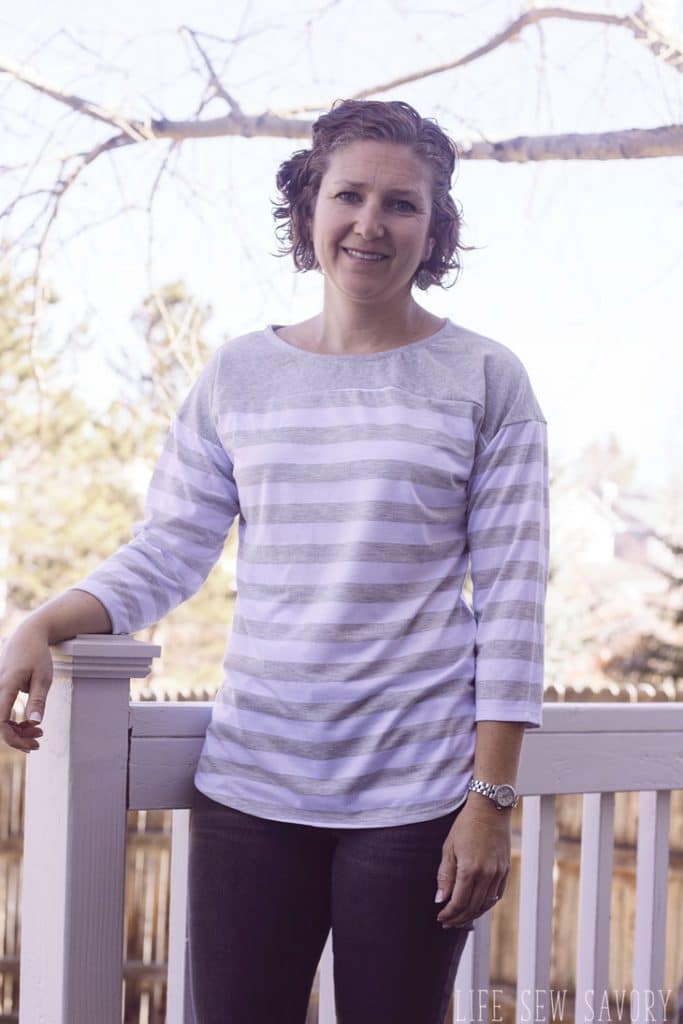
I pretty much live in t-shirts and jeans this time of year… it’s cooled off just a bit, but not time for my awesome DIY sweaters yet {haha} In the process of creating this pattern I know have three fabulous shirts I can wear this fall. Two of them are featured in this post.
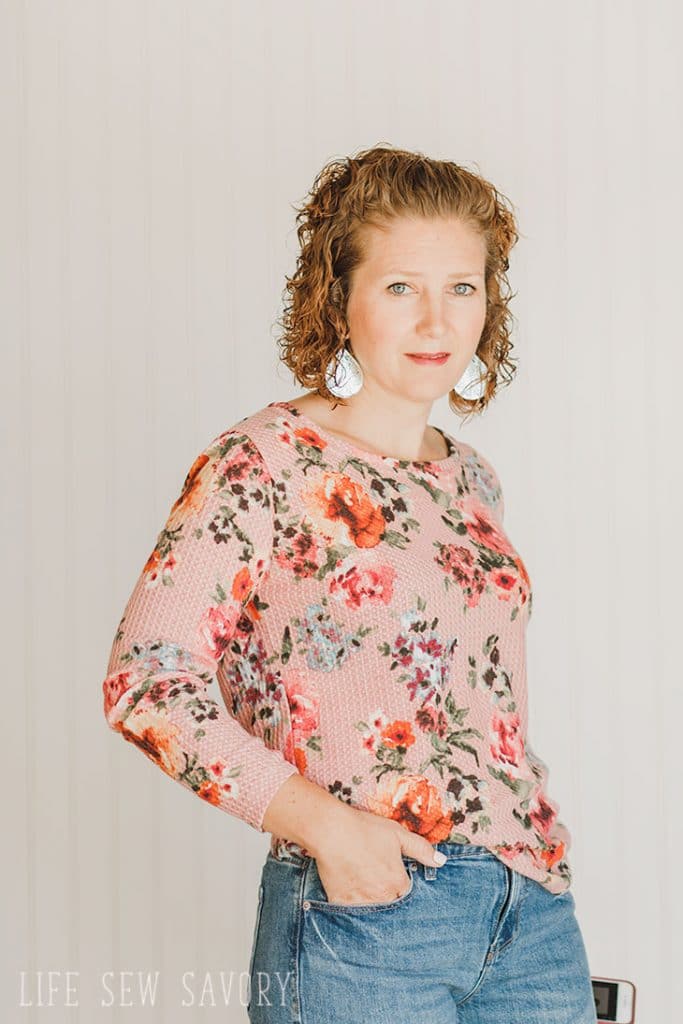
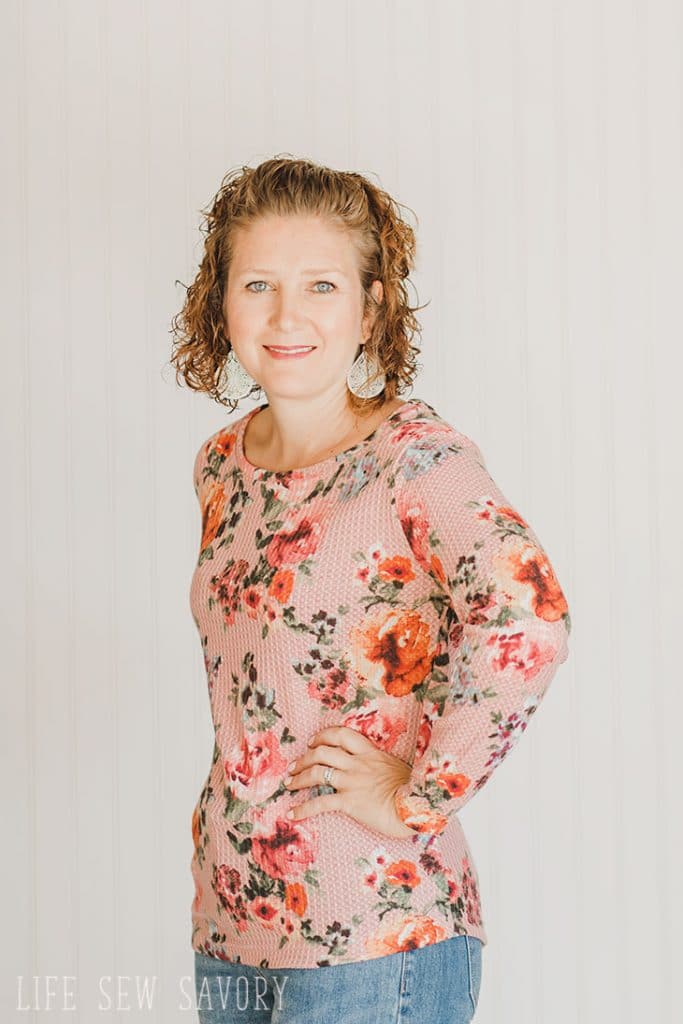
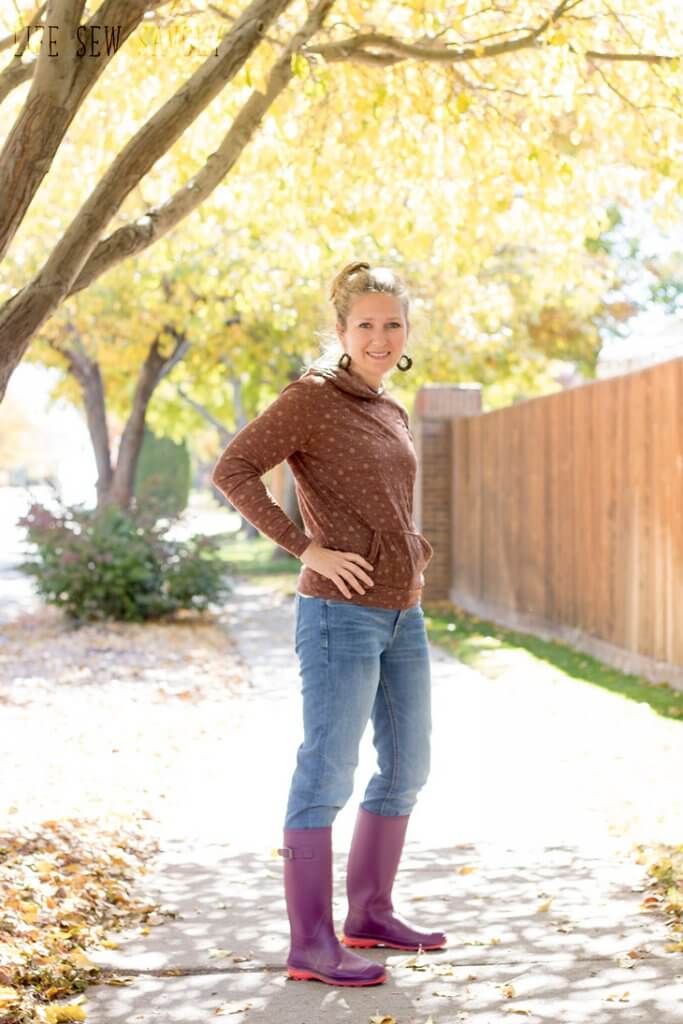
Let’s talk about the options for this free sewing pattern. Above you can see the long sleeve version and the higher neckline. I made it with the most amazing waffle knit and I think I’m in love. {second to my husband of course!} The gorgeous floral is from Sincerely Rylee Fabrics.
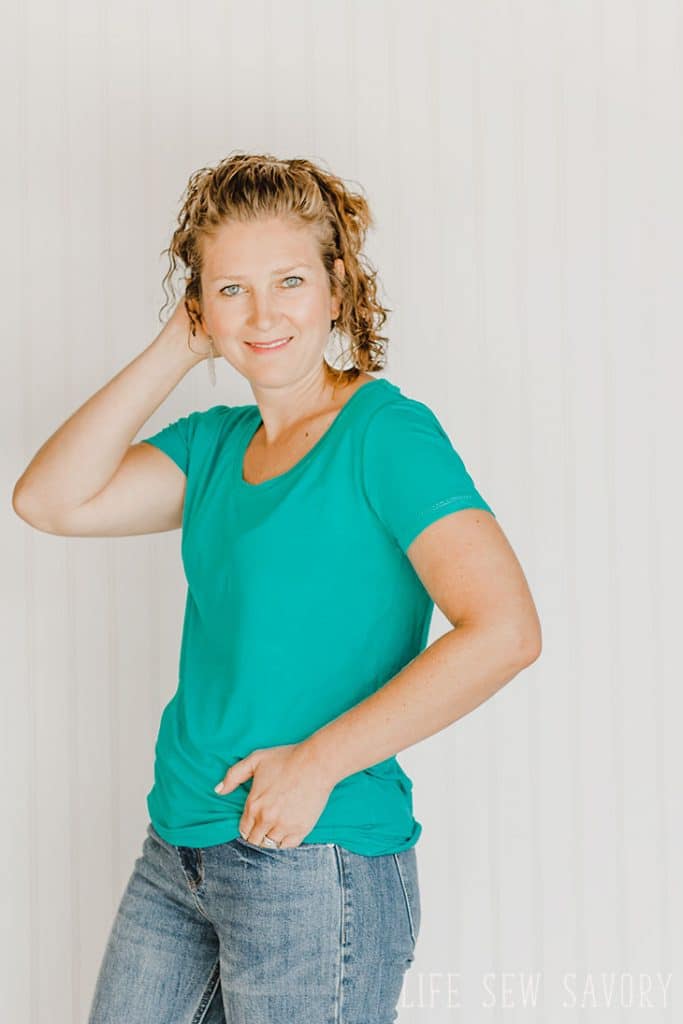
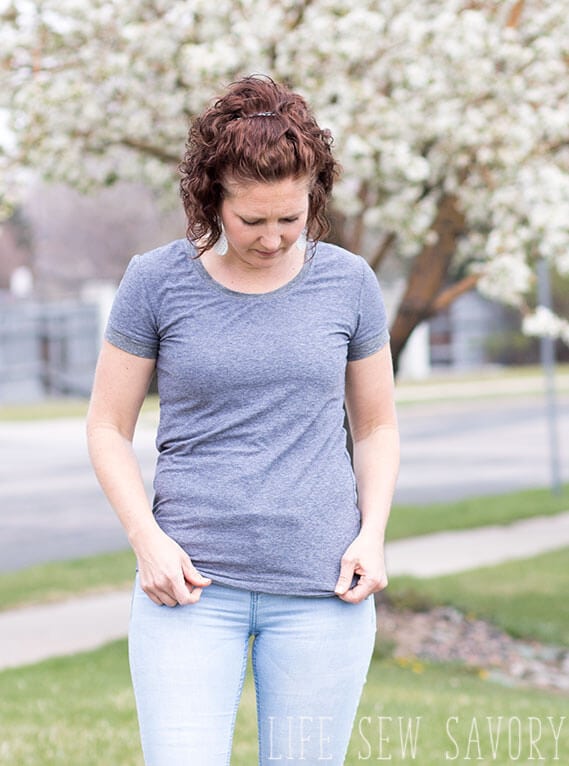
This version is the lower neck line and short sleeve version and made from organic bamboo cotton I brought when we moved from Hong Kong. We when moved to CO I brought with me four huge boxes of fabric from the markets there and it’s almost all gone.
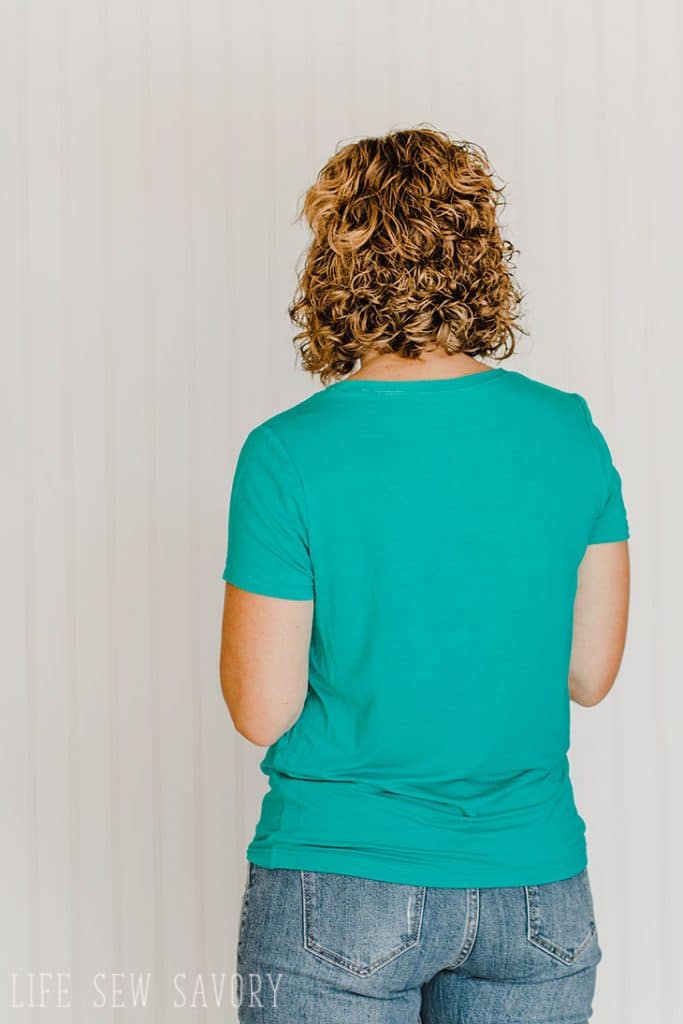
ok! Who’s ready to sew a shirt?? I’ve got all the details for how to sew a shirt and I’m so excited for this free sewing pattern too!
How to sew a shirt –
First up! Gather your supplies…
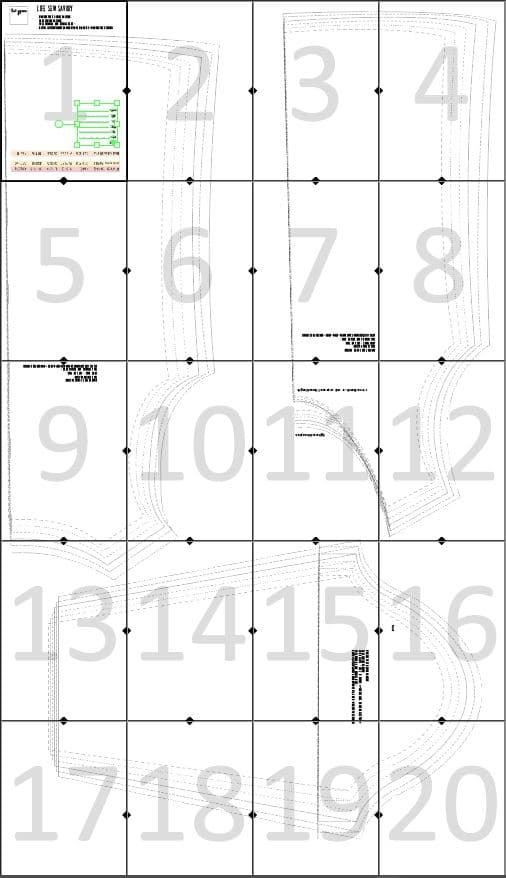
Print and assemble the pattern as shown below. Need help with your PDF printing and assembly? Check out my All about PDF’s Post.
Use this size chart to determine your size. I use design my sizing to fit similar to the store Old Navy.

Pattern – Check! If you didn’t download from the link above you can also find it by clicking the button below.
And make sure you have some gorgeous fabric to sew… below are links for some fabric I love for t-shirt sewing.
let’s sew! For the shirt in this tutorial I am upcycling a large men’s shirt when enough fabric for me to make the women’s small of the free boyfriend tee shirt. My favorite thing about reusing shirts is the fabulous rib fabric, but picking it all is not fun.
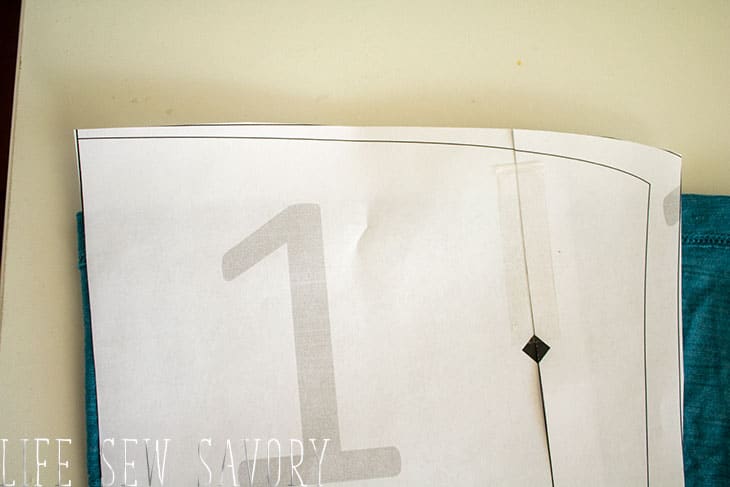
When you are cutting the pattern pieces you can also reuse all the hems, just place the pattern piece 1″ overlapping the fabric. This way you can keep the original hems.
**sew all seams with a 1/4″ {1 cm} seam allowance and use a serger or a stretch stitch on your sewing machine.
Begin sewing by placing the front and back together at a shoulder. Either is fine and the right sides of the fabric should be together.
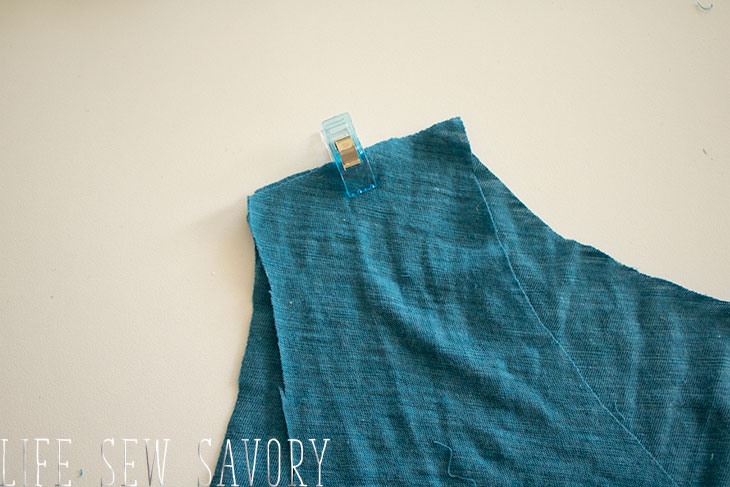
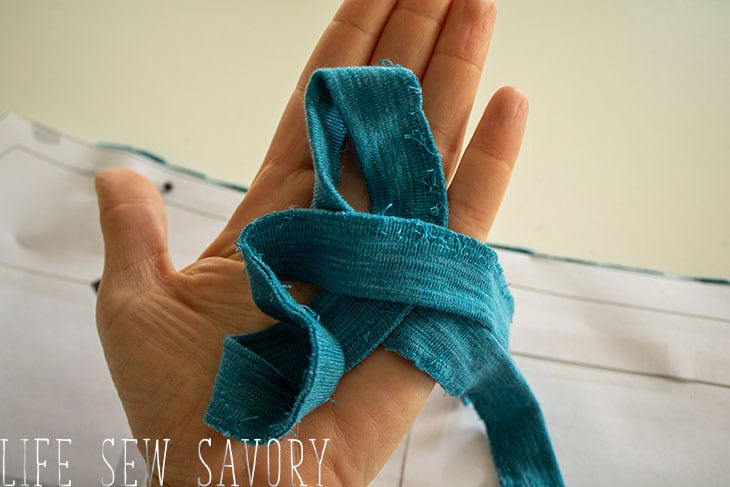
Reuse and old neckline or cut a neckband of your shirt fabric. It should be 1.5″ wide and the length should be 80-90% of the neckline measurement. After you sew one shoulder seam, open up the neck and measure the length. Depending on the stretch of your fabric you will cut a neckband 80 or 90% of that length. The stretchier the fabric the shorter you can make the band.
Need more help with the neck band? Here is my post all about shirt neckbands…
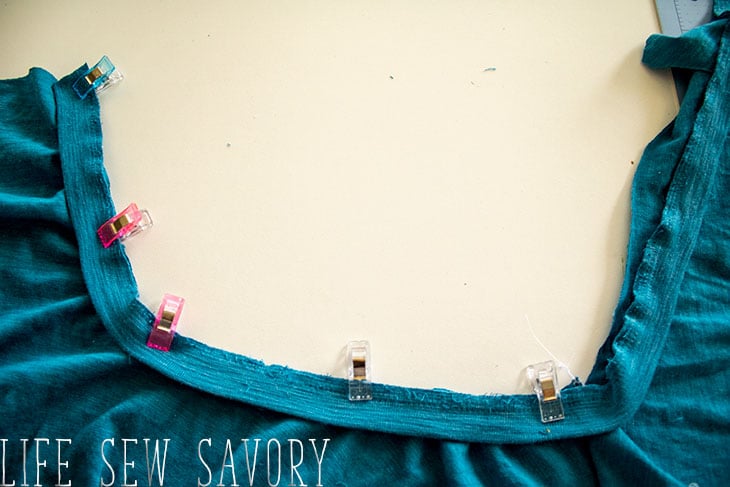
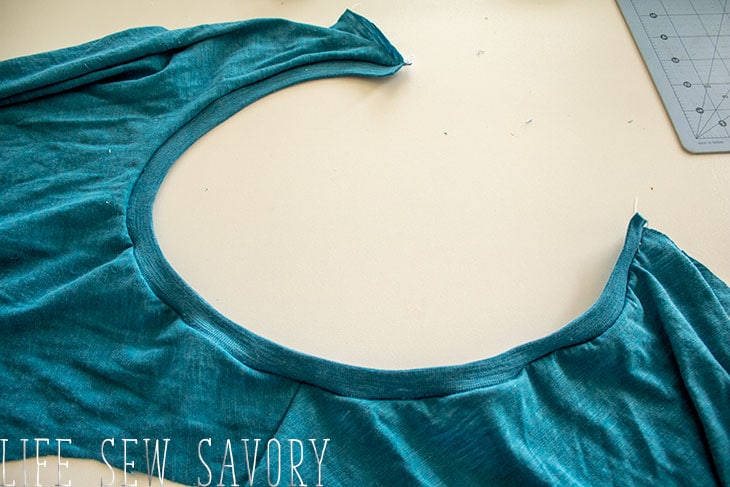
With right sides together sew the other shoulder and then top-stitch the neck with a cover stitch, twin needle or knit stitch.
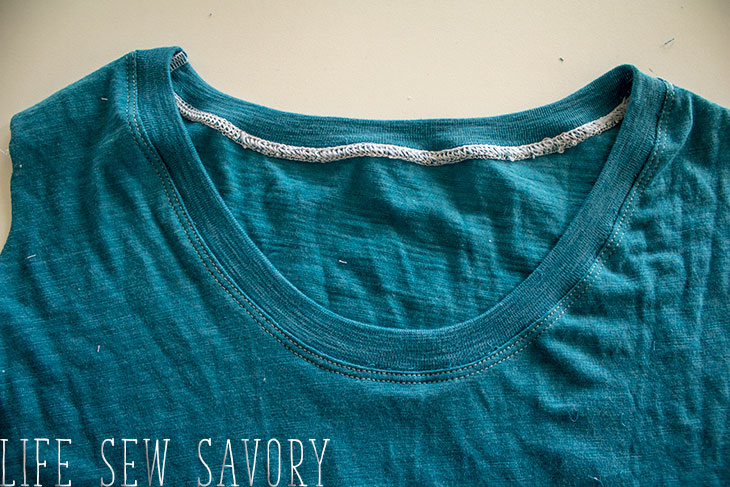
{you can see the sleeve here is one that I am reusing the hem!} Pin or clip the sleeve in place. Match the front of the sleeve with the front of the shirt. Begin pinning on the outsides of the sleeve and work your way to the center, easing the opposite curves together. Repeat with the other sleeve.
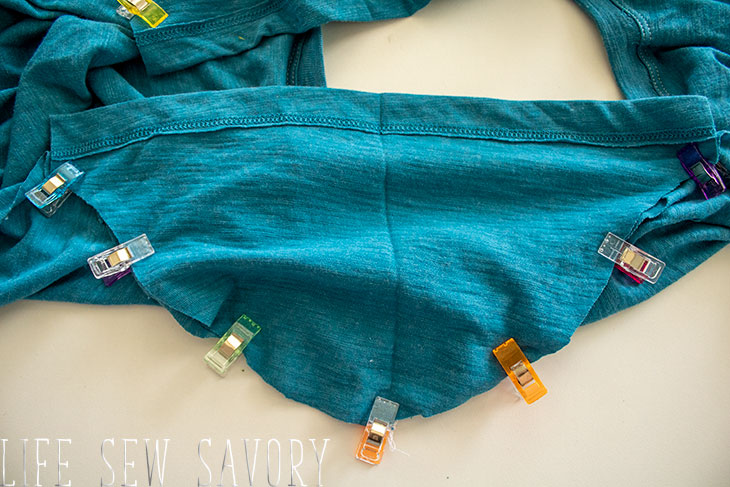
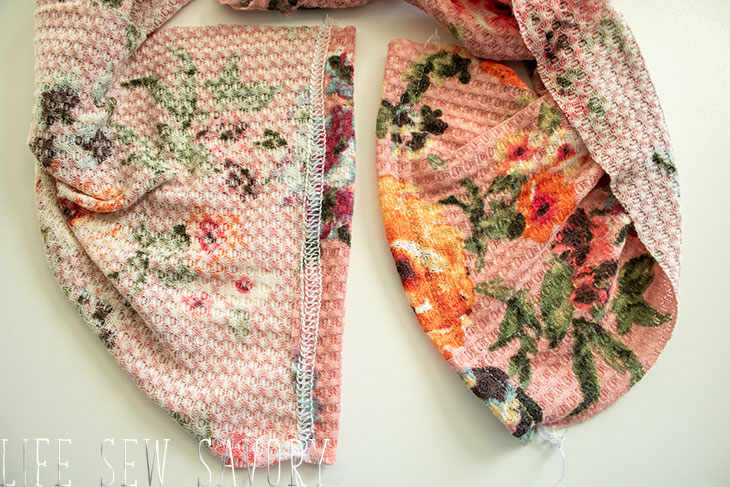
This is what the inside of the shirt looks like now. The white thread shows the stitching.
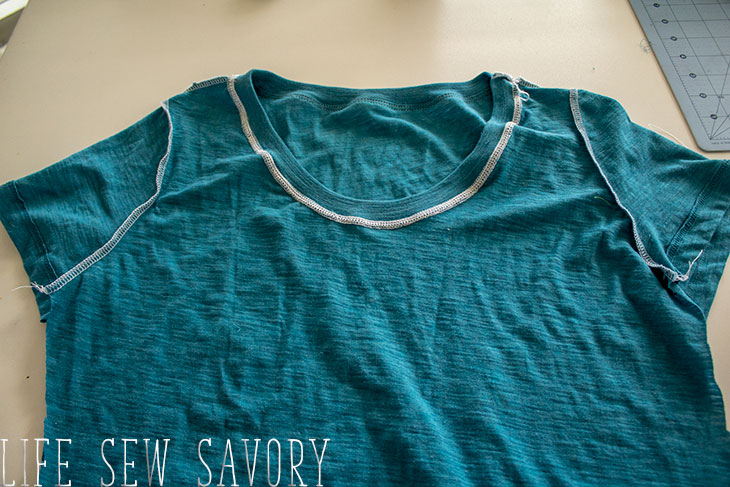
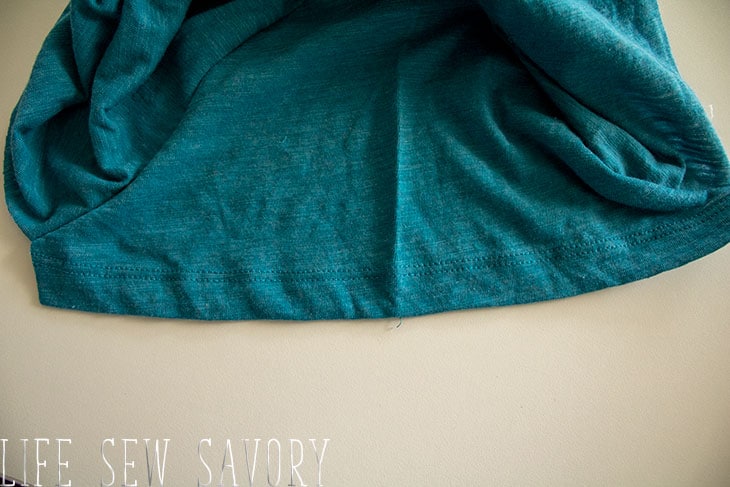
The left shows my re-used hem on the short sleeve version and on the right side is the hem I did on the long sleeve version. I like to hem the sleeve at this point before sewing up the side seams. This makes the hemming easier as it’s on a flat edge, not a circle. I like a 3/4″ hem.
Sew the side seam. If you are reusing old hems, finish the loose threads at the end of the sleeve and bottom hem.
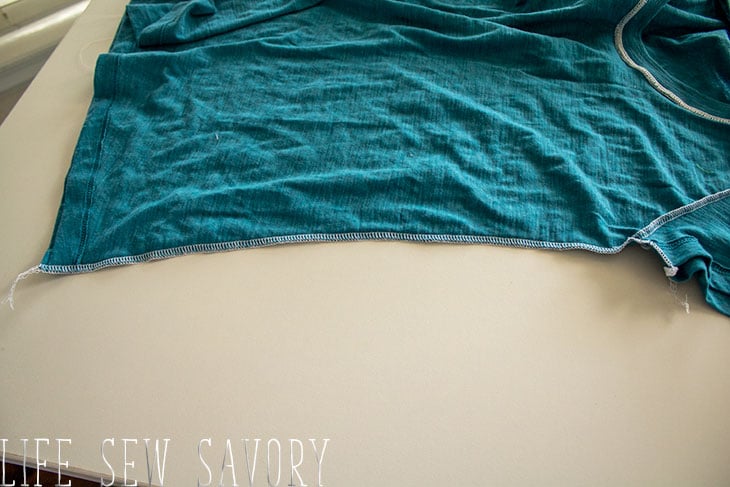
If your shirt is not hemmed, do so now. I like a 3/4″ to 1″ hem.
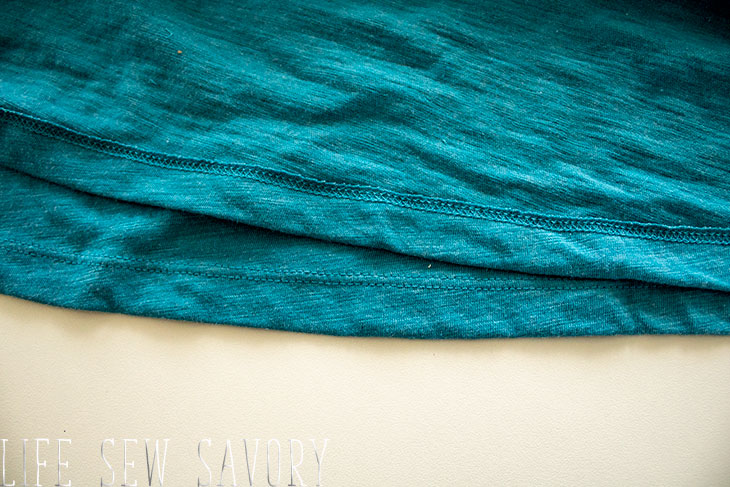
You did it!! Now you have a cute t-shirt to wear all the time {or make up a bunch!!} I know I’m going to be living in mine. Maybe I’ll add a henley neckline version or two to the stack.







Linda Martinez says
Thank you for the pattern, it downloaded easily for me.
E Roth says
Thank you for your generosity. You indicated that we should use a 1/4 in. seam allowances and then inserted (1 cm). Just to be clear, 1/4″ equals .65cm or more commonly, 0.6cm. 1 cm equals 3/8 in.
Danyl says
Where on the body does the bottom hem hit? I’m looking to make this in fleece (not sweatshirt fabric) and wear with leggings. TIA
Patty Loerch says
I cannot find a list of yardage needed for the t shirt?
Sharjah Sustainable City says
Thanks for sharing this with us, I hope you will post more great blog like this.
Laura Peters says
I’m excited to try this, but I can’t find where you say how much fabric we will need to buy.
Stephanie O’neill says
Love this, just can’t see how to download the pattern. I have clicked on lots of links but it’s just not giving me the pattern to print. Thanks Steph
KEP says
Is there a link for step-by-step instructions without all the ads? If yes, please provide. Thank you
Grace Tong says
I don’t see how much fabric is needed for each size