


inside: Learn how to sew a skirt with large pockets and a cute easy elastic waistband. This simple sewing tutorial will should you how to make a skirt and includes a one size fits all pocket template.
**Updated 9/2023**
Several years ago I sewed up this skirt. It was perfect for the skirt I was imagining. It has worked well for all seasons and I adore the pockets! I recently sewed myself another one of these fabulous skirts with pockets and today I’m re-sharing the tutorial for how to sew a skirt with pockets PLUS giving you a template for the pockets. I also have added a link below to the full tutorial on YouTube if you would like.
Skirt with Pockets tutorial –
Want to see this skirt sewed up in a video? Here is the link to a previously live show where I sewed up this skirt with pockets.
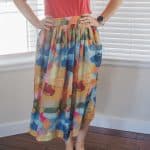
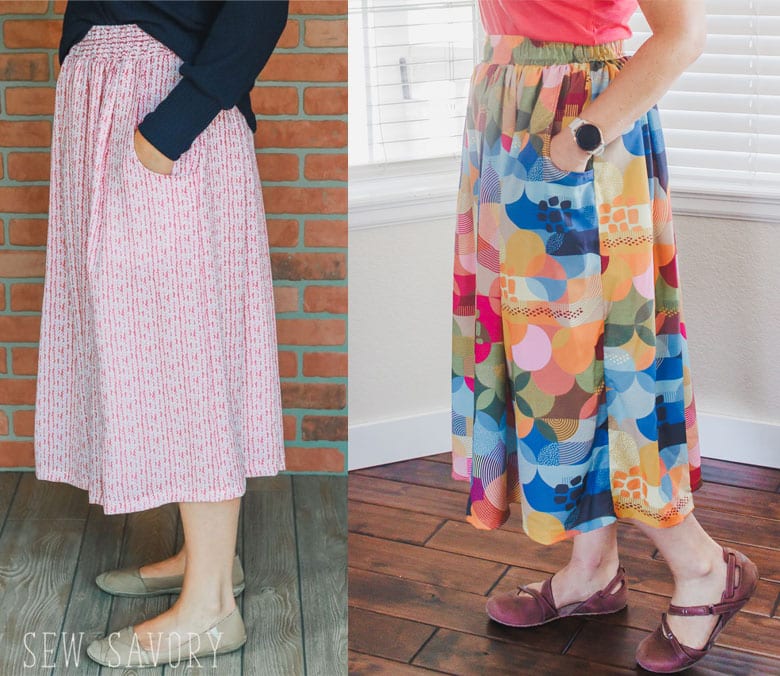
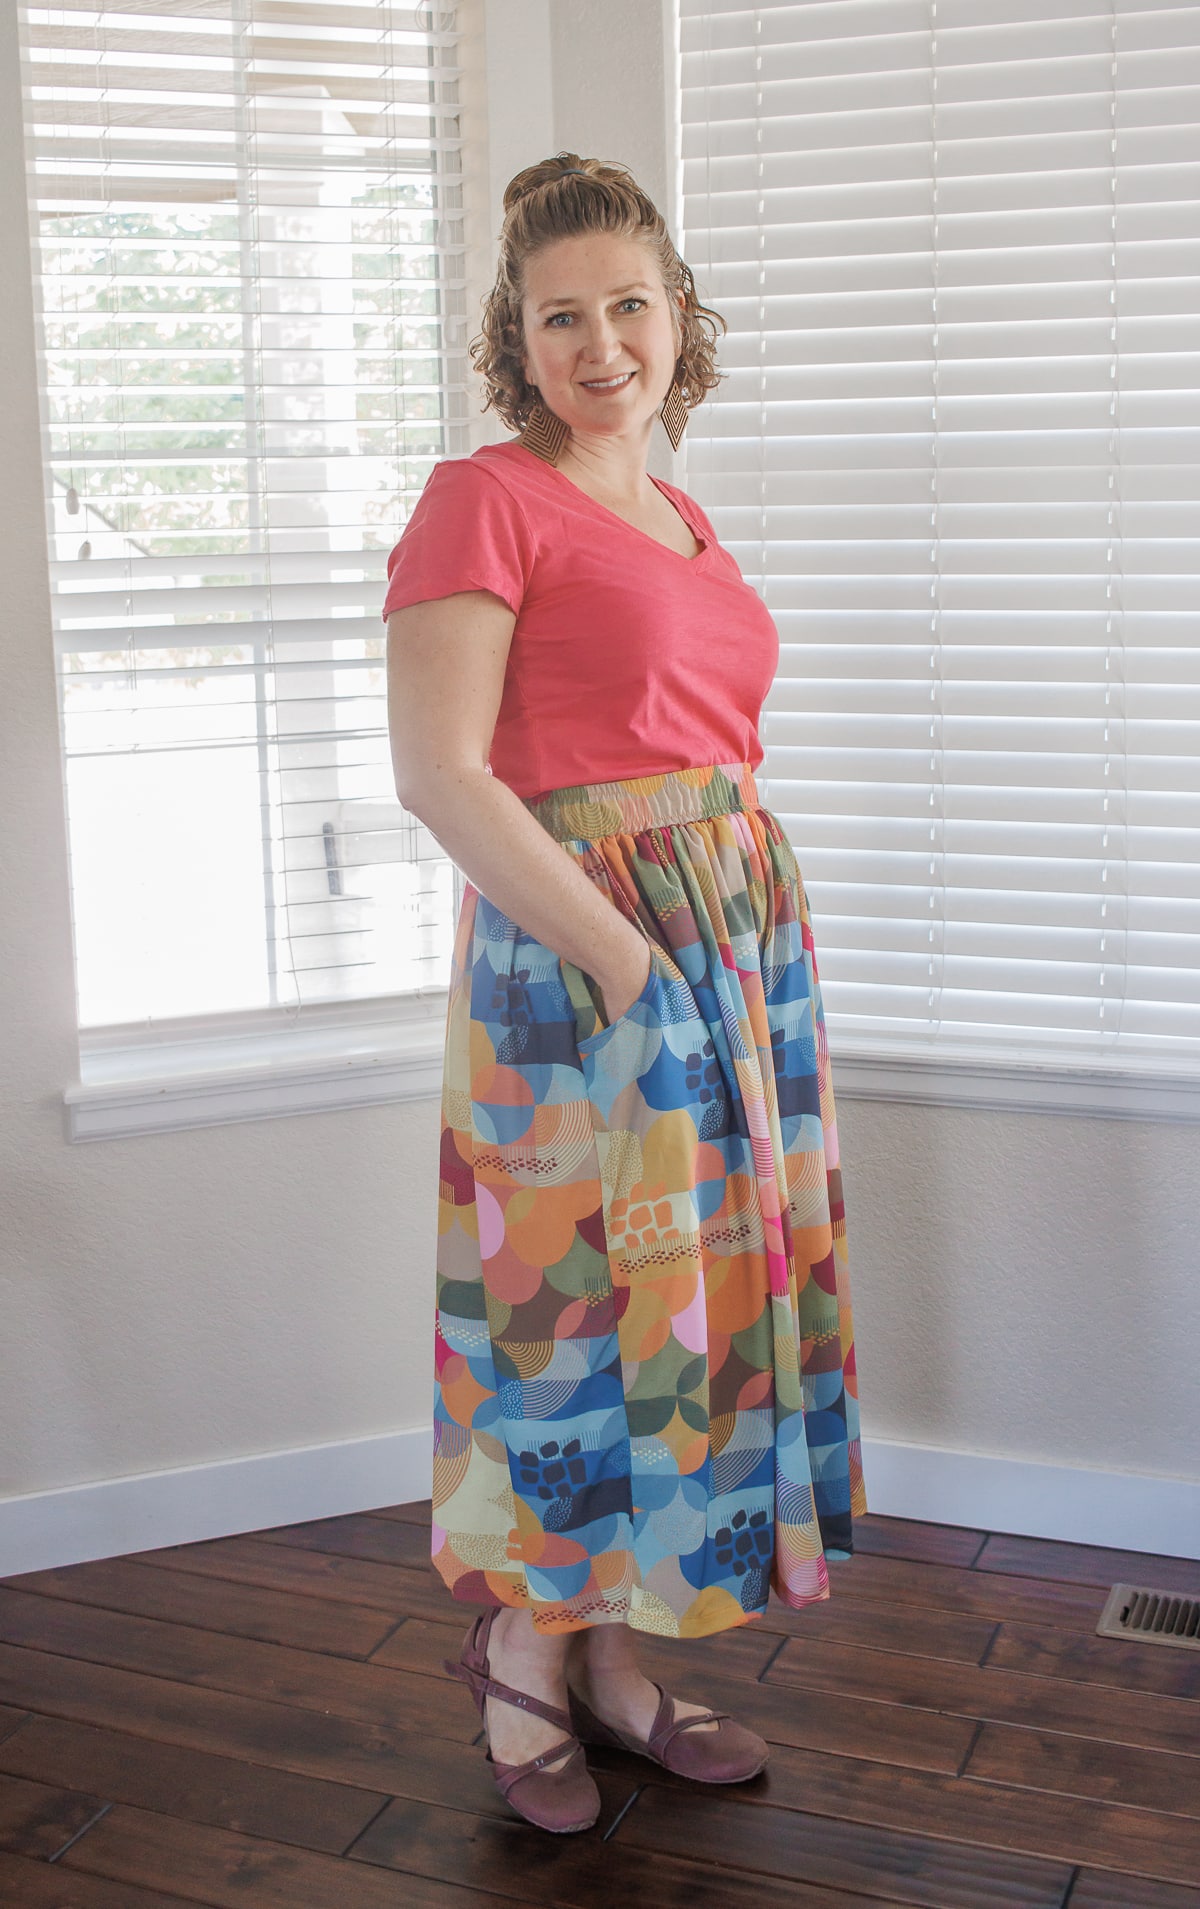
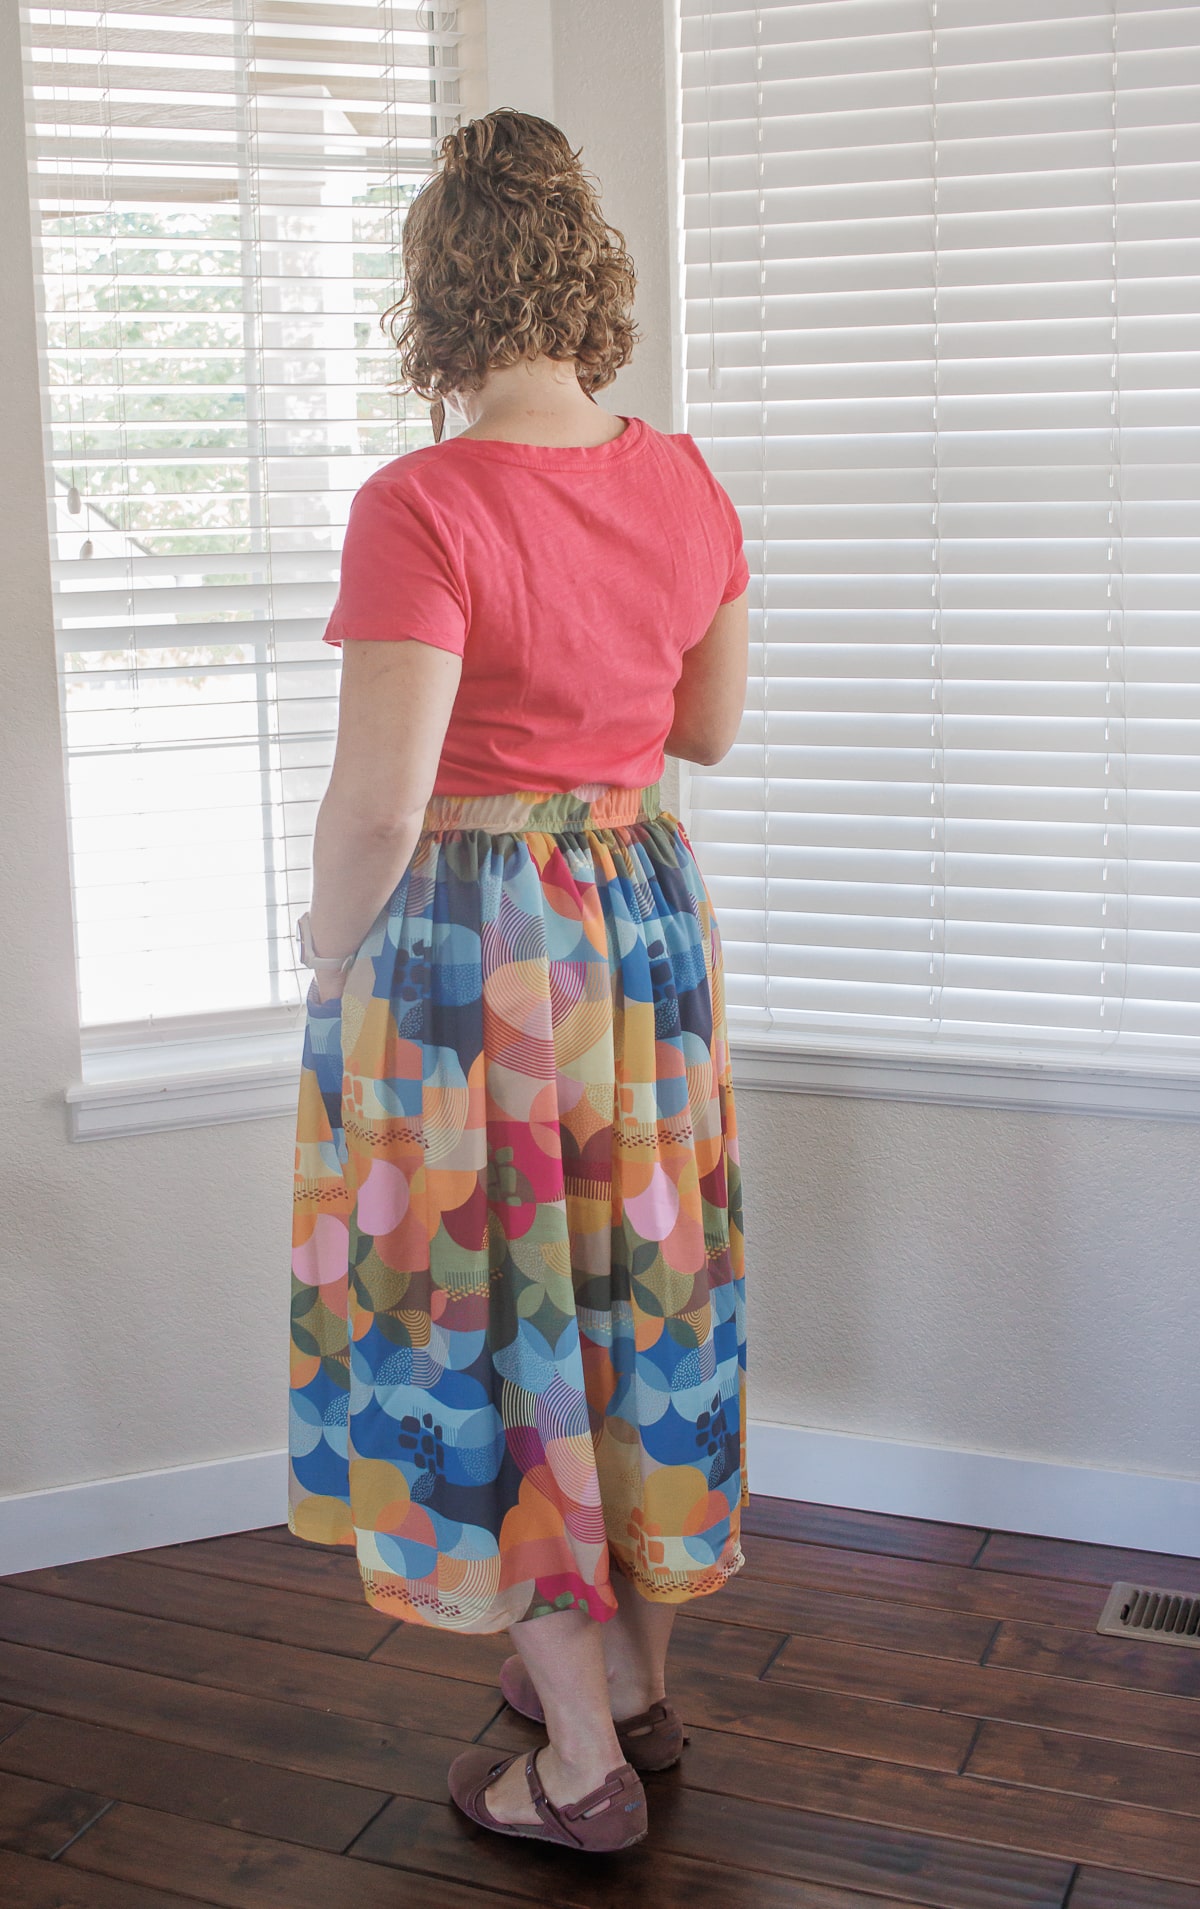
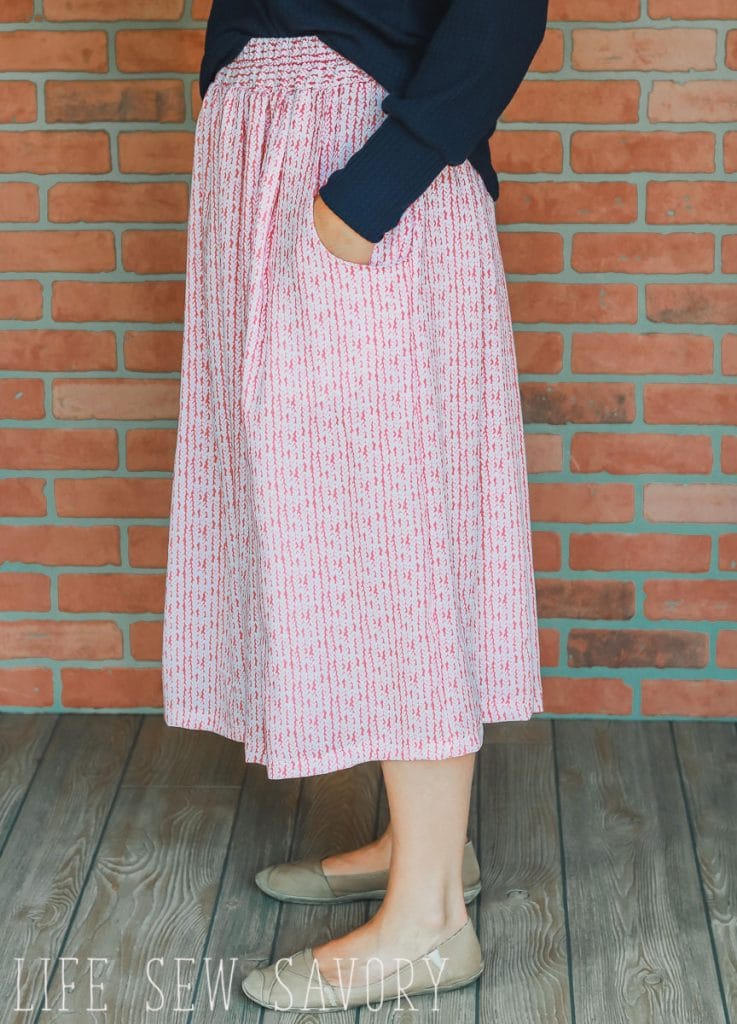
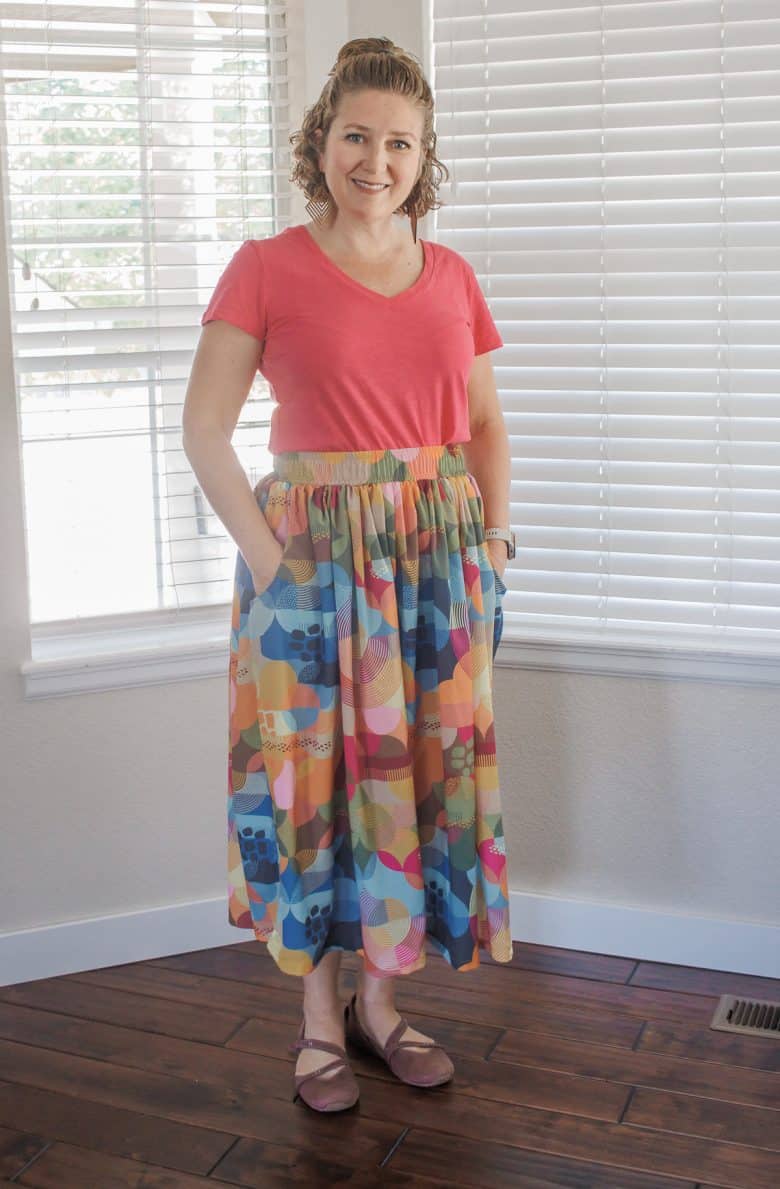
Let’s show off a few more photos of the finished skirt before we jump into the tutorial of how to make a skirt. I now have two versions of the skirt for you to see. The original white/orange skirt is still going strong 5 years later! I just wore it to a Brother show in Aug. {see post for all the outfits I made/wore}
The new version is the more colorful one, but you will see photos of both in this post.
Things don’t always play out like I plan in my head, but I’m pretty pleased with this skirt.
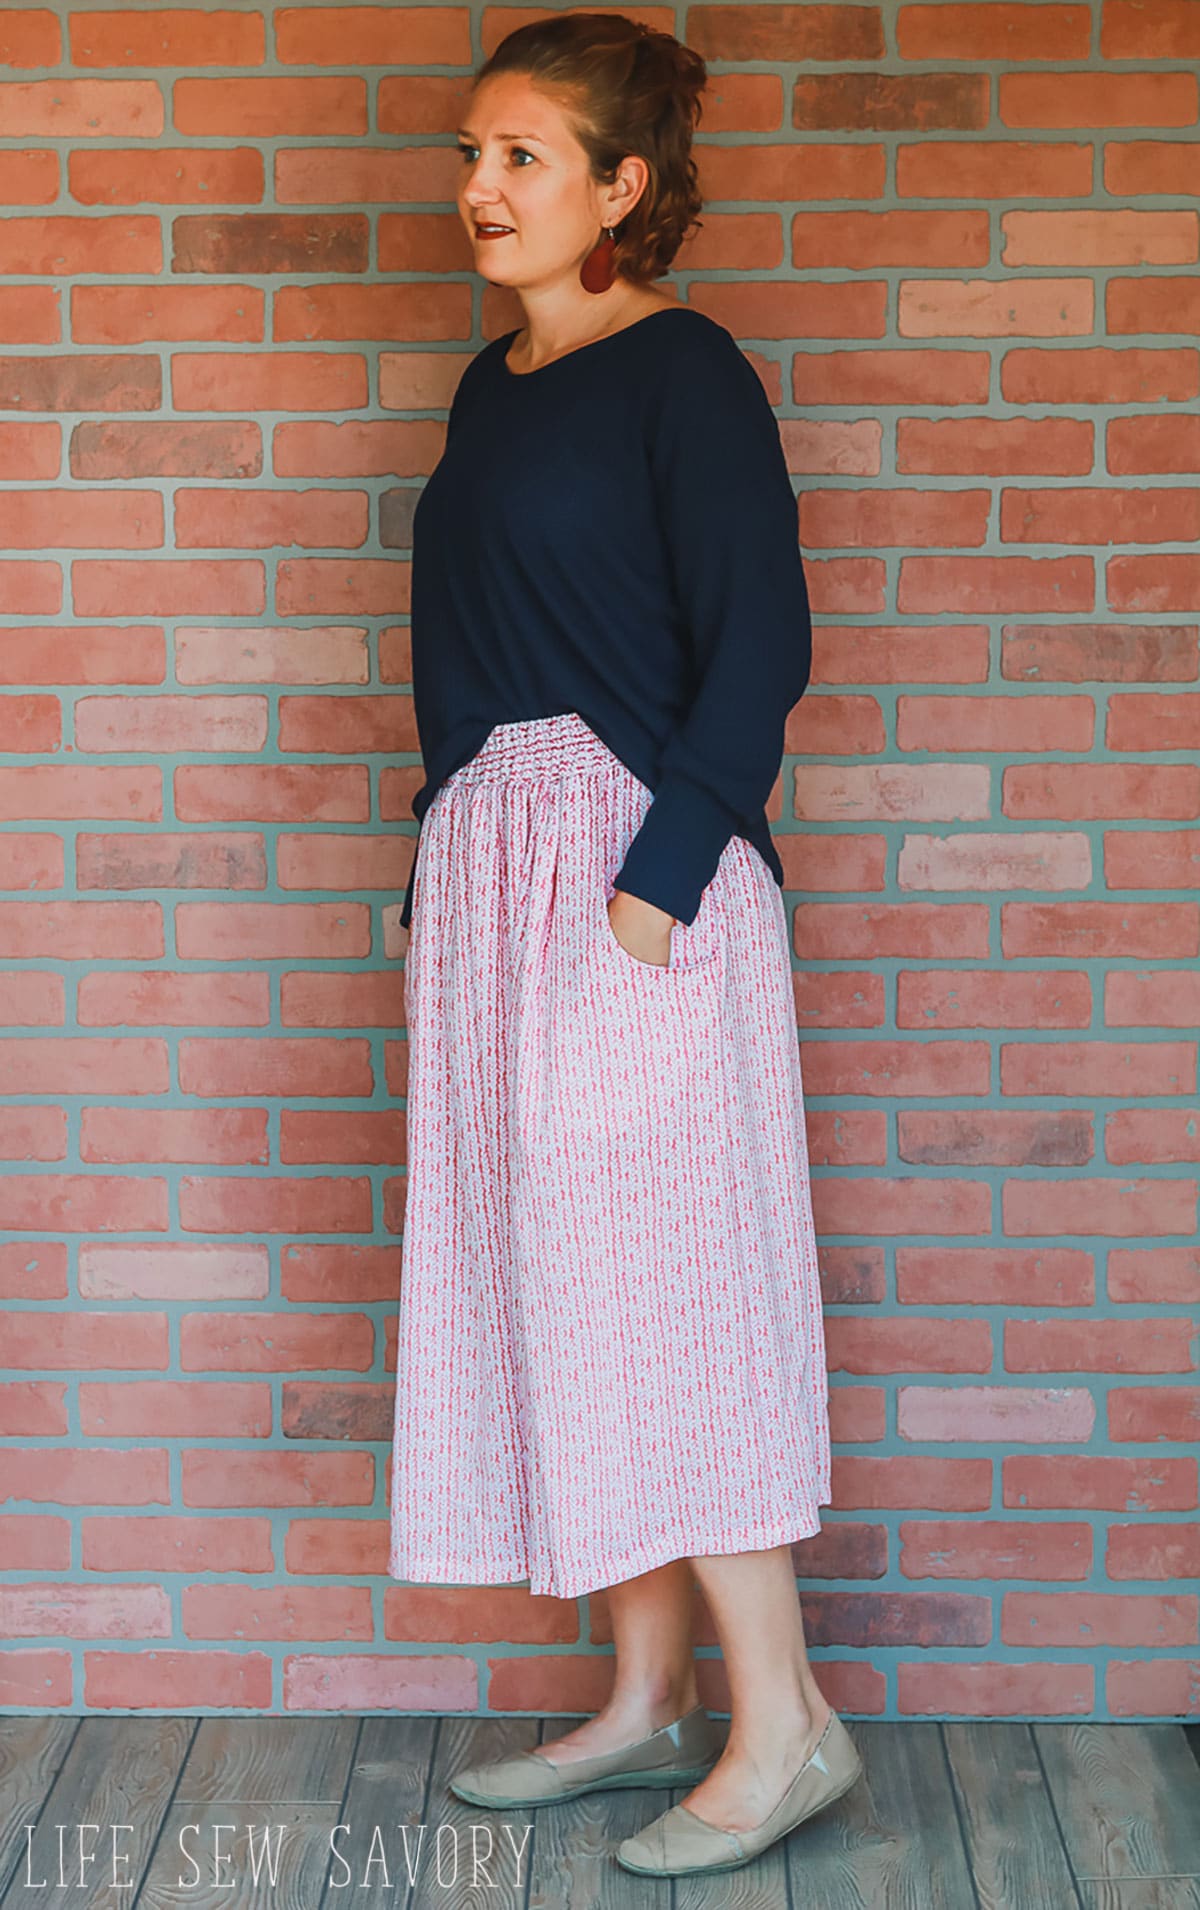
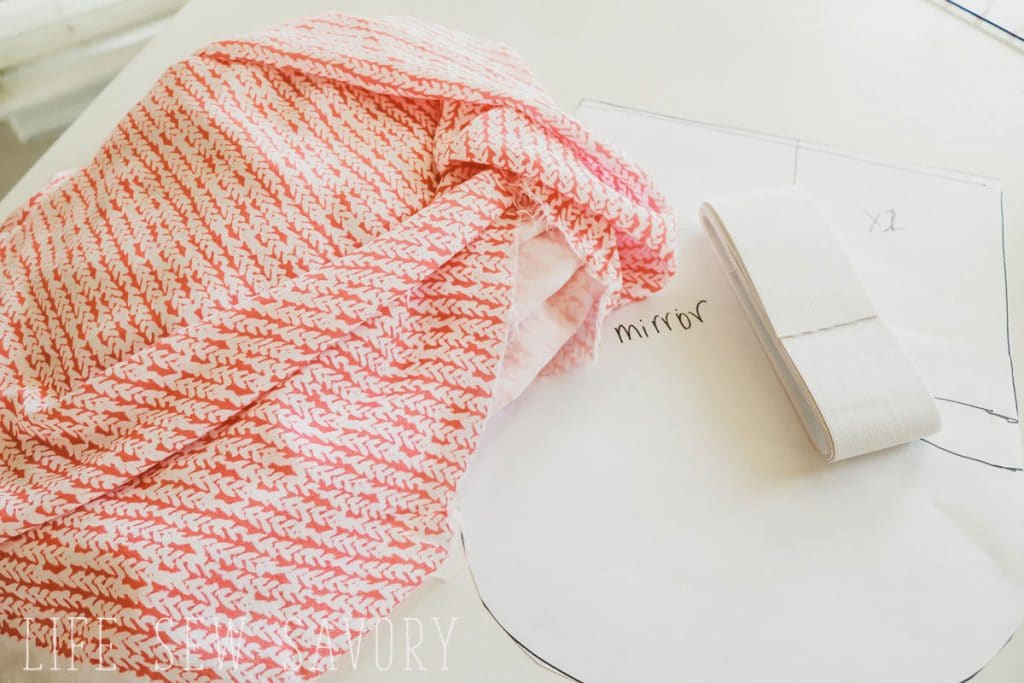
Here’s a link to the fun fabric I used in this project: Deep Coral and White Vertical Stripe Herringbone Rayon Challis – this fabric is no longer available but the link will take you to the general Rayon Challis page on Raspberry Creek Fabrics and there are so many gorgeous prints!
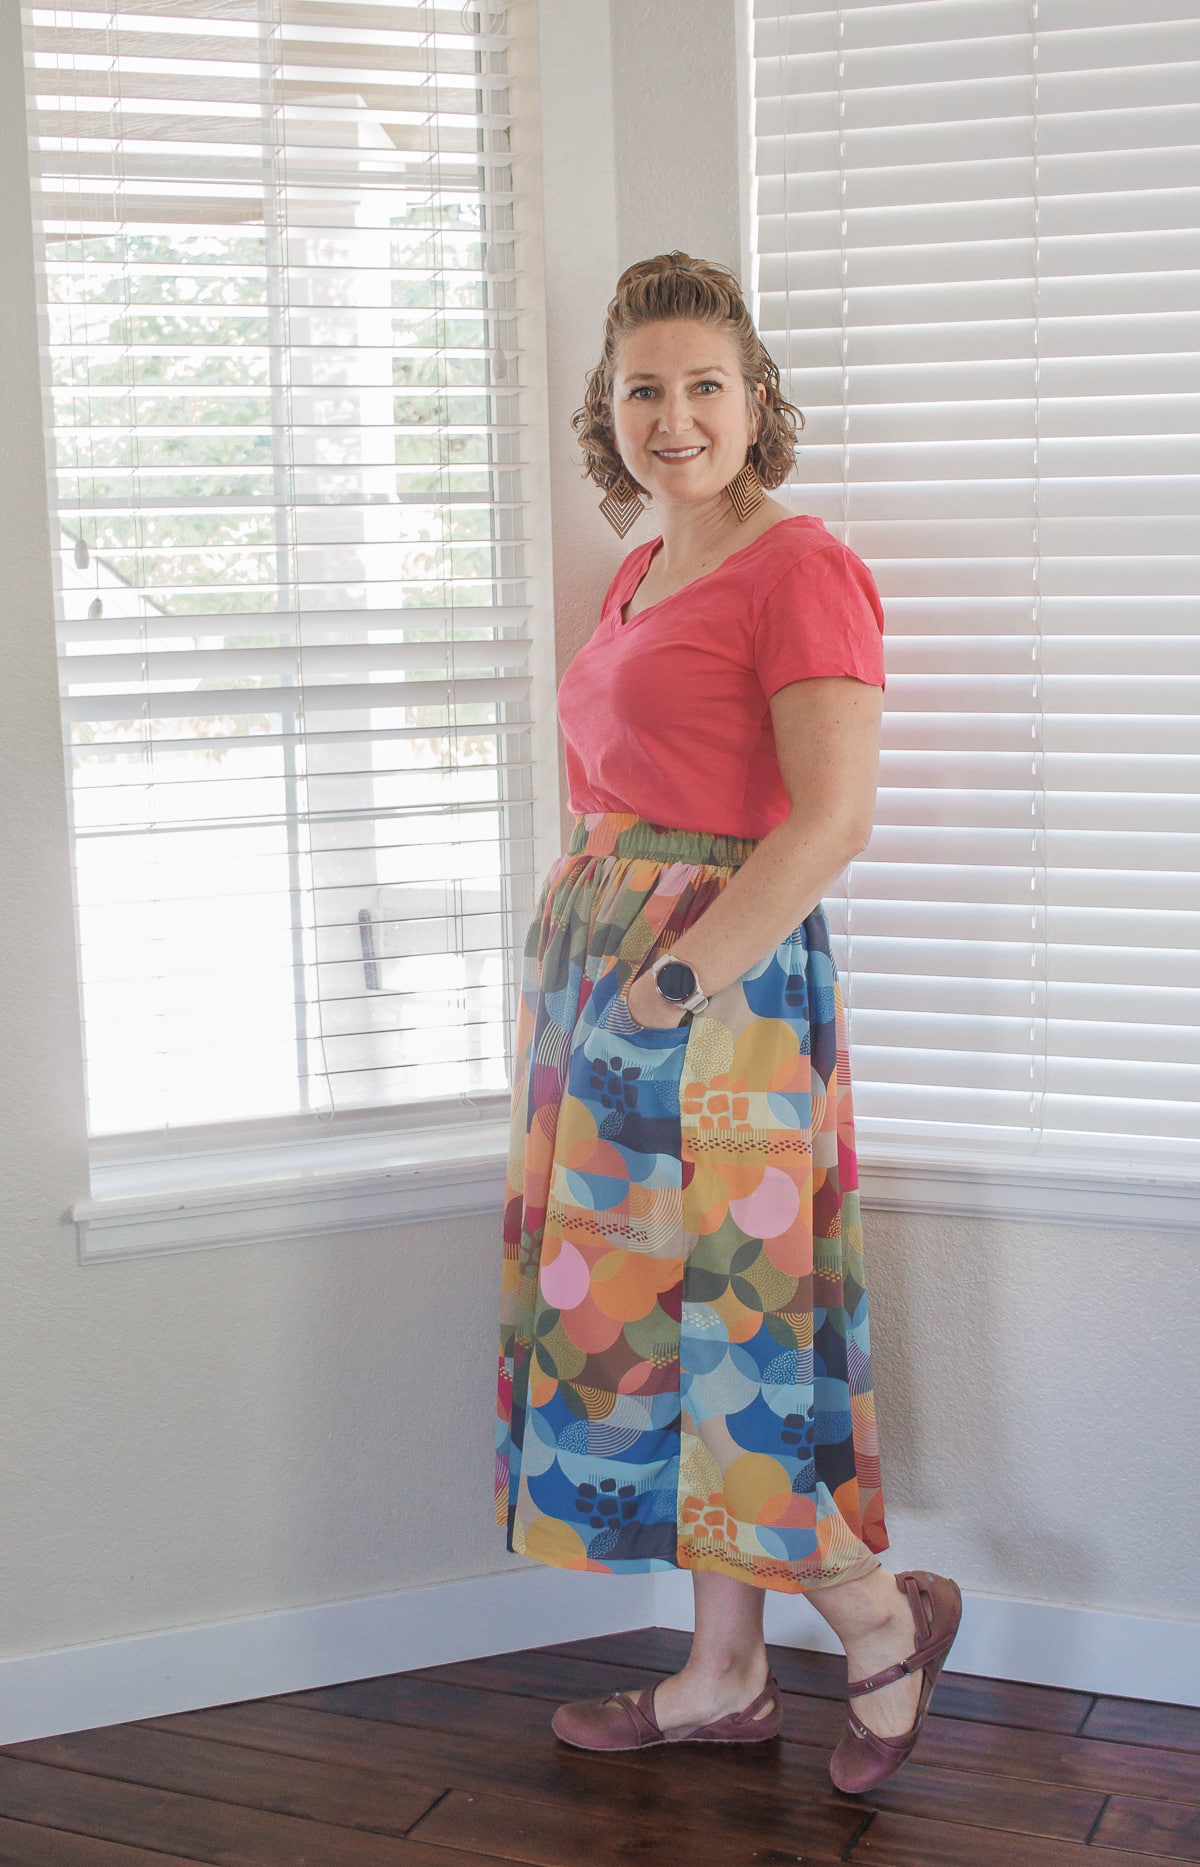
The new fabric is from Spoonflower and part of my prep for the Houston Quilt Festival where I will be with AllBrands. I’m sewing a few more “quiltly” looking pieces for my wardrobe. The second skirt is Poly Crepe de Chine and it’s a bit thinner than the rayon challis, but both work beautifully for this skirt.
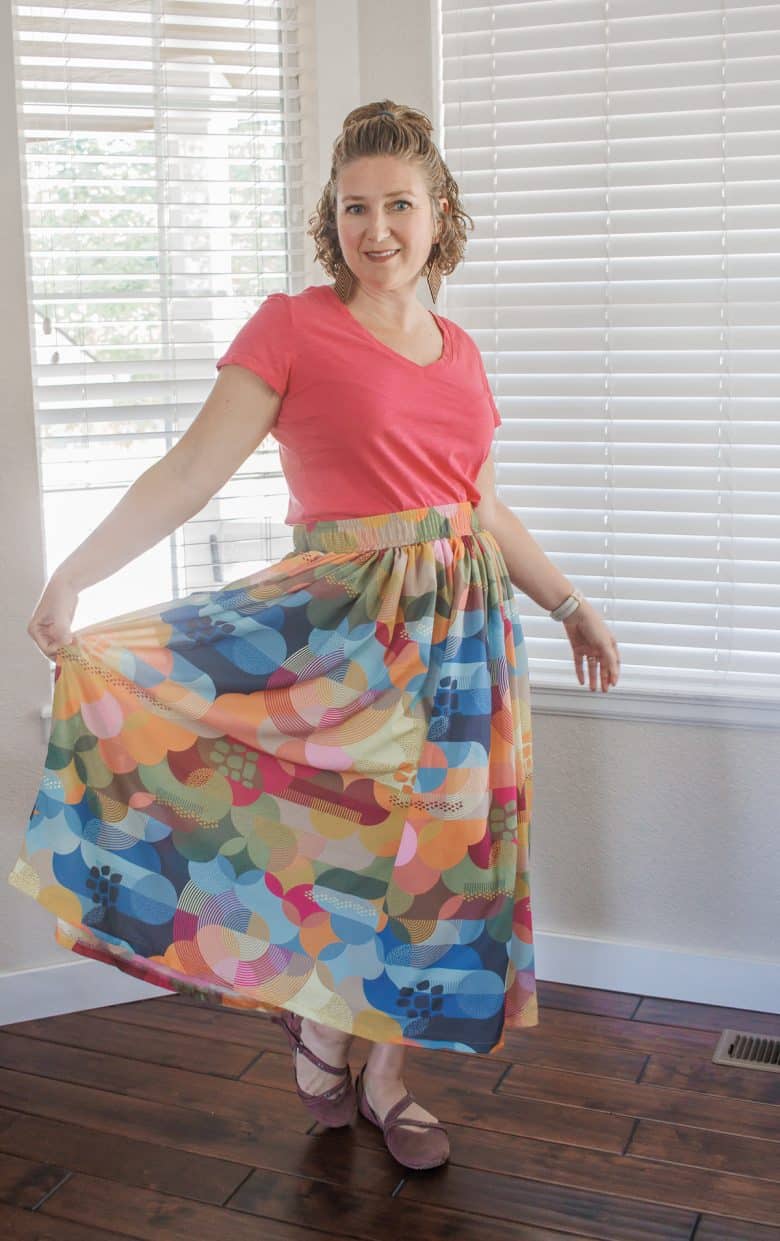
Even just seeing these photos makes me love it even more and the pockets are perfection {if I do say so myself!} I wasn’t sure if I should make a flat waistband in the front, but I’m glad I just kept the skirt simple with an elastic band, but I love the 2″ width.

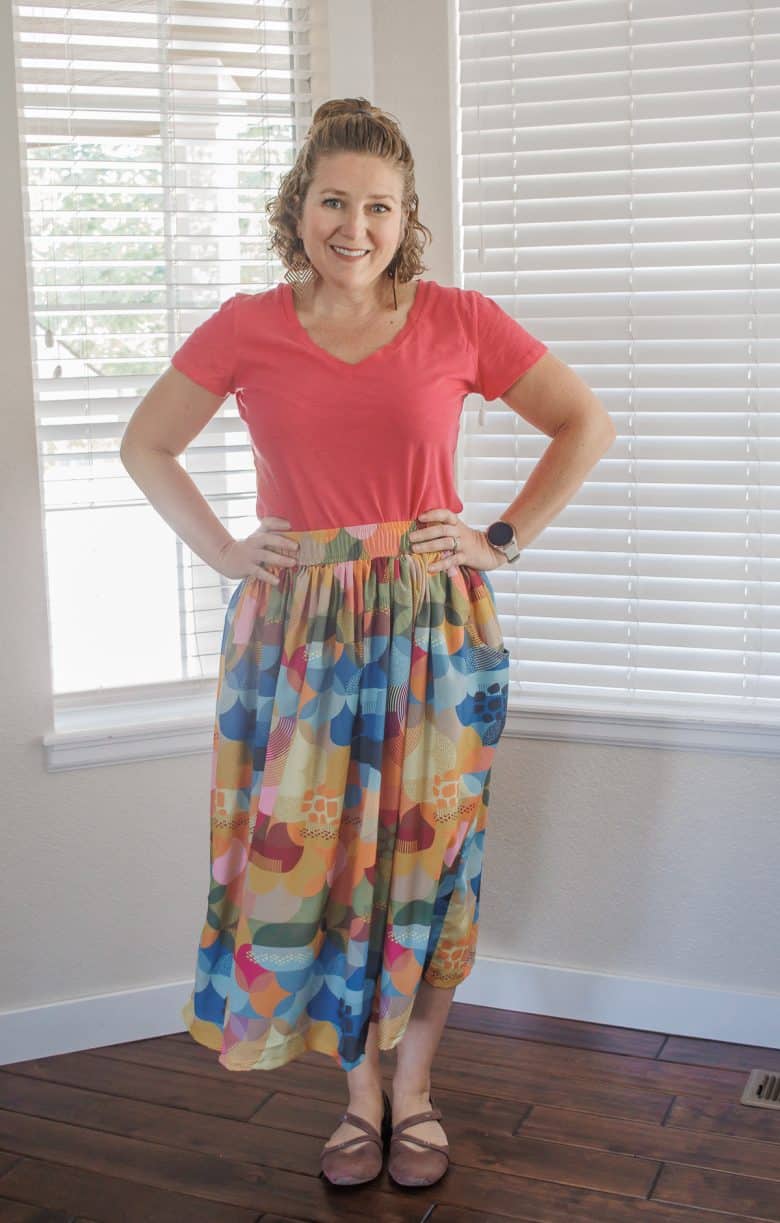
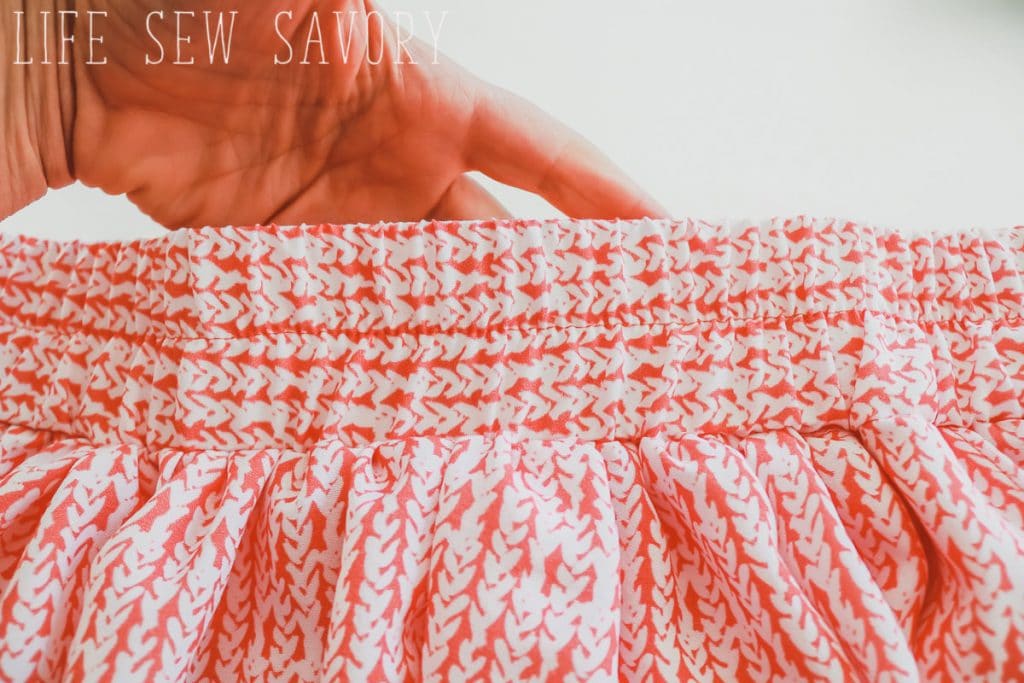
For the second skirt I did two rows of top-stitching on the waistband, but still kept the 2″ elastic and I do love it so much. Plus it’s super comfy to wear.
Let’s jump in and get sewing.
How to sew a skirt with pockets –
You will first need to gather your supplies –
- 2″ wide elastic
- 3 yards of light flowing fabric… like rayon challis {three yards should work for most sizes!}
- Print Pocket Pattern.
For the main skirt pieces I measure my low waist {30} Or high waist- and then the distance from there to my low calf} length of skirt. You want your skirt to be at least double your waist… I went a bit more. I cut a front panel of 40 x length and a back of width of fabric x length. Cut a front and back width x length to your liking. For larger sizes you would want 2 panels of the width of fabric {usually around 55″-60″} If your fabric is not as wide {less than 55} cut 3 or for panels and buy more yards of fabric.
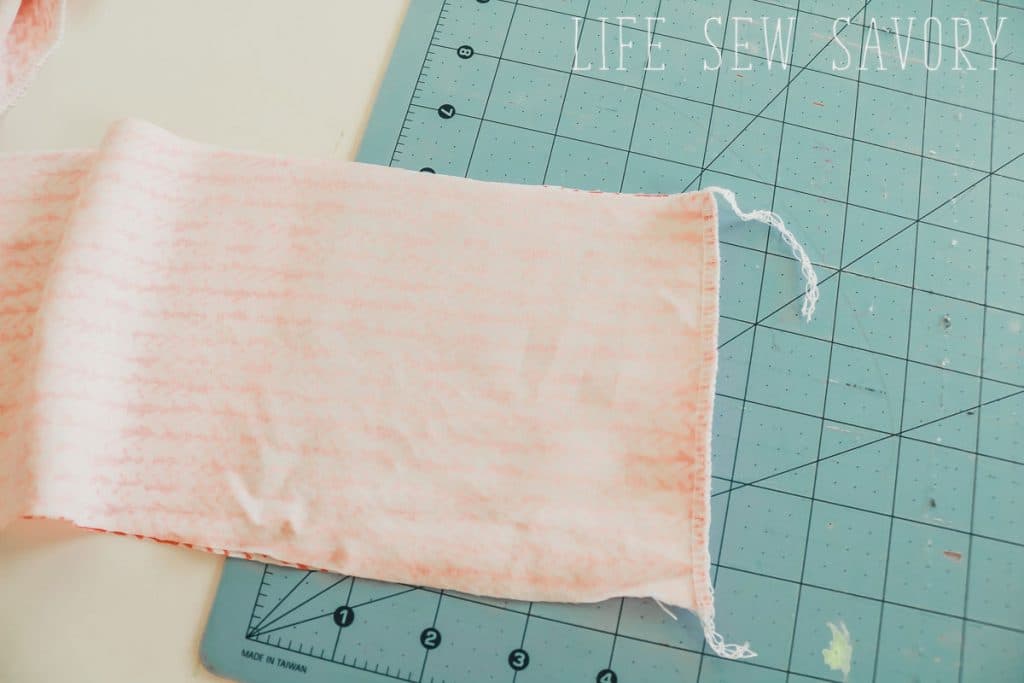
Then cut a waistband and pockets. The pockets are two whole and two with cut outs both in mirror and the waist band is hips + 10″ x 4.75″. So my band is 4.75″ tall x 44″ long.
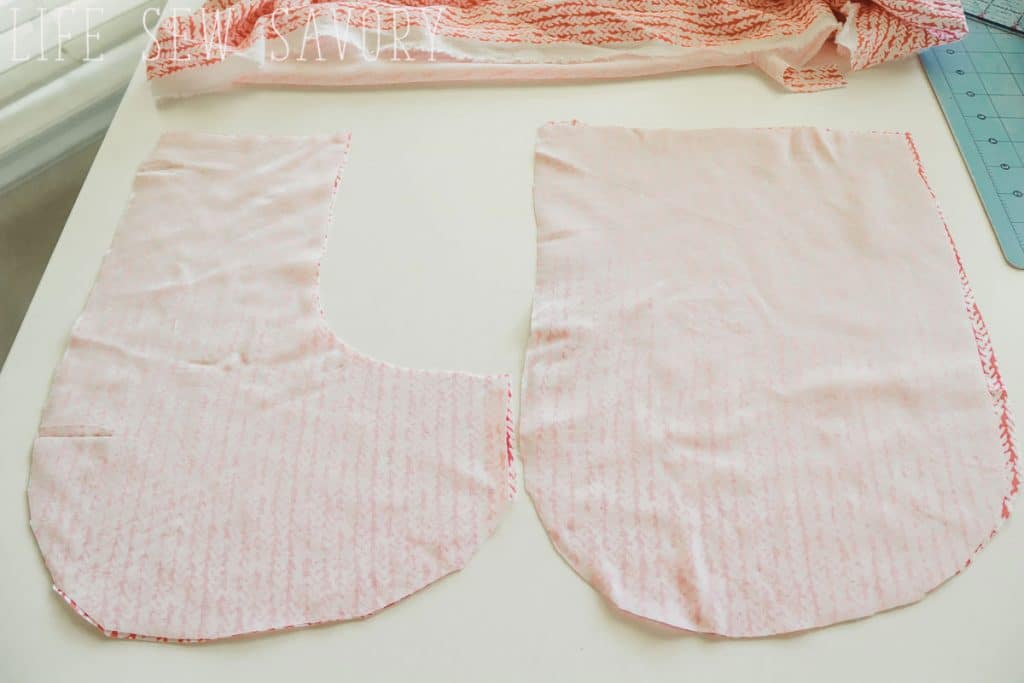
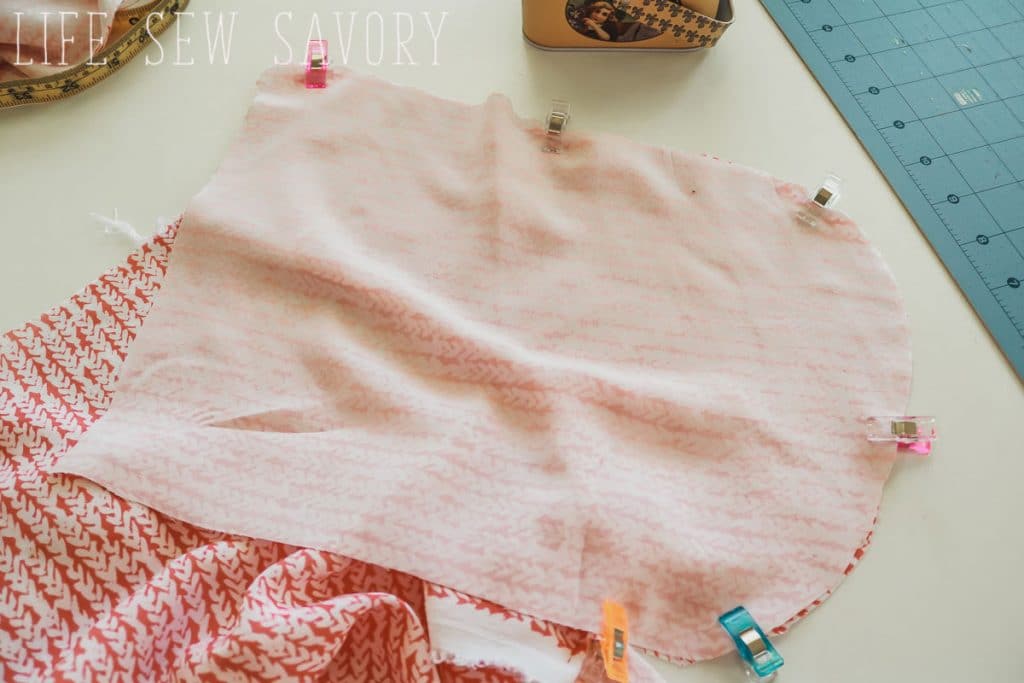
We will start by sewing the pockets to the front panel of the skirt I place one of the pockets with cut out on the upper right side of the skirt front. You can pre-trim out the corner or just sew first. Align the top and right edge with right sides together and stitch with a 3/8″ seam allowance on pocket curve.
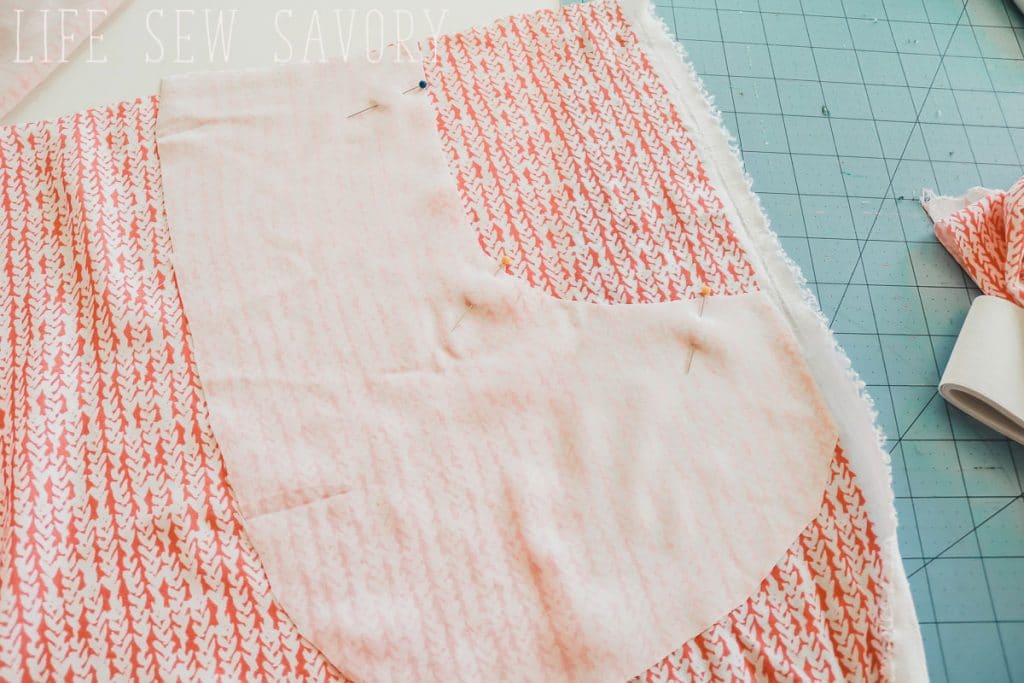
I trimmed the fabric as I sewed with my serger, but if you use a sewing machine you will trim the extra fabric after sewing.
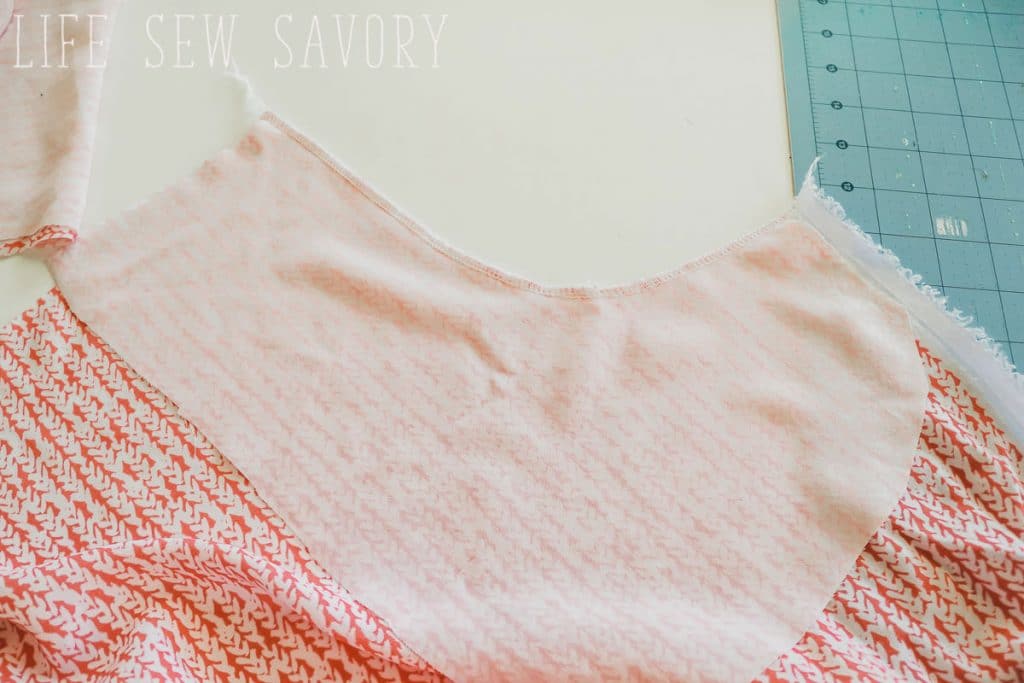
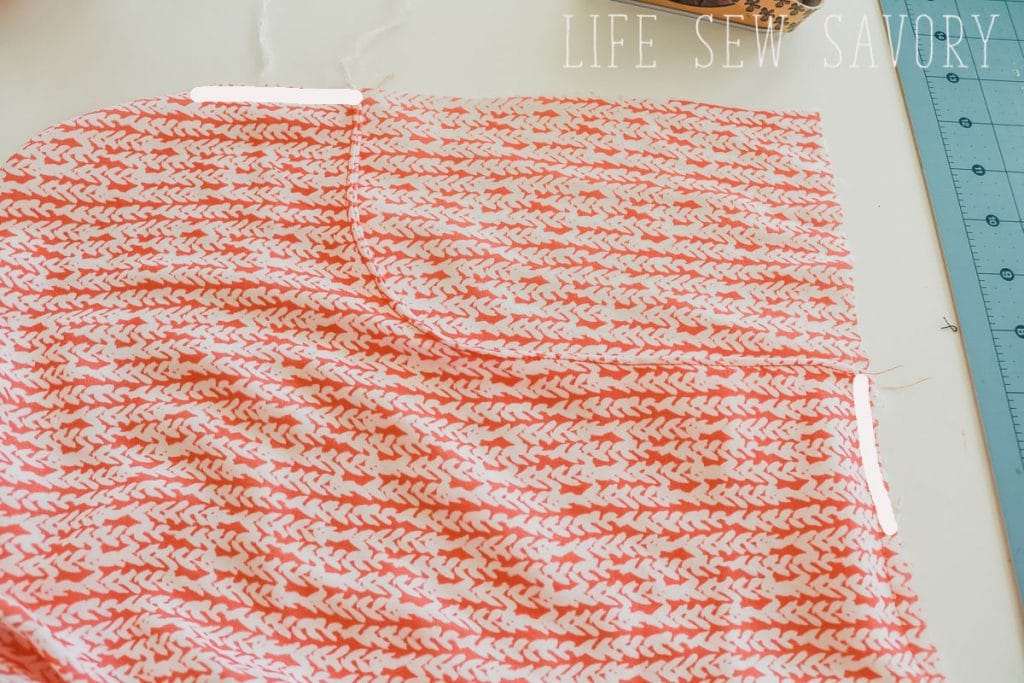
Fold and press back the pocket. Top-stitch close to the fold.
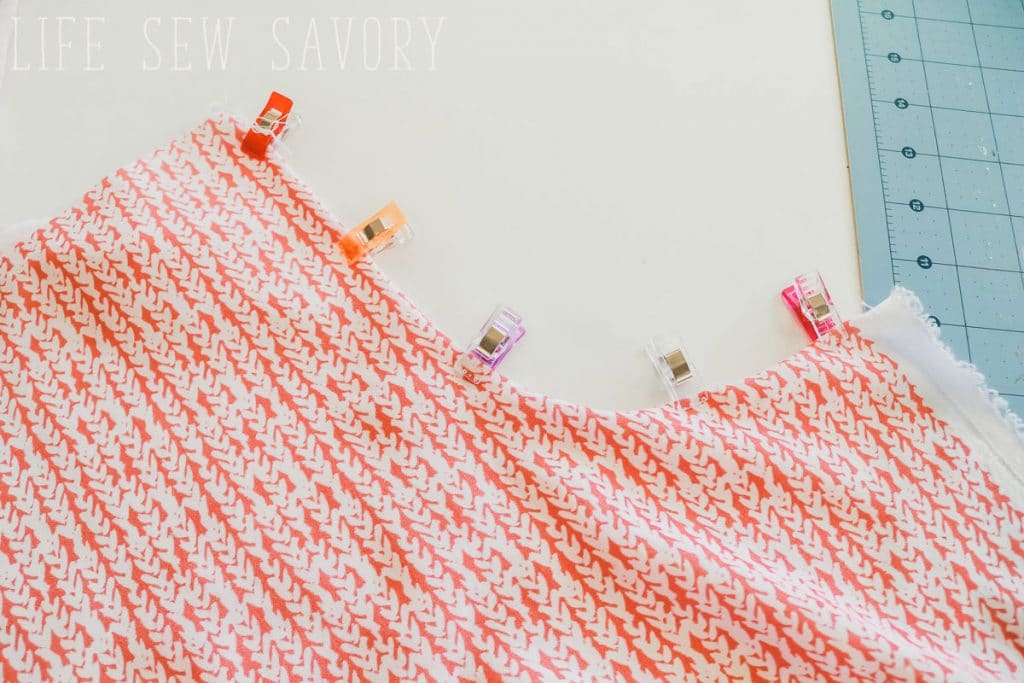
With right sides together place the full pocket pouch on pocket piece and sew the curved sides as shown clipped below.
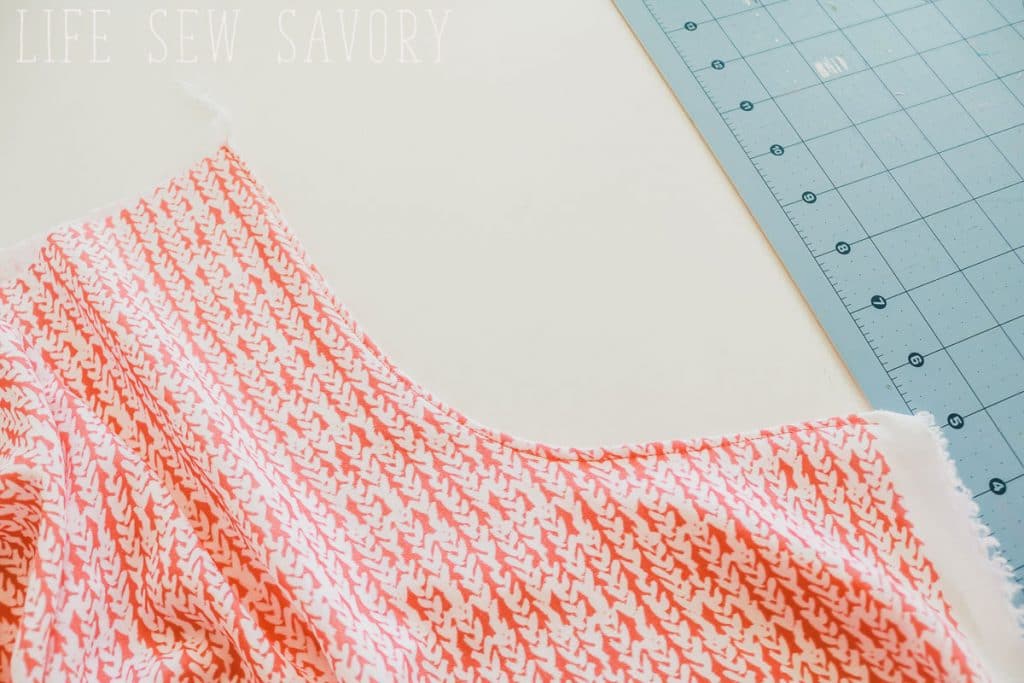
Arrange the pocket as shown from the front and then tack down and top and side of the pocket.
Repeat with second pocket on other side of skirt front.
Place the skirt front and back together with right sides touching. Align the top of skirt panels and sew from top to bottom on both side seams.
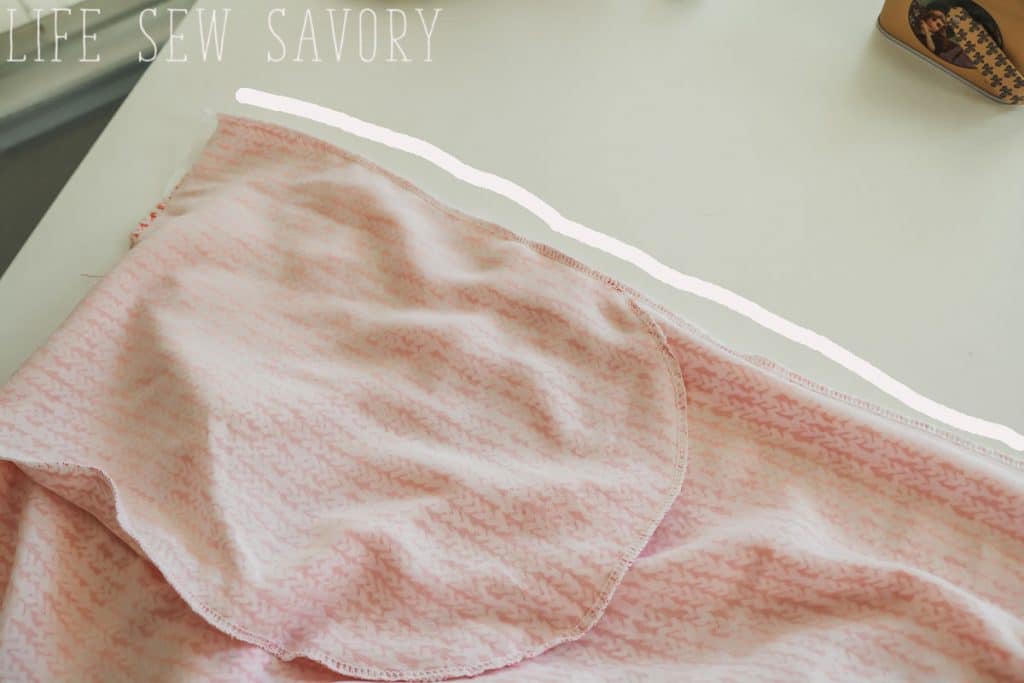
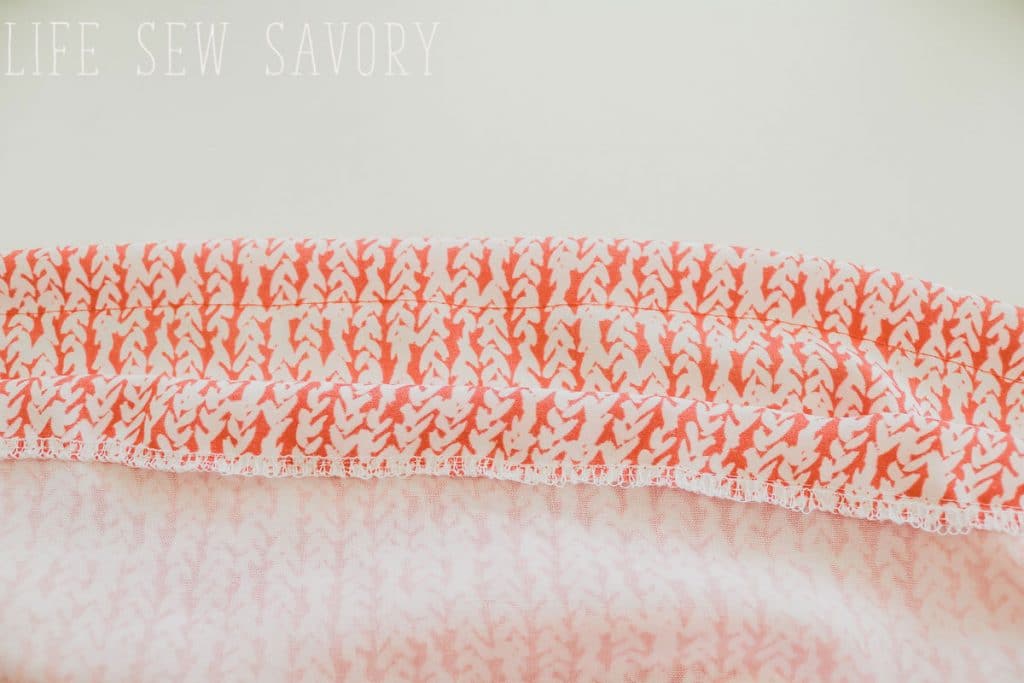
I like to hem my skirt at this point. You can also hem it after you have created the waist. Finish the raw edge with a serger or 1/4″ fold then fold up another 1/2″ and sew with a sewing machine straight stitch.
Take the waistband you cut {should be hips + 10″} and sew the short ends together to create a circle.
Now gather the front and back of the skirt to match the waistband. I gathered the front of the skirt, but did not gather the top of the pocket opening {the part where you hand goes in} So my gathering stitches just went from pocket top-stitching to pocket top-stitching.
Gather the front and back separately to each match 1/2 of the waistband. Check out this post for help gathering.
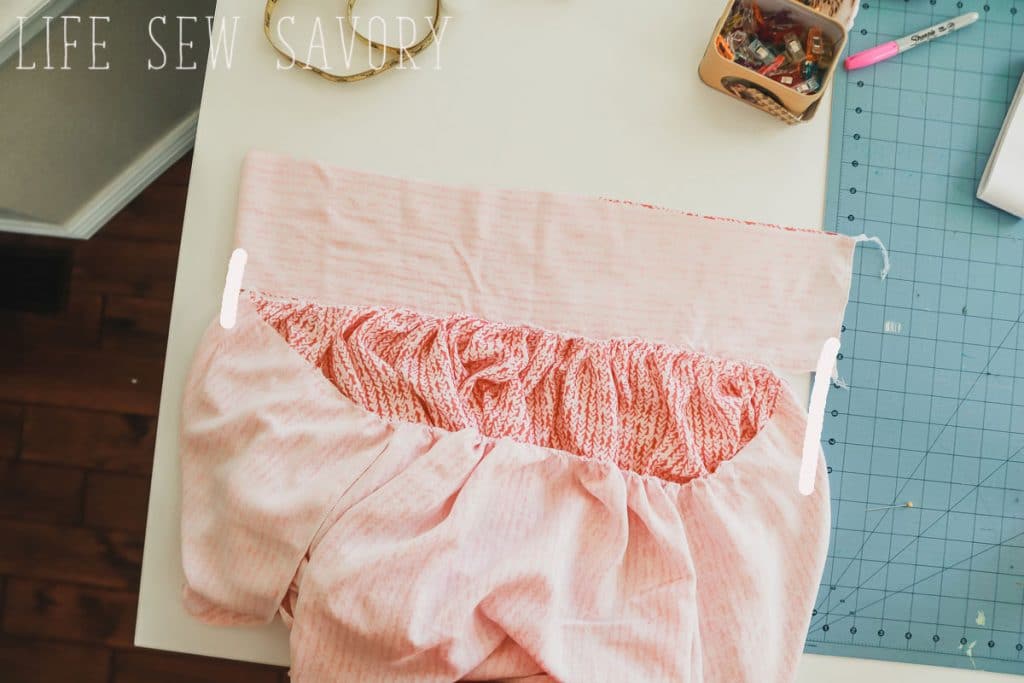
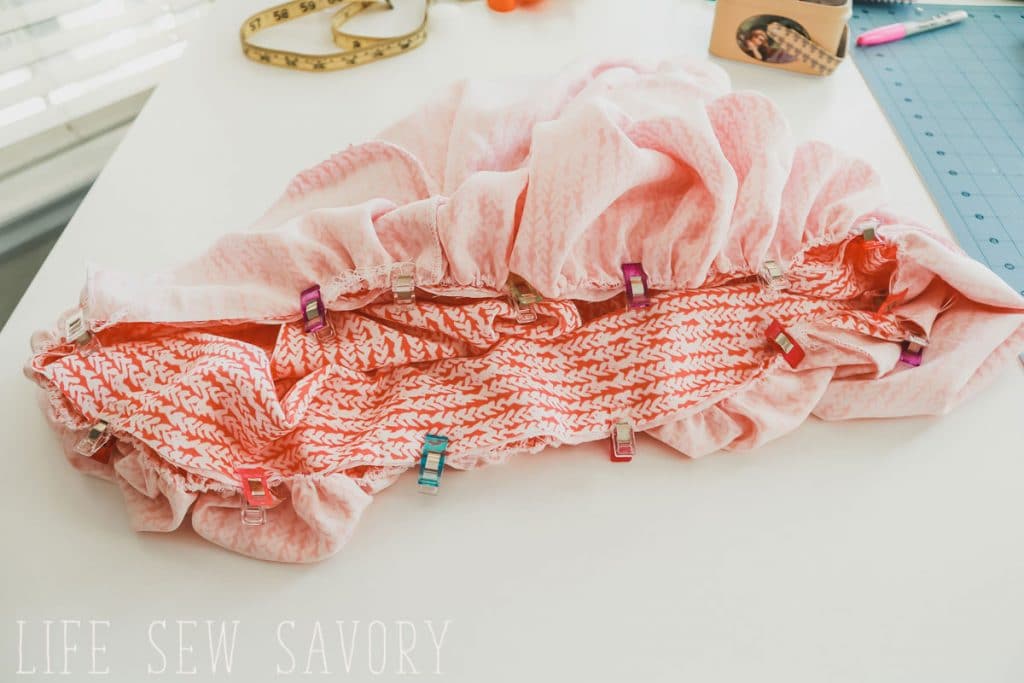
Fold the waistband in half with wrong sides together to create a circle. Pin the raw edges of the back to the skirt placing the waistband seam in the center of the back skirt panel.
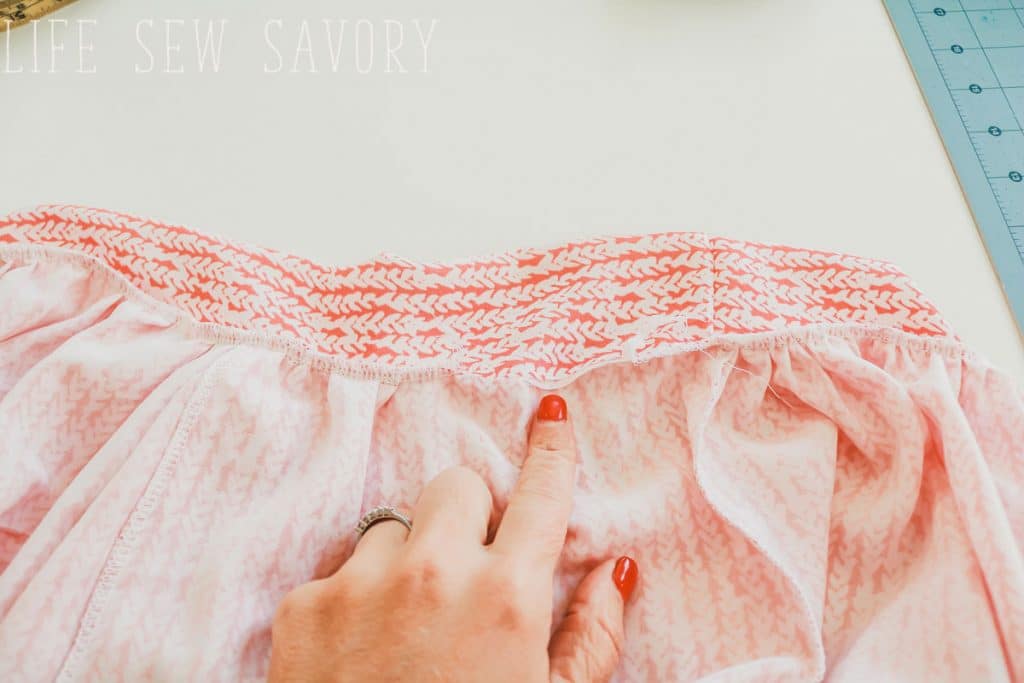
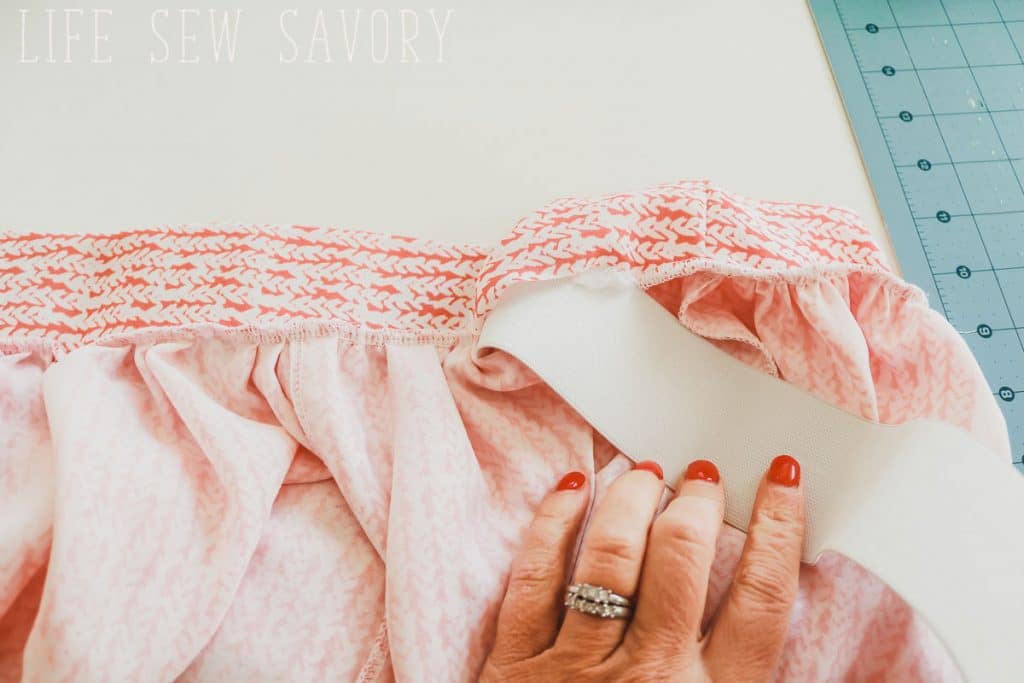
Sew the three layers of fabric together {two of band and one of gathered skirt. Leave a 3″ opening to thread elastic into band.
Measure the elastic on your waist {where you want the skirt to sit} and cut 1″ smaller than measurement. Thread the elastic through the band {it should fit snugly}
sew the ends of the elastic together by overlapping, then pull inside the waistband and sew the opening closed.
Stretch {to avoid puckers} and sew a single top-stitch down the middle of the elastic on the right side of the skirt fabric. This will keep the elastic in place and also adds a nice finishing touch.
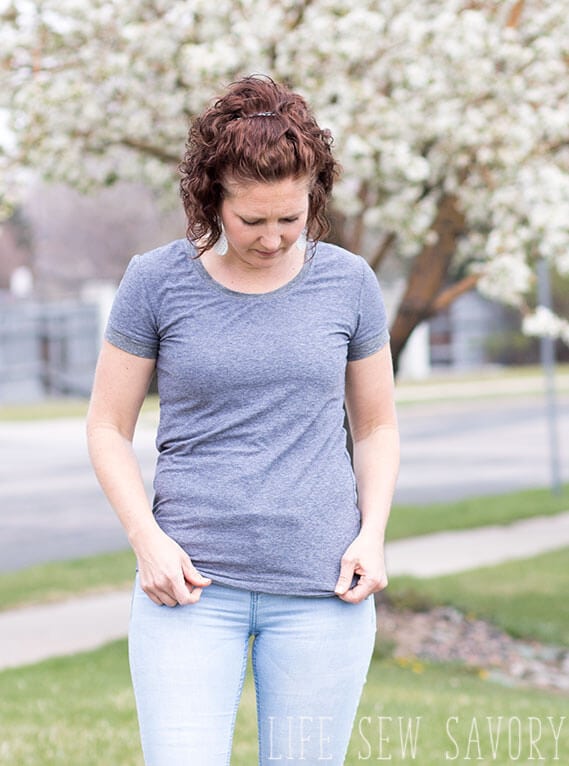
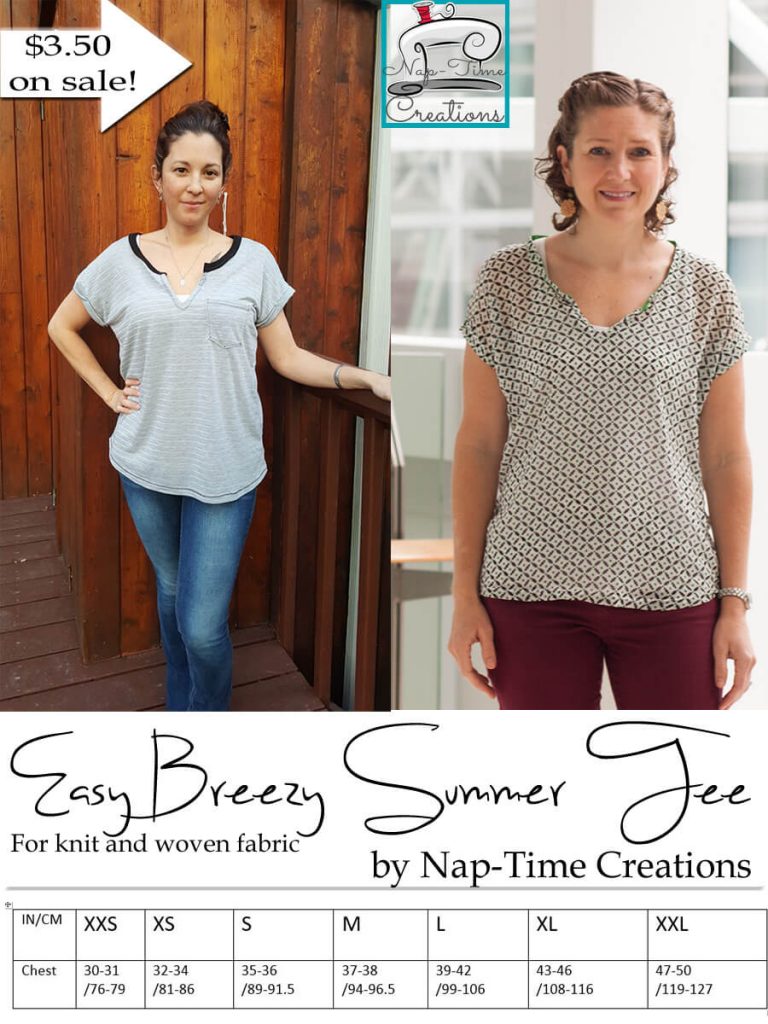
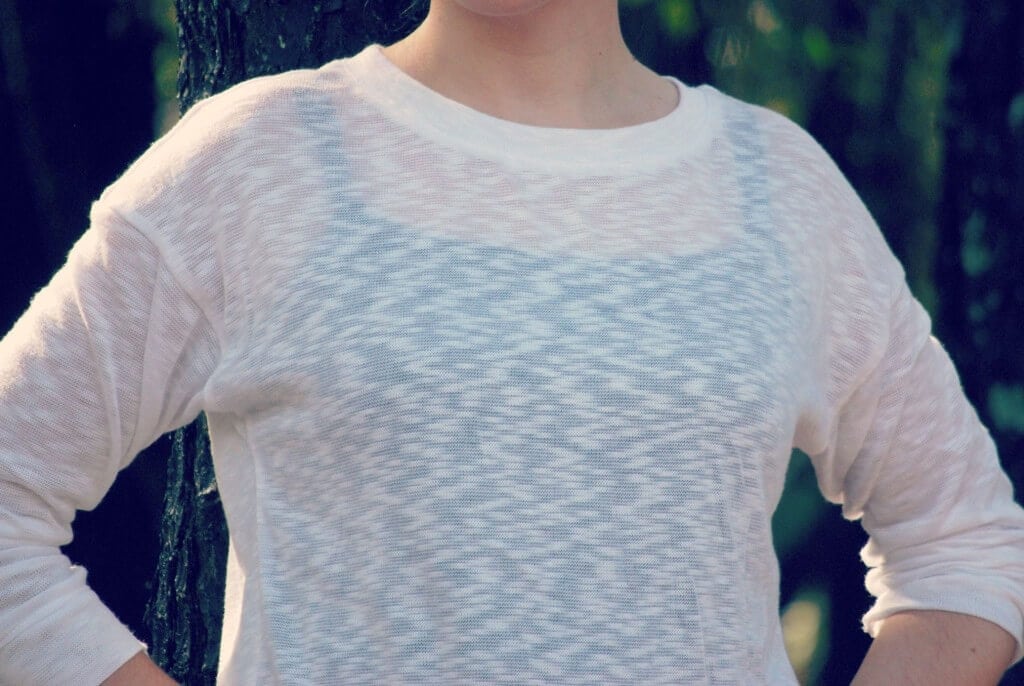
That’s it! You’ve now sewn a super cute skirt with pockets! Here are some fun shirts to pair with your new skirt.. In the photos above I’m wearing a highly modified Easy Breezy Summer Tee.
Cute tops to pair with skirt


Makcit says
How do o see trouser band? Thank you.
Illustration please.
Carolyn Maslin says
I loved your direction s for making the pocket on the skirt with the elastic yband. How can I get the pocket pattern? Thanks.
Joyfully,
Carolyn
Emily says
click the link under supplies that says print pocket pattern
Emily says
There is a link in the post with a link to the pocket patern
Beal says
Thank you for the tutorial! Is that knitted elastic?
Emily says
it is!
Lorraine Corrigan says
Thank you for your tutorial. I have 3 yards of a medium weight linen, do you think it would be suitable for this pattern?
Many thanks,
Lorraine
Donna says
As a newish sewer I enjoyed the tutorial and have watched the video…I’m assuming the seam allowance is 5/8ths? That’s my only suggestion is to share what seam allowance you used in the tutorial for us newer/greener sewers!
Donna says
I stand corrected! I re-read the tutorial and see the seam allowance is 3/8ths!