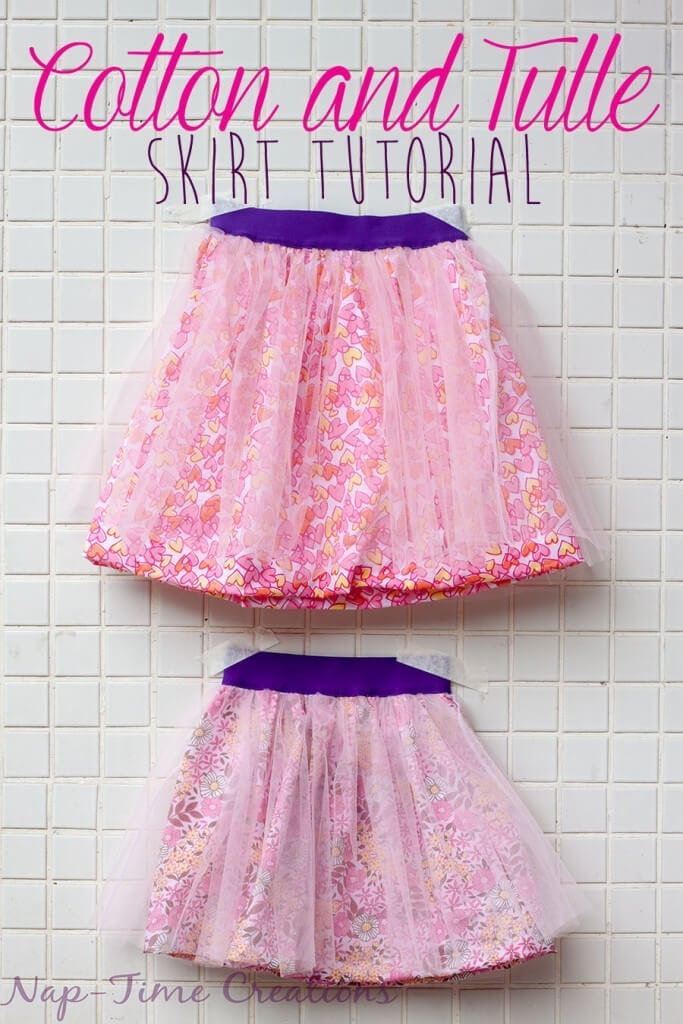
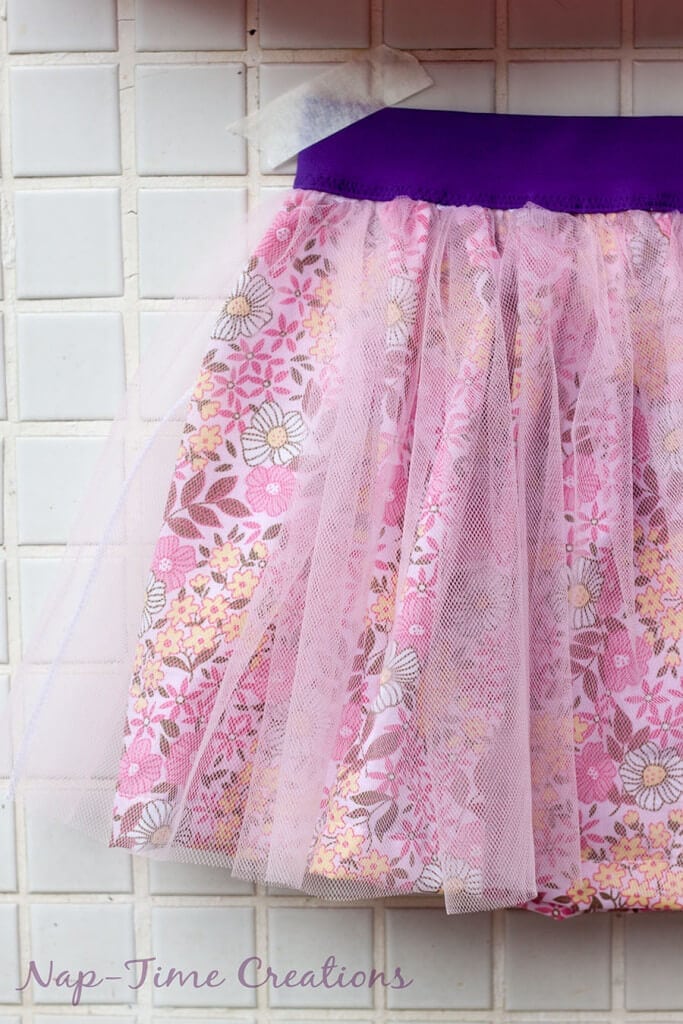
inside: This cotton and tulle skirt tutorial has been a favorite for many years. Easy to sew and and now with several fabric variations this skirt is one you need to make. Perfect skirt sewn in any size.
**updated 2/2022** I first sewed these skirts years and years ago before I even had a daughter. These were for my dear friends daughters and got lots and lots of wear. I even sewed this project on an It’s Sew Easy Episode {see here}. There are so many fun options for this skirt and today I’m adding even more options for sewing.
Tulle Skirt tutorial –
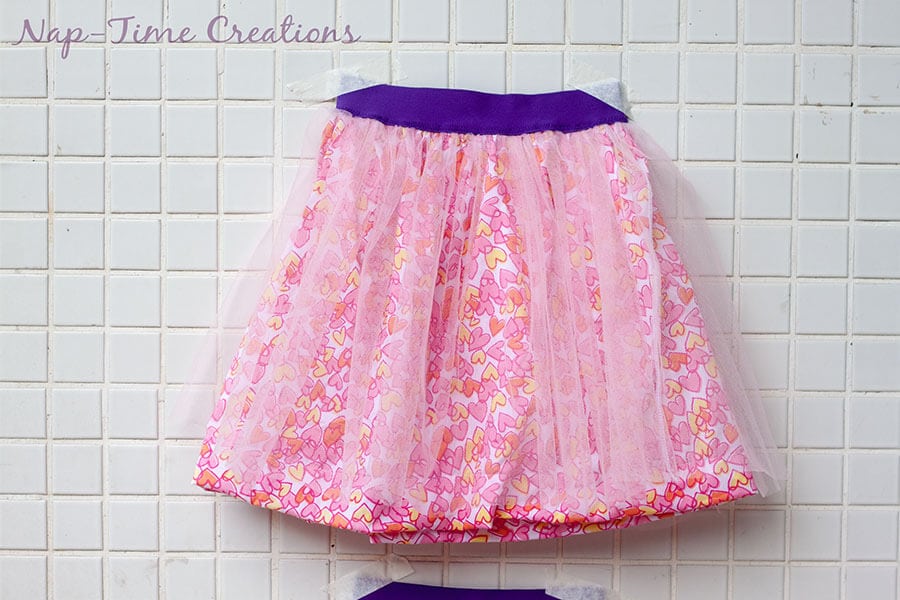
I’ve been wanting to try a skirt like this for awhile now.. and when my two favorite girls had a joint birthday party, I sewed two up. These cotton and tulle skirts turned out better that I had even hoped, so I’m excited to share the tutorial with you today! This is a great stash buster as you only really need about a 1/2 yard of fabric… I used scraps that I had for these two skirts and I just love the final result. My tulle was light pink, but you can use any color that goes with your fabric.
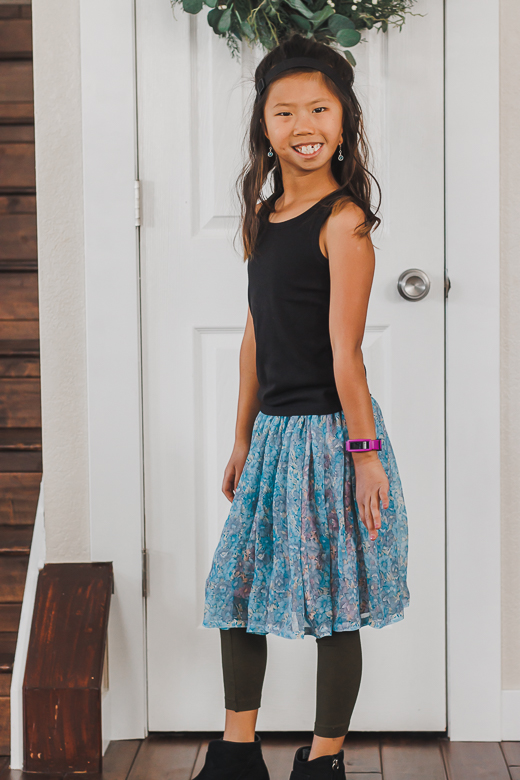
In my latest version uses a chiffon instead of tulle. This fabric has been in my stash for years… I sewed myself a wrap skirt out of it 8 years ago! I moved the scraps from Hong Kong to Colorado and recently my daughter pulled out the scrap bin and asked for a dress from it.
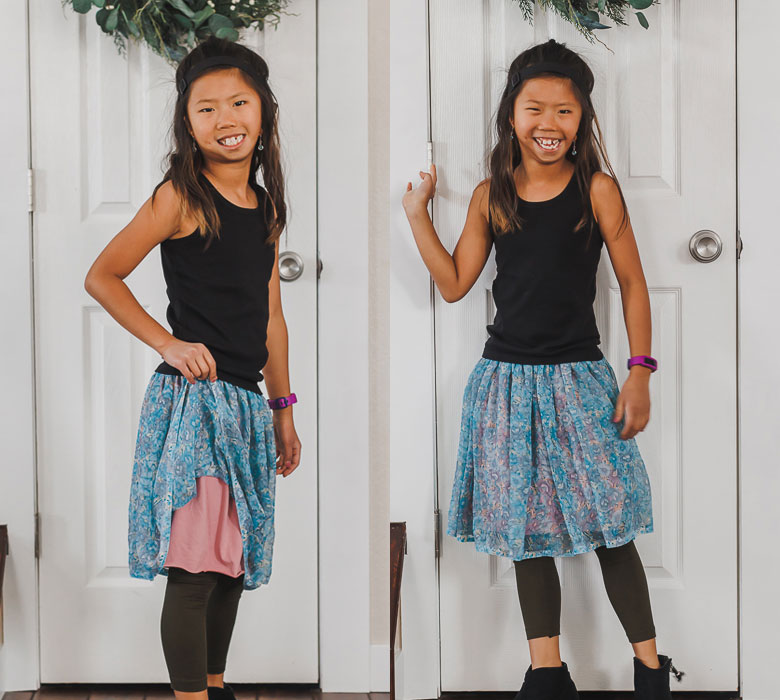
Sewing a dress from chiffon is not something I want to do, but I thought about this pattern would also work. I also changed up a few things and added knit as the under skirt. It’s very flowy and Rose loves it, a big success.

You can see some of the process shots of that version below with the original tutorial photos.

other skirt tutorials –
How to sew a skirt with Tulle –
Tulle/Chiffon Skirt supplies:
- fabric for outside of skirt TULLE CHIFFON
- Fabric for underskirt {something not see through}
- 1.5″ elastic for waistband
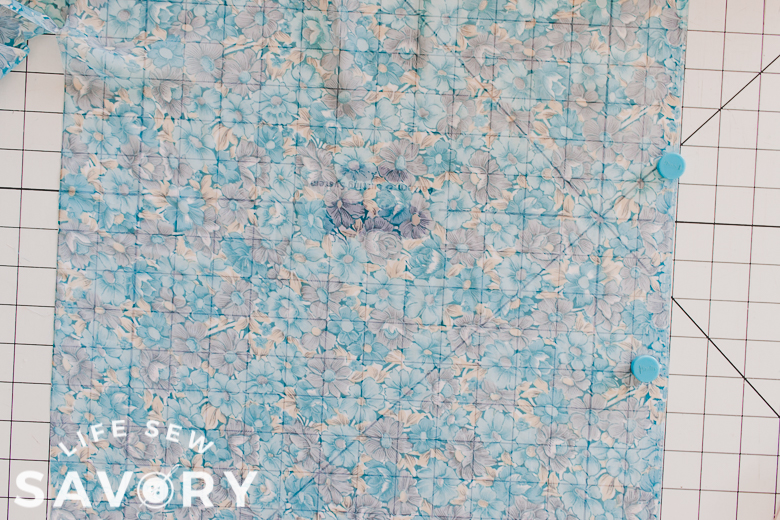
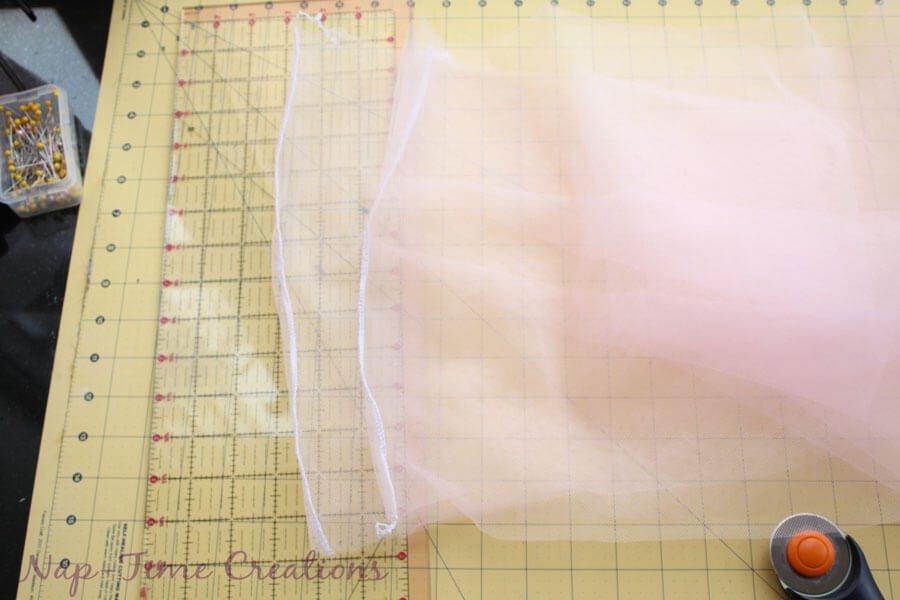
Cut the fabric according to the length and width as recommended below. TIP: when cutting the chiffon use the finished side edge as the bottom so you don’t have to hem it.

I used the grid to cut all fabrics, but this is especially important with tulle or chiffon, they are very hard to cut straight. I put magnets on the finished hem of the chiffon, then flatten and cut on the grid line. Keep pulling the fabric and cutting the mat width at a time.
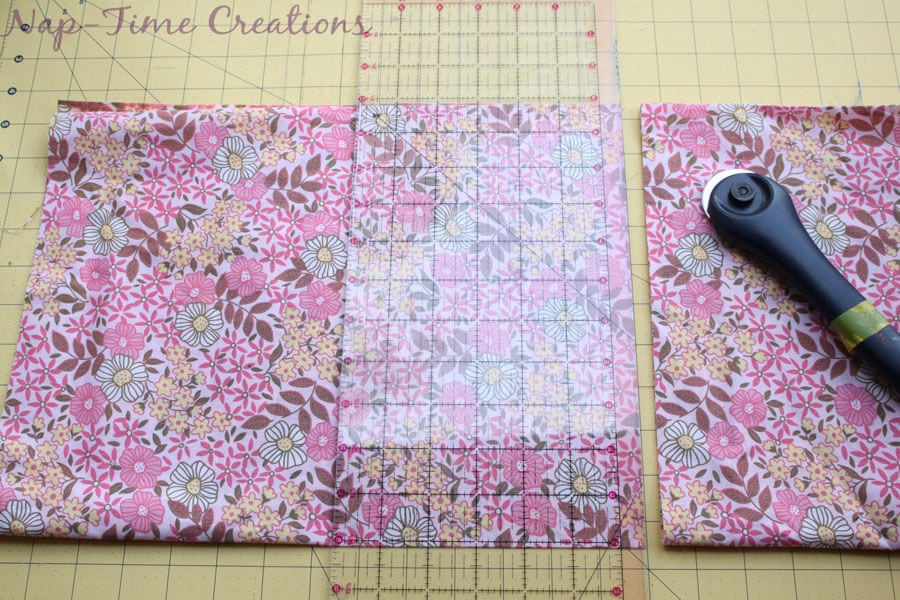
Start by getting the measurements of your skirt wearer. This great skirt can be sewn in pretty much any size! You will need the waist and waist to knee measurements.
Cut fabric to be double the waist width. So for example, if the waist measure is 21″ you will cut 2 panels 21″ wide – or one long piece 42″. The length you will want to add 2″ to your measurement for the hem and seam allowance at the waistband. Do not add this for the tulle/chiffon as you won’t hem it. So if you measure a 21″ waist and 13″ waist to knee, you will cut and front and back each 21×15″ or 42×15″ if one piece. Cut ONE of COTTON and ONE of TULLE {minus the extra 2″}.
Note: If you want to tulle to look more full, just increase the width, you can create a fun look with more fluff of the outer layer of tulle.
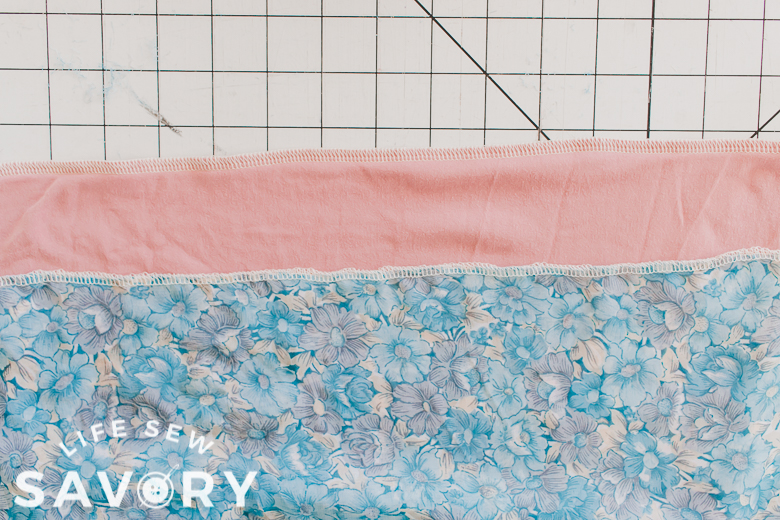
Sew up the back seam, or side seams {one or two panels} and then finish the bottom and the top of cotton piece. I used a serger, you can also zig zag though on a regular machine. For the knit fabric under skirt I just left the edge raw and didn’t hem.
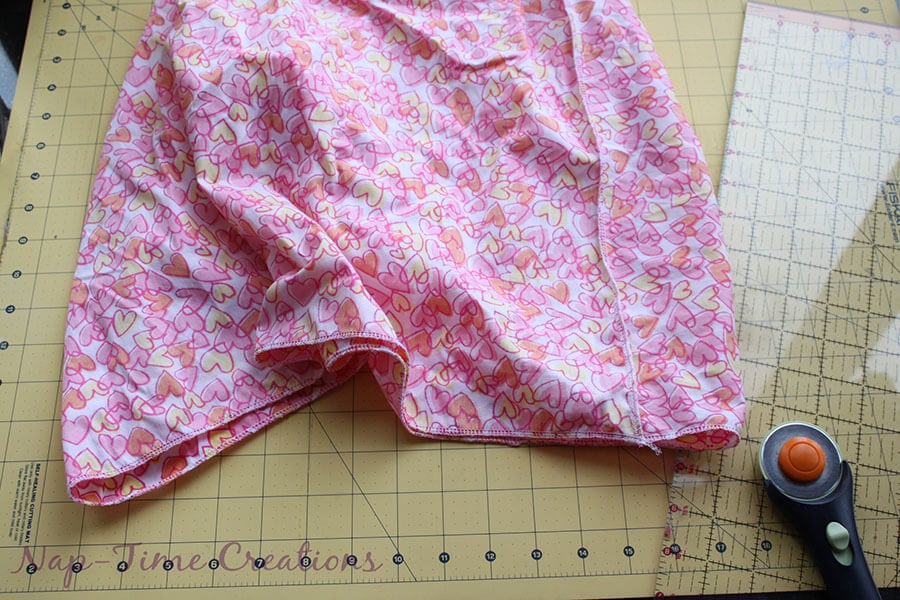
My tulle was two panels so here are the side seams sewed up. You do not have to finish the bottom or top.
Gather your skirts to waist + 5″. So again, using my example above I would gather the skirt until it was 21″ + 5″ = 26″. Need gathering tips? Here is a post all about how to gather. For the under skirt I used a single gathering stitch, for the tulle I gathered with the serger and for the chiffon I did a double line gather.
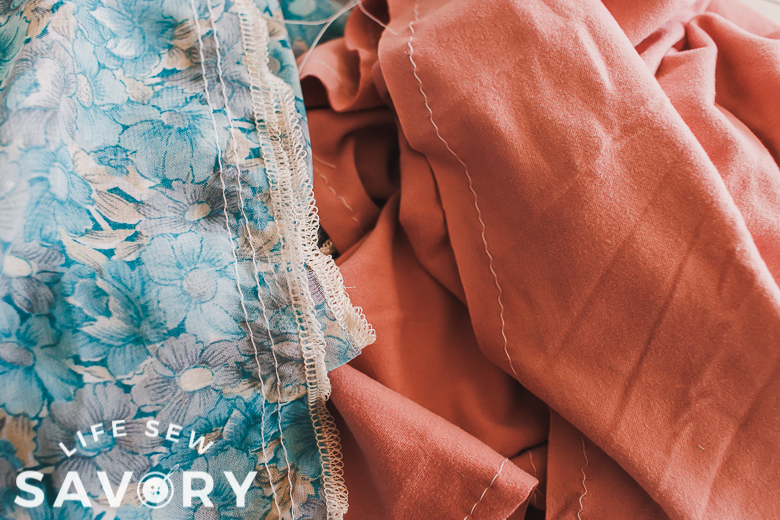
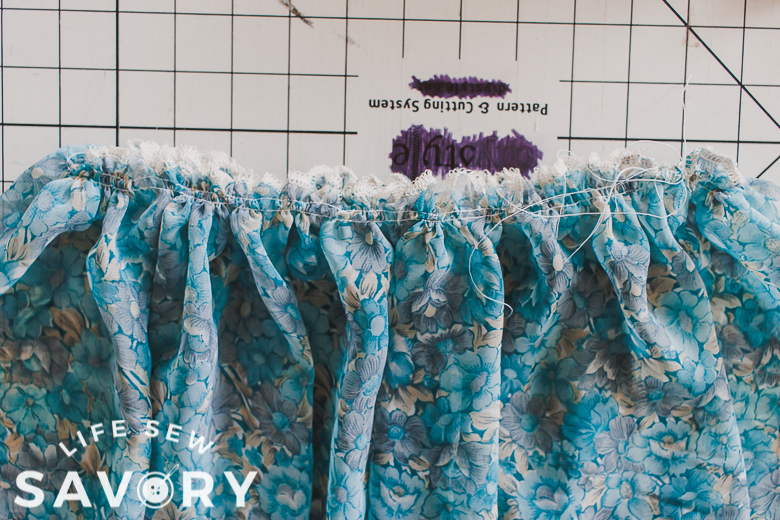
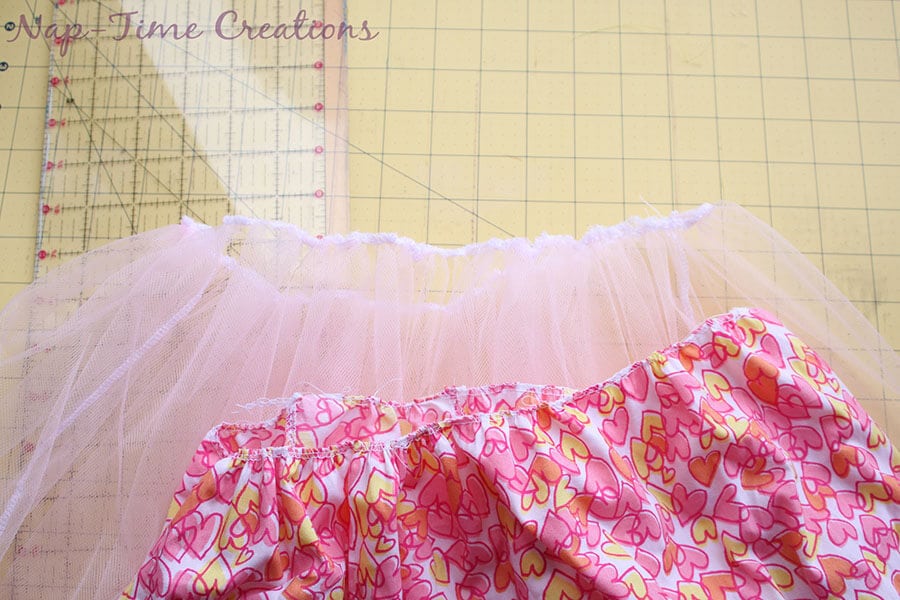
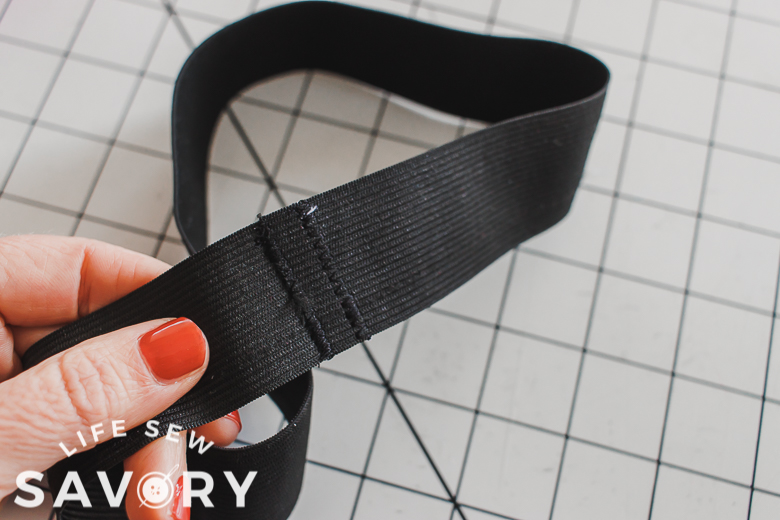
Cut your elastic to one inch LESS than the waist measure. Sew the elastic into a circle. Mine would be 20″. Pin the two skirt layers together and baste if desired.
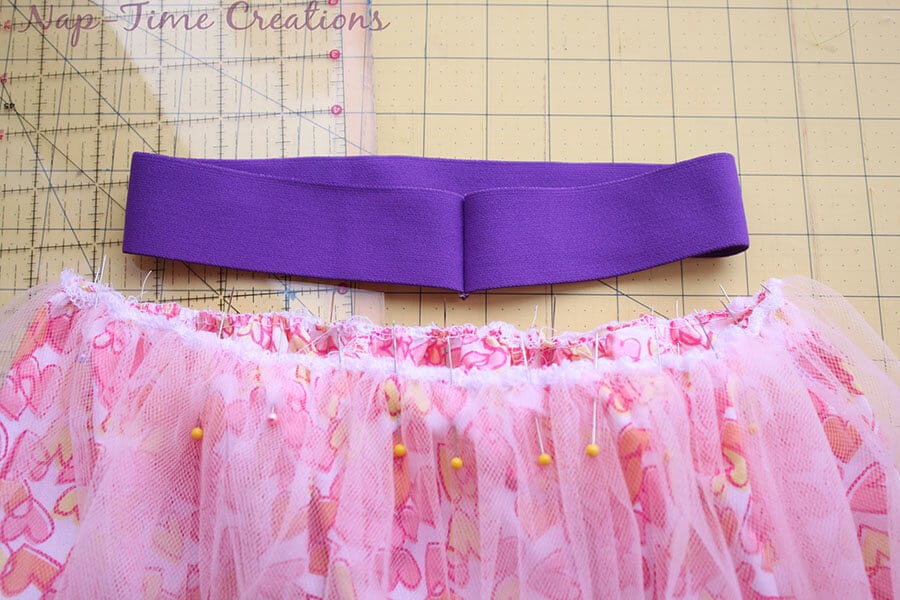
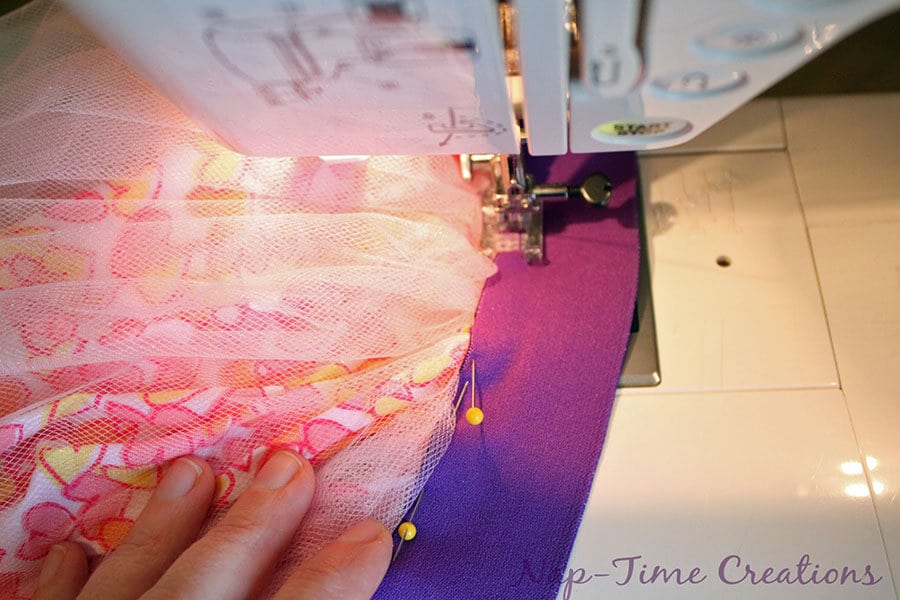
Pin RIGHT side of skirts to WRONG side of waistband. You will have to stretch the elastic to fit the skirt. Use lots of pins to keep it all in place.
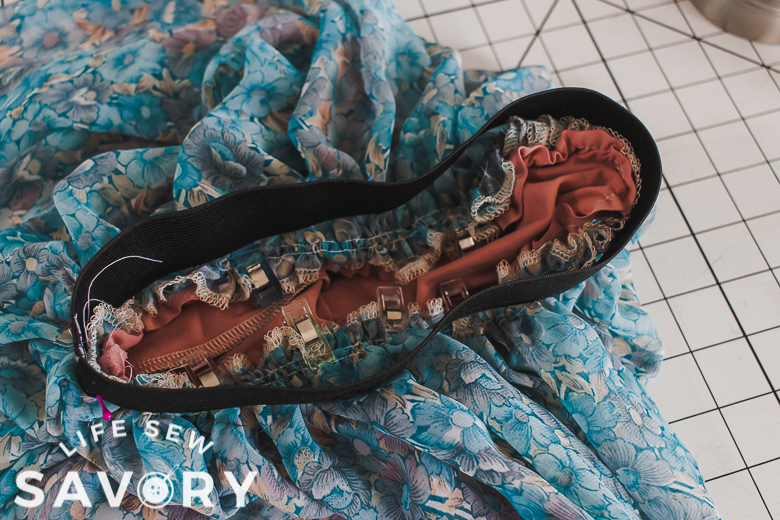
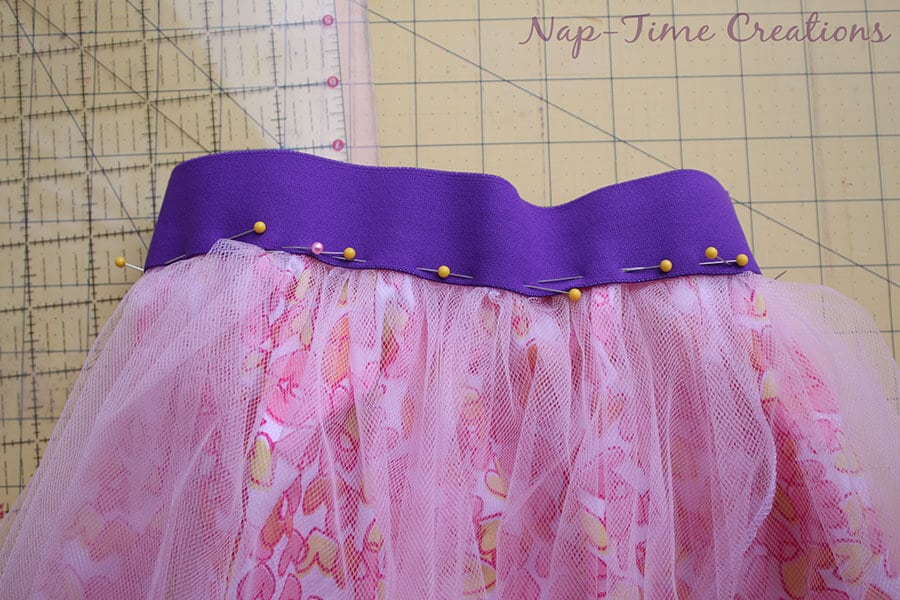
Sew with a zig-sag stitch, stretching the elastic as you go.
Ta-Da! Waistband is on. Using thread the same color as the elastic is very important in helping to hide the stitches.
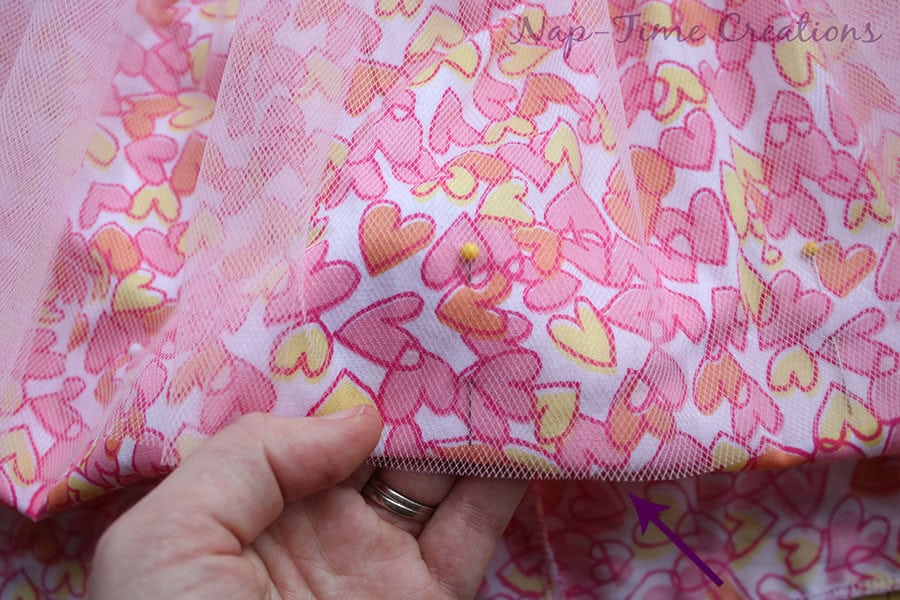
Now it’s time to hem the cotton part of this skirt. At this point your cotton skirt should be longer than the tulle. What you will want to do is fold under the hem so that the bottom of the hem matches the bottom of the tulle. Pin and sew hem.
My tulle side seams had unfinished seams since I didn’t hem the tulle. I cut my stitched and used a bit of fabric glue to secure the threads. You can also use a needle to bring the threads back through the seam.
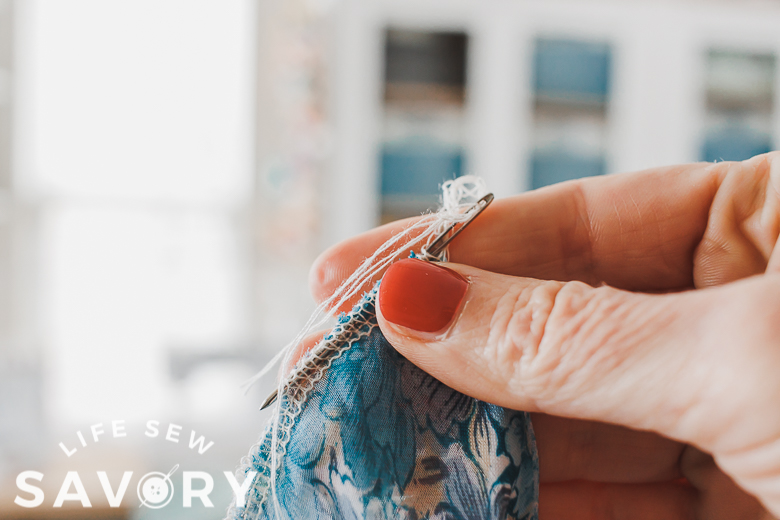
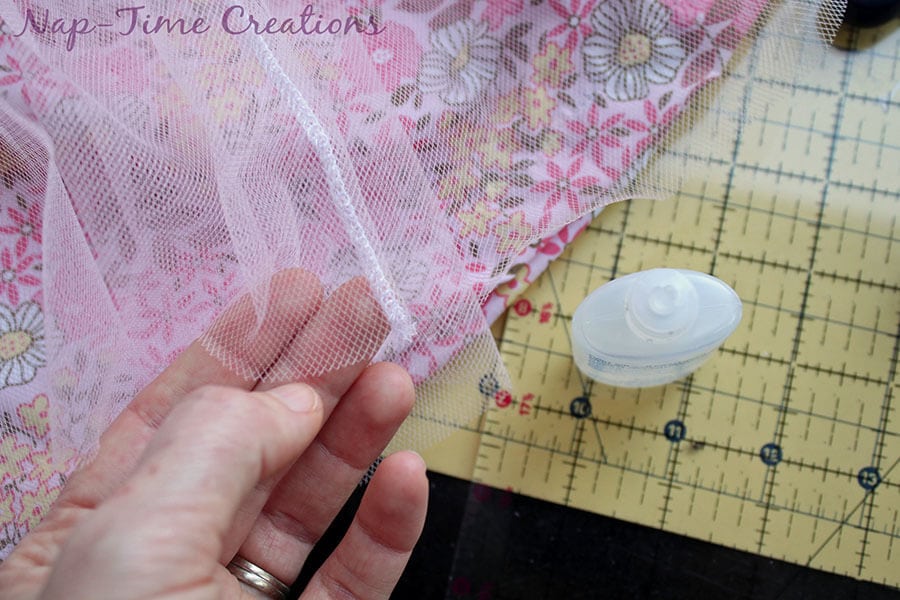
I hope you were able to follow this tulle skirt tutorial, please let me know if you have questions! I like this skirt because it’s a bit more wearable that just a tulle skirt, but still a fun dressy skirt for a girly girl! And now with my new version you have even more ideas for creating this type of two layer skirt.








Linda says
Your cotton & tulle skirt is adorable! I made it for my niece and did the waist band as you instructed but my elastic rippled badly when I sewed it to the skirt using a stretch stitch. Any suggestions on how to avoid getting rippled in the elastic?
Emily says
hmmm I would say try different elastic. This hasn’t happened to me before so I’m not exactly sure.
APRIL says
You are cutting the fabric twice the waist measurement, does this allow for the seams or do you need to add extra to allow for seams?
Thanks