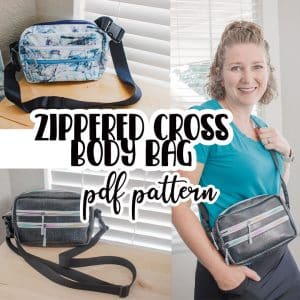
inside: Download and sew the new cross body bag free sewing pattern. This bag is perfect for travel and days when you just need your phone and credit card. You will want to sew this small cross body bag soon.
When I was getting ready for the B2B event a few weeks ago I wanted a small on-the-go bag to take on my trip. I’ve done a ton of sewing for travel in the past, but nothing quite like the cross body bag I was envisioning. A quick online search of cross body bags gave me an idea of what shape I wanted to sew and then I created this fun and free bag pattern.
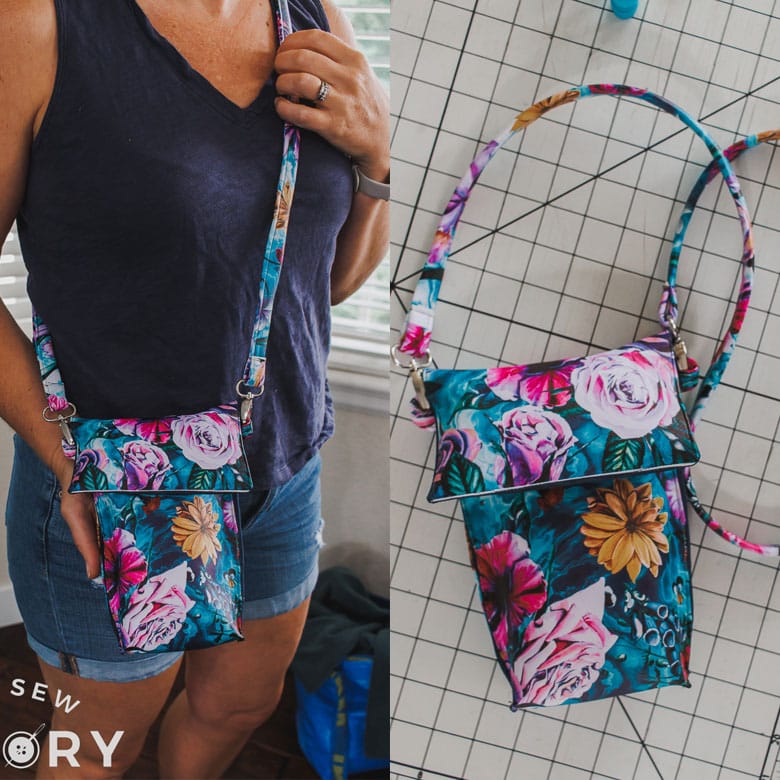
cross body bag free sewing pattern
The video here gives a quick overview of the steps for putting this bag pattern together. Of course it’s not a detailed tutorial, you can scroll down for the detailed photo tutorial OR purchase the premium version of the pattern which comes with the photo tutorial.
If you can’t see the video, try a different browser or disable your ad blocker.
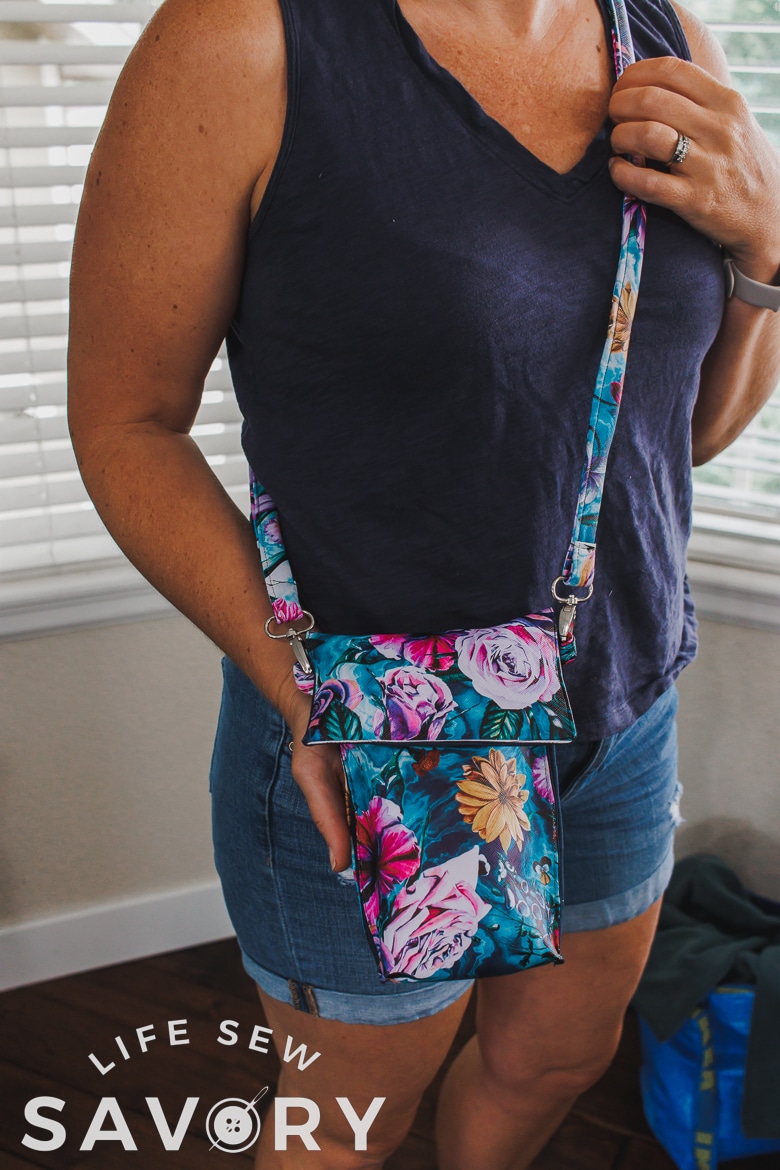
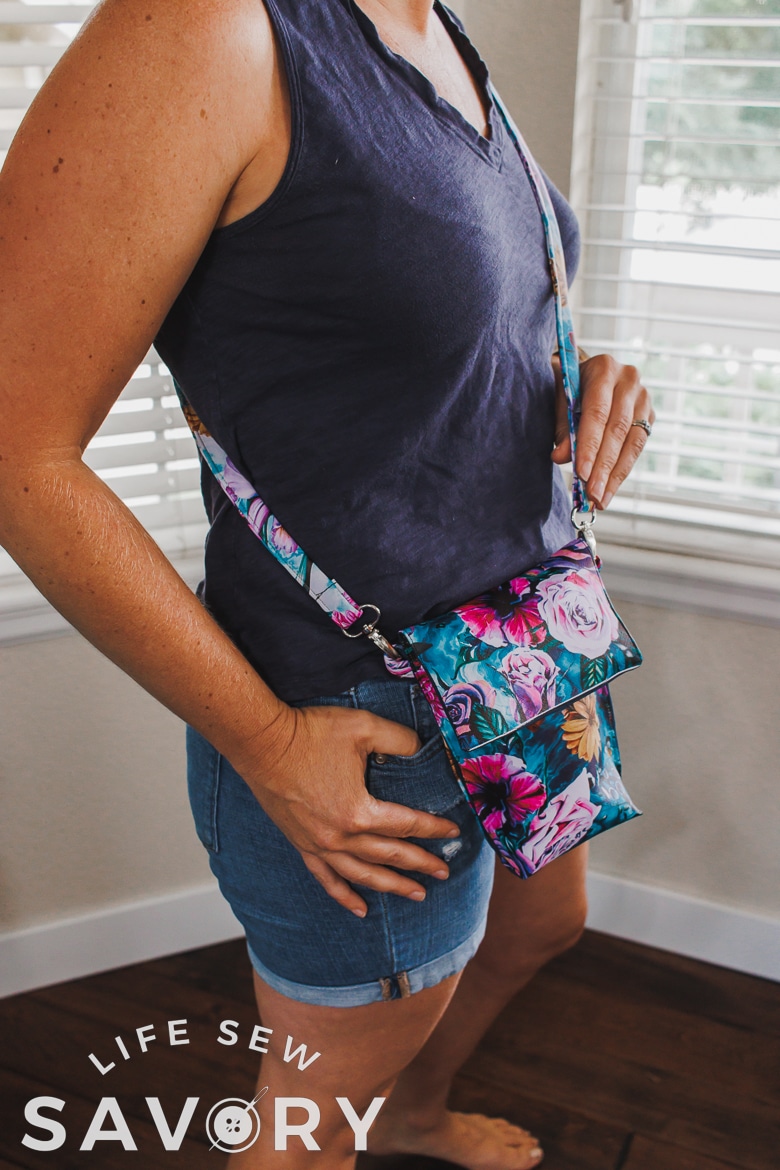
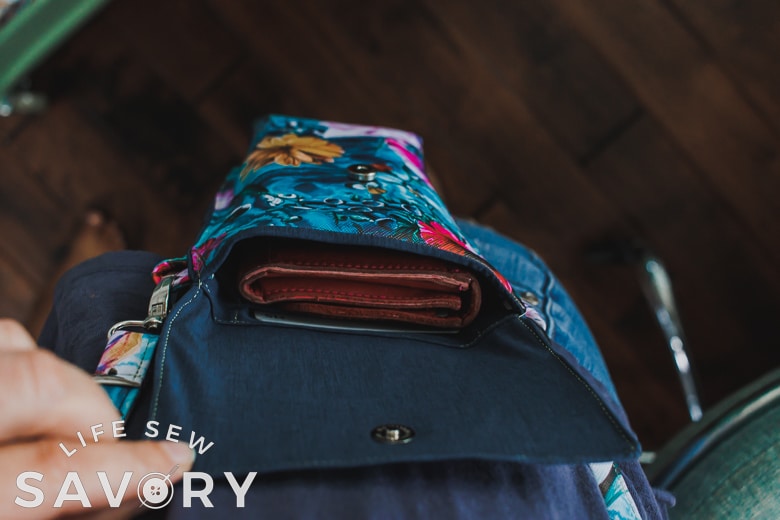
My inspiration for this bag was to create one the perfect size to carry my phone AND my wallet. My wallet is long and thin and fits perfectly in this bag. I also have the option of card slots inside the bag so I an just grab credit card and phone if I want to travel really light.
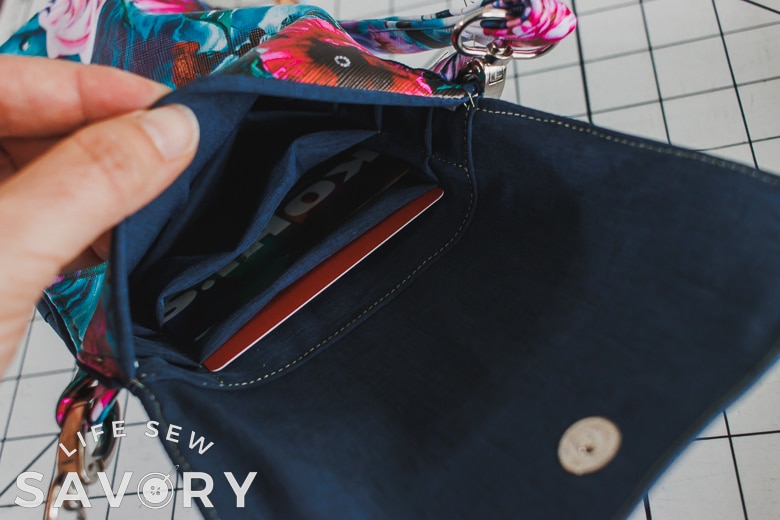
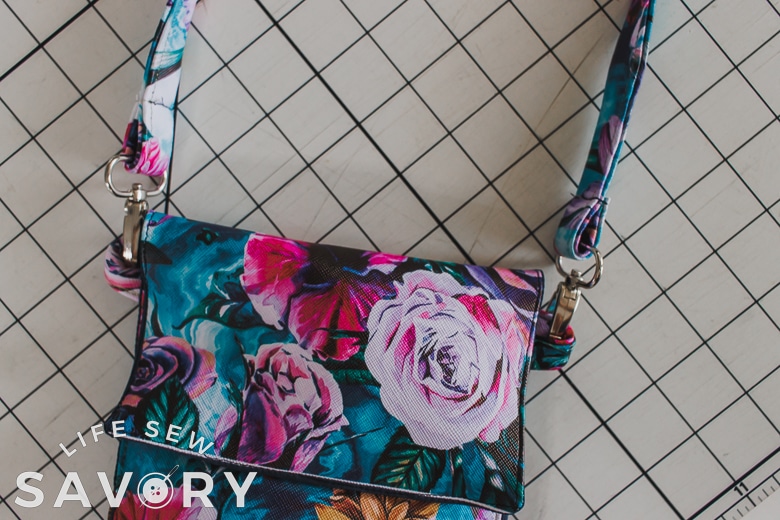
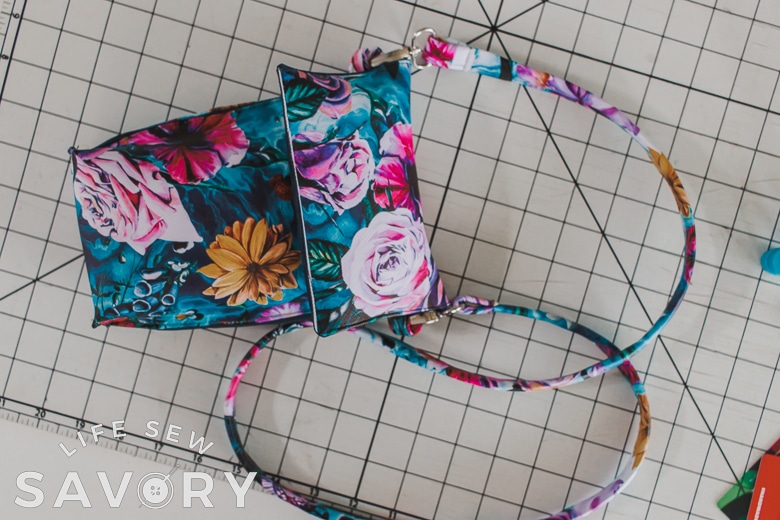
This bag does require a couple pieces of bag hardware, but really only a snap and clip rings. This makes this bag simple to sew and easy to use. Grab some gorgeous vinyl and let’s get sewing!!
More free bag patterns to sew
- Sack bag pattern
- Sling backpack pattern
- Convertible purse backpack pattern
- Summer tote bag
- Mesh Beach bag
PDF pattern for free bag pattern
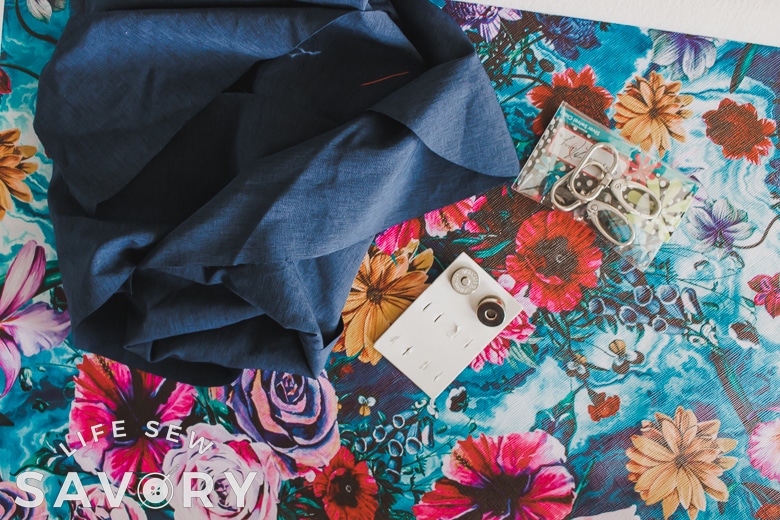
Supplies needed for cross body bag free sewing pattern:
- 1/2 yard of vinyl {at least 44 long}
- My vinyl is from the amazing The Styled Magnolia this site has just a bit of fabric on hand, but INCREDIBLE options for monthly pre-orders.
- 1/2 yard of stretch woven – I really like this for the lining as it has some give when the project is turned right side out and helps the lining to lie better.
- The Styled Magnolia, Greenstyle Fabrics, Knit Fabric . com
- 1 magnetic snap
- Vinyl needle OR Leather or jean needle for sewing
- 2 D Ring Swivel Lobster Claw Clasp
- optional – non-stick foot for sewing vinyl
- I’ve been sewing without special foot for years, and every time I use vinyl/pleather I wish I had it. After this project I actually ordered this foot for myself. So, while I don’t have one in the photos I now am the proud owner of a non-stick foot and will be using it soon.
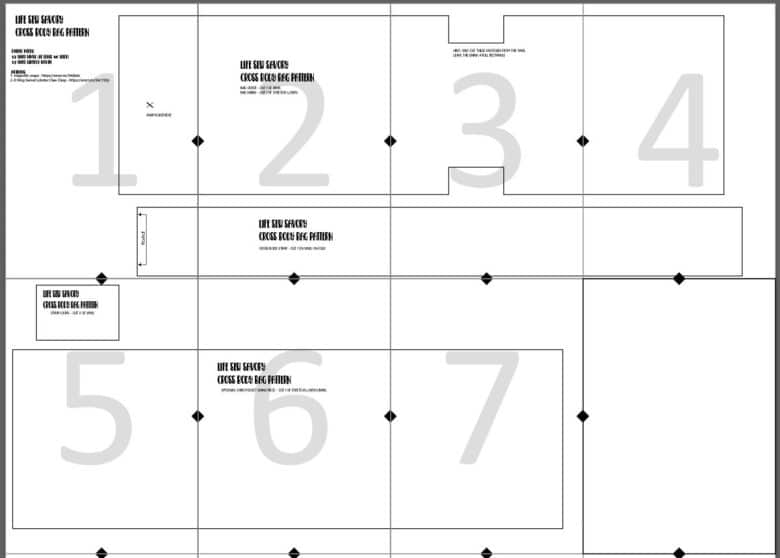
Use the buttons below to grab the actual pattern pieces. I have also included a premium version for those of you who like printable directions. It is the same tutorial you will see here, but in a printable pdf version with the pattern pieces and tutorial in one file download.
How to sew a cross body bag
Ok! Let’s jump into the tutorial. Start by printing the pattern and gathering your supplies.
**All seam allowances are 3/8″ {1 cm} unless otherwise noted.**
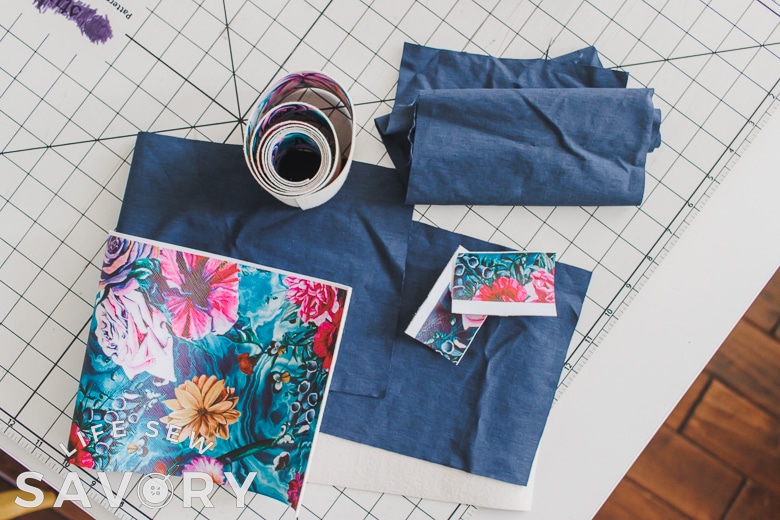
Here on the left you can see my two fabrics and then on the right are all the pieces cut out. NOTE: make sure to measure how long you want your bag strap before cutting the fabric. You can always shorten, but you cannot lengthen. My strap is 44″ long.
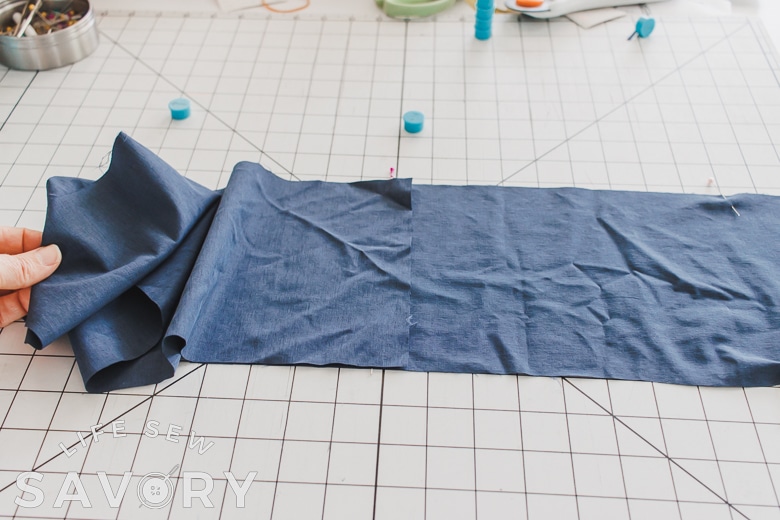
Begin by taking the main lining piece and folding it up 9″. The double layer part should measure 9″ from top to bottom. Mark the fold with pins and the top with pins. This will give you a section in the middle of the fabric that will be the back of the bag. We are going to use this to sew the card pockets. The shorter end is the flap closure and the longer end is the front of the bag.
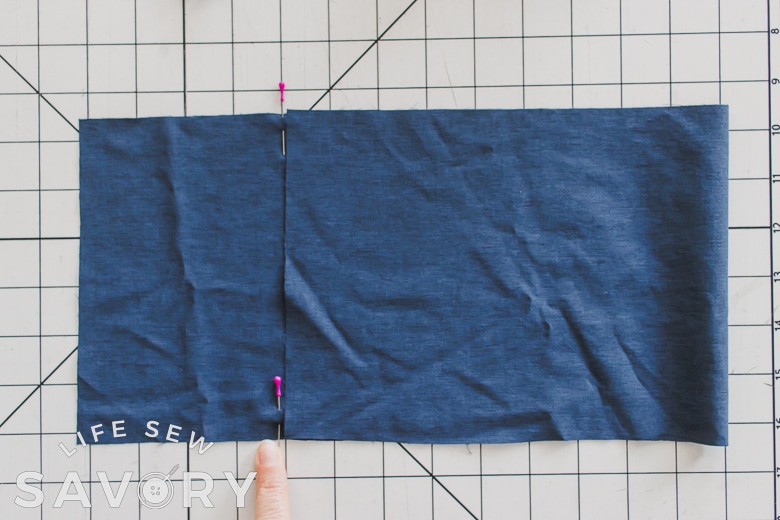
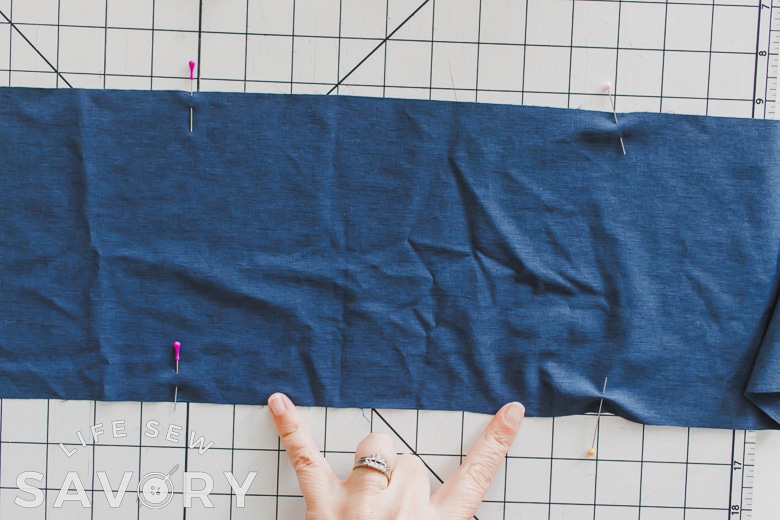
Take the card pocket piece and lay it right sides together with the main lining. The pocket fabric should be laying towards the top flap side and be 1/2″ over the pin markers. We want this pocket sewn at the top of the back of the bag, so use the pins as the mark for sewing. I removed the pins while sewing but they were just to the left of my finger in the photo below. Sew the pocket piece to the lining.
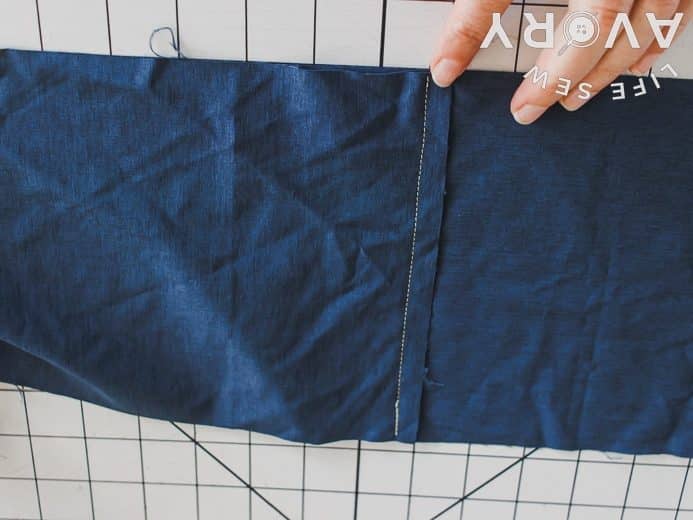
Fold the pocket piece back over towards the back of the bag and press. Top-stitch this seam to finish.
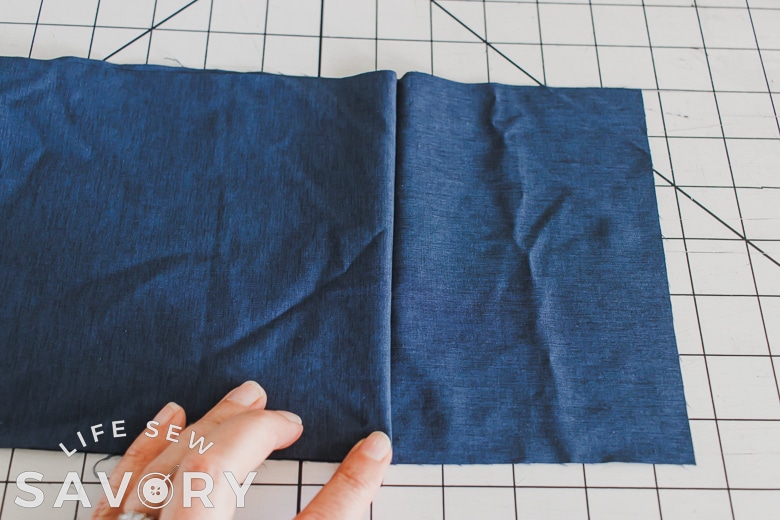
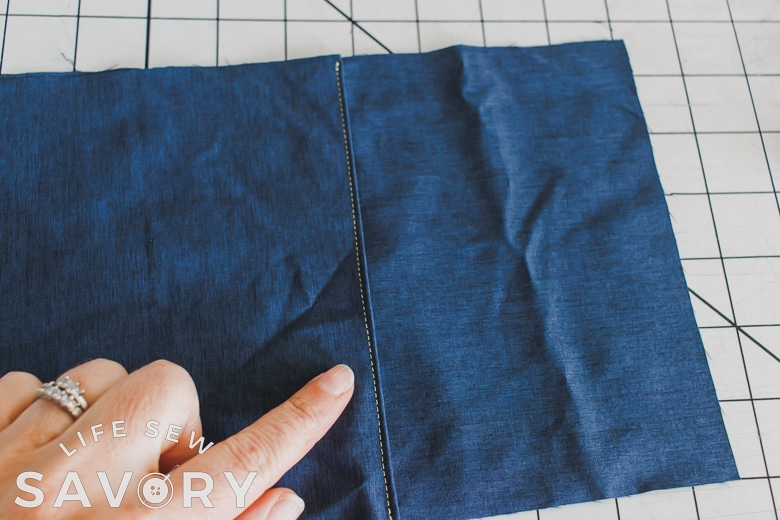
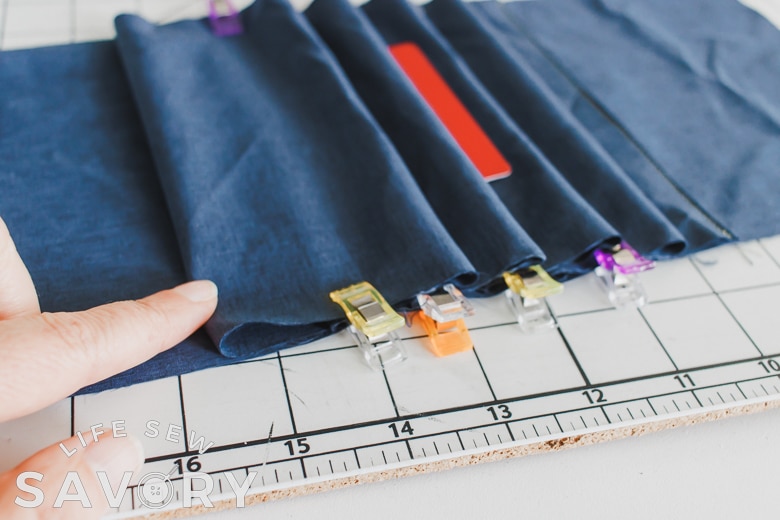
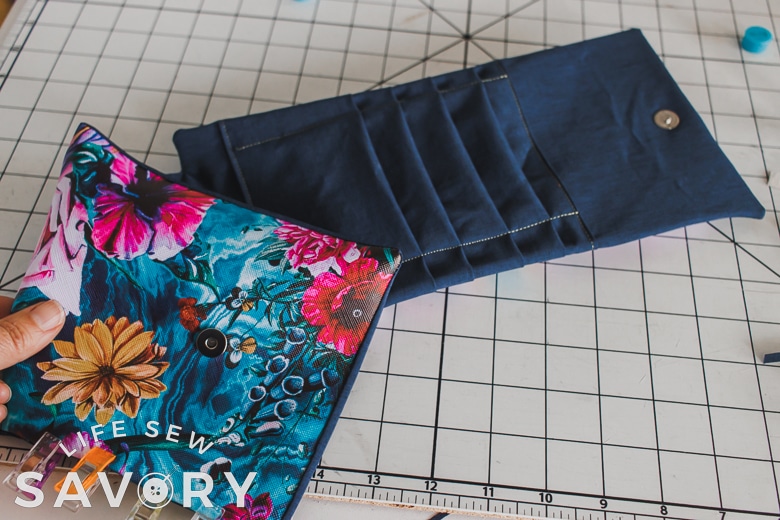
Grab a card for sizing and start to create the card pockets. Place a card 1/2″ down from the seam. Make sure the pocket is laying on the back, not on the smaller flap piece {seen on the right here}. Fold the pocket piece up towards the top of the card and then fold over and back down {like an accordion} Just the top of the card should be visible. Pin or clip the side to hold in place.
Continue in the same way until you have four card pockets.
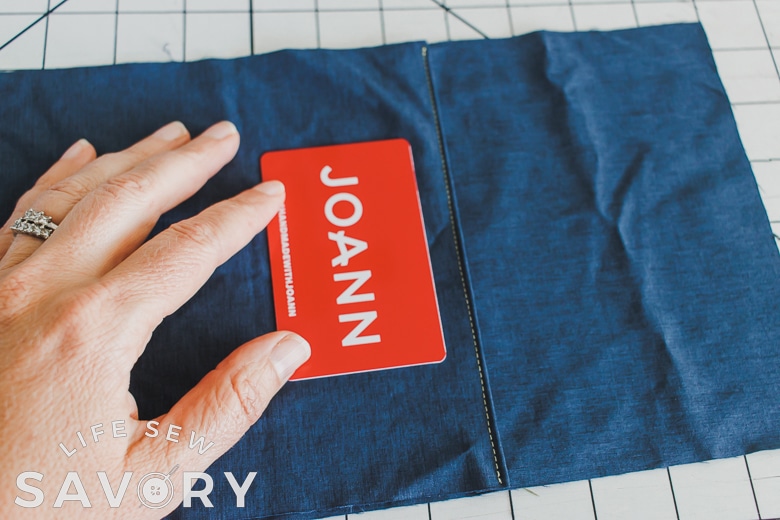
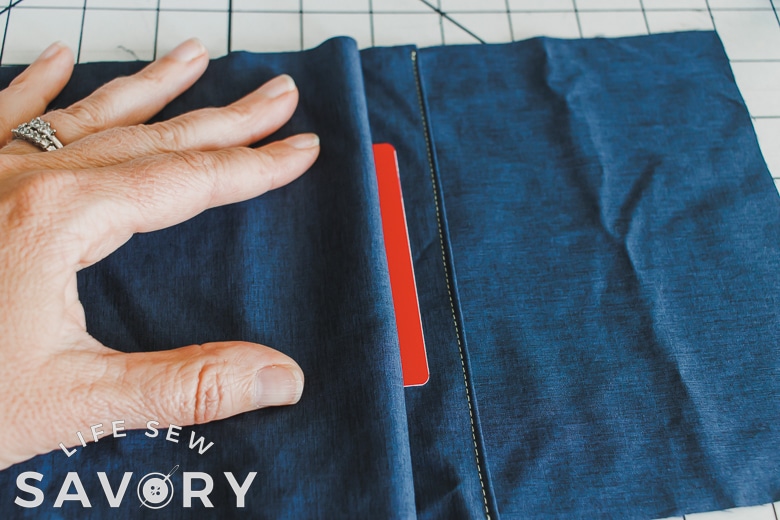
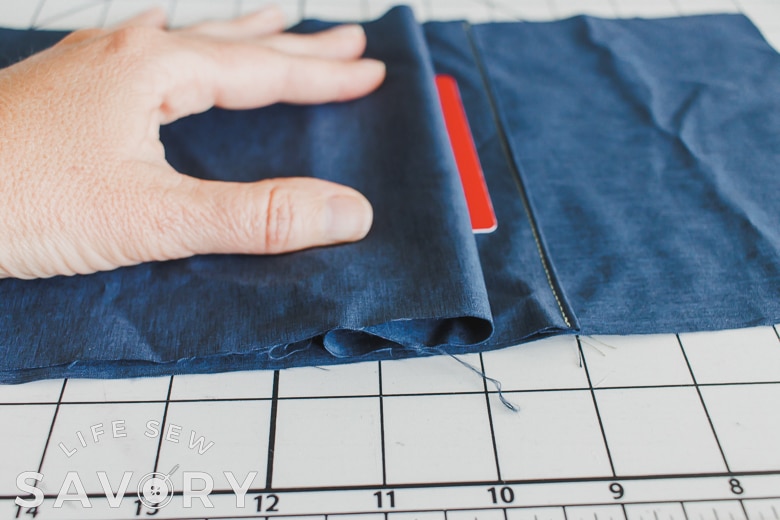
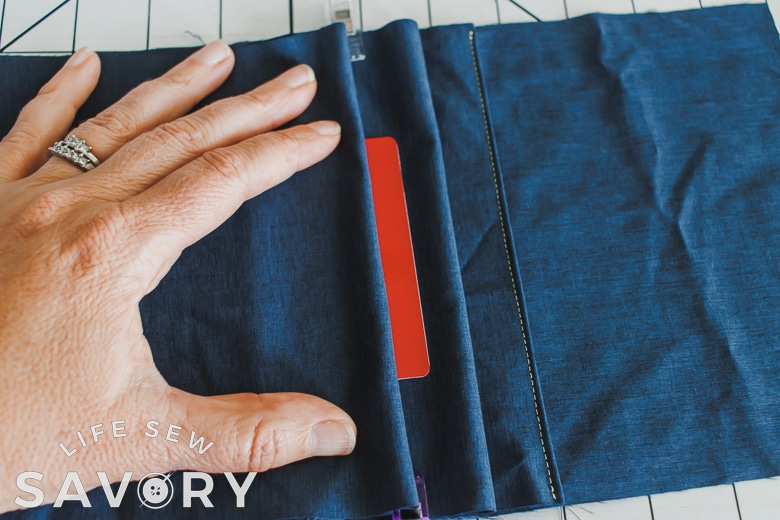
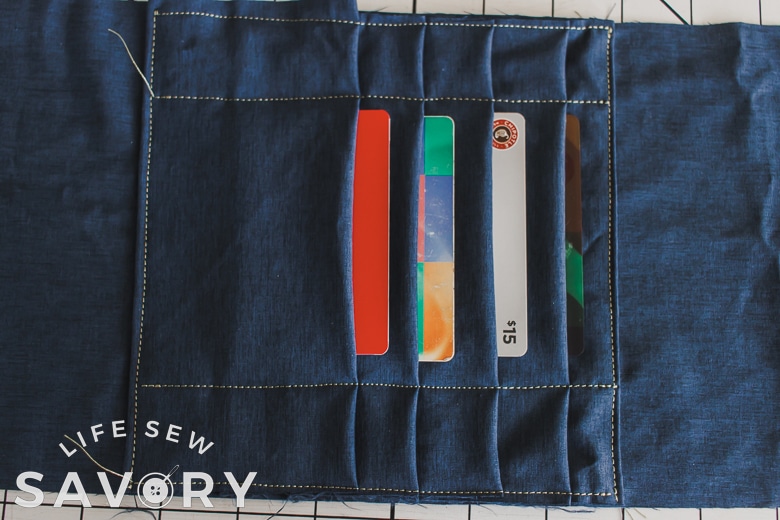
To finish the bottom, fold the fabric under and pin/clip. Baste the sides in place and then stitch along the bottom to finish that edge as well. The sides will be caught in the bag side seams later.
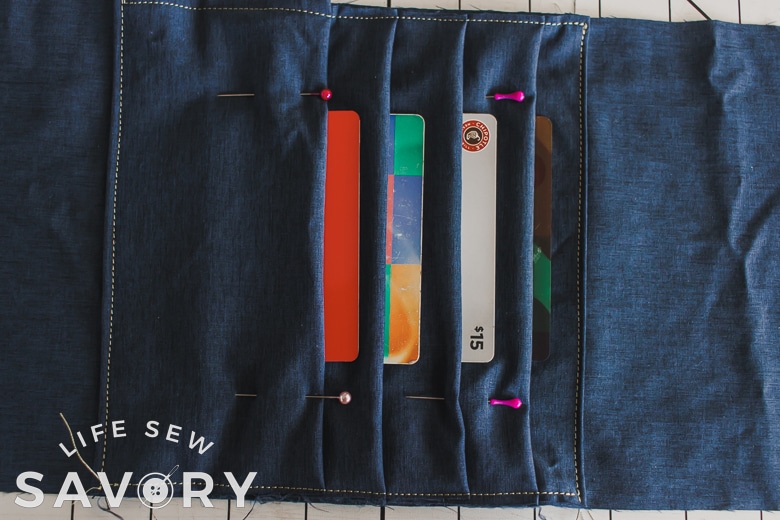
Also pin along the sides of the card. The pockets are wider than the cards, so we will sew to make the pockets more fitted. Stitch along the pin lines to create smaller/fitted pockets.
Now its time to sew the lining to the outer vinyl piece. With right sides together, place the outer vinyl and the lining together. The notches in the vinyl should be placed under the card pockets. The shorter side of the vinyl is the bag front and should NOT have the pockets. Clips are best with vinyl.
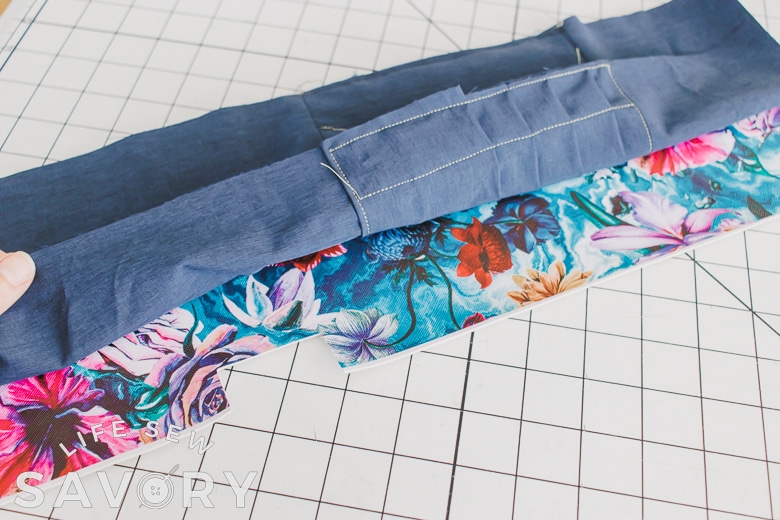
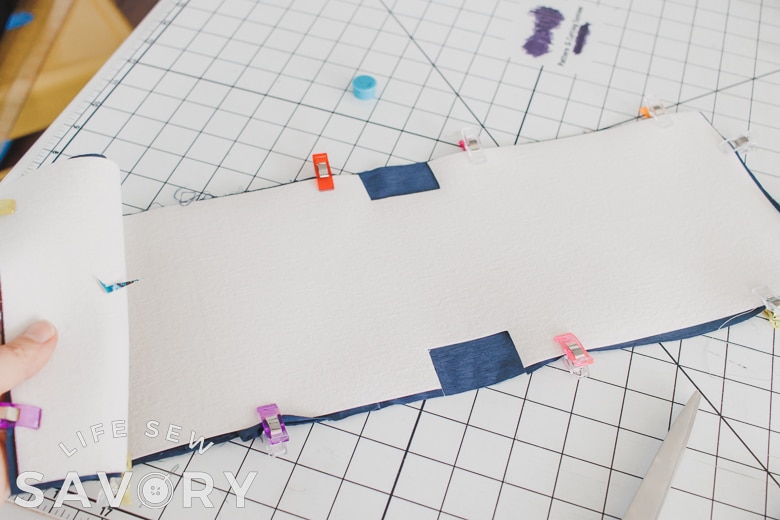
Grab your magnetic snaps and let’s place those now. The first one is easier as I put a mark on the pattern piece for the top snap. This one will go on the lining fabric as that is the inside of the flap.
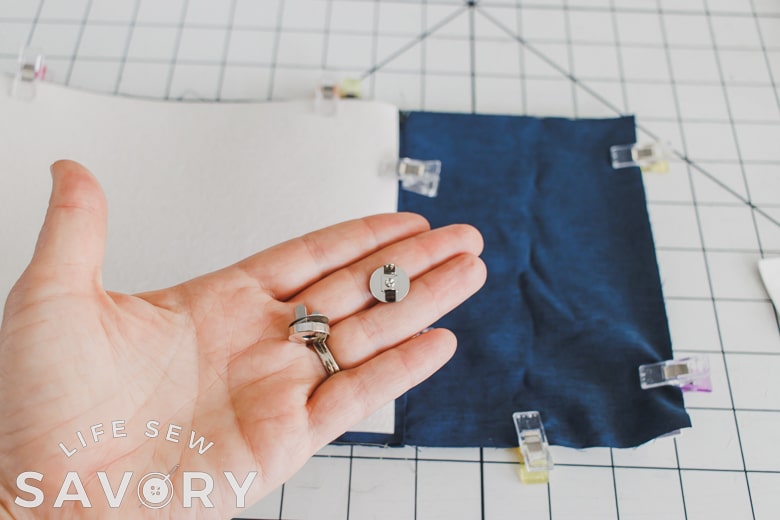
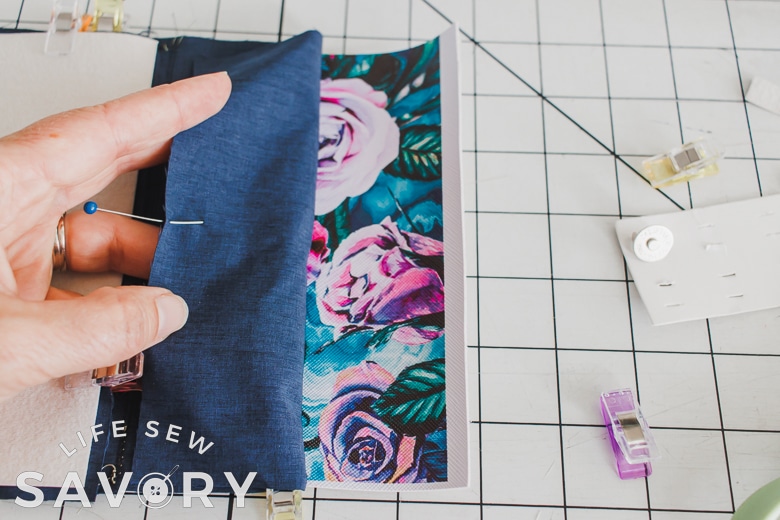
One the top flap of the bag {the part above the pockets} cut two very small slits at the snap marking location. The right side of the snap should be facing the vinyl. I used a scrap of vinyl to reinforce the back of the snap on the thin lining fabric. Cut slits in the scrap of vinyl and place on the back of the snap before closing the prongs.
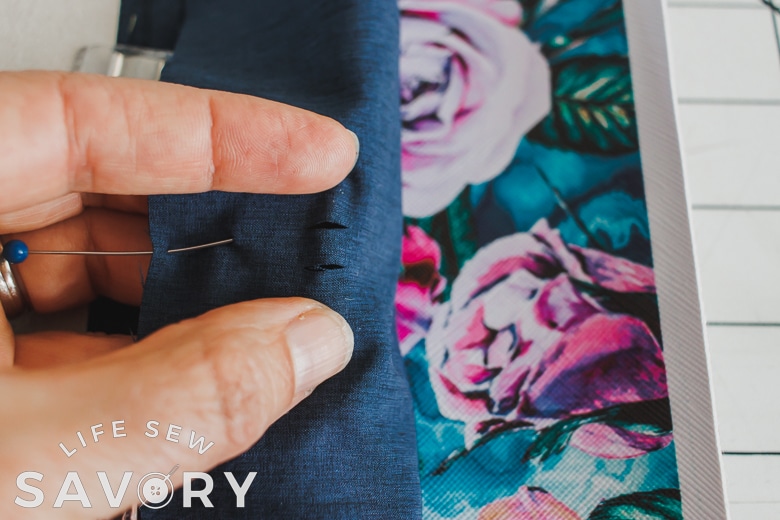
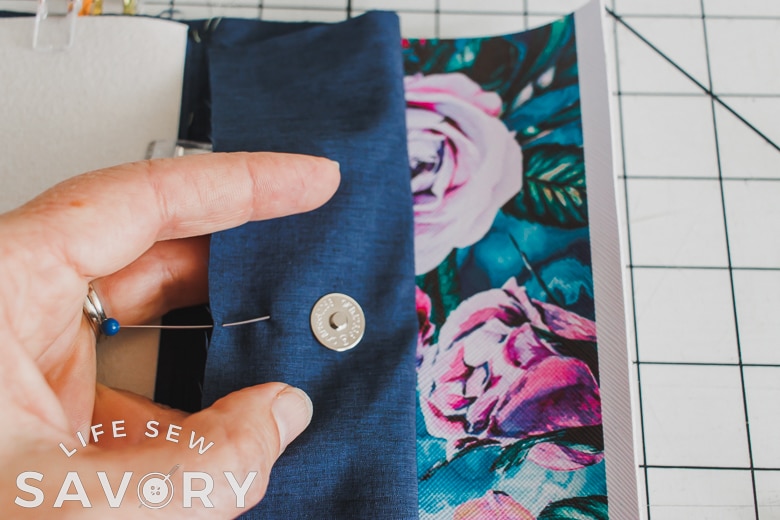
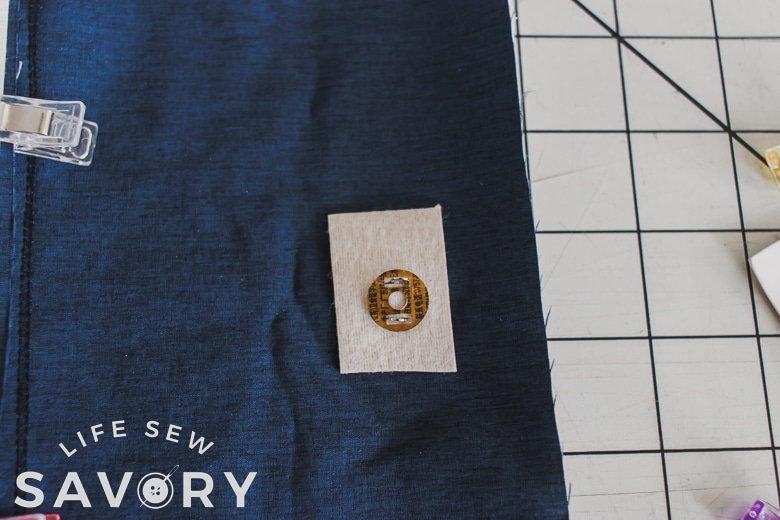
For the second side of the snap you will use the first for placement location. Fold the top flap over as far as it can as shown. The snap is on the under side. Place a pin or a mark where the snap touches the vinyl.
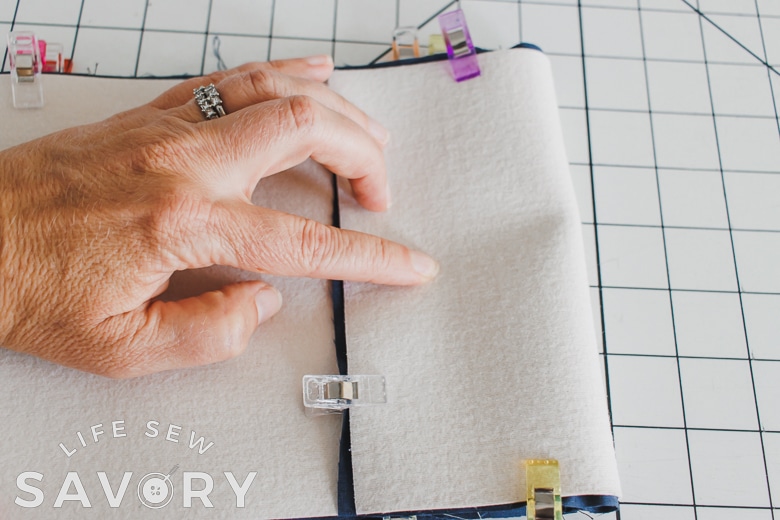
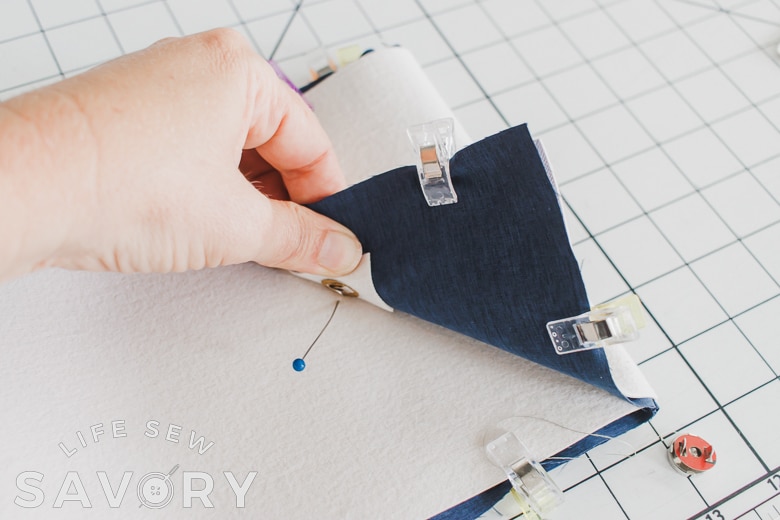
Open up the flap and cut two small slits where you marked. This time you are placing the snap on the vinyl and should be on the right side of the vinyl.
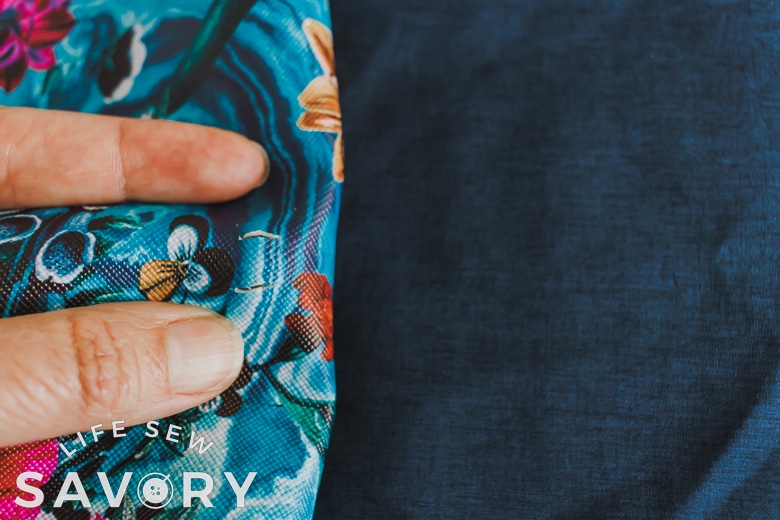
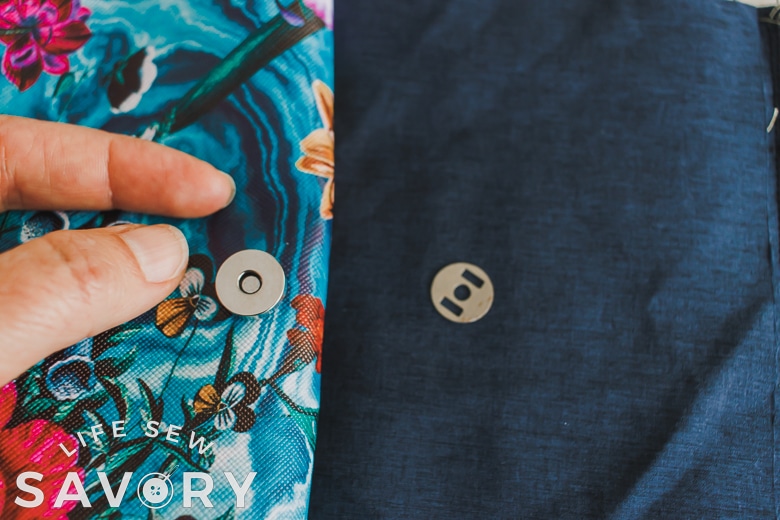
I did not reinforce the back of the vinyl. Now you have both sides of the snap installed and we can proceed with sewing the bag together.
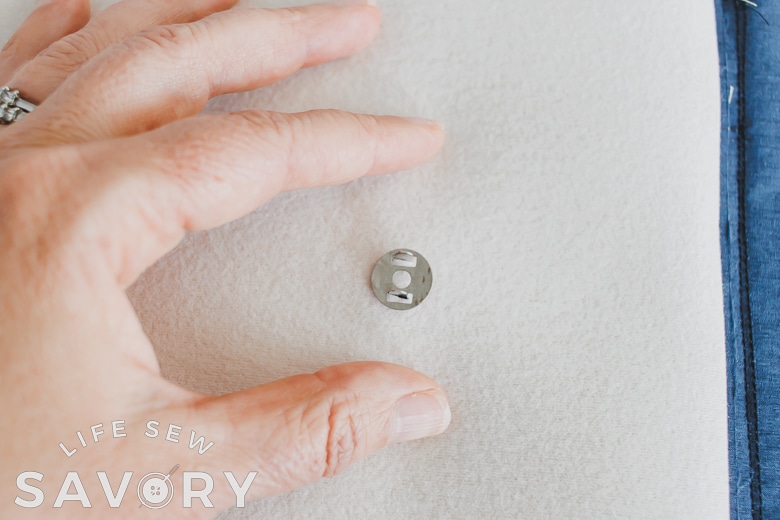
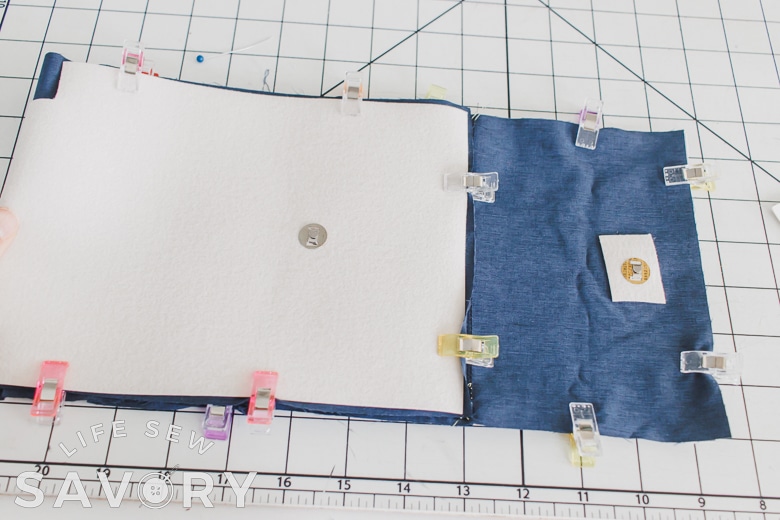
I set my needle to the left on my sewing machine to give more stability when sewing. As long as you use a 3/8″ allowance it doesn’t matter, I just like the needle on the left. Sew all the way around your bag, leaving a 4″ opening on one straight side of the bag front end.
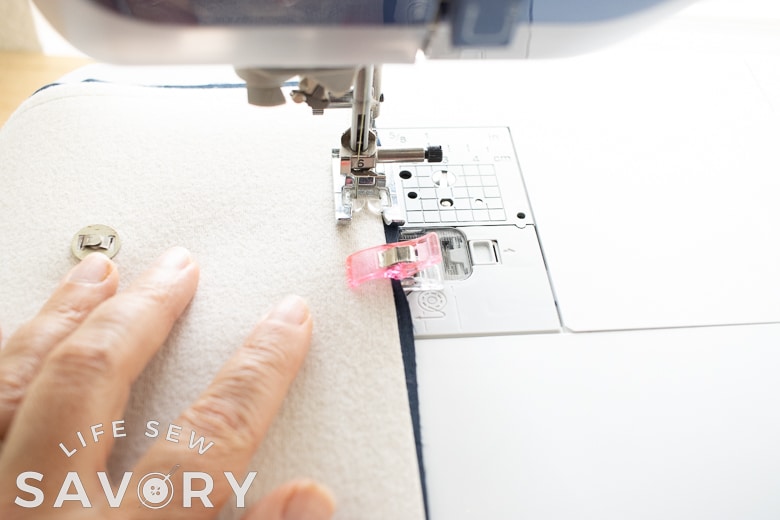
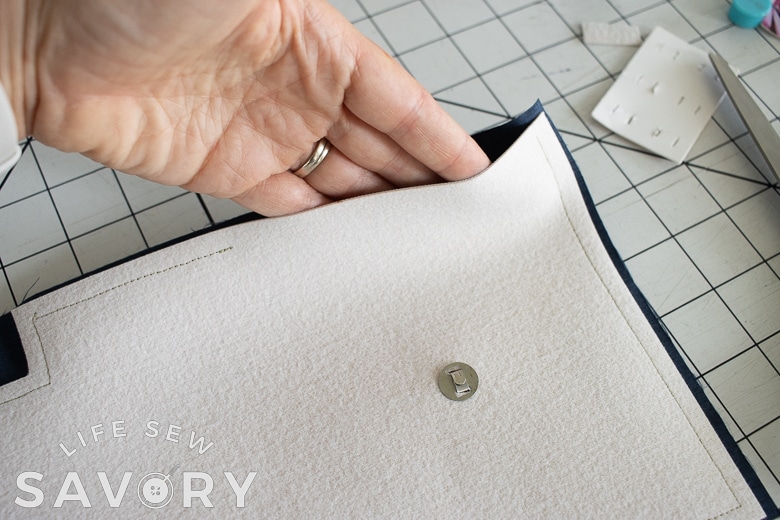
Trim the seam allowance down very short. The vinyl is too bulky to have the seam allowance left on. Turn the bag right side out.
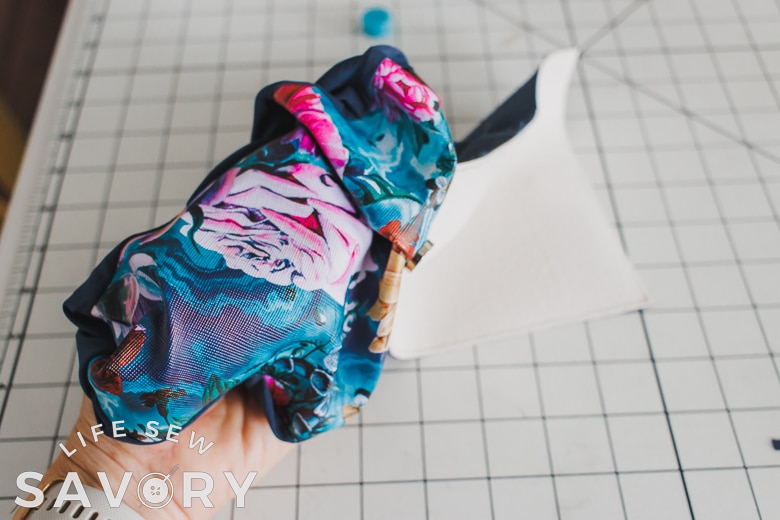
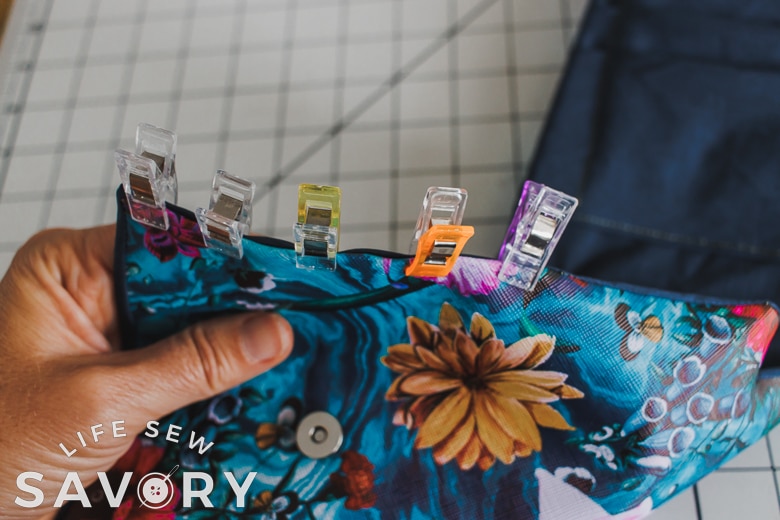
This is where the slight stretch in the fabric was really helpful. The vinyl likes to pull the fabric and the stretch helps it all to lay flat. Fold the seam allowance of the turning hole in and clip in place. Do not sew yet.
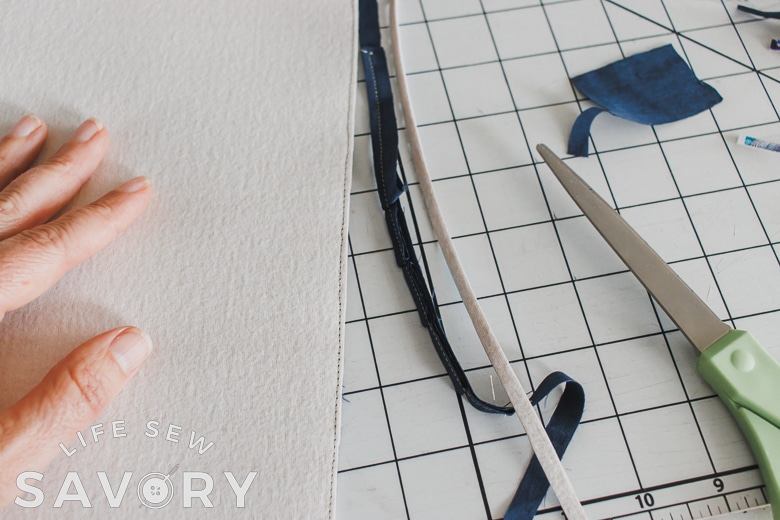
Time to make the strap clasp holders. Take the longer side of the vinyl and fold over 1/2″, do the same on the other side. Then fold over again and clip. Sew along the double fold edge to secure.
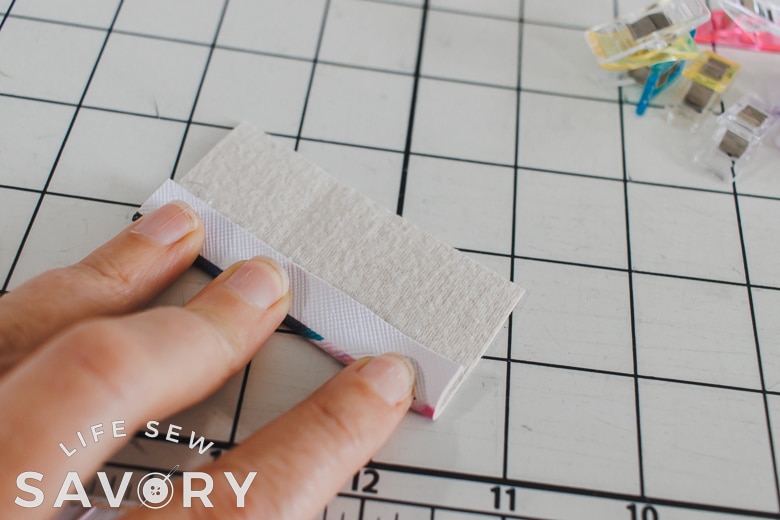
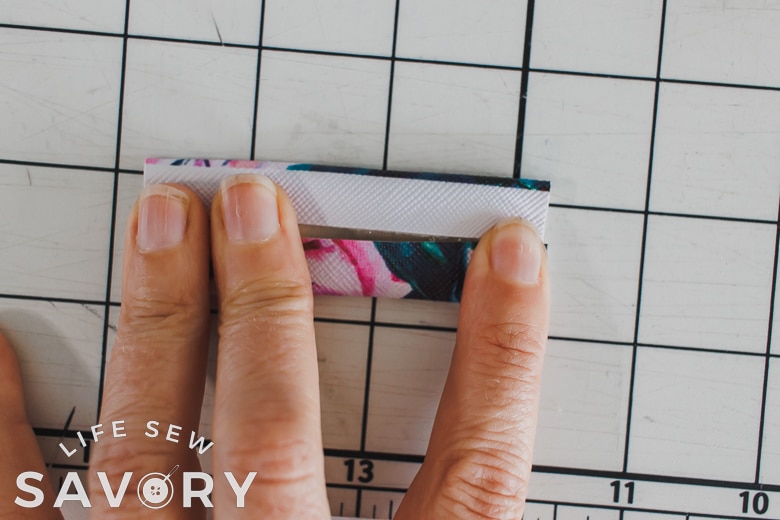
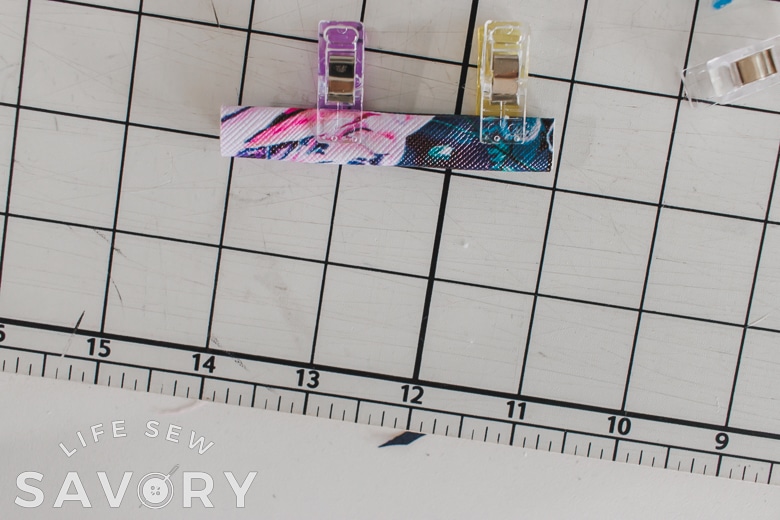
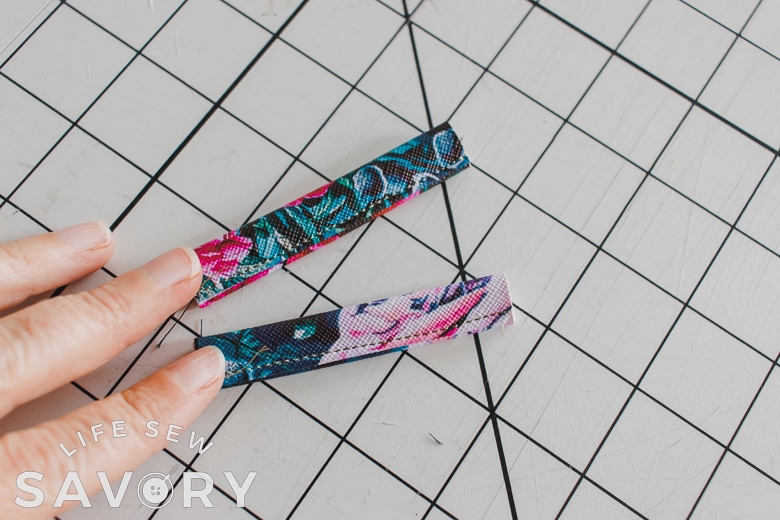
Fold this small piece over to create a loop. You may not need the whole length. This loop will be placed right where the front and back meet. Use the claw clasp to see how big you want your loop. Adjust the ends and clip in place.
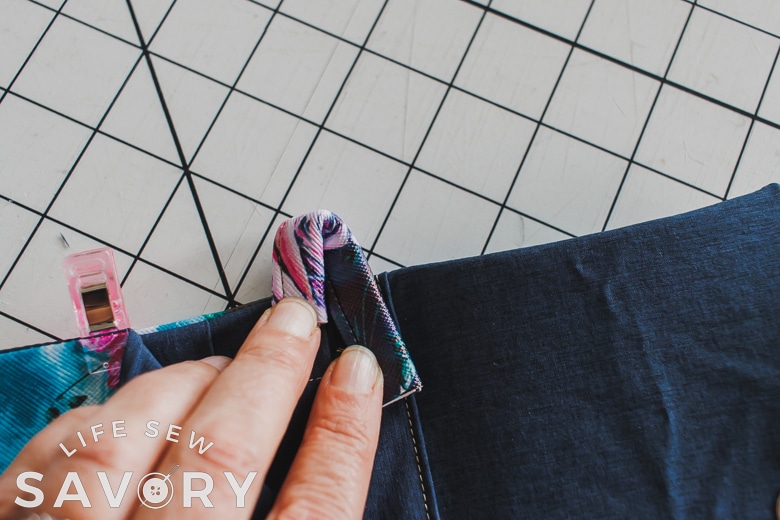
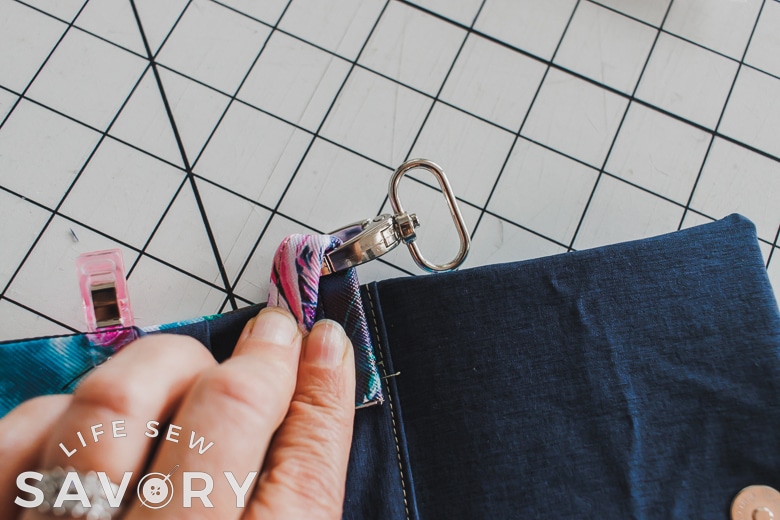
Fold the front of the bag up over the back with the RIGHT sides facing out. The bottom notches should line up. If the notches line up the front/back placement is correct.
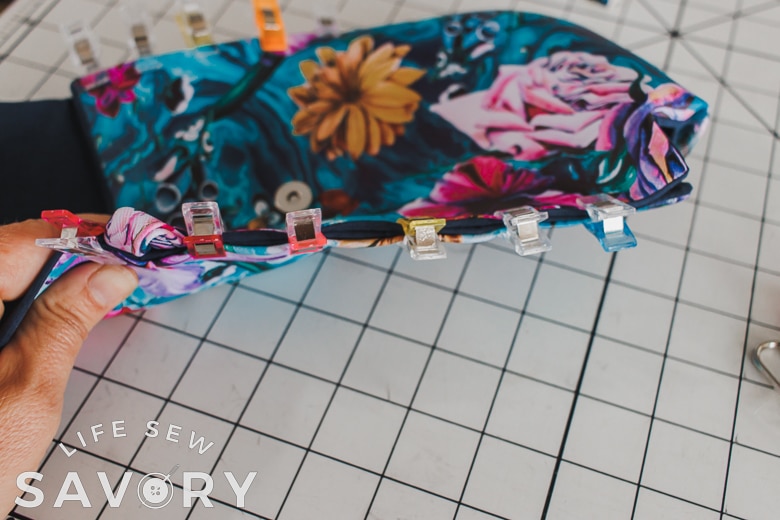
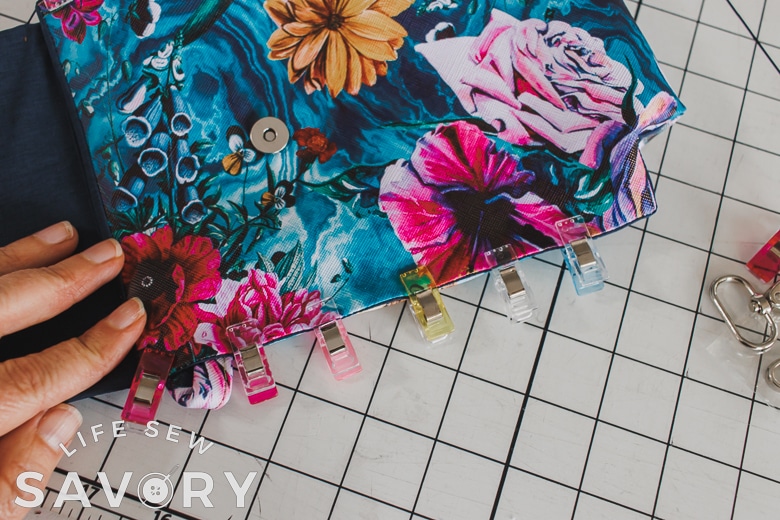
Here is another view of the side and notches. Notice also the loop on the top side. Sew the sides from top to bottom with a small 1/8″. Go SLOW over the loops as there are several layers here. Now it should look like the photo on the right.
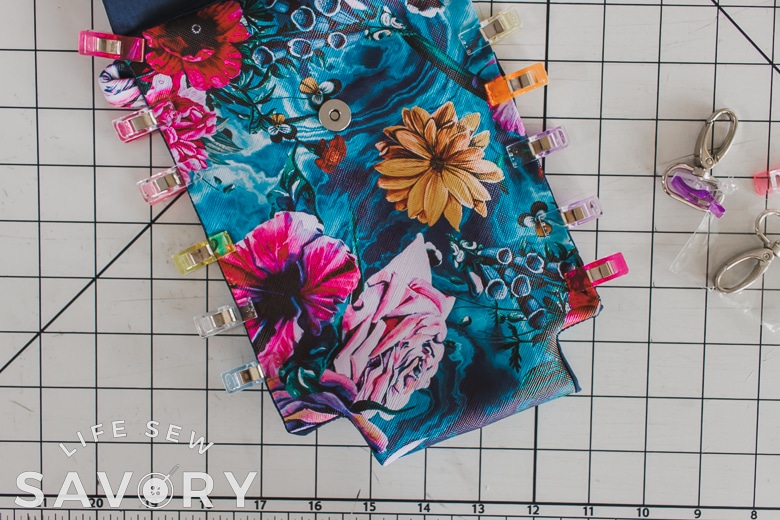
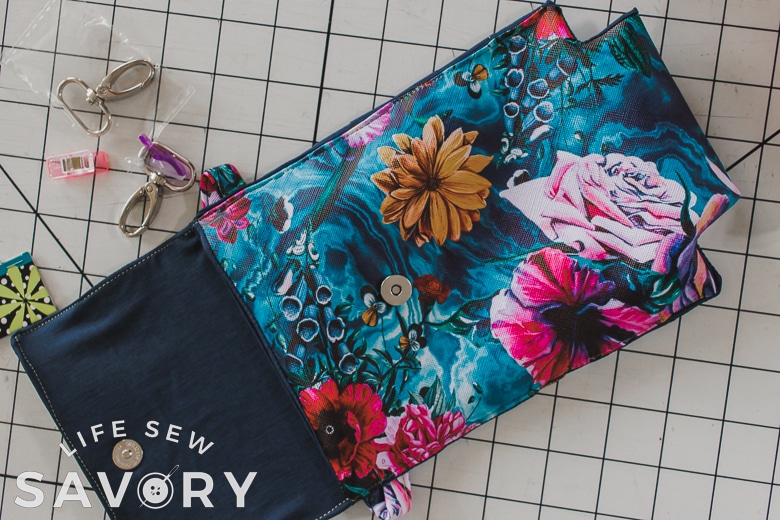
Time to sew the bottom. Pinch the bottom notch so that the side seam is in the middle of the two folds. Sew with a 1/8″ seam allowance catching both sides of the vinyl.
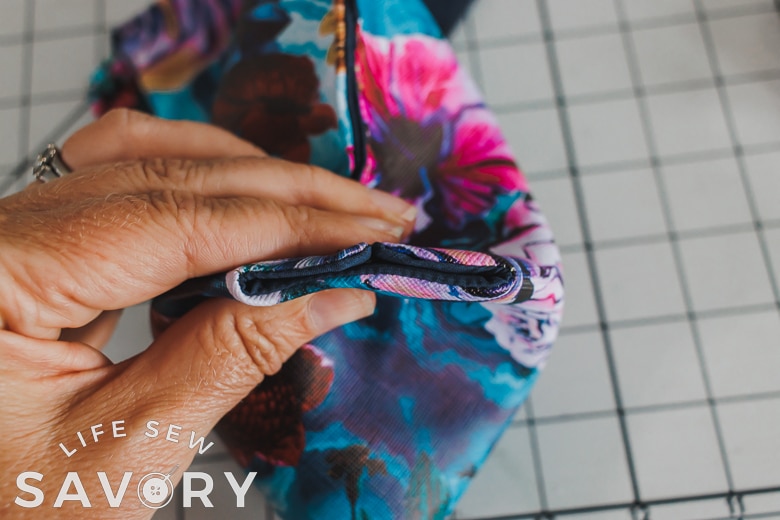
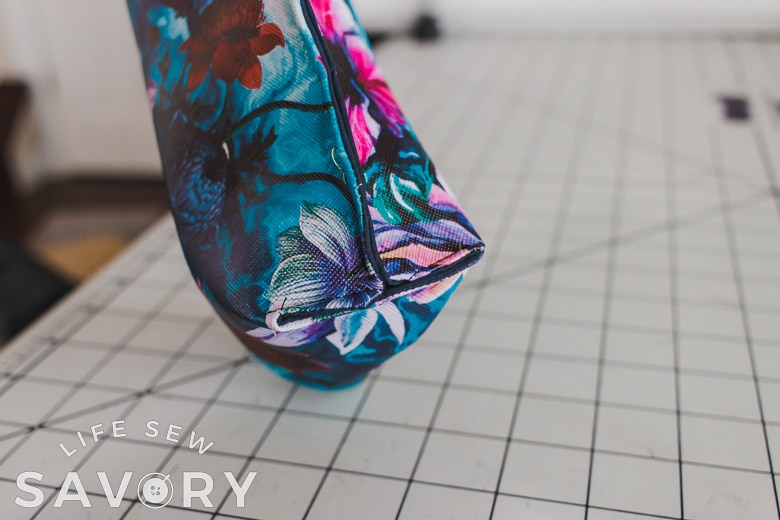
Now you have boxed the corners of the bottom and your bag should look like this.
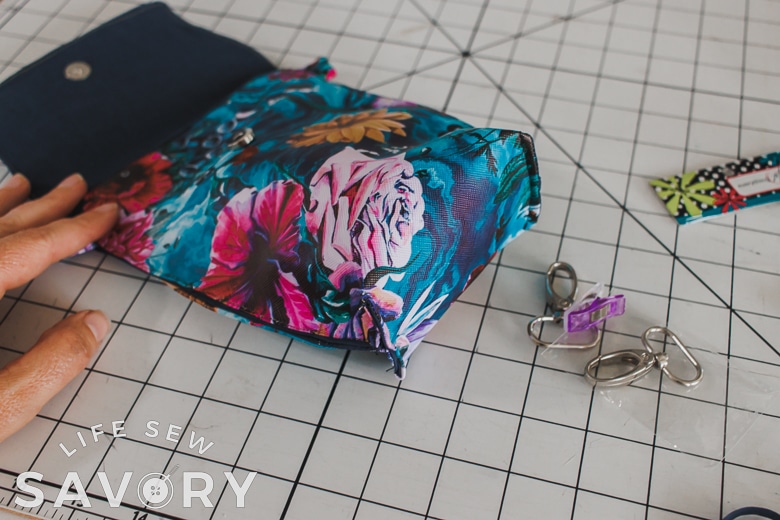
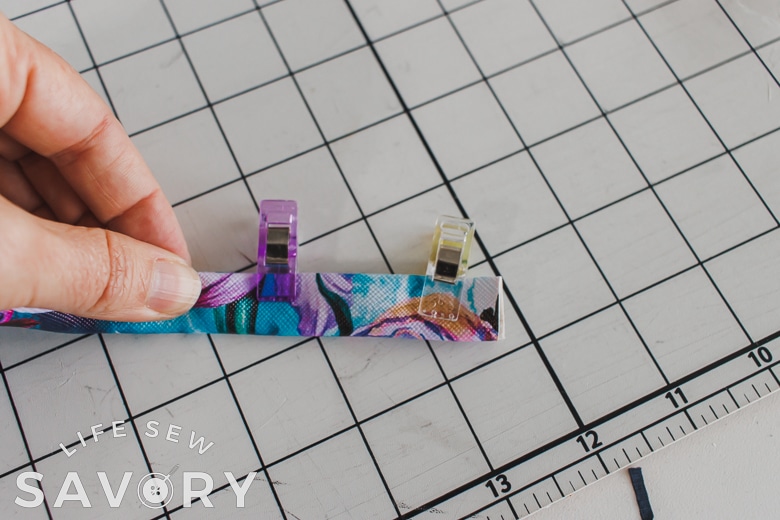
The final part of the bag is to sew the strap. Fold the edges of the strap into the middle, then fold again and clip. Do this to the entire length of the strap.
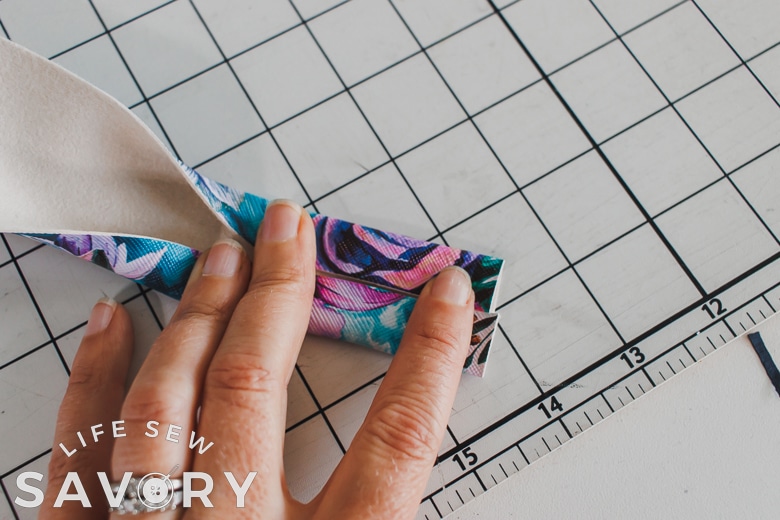
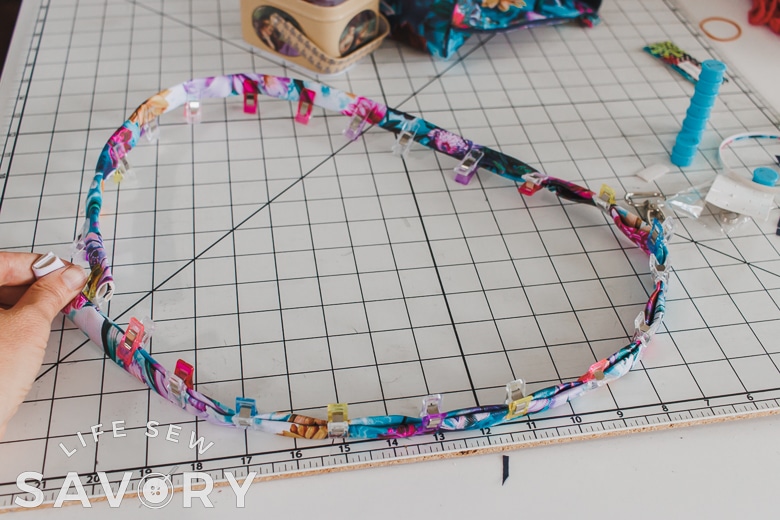
Sew the double fold edge of the strap. Again I put my needle alignment to the left to give more stability to the foot when sewing such a narrow seam allowance.
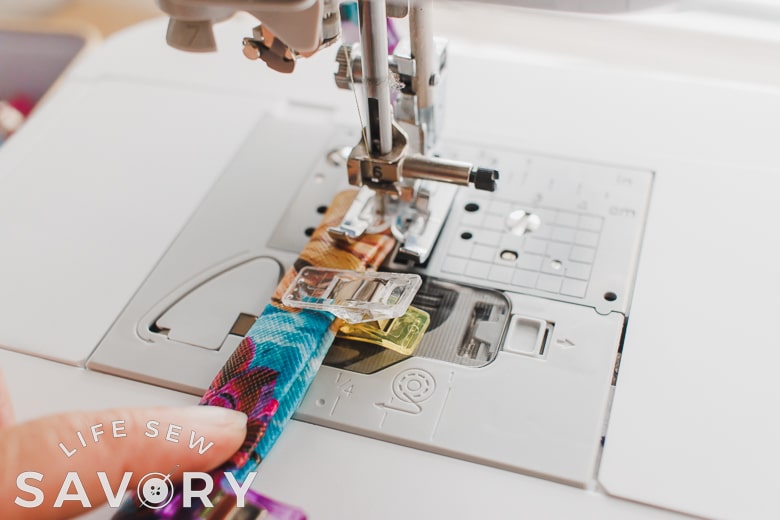
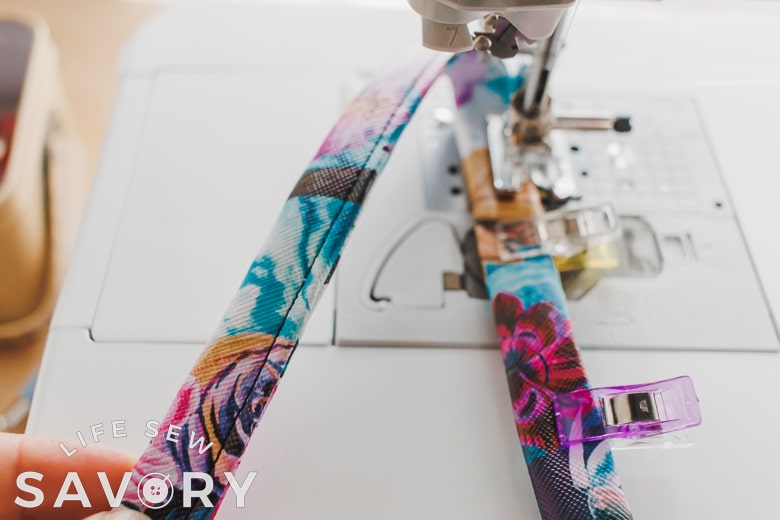
Fold the strap over 3/4″ around the ring of the claw clip and sew in place. When both clips are sewn to the ends of the strap you can clip them to the side loops on the bag to finish.
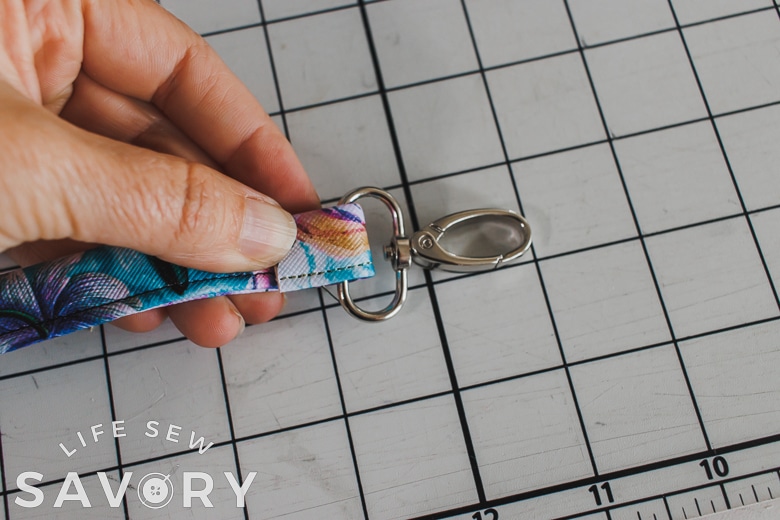
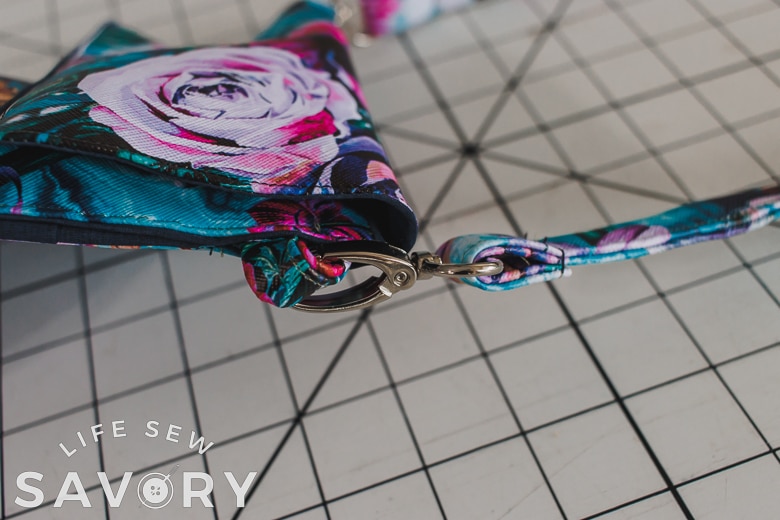
I love this simple and easy strap for the cross body bag. If you have extra strapping from the loops on the inside of the bag, trim them close before finishing.

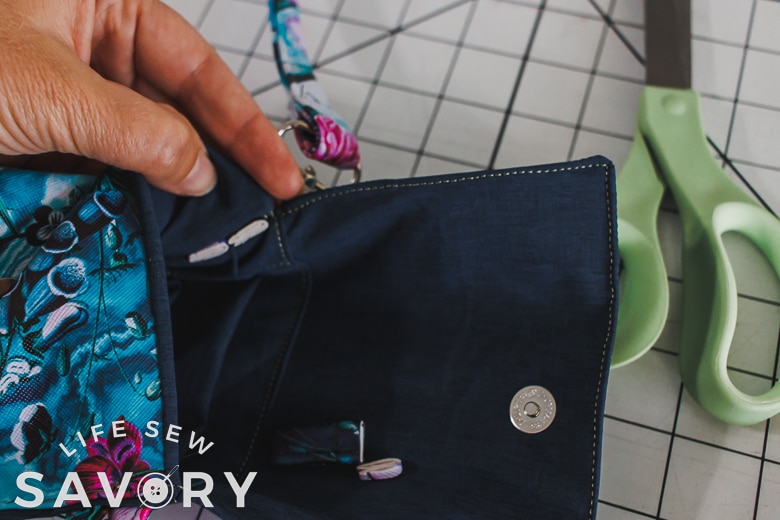
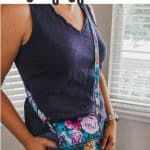
Now you have a totally awesome bag to use and enjoy. Mine was just perfect for travel and served me well on my trip. I hope your enjoyed this cross body bag free sewing pattern.







Leave a Reply