inside: Freezer paper stencils can be a fun and easy way to create custom shirts. You can cut the freezer paper with a cutting machine or by hand for fun fabric painting stencils.
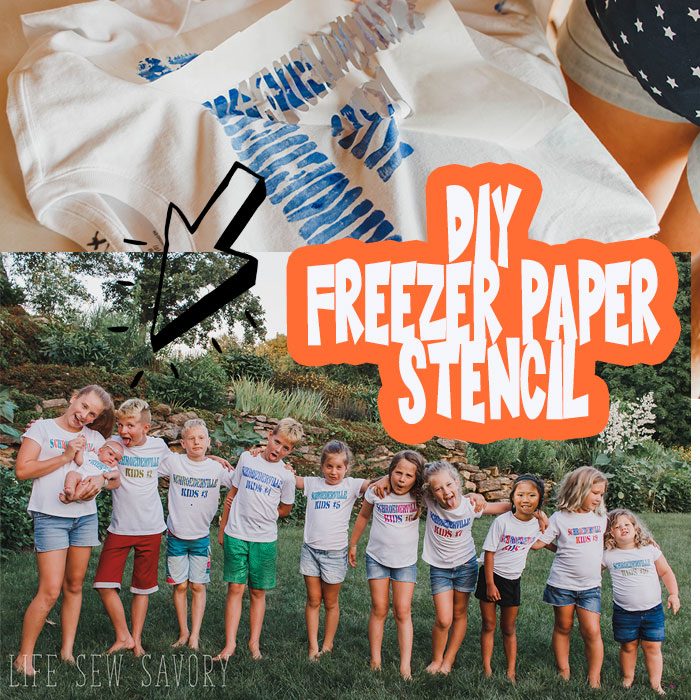
This post has been updated as of July 2020.. the original post dated from 2011, so some parts may look familiar, but this freezer paper stencil tutorial is now all new…
If you have been following me for awhile you know that every summer we make some sort of fun cousin clothes or outfits or shirts… You can find all the links to the previous years below. This year we kept it simple AND got the kids involved by making these fun freezer paper stenciled shirts. I’m excited to show you how easy it is to make your own.
Easy Custom shirts with Freezer Paper –
Looking for a fun way to make custom shirts? Or get the kids involved? Freezer paper stencils are a great way to do this! I created the stencils and the kids all got to paint their own shirts. Here is the final result for the 2020 cousin shirts!

We tried laying down so they could all be in numerical order or birth.. New little one on the end! And then a fun standing one as well…
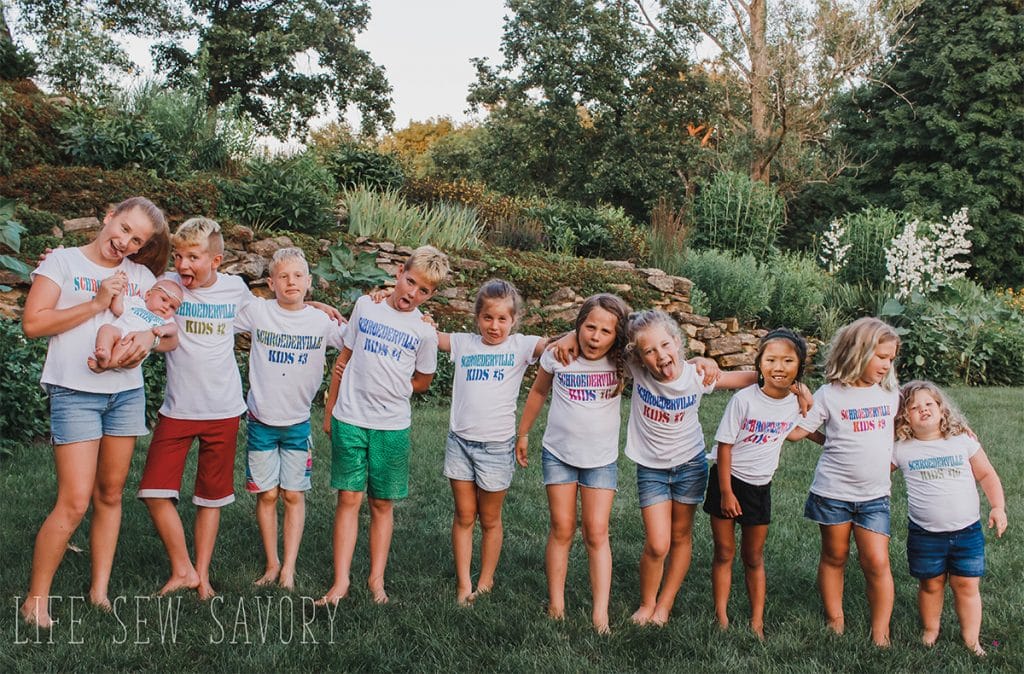
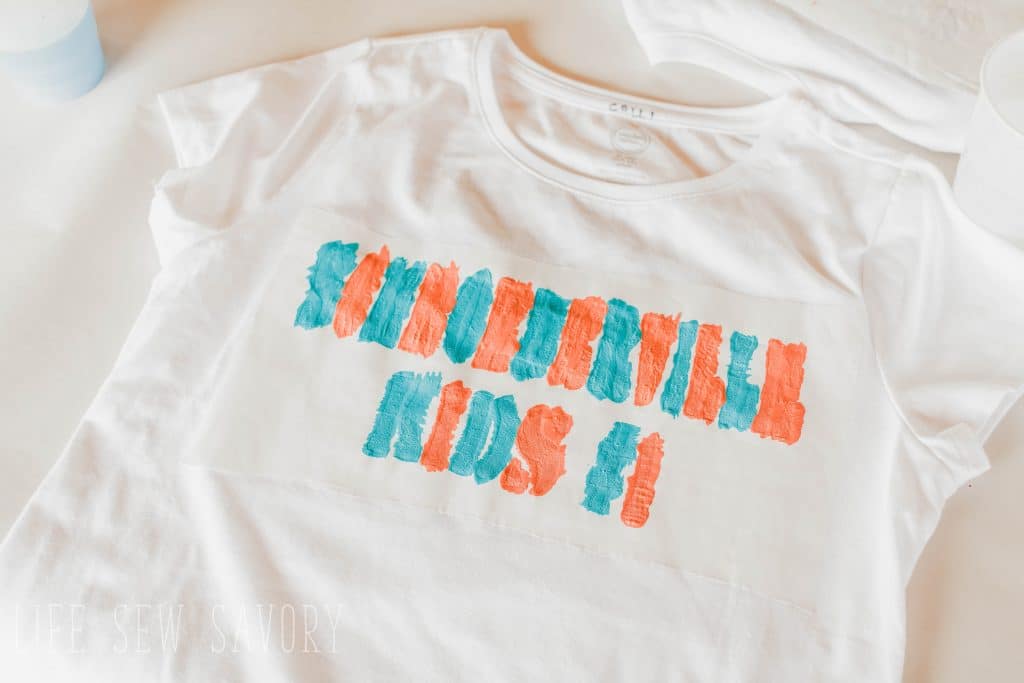
The kids shirts say Schroederville kids #1,2,3,4,5,6,7,8,9,10,11. My parents last name is Schroeder and they call their home Schroederville… each summer we have our family times with games and competition there so we made the kids shirts to go with our themes… {our competition is mostly lawn games – check out all our favorites HERE}
Before we get to the tutorial here are the cousin outfits from past years….
Cousin photos past –
- 2021
- 2020
- 2019
- 2018
- 2017
- 2016
- 2015
- 2014
- 2013
- These first years the outfits are a little hard to look at… my sewing skills were pretty raw {ha!}
- 2012
- 2011
- 2010
Supplies for Fabric Painting
- Create a design {you can print something on your computer and cut with a razor blade OR create and cut a design on your electronic cutting machine.
- Fonts – Stencil fonts work best {instructions at the bottom for using a NON-STENCIL font}
- Freezer paper
- Fabric Paints
- Paint Brushes
- T-shirts for each person {or other fabric to stencil and paint}
Freezer Paper Stencil Tutorial –
Of course you can create vinyl designs with your cutting machine, but this is a fun way to get the kids involved in making custom shirts!
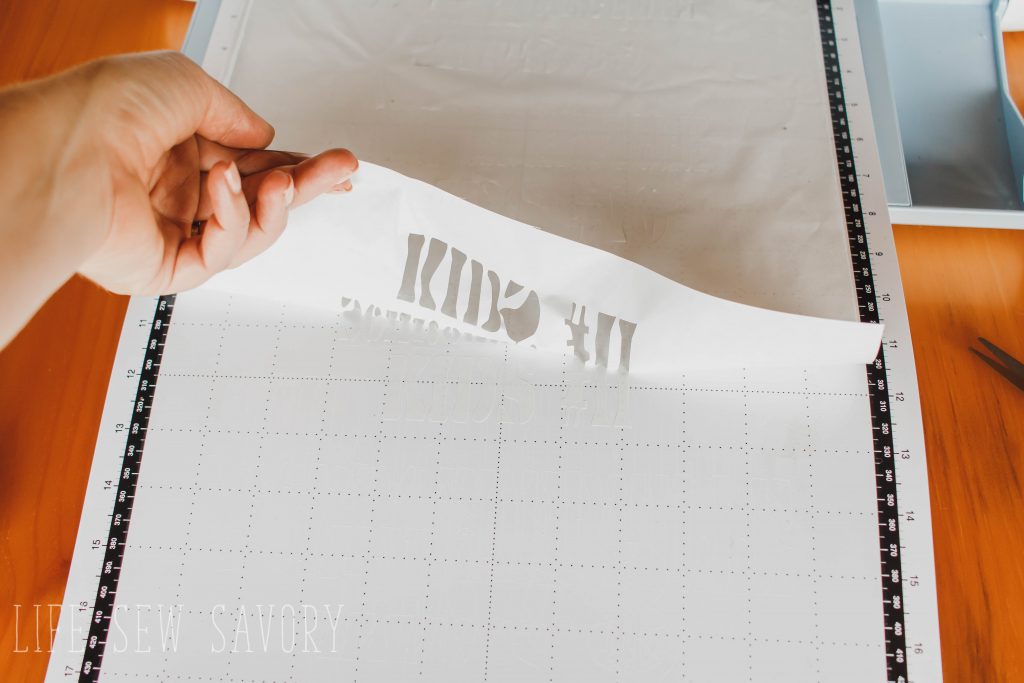
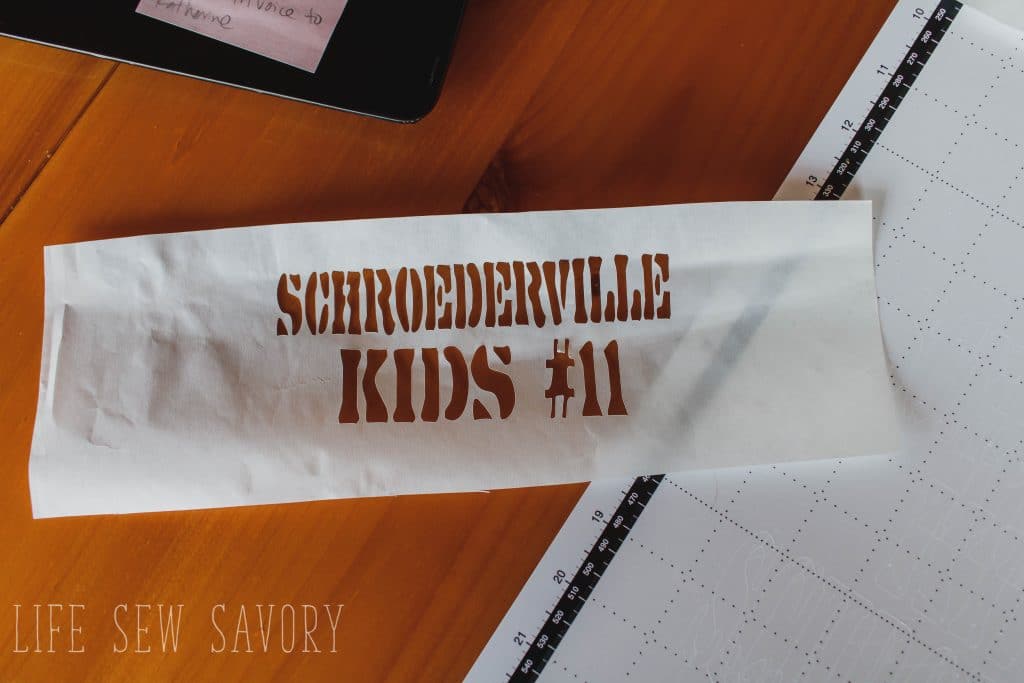
To begin, create your design. I just used a basic stencil font and typed the words in my Brother Canvas Workspace. {you can use any design software for your cutting machine} Mine all say Schroederville kids # {and the number is different for each}
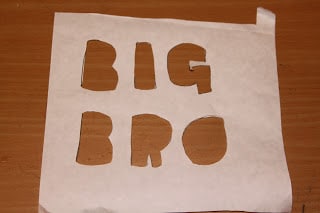
You can do this without a cutting machine. Grab a razor blade and cut out your design. Keep it simple!
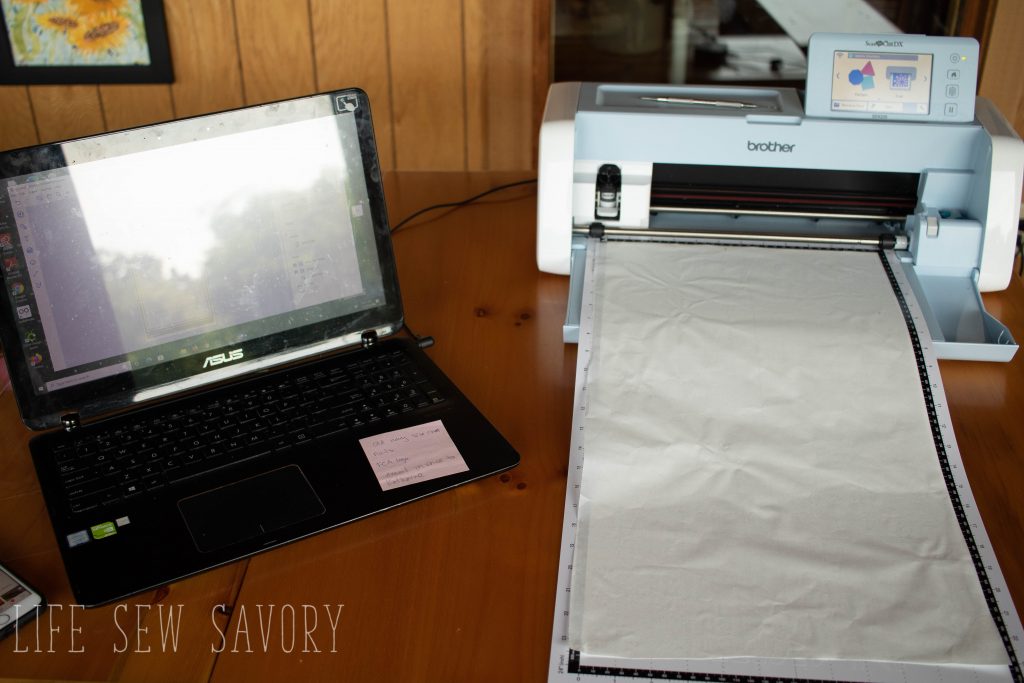
I used my long mat and was able to cut out 5 designs on each sheet. Cut the designs apart leave a rectangle of paper around. I had to scrape off the left over paper off my mat.
Cut Freezer paper so the glossy side is on the BACK of the design – this will be the part that sticks to the fabric.
Resize if needed for different size shirts.
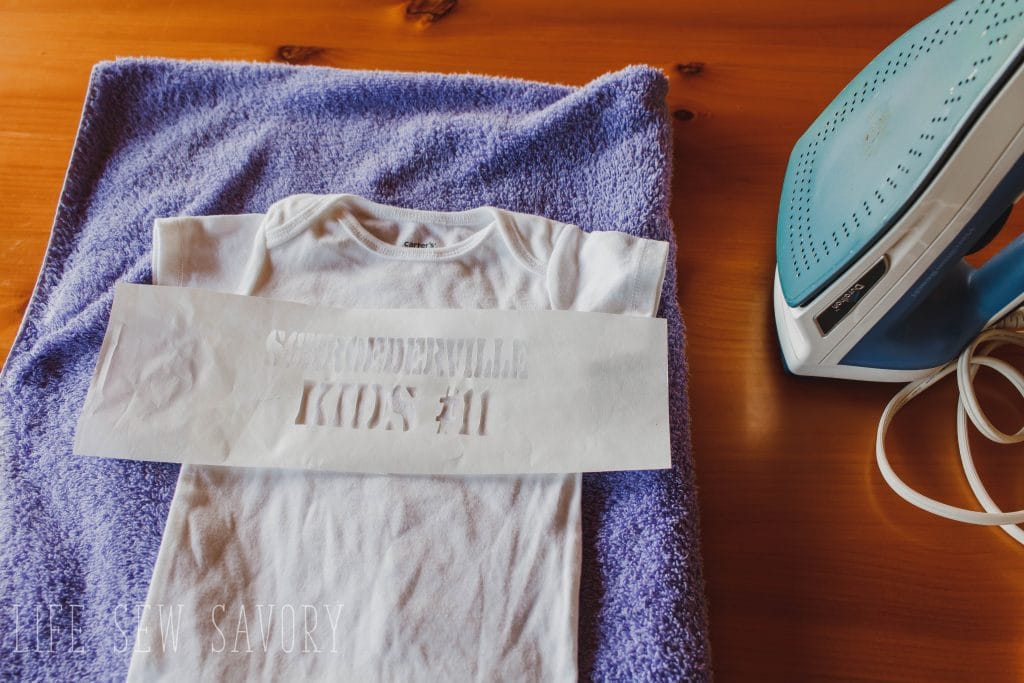
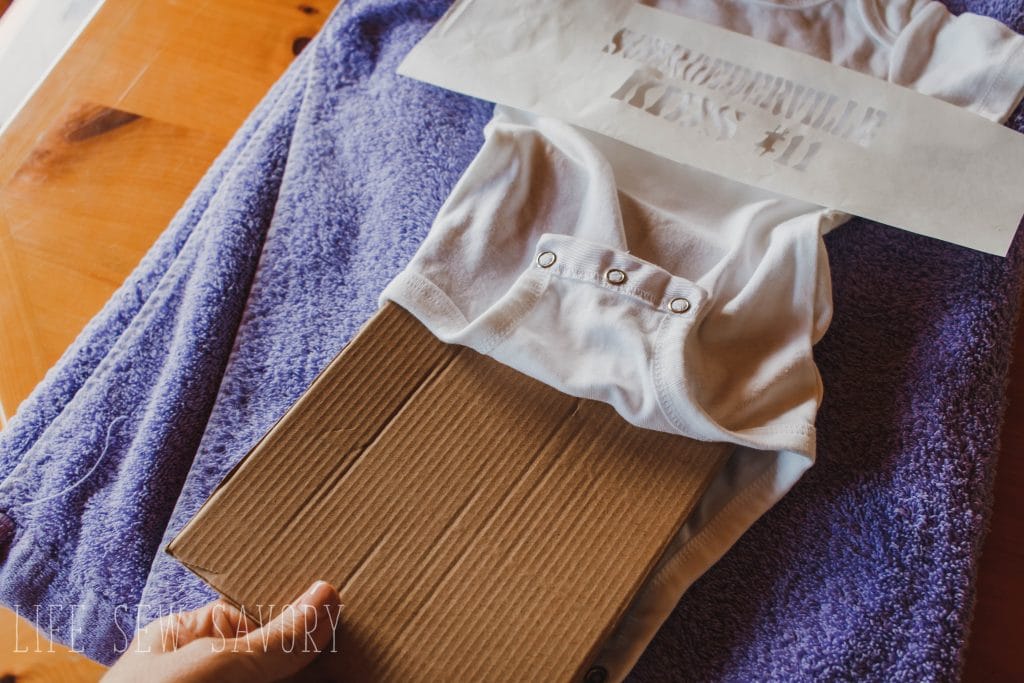
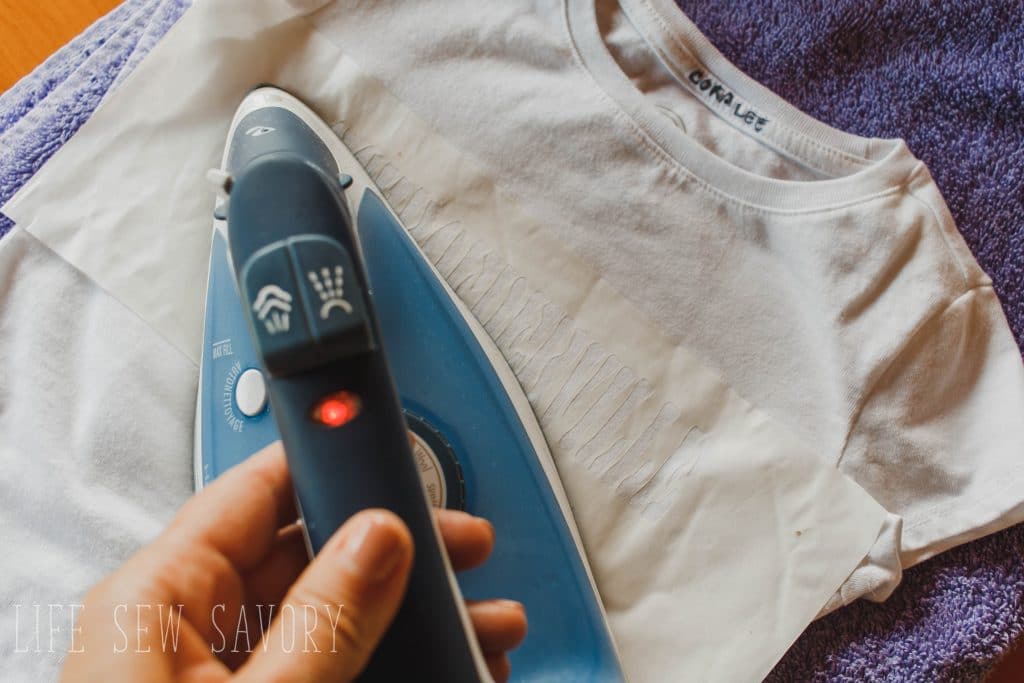
Line up the design on your fabric. Place a piece of cardboard between fabric layers so paint doesn’t bleed through. Iron with HOT heat to press paper to fabric.
Repeat until you have all the shirts you need!
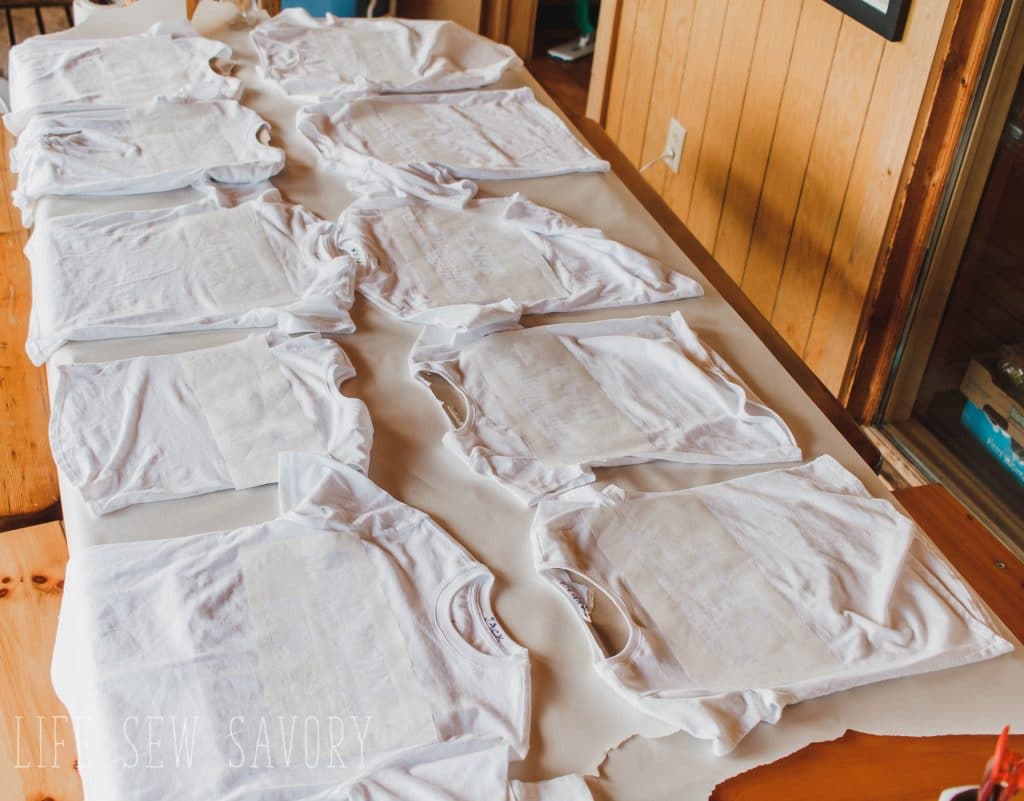
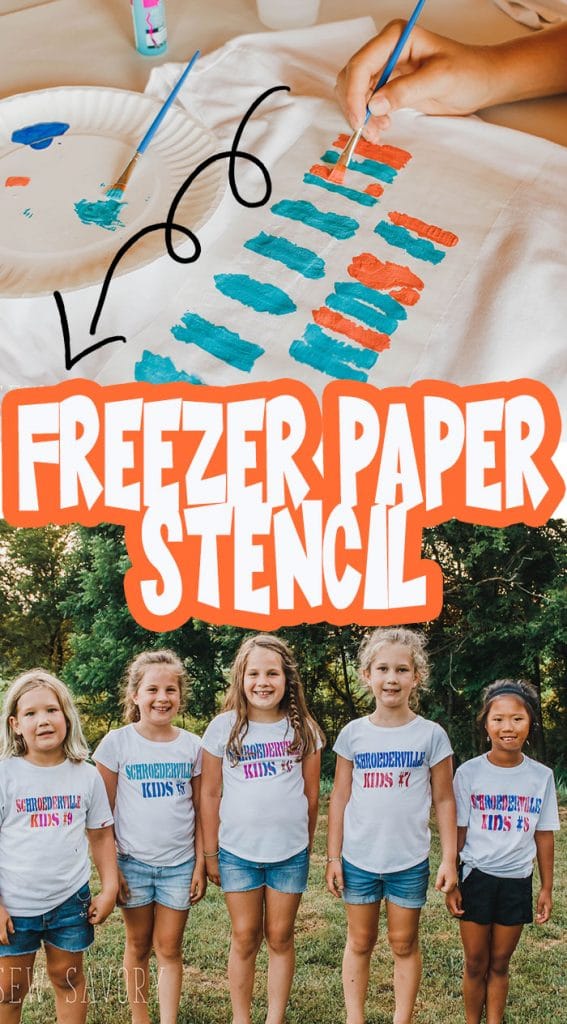
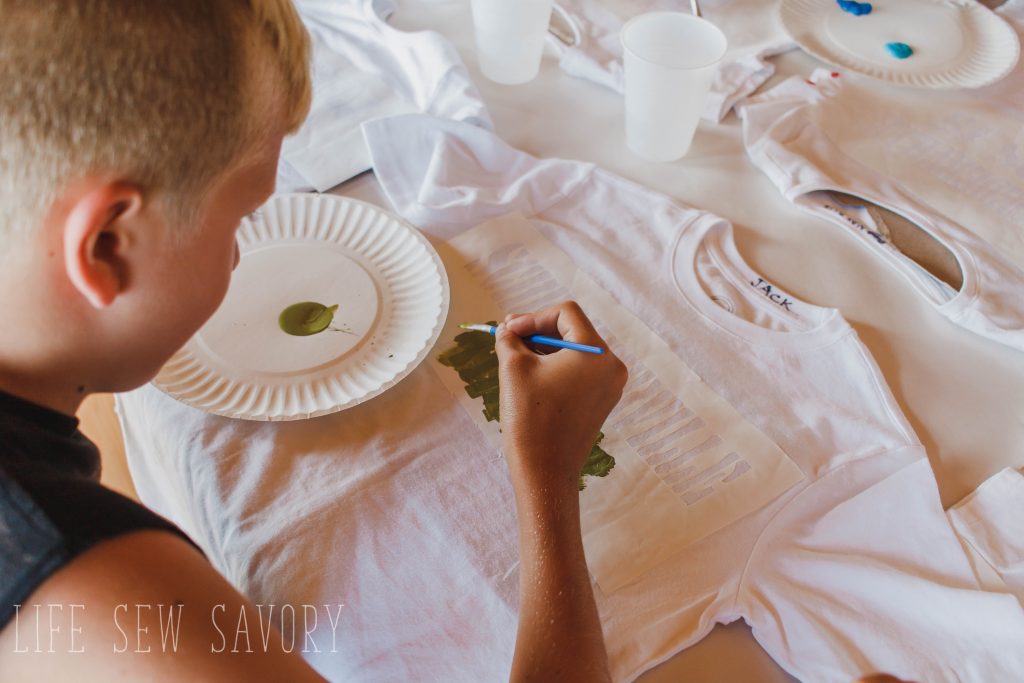
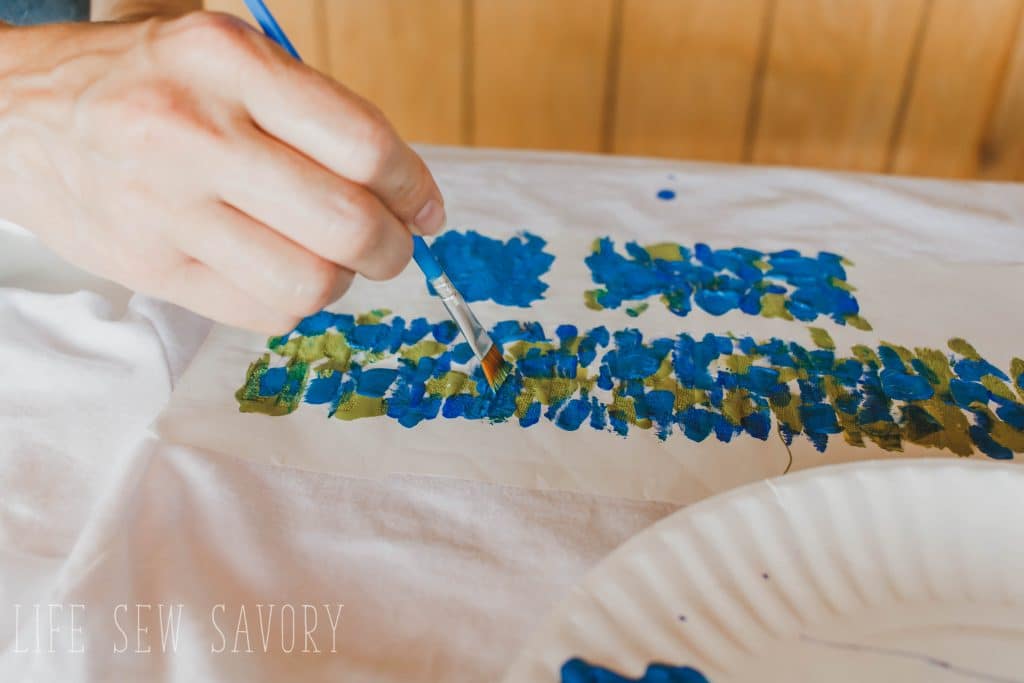
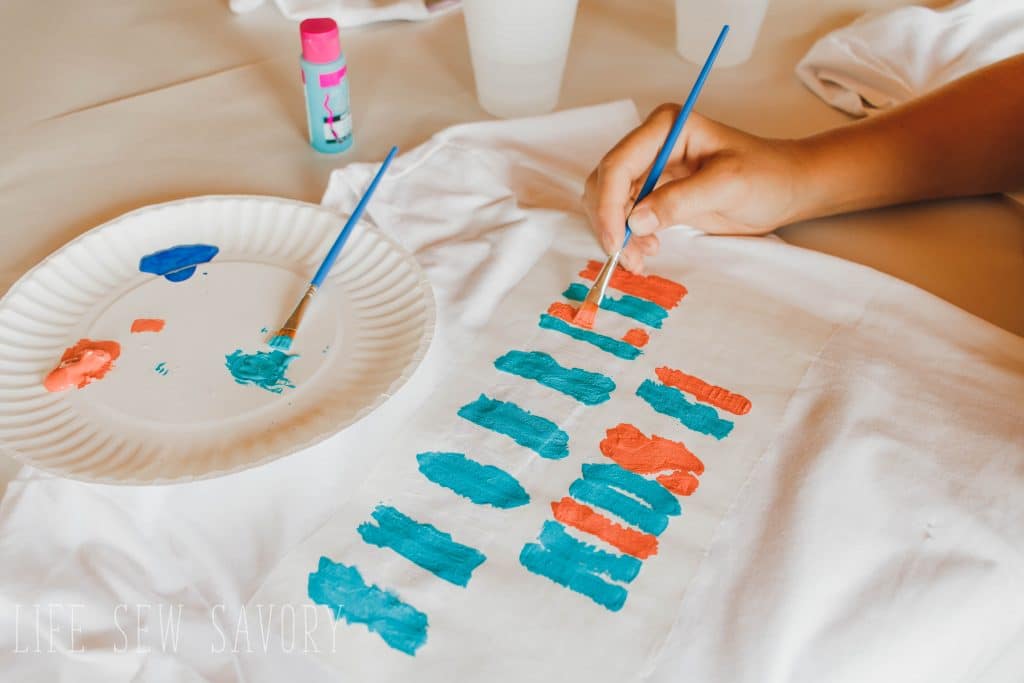
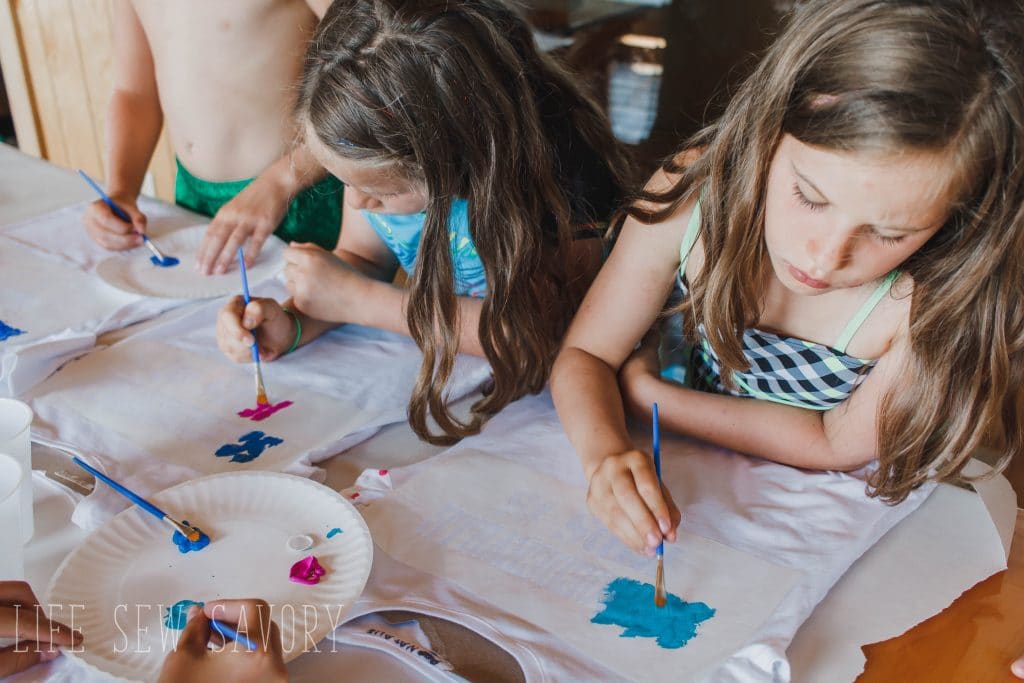
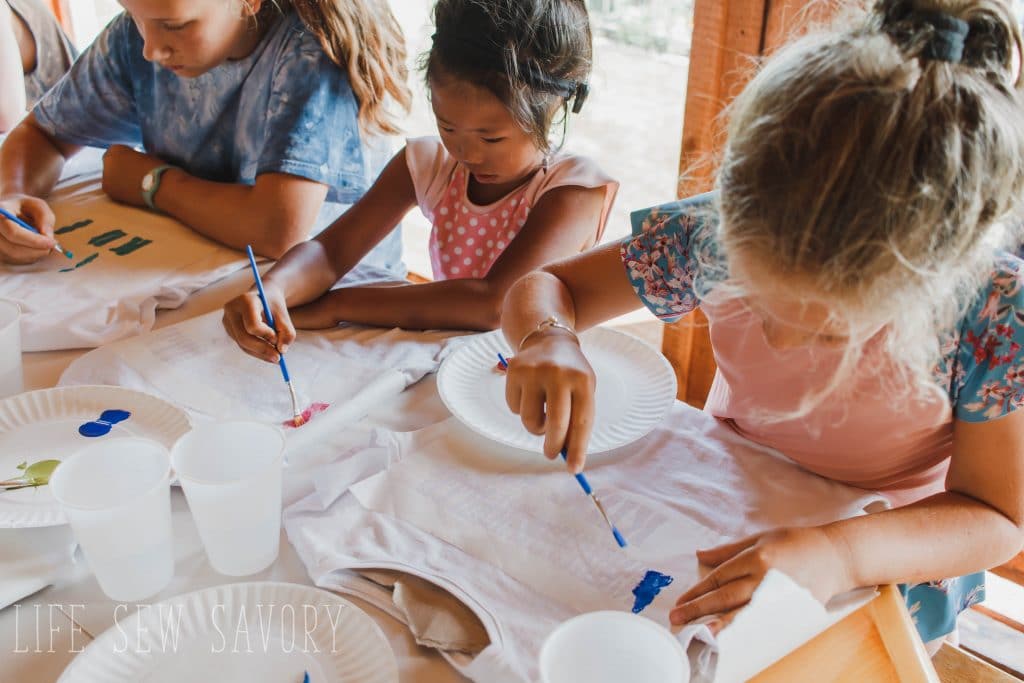
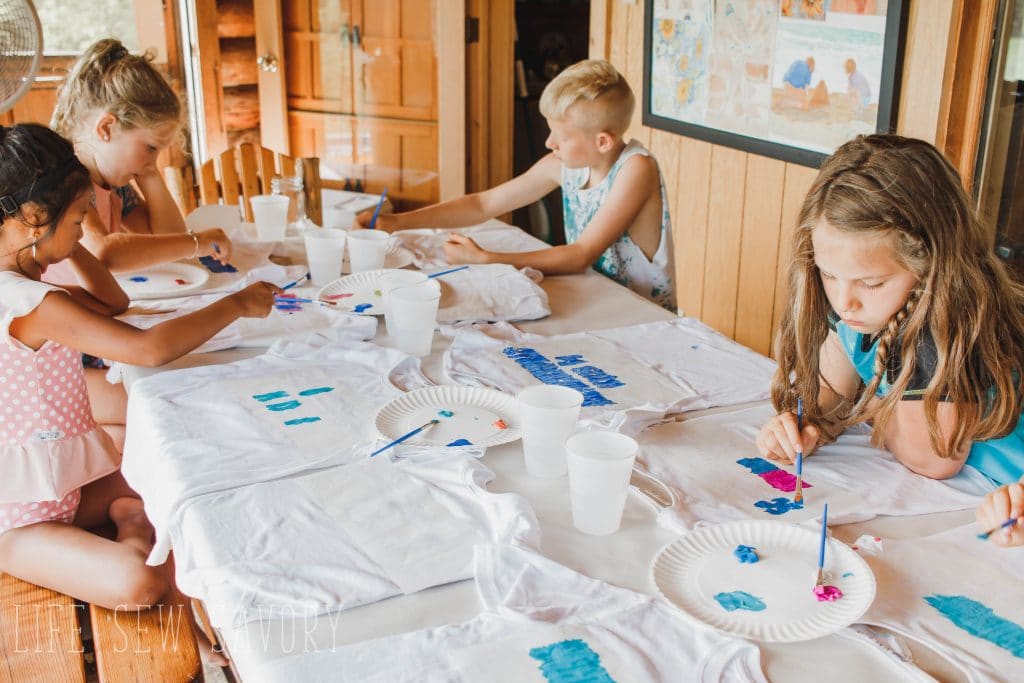
Paint with fabric paints. I had the kids use a dabbing motion instead of strokes to keep the paint from going under the stencil. Adults could probably manage with stroking the paint, but the kids we just had them dab it and it worked great.
Dont worry about getting paint all over the freezer paper – it won’t bleed through. Let the paint fully dry.
Carefully peel the paper off the fabric. If it rips just pick that part off as well. You can’t really mess this part up! Reveal your awesome designs!
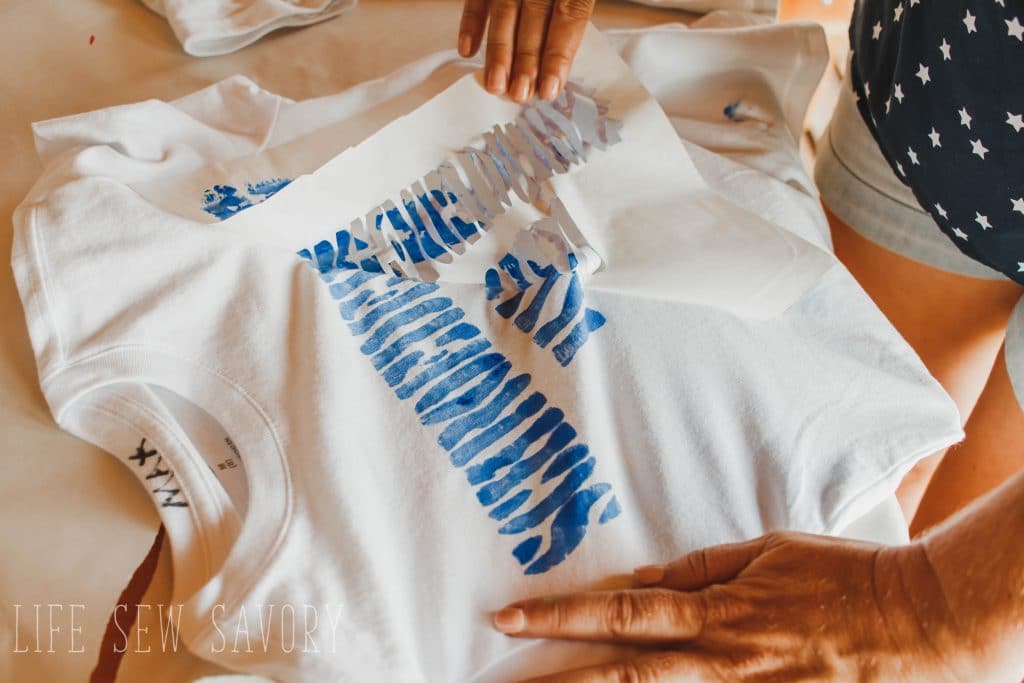
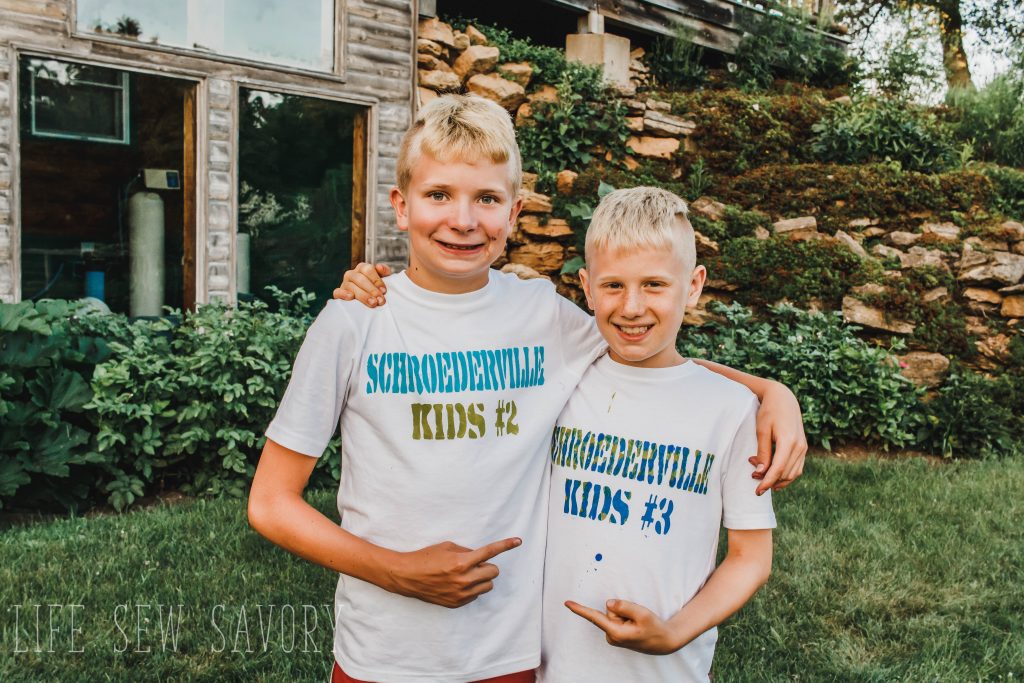
The kids had a blast painting their own shirts and we didn’t try to color coordinate. They each got to pick any color from what we had and they still all look great together.
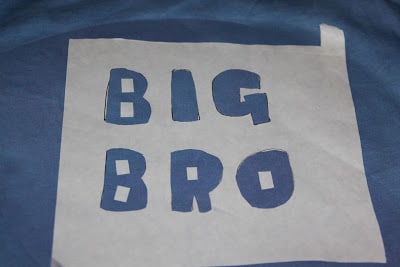
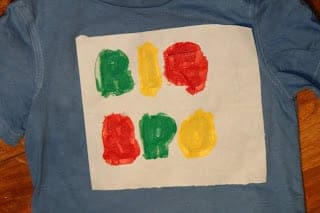
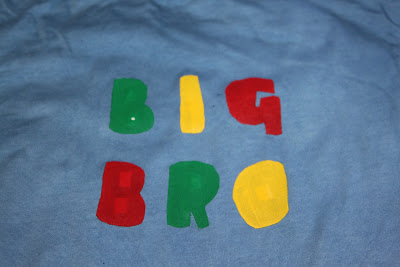
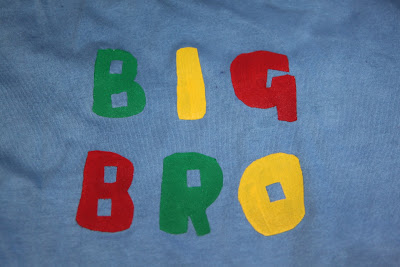
NOTE: if you want to use a font OTHER than a stencil font you will have inside pieces as well.. here is how to use those…
- cut the design out of main paper piece.
- cut the small pieces inside the letters
- iron the main stencil to fabric
- place the tiny inside pieces and iron those as well.
- paint
- remove large paper – then pick out the tiny inside pieces
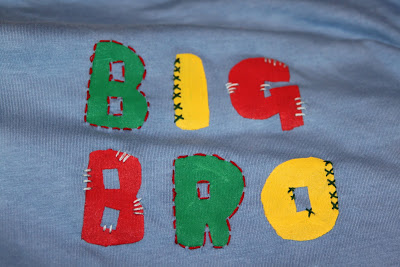
- You can also add embellishment with stitching for a fun option..
Some fun out-takes and more photos from our shoot. We had so much fun with a new little cousin this summer!









Anonymous says
Those were cute ideas. How easy and fun. Ideas galore. Thanks for posting Janie
on playpc.io says
Those were some adorable ideas. What an easy and entertaining activity. There are numerous suggestions. Thank you for sharing this, Janie.
downloads says
Those were some adorable ideas. What an easy and entertaining activity. There are numerous suggestions. Thank you for sharing this, Janie.
MADELINE l NEWTON says
oh wow these are so cute and a great way for everyone to realize who is the oldest and as the ages go down …wow …so fun…
Helen says
I read through and watch your video for the Freezer Paper Stencil. Very interesting, you are a smart cookie! Thanks for sharing, also you have a beautiful family!