inside: Sew a kids travel toothbrush holder with this simple tutorial. Easily adjustable for different amounts of brushes these toothbrush roll is perfect for travel.
**Updated 6/22 with new photos**
Our family travels quite a bit. Both just overnight trips to friends or Grandma’s house, but also international trips. I realized that my husband and I have travel kits, but the kids have nothing. Usually I throw their brushes and toothpaste in a baggie. Well, not anymore! Now they have this kids toothbrush travel holder to bring with them. You can easily customize this travel holder to the number of kids you have.
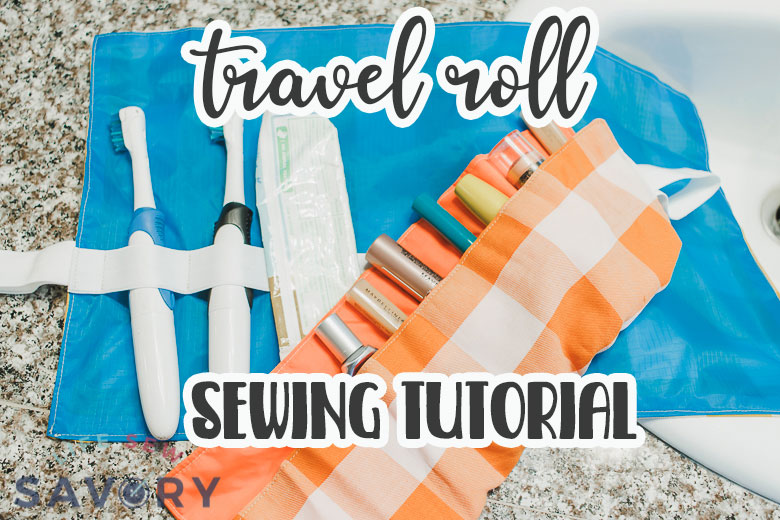
Travel Roll for toothbrushes
Since I originally wrote this post I have sewed all three kids their own zipper toiletry bag, but this roll is still super handy when we need to save space and keep everything together. The whole family can keep all their brushes together with this fun travel roll for toothbrushes.
This time around I also sewed a smaller version for my makeup and I LOVE it!! I’m totally going to take this on our next trip, it’s so handy for keeping most of my makeup items organized.
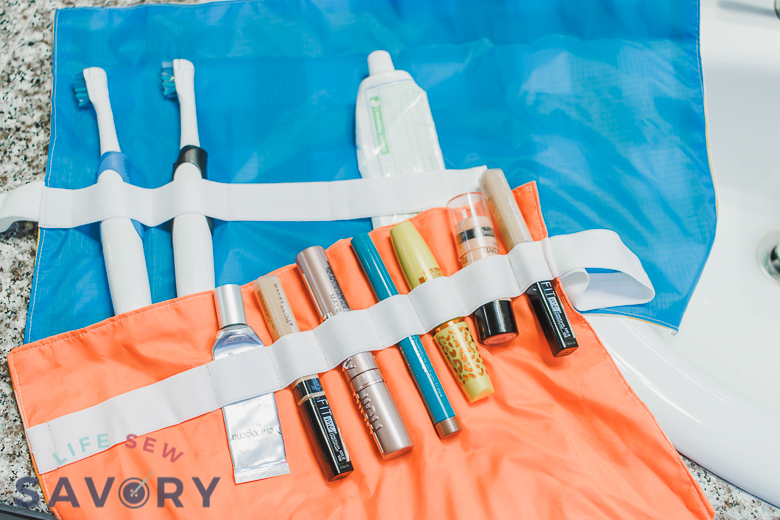
Like I said above for some reason we don’t have a holder for the kids brushes and in fact, we’ve forgotten them more than once when we’ve gone away. The kids and I are super excited about our new kids travel toothbrush holder and the kids are looking forward to using it when we go to Grandma’s for summer.
Other sewing for travel tutorials –
- sunglasses case
- drawstring makeup bag
- half circle zippers pouch
- embroidered luggage tag
- Passport holders
How to sew a travel toothbrush holder –
To make this Kids Travel Toothbrush Holder you will need outer layer fabric, laminated fabric or rip stop fabric and elastic. I like using 1″ fold over elastic {FOE} also need to know how many tooth brushes you want it to fit.
The laminated/nylon fabric is to cover the brushes so you can pack even when wet and avoid any mess. This fabric is also easy to wipe clean.
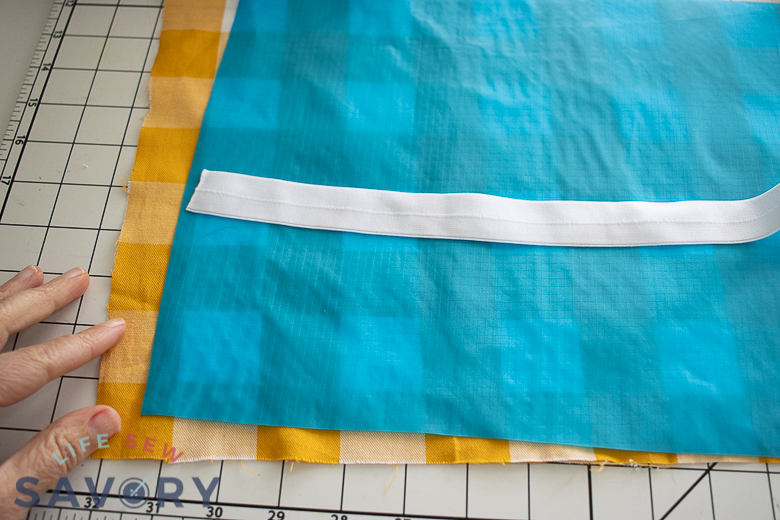
Layout your brushes and toothpaste on the laminated or rip stop fabric. Now we will determine the size you need. Line the brushes up with the bottom edge of the fabric. There should be at least 3-4″ of fabric above the brushes. The elastic should run through the of the brushes, NOT the center of the fabric. Mine is about 1/3 of the way up from the bottom.
You need 2″ for each brush 4″ for the toothpaste. So my travel holder is 10″ wide. Subtract or add 2″ for each brush less or more. I also have some extra fabric to the right of the elastic for the “roll” part.
Make sure your fabric is 3″ taller than your brushes AND at least a few inches wider… mine is about 6 inches wider. You should have a rectangle. Cut one more rectangle of your main outside fabric.
You will do the same process for a makeup roll, but have more pins in the elastic and the fabric will probably be a smaller rectangle.
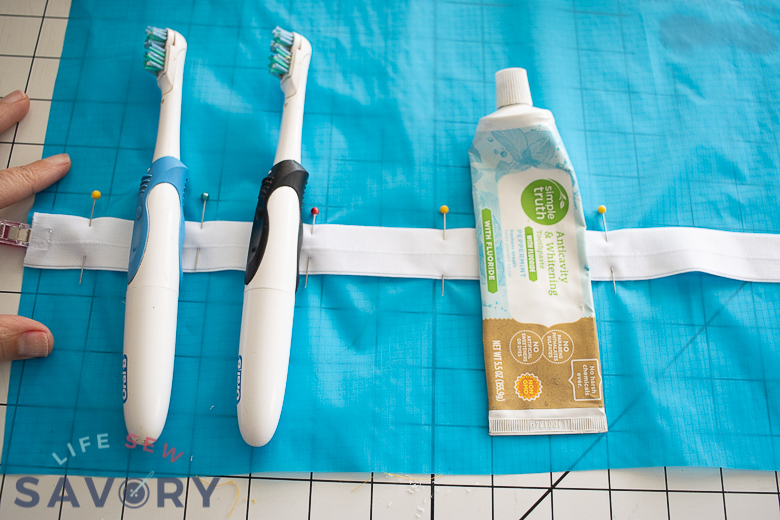
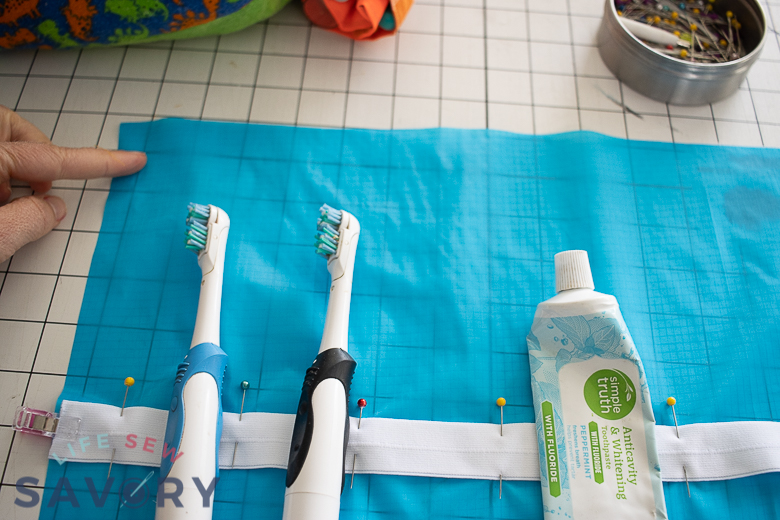
I chose not to have elastic all the way across, so I folded over the elastic and sewed it down.
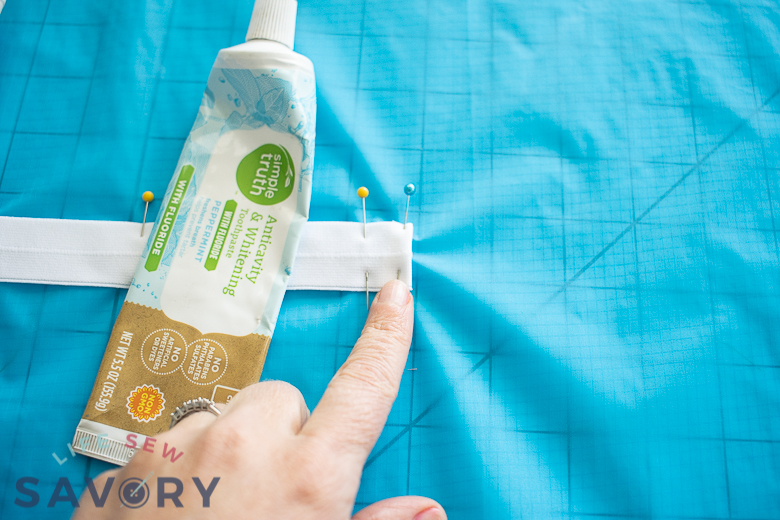
Sew the elastic to the rip stop fabric at the places you pinned. Then cut a piece of elastic 6″ long to be the outside strap for the travel roll.
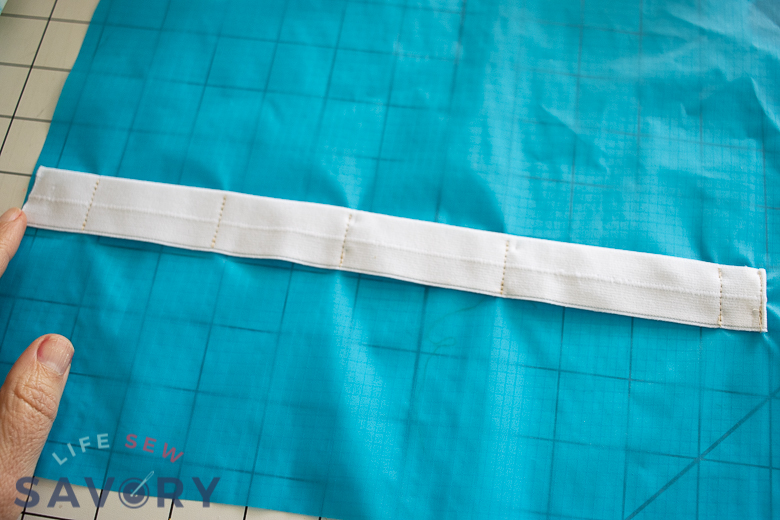
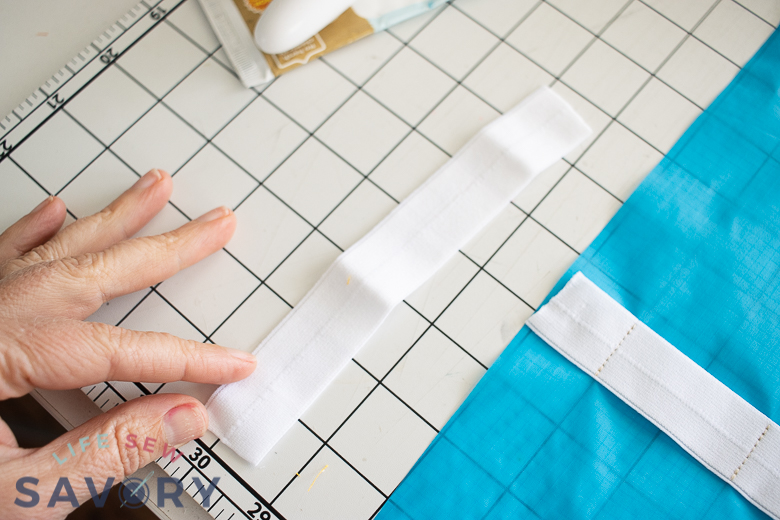
Fold the strap piece in half and lay the raw edges on the edge of the elastic strip. Then lay the other rectangle fabric right side together on top of the laminated fabric.
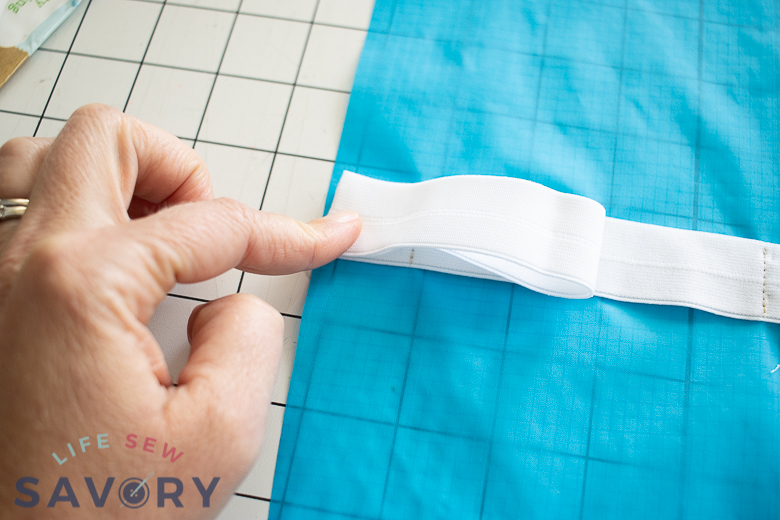
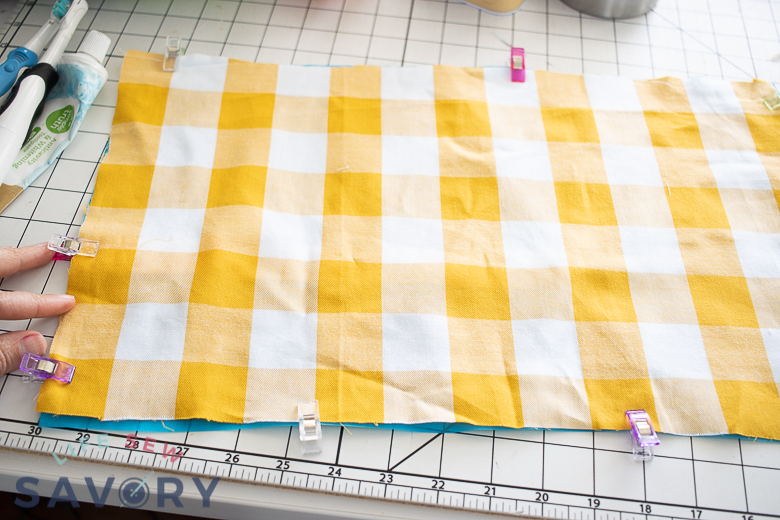
Sew all the way around making sure to catch the folded strap elastic in your seam. I used a 3/8″ seam allowance, but you can use whatever works best for you. Leave a 4″ opening on one side to turn the travel roll.
Clip the seam allowance on the corners before turning right side out.
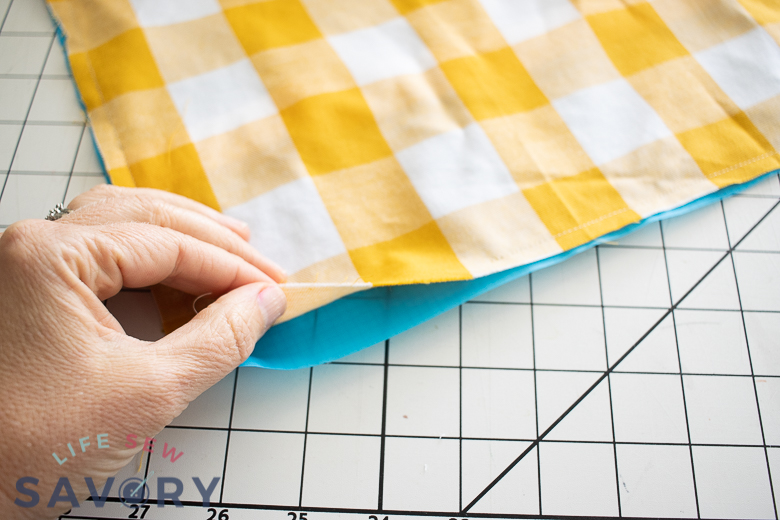
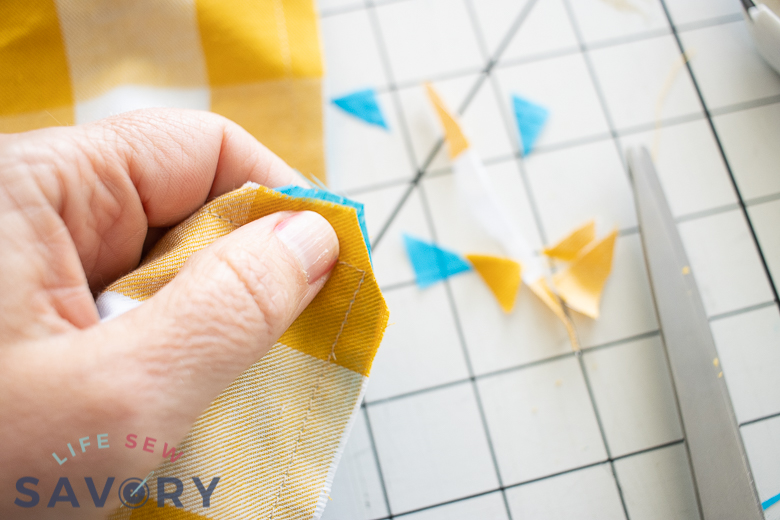
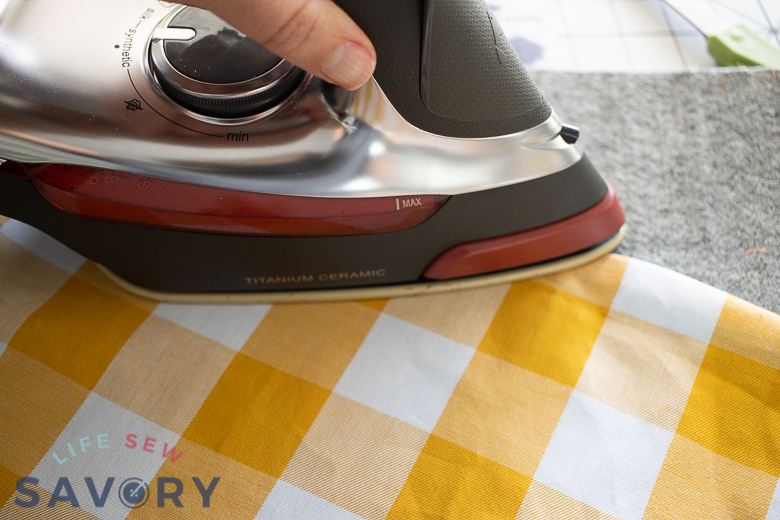
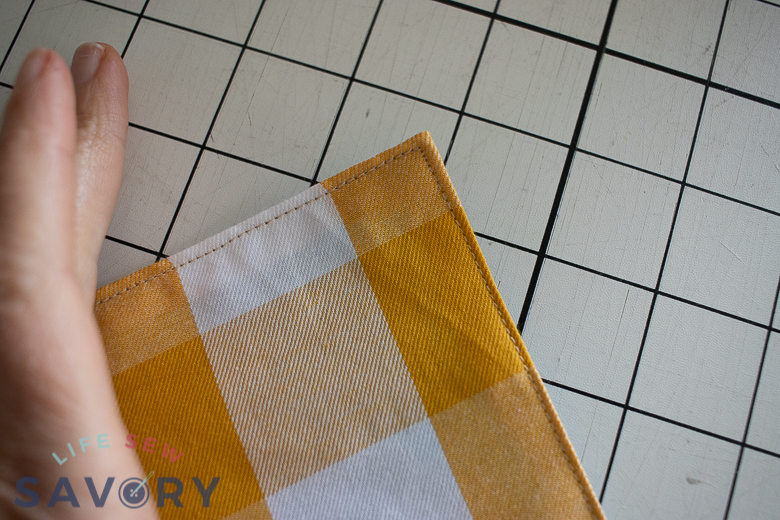
Pull the case through the opening and turn right side out. Press the edge of the fabric and press the opening seam allowance in towards the seam. Top-stitch close to the edge to close the turning hole and also finish the outside edge of the travel roll.
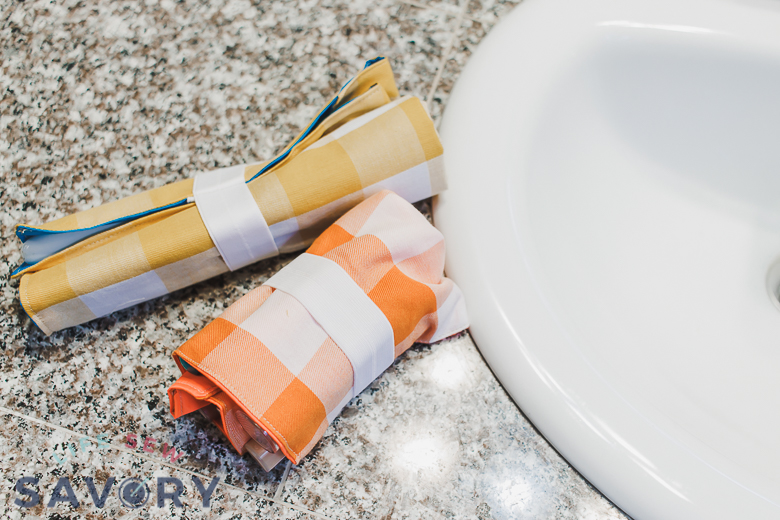
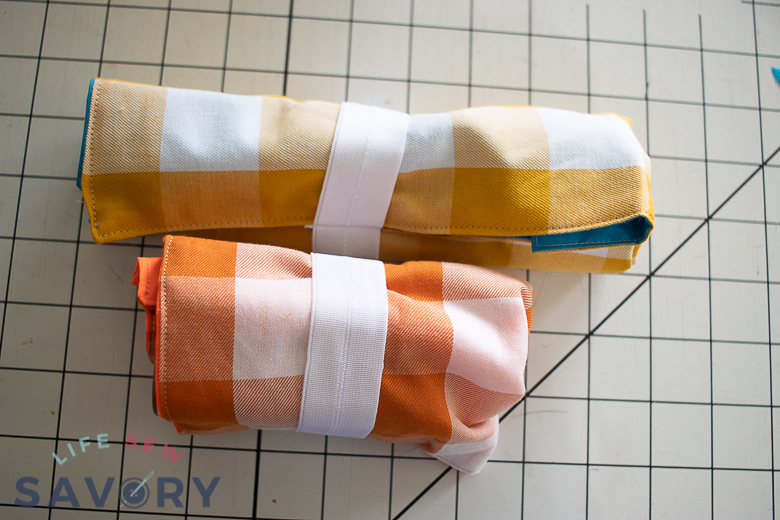
Now you are ready to roll {haha, literally} Fold over the top of the fabric so it covered the toothbrush heads {and keeps them from touching each other} and then fold in the extra side before rolling up.
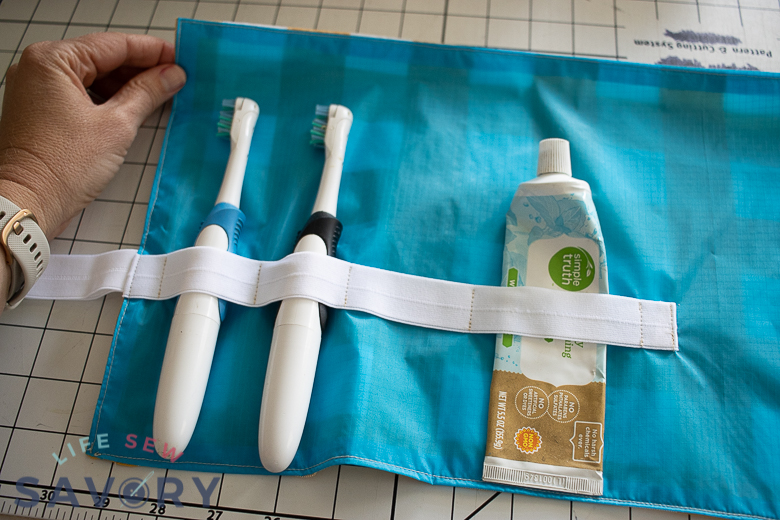
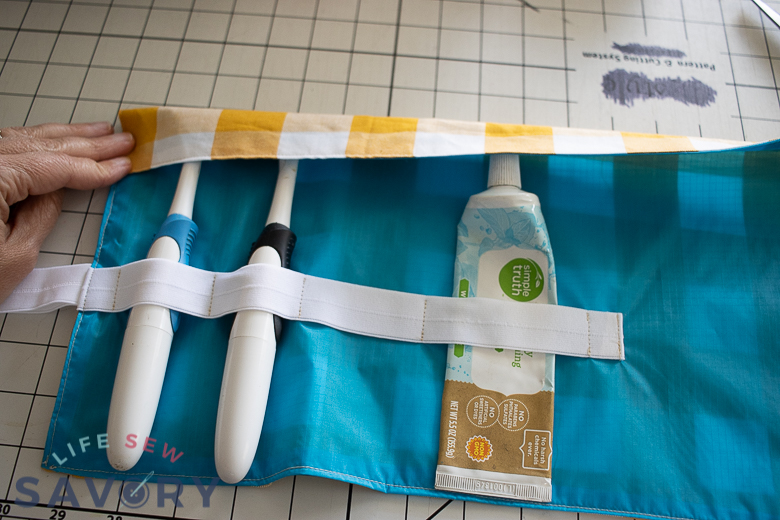
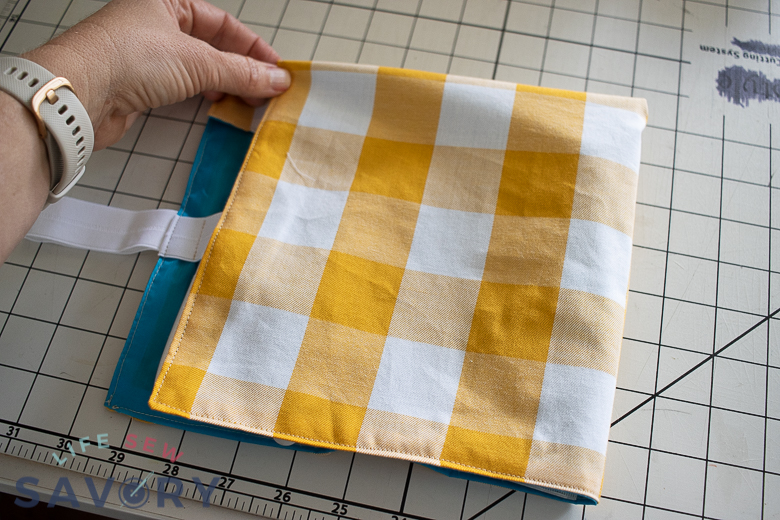
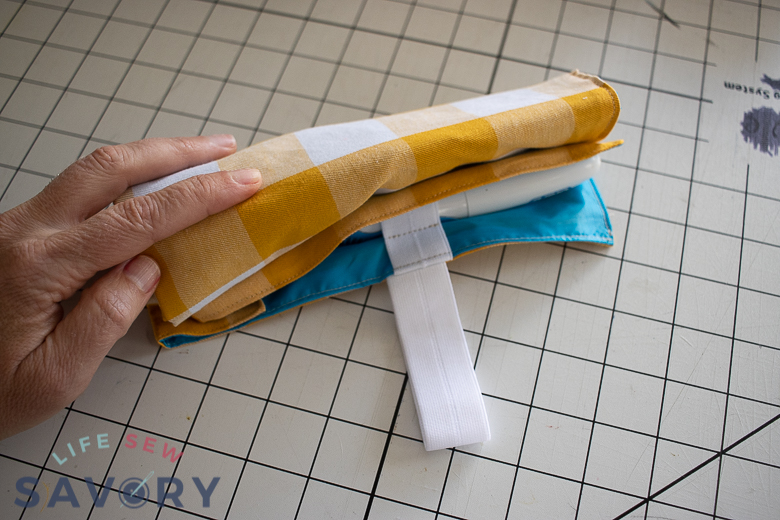
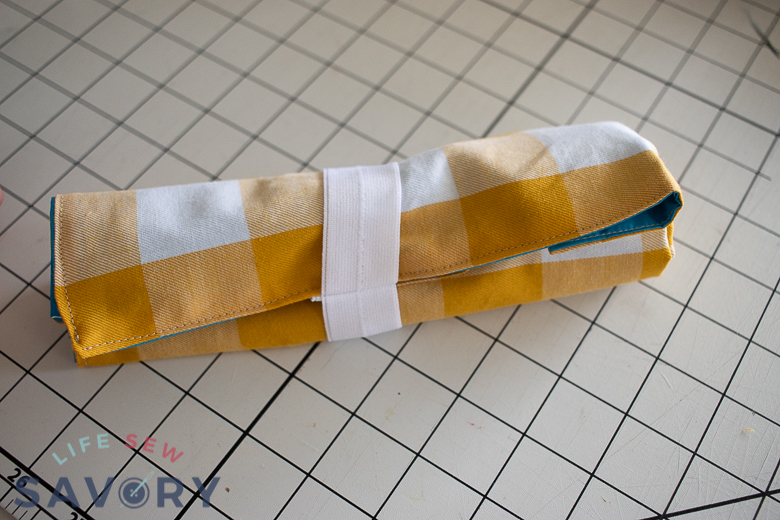
Use the strap to wrap around and secure the travel roll for packing. I love how everything is contained and stored. Use cute fabric to personalize the travel toothbrush holder for your family.






Christine says
Great idea and they can be customized for each kid. Love that! Thanks for sharing this at the DI & DI Link Party, we loved seeing it. Merry Christmas!
Sue says
Looks great and I bet the Kids love it. Thanks for sharing with us at Over the Moon Link Up
Amanda @ The Kolb Corner says
What a great idea! You make sewing it look so easy too! Thank you for sharing at Merry Monday!
Hil says
I like how it is easy to wipe clean. Such a fun idea!
Thanks for sharing at #bloggerspotlight!
Jonas says
What a great idea this just takes up so much less space than a regular toiletry bag. Perfect for packing light for my next hiking trip. Now I need to find my old sewing machine somewhere and get started. Thanks great article
maxon says
maxonmiller@gmail.com
miller says
This post is such a gem! I appreciate the thoughtful tips and how you’ve highlighted the hidden charms of this destination.motorcycle tours italy